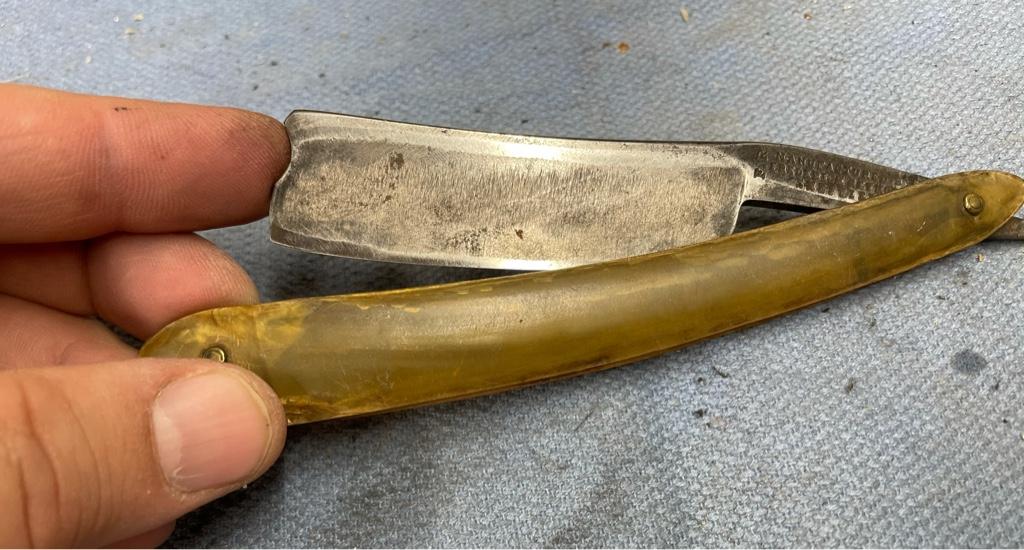
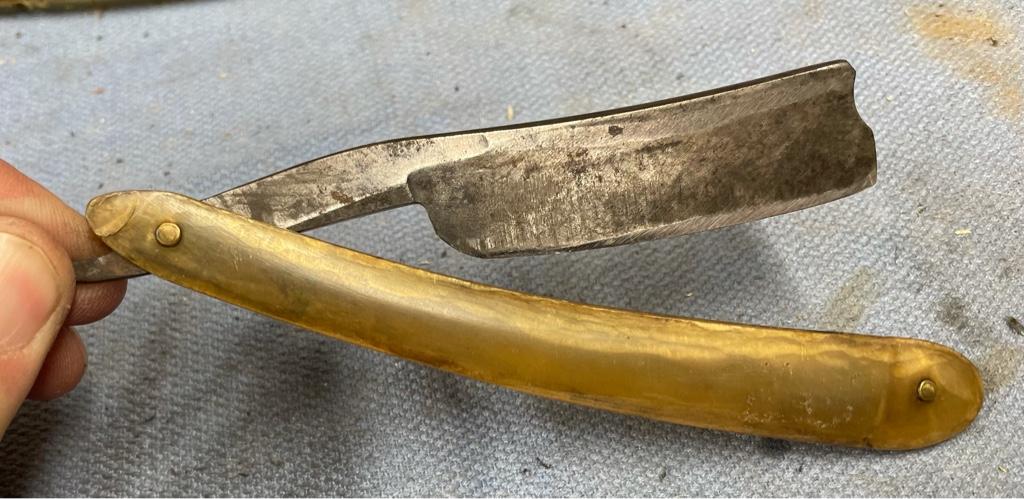
Old wedge, getting better at these re grinds. Still have more work to do on it, but I’m happy how it is turning out.
Sent from my iPhone using Tapatalk
What are you grinding with?


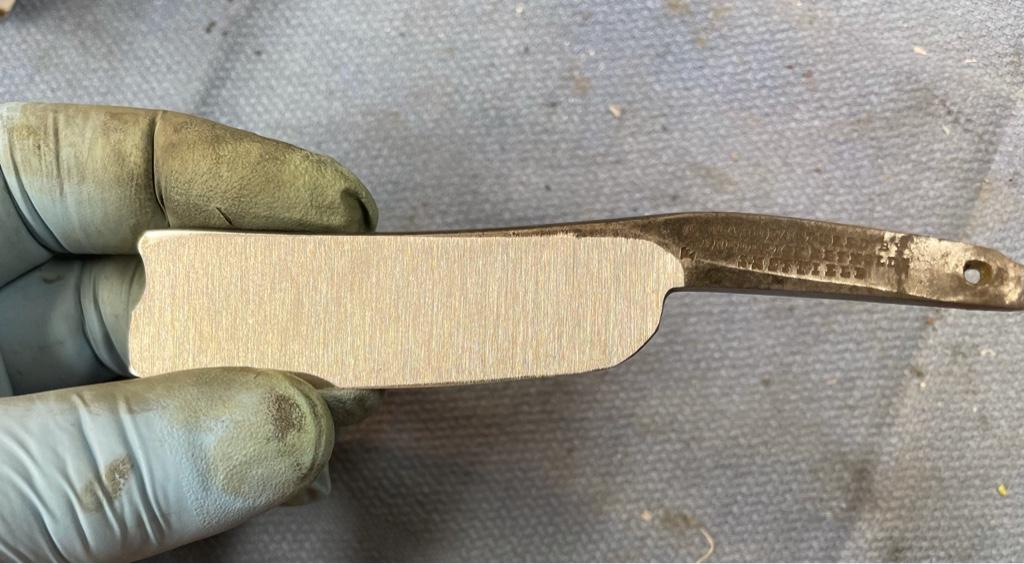
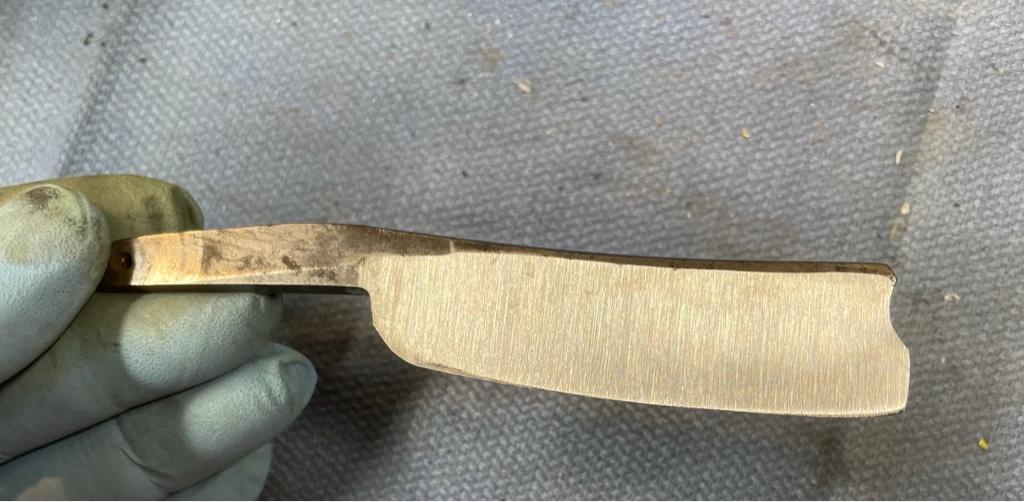
Thank you! I sanded both parallel and perpendicular to the edge. I’ve got quite a bit of sanding left to do on it. The blade is still just sanded with the 400. I’m going to hit it with 400 again then work up through 2000 and see how she looks.Nice job, @DeepSea! Amazing what you can do with wet/dry sandpaper, right?
It's hard to tell from the photos, but it looks like there may be scratch marks on the face parallel to the edge. Can I ask which direction(s) you sanded the faces of the blade in? The general consensus is you should sand the faces perpendicular to the edge to match the factory grinding.
Thank you! I sanded both parallel and perpendicular to the edge. I’ve got quite a bit of sanding left to do on it. The blade is still just sanded with the 400. I’m going to hit it with 400 again then work up through 2000 and see how she looks.


")
I’m pleased for my first go at it.
Here is the 2nd one off the stones. All cleaned and ready for a shave. Both blades were finished on a yellow/green thuri.
Larry
View attachment 1273525