What's new

Step By Step Acrylic Scale Making

Hello Gents,
I just wanted to post up a quick how wo, on how I make my scales. I am no proffesional by any means, and while this is probably not the correct way to make em, it works for me :thumbup1: Excuse the pics, I used my iphone and just kinda snapped pics along the way. the whole process took me no more than an hour and half. Any and all comments welcome!! thanks guys, enjoy!

1. I draw my design
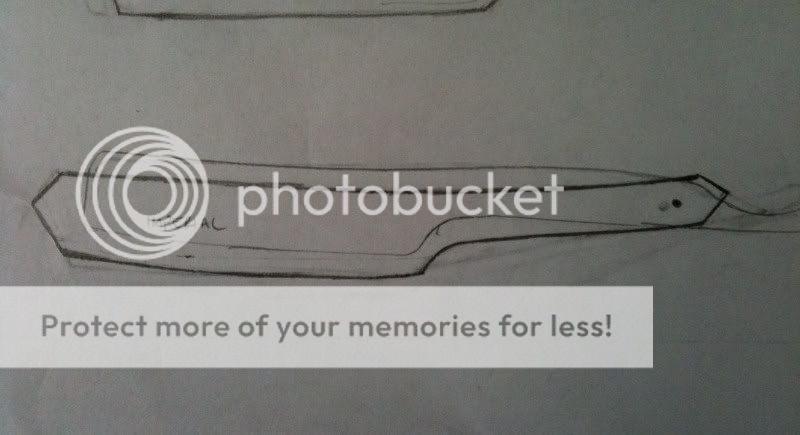
proxy.php


2. Cut out design and try it out on the blade to make sure I like it.
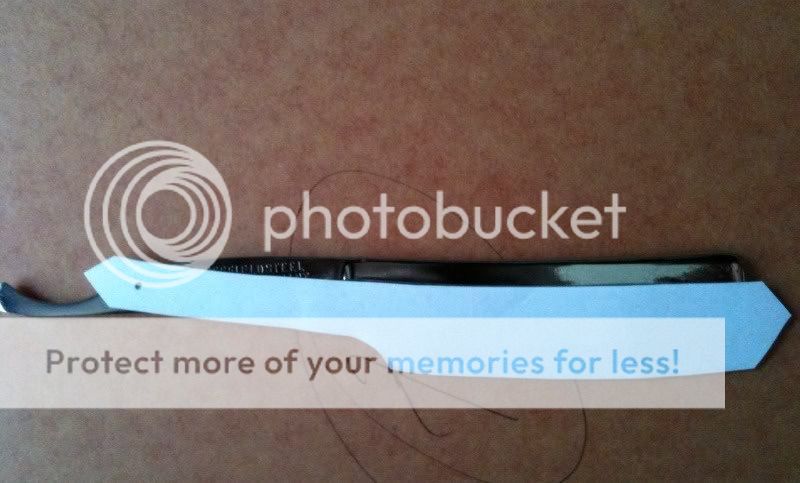
proxy.php


3. Transfer to Acrylic

proxy.php


4. Trim Acrylic down a bit, and save the scrap pieces for future wedges.
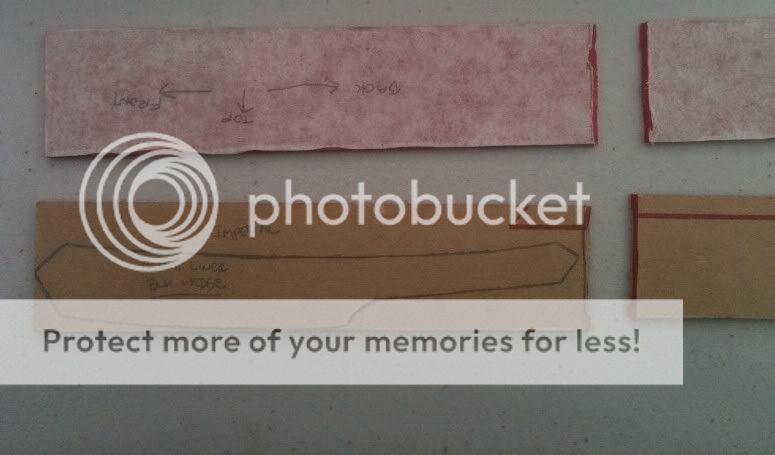
proxy.php


5. Using the Dremel with a cutting wheel, I cut around the the line, dont cut right on the line because you need to cut the other scale out and you need a little bit of room to sand them together down the line so that they are the same size.

proxy.php


6. Using a 1/2in sanding drum, sand both scales together down to the lines to get them equal.
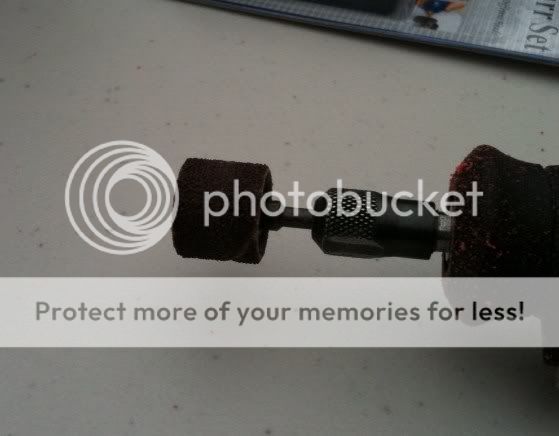
proxy.php


7. Here are both of em, pretty close to being the same.

proxy.php


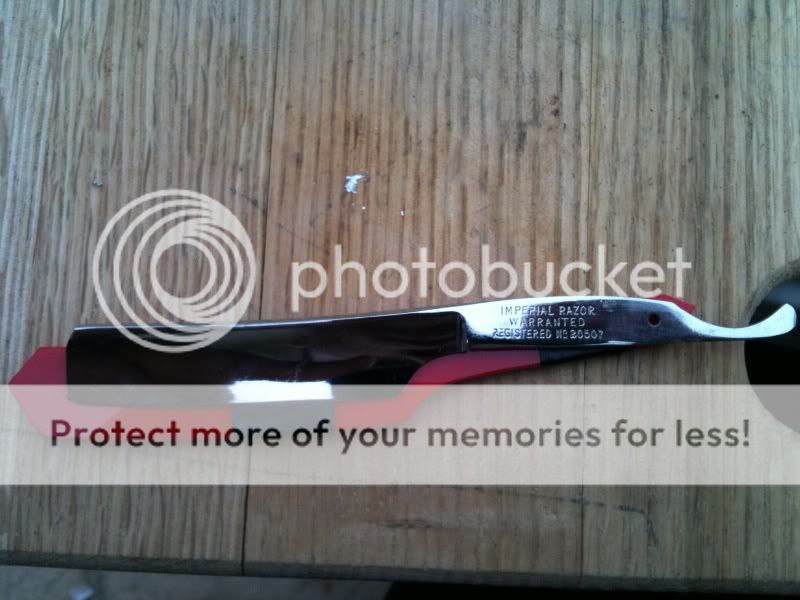
8. Tape both scales together, and use the blade to mark the pin location for the tang. Drill it with a 1/16 drill bit. I also use this step to mark out my wedge.
proxy.php


9. Here is the wedge after a rough cut.

proxy.php


10. This time I whent ahead and tried to make a liner, I have never done this before so forgive my noobness. lol. I traced the design onto a small .008 piece of aluminum. I have .016 and .032, but I thought id try it with this first.

proxy.php


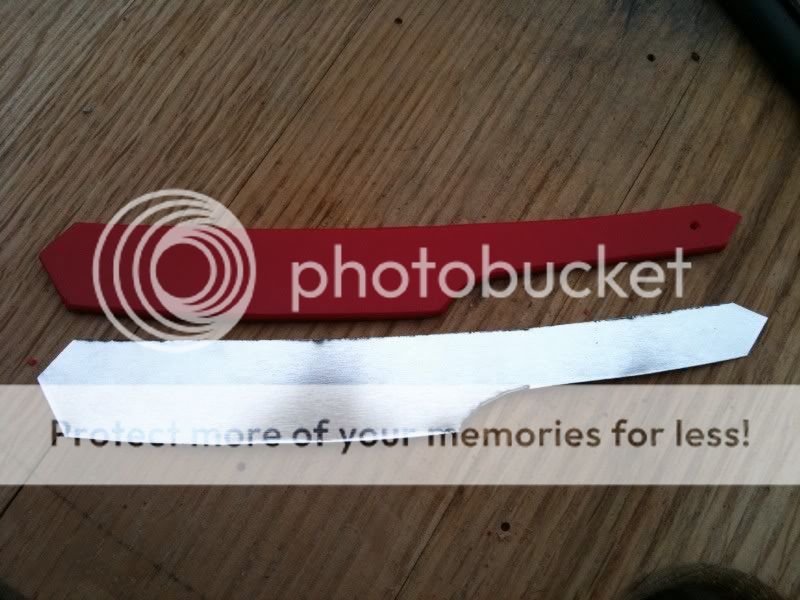
11. Here is the liner after a quik trim with some tin snips.
proxy.php
 
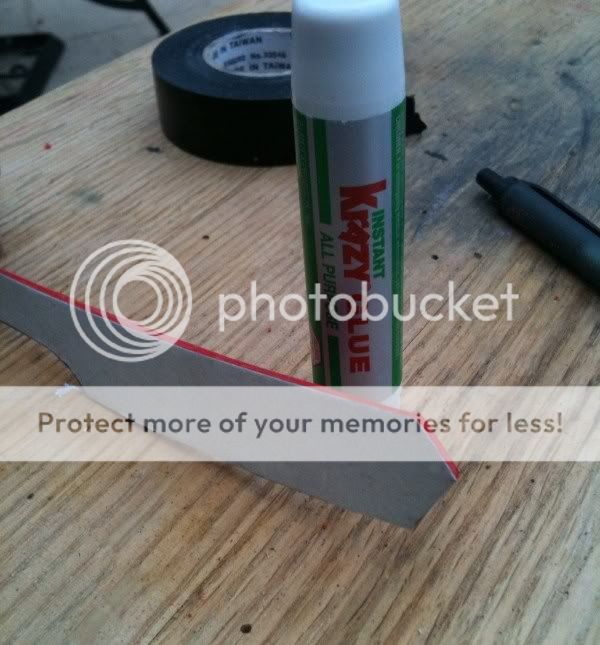
:thumbup:12. I superglued the aluminum onto the scales.
proxy.php


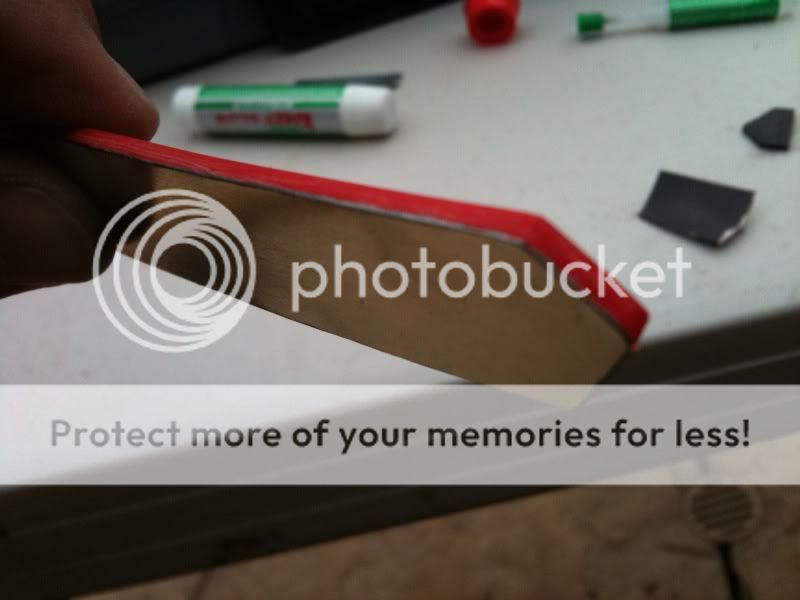
13. Then I used the same sanding drum to sand the aluminum down to match the scales.

proxy.php


14. Getting closer.

proxy.php


** I missed a step here, but I take 220 grit and sand the edges of the scales down by hand, then 320, 400, 600 grits. I also like to round the outer edges of the scales. **

15. Take the wedge and put it in the scales. And then drill for the pin.

proxy.php


16. I like the microfastners, for beginner like myself it makes it so much easier, incase you screw up, you can just unscrew your pin.

proxy.php


17. Once the front is pinned down, I use the sanding drum to get the wedge close to the scale, then I hand sand from 220-600.

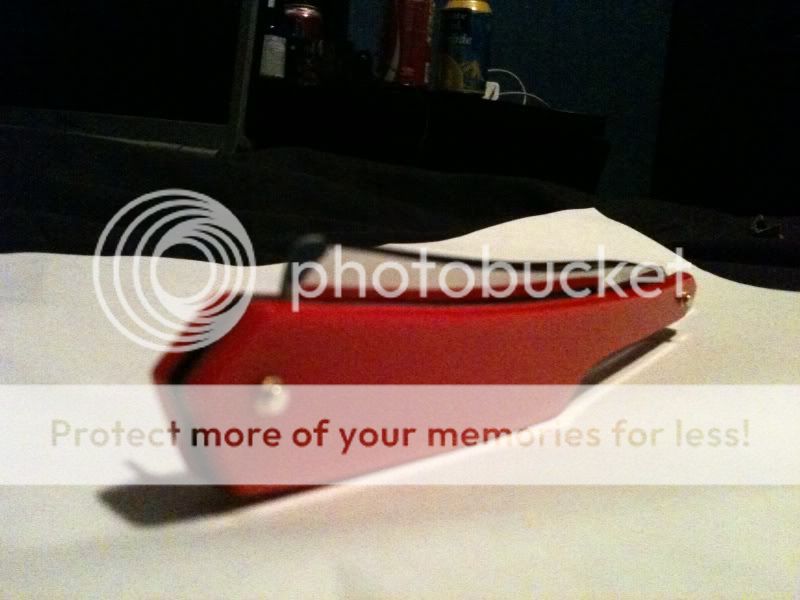
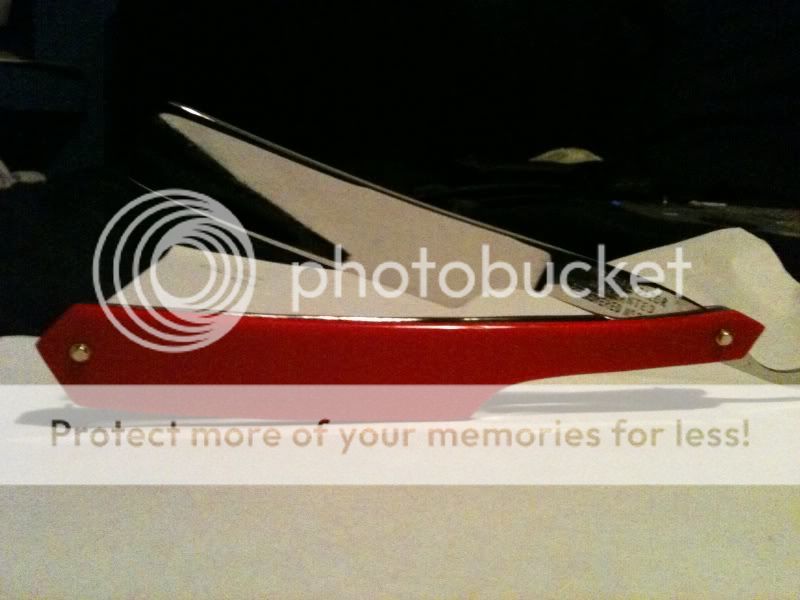
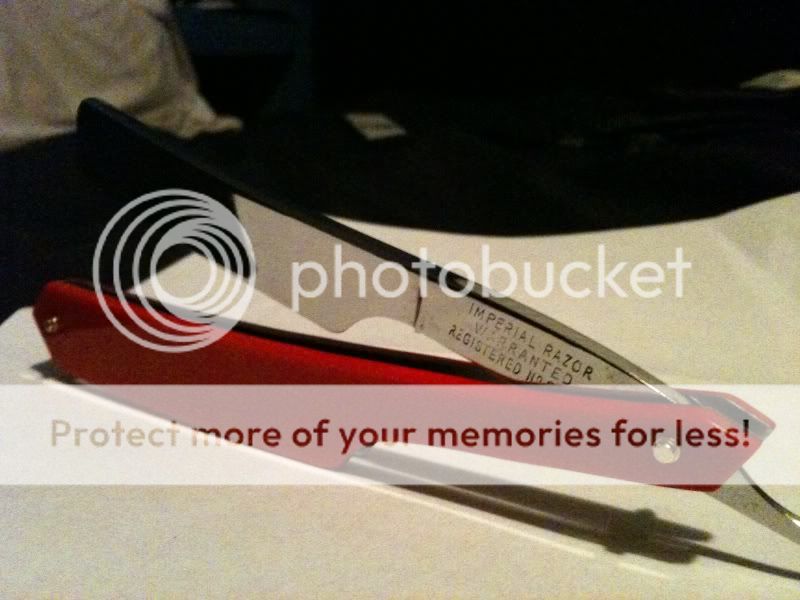
18. Here is the final product. Blade still needs a little polish and the scales still need a final polish.

proxy.php


proxy.php


proxy.php


proxy.php


I plan on replacing these last 4 pix as soon as i polish up the blade and scales.

I hope this was helpfull and that it atleast helped one of you guys out there. Take it ez!!:thumbup1:

It may be a little primative, but hey, whith only a dremel to use, it works just right for me.
 
Last edited:
Great tutorial.
did you make a spacer or a wedge?
wedgy shape is beneficial in the long run for the scales.

Thank you sir!!
Yes the wedge is on step 9 i beleive. I am stil having trouble with my wedges, I think a belt sander would be perfect for this, but I do not have one. I managed to get a little wedgy shape out of it though.
 
Hey Nerdman,
I can't believe you are a newbe with talent like that. Hell, I've at it for almost 2 years and I'm still working with wood making original type scales. I'm working on getting a shop together with some equipment and want to design my own scales too, maybe we can swap ideas later..............Dam good job, BTW!
 

Luc

"To Wiki or Not To Wiki, That's The Question".
Staff member
Very nice.

Question, why did you glue aluminum inside?
 
:thumbup:

Very, very nice, thanks a lot for your effort!
Thank you!

That's really cool. Good show and info.:thumbup1:
Thanks man!

Very nice!

Thanks for sharing.

Thanks and no problelm.

Hey Nerdman,
I can't believe you are a newbe with talent like that. Hell, I've at it for almost 2 years and I'm still working with wood making original type scales. I'm working on getting a shop together with some equipment and want to design my own scales too, maybe we can swap ideas later..............Dam good job, BTW!

Thank you sir, good luck setting up your shop, and any time you want to swap some ideas pm me!! always interisted in seeing others ideas.

Very well done sir....Kudos....:thumbup:

Thanks Ray, no where near as nice as the stuff you turn out man , but im trying!:thumbup1:

Very nice.

Question, why did you glue aluminum inside?

Thanks, there is really no good reason for the aluminum, I have seen the other guys make some scales with liners and i really liked the way it looked, so I just tried to see if I could it.

Very cool, thanks!

Thank you!
 
is there an issue with the aluminum scratching the blade?

looks great, this post has inspired me to restore my DublDuck
 
For only having a dremel to use, your work is impressive. You will only get better as time goes along. Be careful, though, as this may lead to purchasing a gaggle of tools, whether they are needed or not... :laugh:

I would only offer a couple pieces of advice.

  • I would be the last person in the world to use those 0-80 nuts to fasten anything on a razor, but if you really like them, I would suggest that you at least grind them down a bit so they don't protrude so much from the surface. Doing so will also help keep them from loosening up and yet you'd still be able to tighten them if necessary. You only need a couple threads to have them function properly.
  • Don't know if you did it or not, but I'd make sure to roughen up the acrylic and aluminum a bit with some 180 grit sandpaper where they contact each other to help with the bond.
  • Having a wedge that is parallel to the inside of the scales isn't a good idea for a variety of reasons, but, for the most part, it will work when very flexible materials like your acrylic are used. Remember, it's called a wedge for a reason. However, the aluminum liners changes the dynamics and the two materials are susceptible to separation near the tang if the butt spacer is narrow and the pivot area is at least twice the thickness of the spacer.
  • Just as you correctly picked up on the fact that the two pieces of acrylic needed to be sanded down as one unit to create a matching set, the same holds true when the aluminum liners are added. Double-sided tape between the aluminum liners works like a champ, and all 4 pieces can then be sanded as one. Afterwards, just separate the scales after first drilling the pivot hole. Once separated, you can then address the spacer installation.
 
Looks great:thumbup1:

Thank you!!

is there an issue with the aluminum scratching the blade?

looks great, this post has inspired me to restore my DublDuck

I am not really sure on the aluminum scratching, I havent used the blade enought to see any scratches. But the blade rests gently on the aluminum so I really do not see an issue with it scratching it.

And thank you, I am glad that it will help out at least one person out there!! I dont know much, but if i can help out in any way, feel free to pm me. :thumbup1:

For only having a dremel to use, your work is impressive. You will only get better as time goes along. Be careful, though, as this may lead to purchasing a gaggle of tools, whether they are needed or not... :laugh:
I would only offer a couple pieces of advice.....

Thank you Sir!! you do some beautiful work and thank you for the compliment :thumbup1: I keep looking at tools but I keep telling myself NO! lol.

Thank you for the tip on the nuts. I know they are not pretty, but they are very simple for me to use. ha. but I will make sure to grind down the next scales I do!

As far as sanding the aluminum and acrylic, yes, I did that, Thanks fo the reminder though, as I forgot to put it in the steps.

Now, the wedges are difficult for me. I reallhy do not have the tools to sand them down to a nice angle. I need to figure out a way to do it. I have a couple of ideas that I will be trying out monday.

Thank you again for all the pointers and comments, they will all be put into practice for my next set of restores!!
 
Thanks for the pictorial, I've "tweaked" my technique slightly. I'd tried a couple of sets in acrylic that just weren't working (I was planning on going back to using just wood).

Now, the wedges are difficult for me. I reallhy do not have the tools to sand them down to a nice angle. I need to figure out a way to do it. I have a couple of ideas that I will be trying out monday.

Thank you again for all the pointers and comments, they will all be put into practice for my next set of restores!!

I've not got any power tools either...I've tapered my wedges just laying them flat on a piece of 80grit sandpaper and applying a bit more pressure on the side I want narrower. There are some good suggestions here.
 
Thanks for the pictorial, I've "tweaked" my technique slightly. I'd tried a couple of sets in acrylic that just weren't working (I was planning on going back to using just wood).


I've not got any power tools either...I've tapered my wedges just laying them flat on a piece of 80grit sandpaper and applying a bit more pressure on the side I want narrower. There are some good suggestions here.

Thanks!! That was a helpfull link. I was thinking what would make it easier for me, would be to sand down the acrylic piece prior to actually cutting out the wedge, that way I have more material to hold on to. My problem is that I cut the wedge out then I have no material to hold on to while I try and shape it. Thanks again :thumbup1:
 
Top Bottom