What's new

DIY pins and peening

Legion

Staff member
Right. I guess that this is part two of my DIY acrylic scales thread. At the time I was too tired to write what essentially is a subject of its own. So here it is. Hold onto your hats. :tongue_sm

There is no point spending time cutting and sanding your own scales if you have no way of attaching them to your blade. There are micro screws and fasteners available which you do up like tiny nuts and bolts. They work, but to my eye look untidy and are, well, basically cheating, IMO. The reason why you have gone to so much trouble making custom scales in the first place is because you want the job done right. You might as well see the thing through.

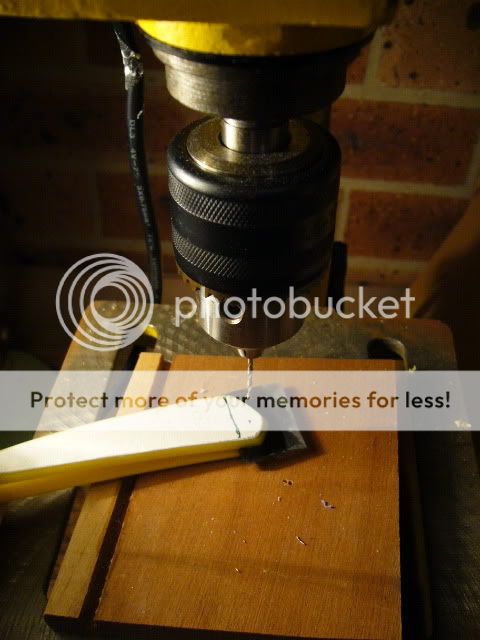
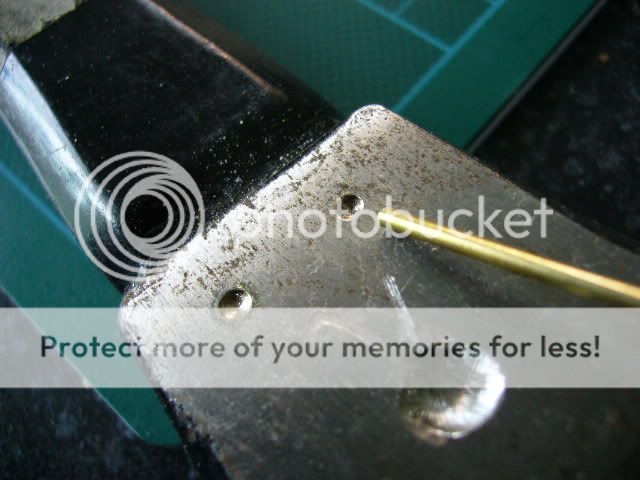
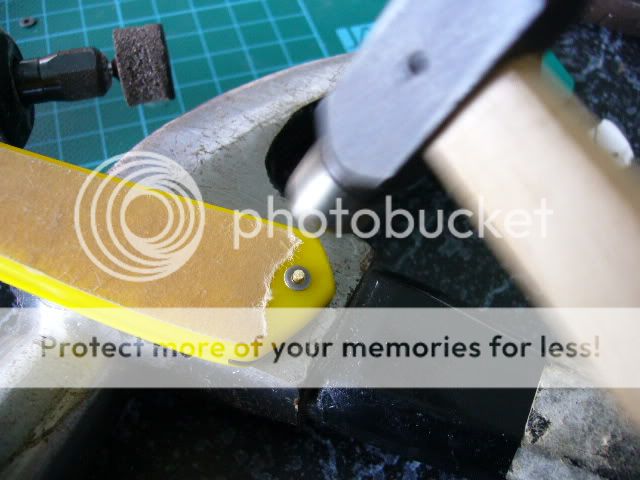
As covered in the DIY scales thread, the first thing to do is drill the holes. You will be wanting some sort of fixed drill press for this. It does not need to be big or powerful but it needs to be fixed so that those holes go in straight, especially for the pivot pin. I use a 1/16 drill bit as this seems the right diameter for the hole in most blades, and that size rod, which we will be making the pins from, is common and easy to get hold of.

proxy.php


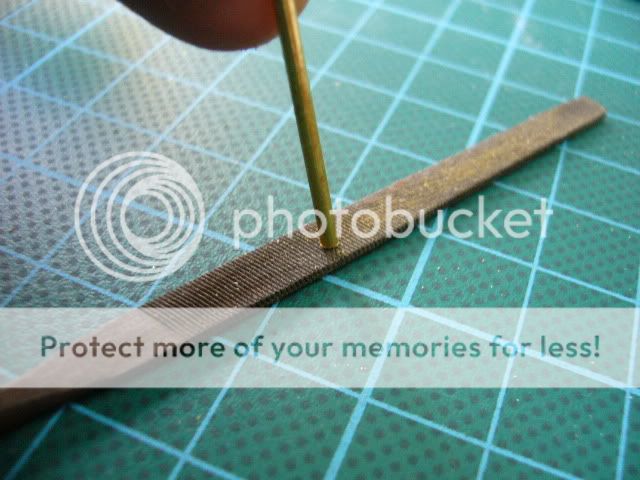
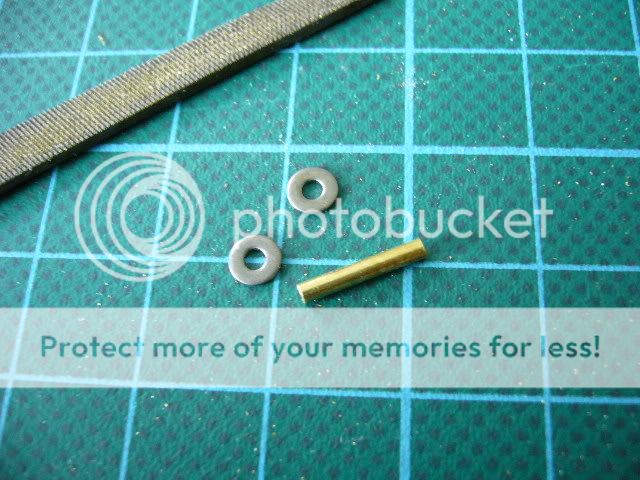
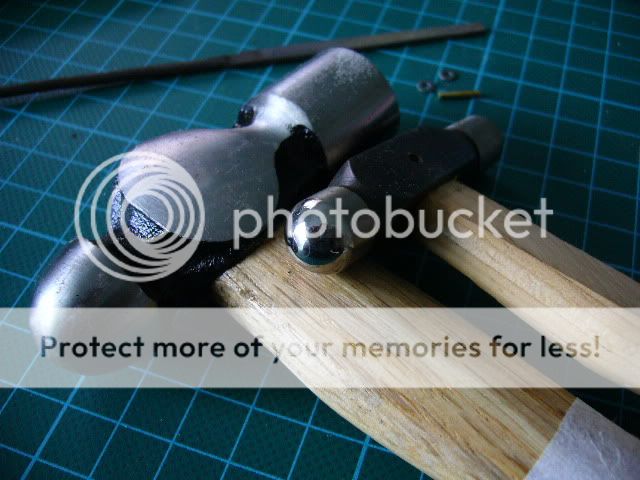
The pins themselves are just short cut lengths of bar stock. You can buy it in brass or nickel silver. They both work well but the brass is cheaper and easier to get. You'll find it in most model and hobby stores. It is usually only costs a couple of bucks per foot, enough to make LOTS of pins.

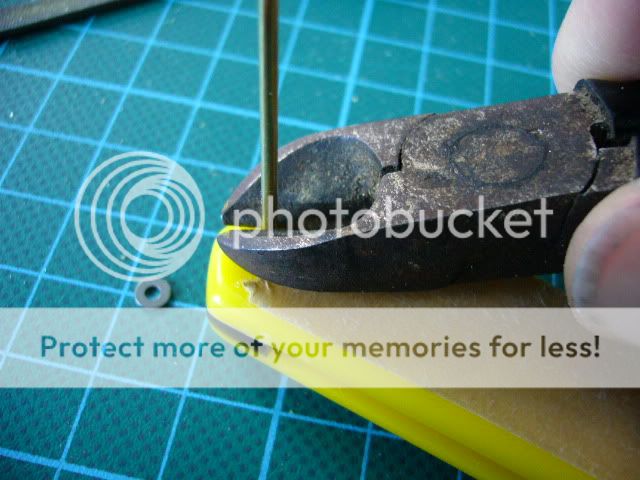
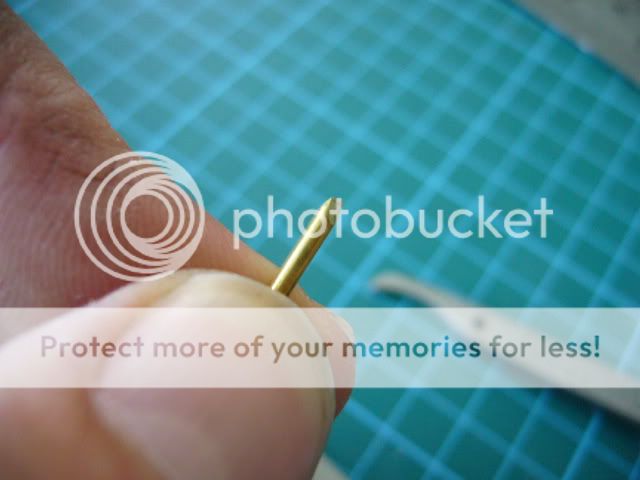
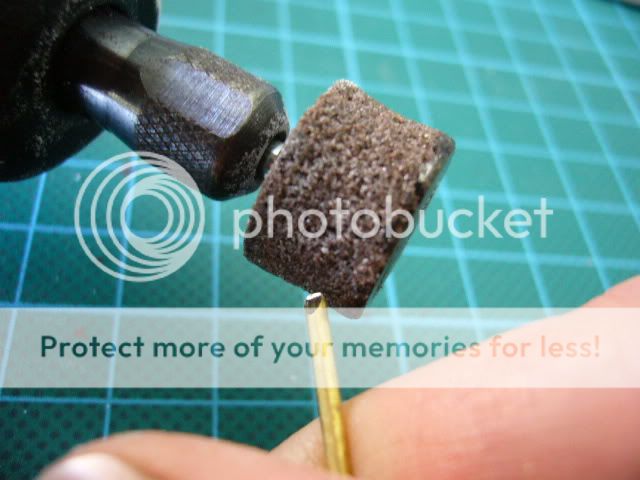
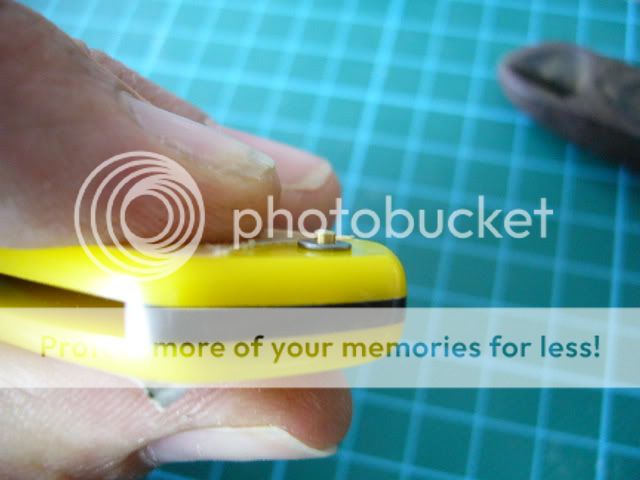
Put the rod in the hole to gauge the length and cut it off with snips. You can buy flush cutters that do a neater job, but normal wire cutters work. The problem with them is that they leave a pinched end that you will need to tidy up.

proxy.php


proxy.php


That's in part two...

P1050670.jpg
P1050684.jpg
P1050674.jpg
 
Last edited:

Legion

Staff member
So now you have your pin but it has a pointy pinched end. That needs to go. If you try to peen it like that it will end up looking like a dogs breakfast. The fast way of doing this is by using the grinding wheel on a Dremel, or similar. Once again, use eye protection! When you get a steel splinter in your eye from a grinder what normally happens is you go to hospital and the doctor uses a powerful magnet to pull it out. Not much fun but doable. Brass is non-magnetic. You do the math. wear your glasses.

proxy.php


After grinding it flat, take a small file and smooth it, removing any burs. Any imperfections on the head of the pin that are visible now will be visible when the job is finished. It is worth taking the time to be neat. You don't need the grinder, by the way. You can just use the file for the whole process but it takes longer.

proxy.php


When you are done you should have a short pin, with square ends, that hangs out about 1.5mm over the edge of the washers on each side.

proxy.php


Washers? You didn't say I needed washers! That's in part three...

P1050679.jpg
P1050680.jpg
P1050688.jpg
 
Last edited:

Legion

Staff member
Yes. You need washers.

The peened head of the pin is not going to have enough surface area by itself to hold onto the soft scale material securely. By putting a washer in there the pin will have something hard to hold onto. The washers I use are stainless steel and #0 size, I believe. Some guys like to use several washes of different sixes, stacked on top of each other for a stepped look. Pretty cool.

Here is the pin you have made and the two washers you need.

proxy.php


Peening time. To do this you are going to need some sort of anvil to act as a hard, solid surface. You can buy little anvils, but one substitute you can use is the side of a large hammer head. What you will need to do, however, is take a small drill bit and put a shallow divot into the flat surface. The head of the pins we are making are rounded slightly, and they are going to need something to fit into, or they will flatten while you are tapping on the other side.

proxy.php


Now you notice how I have only taken off a minimum amount of sticky paper from the acrylic thus far? Yeah, that's so it does not get scratched up in part 4...

P1050689.jpg
P1050682.jpg
 
Last edited:

Legion

Staff member
You are going to need one of those round headed hammers. A ball-peen hammer. See? The name makes sense now, doesn't it. Hammer weight is up to you, but generally the lighter the better for this delicate work. The hammer on the left is the one I used to use, an 8oz. The hammer on the right is what I use now, a 2oz. The 8oz one works but you will really need to "choke up" on the handle and hold it near the head to have control. Also, see how the head of the 2oz one is really polished and shiny? Any imperfections in the head of the hammer are going to transfer to the head of the soft brass pin when you tap it, so make sure your hammer is nice.

proxy.php


Locate the divot in your anvil with the underside of the pin. Start tapping on the top side. notice I say tapping, not hitting. This is the secret. Be gentle! You are trying to round the head of the pin, and the best way to do that is by hundreds of gentle taps, not big whacks. If you hit it too hard you will have big flat spots on the head, and possibly bend the pin. A good rule is to only tap the pin as hard as you would be prepared to tap your own thumb.

proxy.php


Tap it about twenty times and then turn it over and do the other side. If you now look closely you should see that the pin is just slightly starting to flare at the end, just enough to hold the washer on. Turn it back over and start tapping again. Keep flipping the job regularly and try to make sure to give an even number of taps to both sides to keep the pin head looking the same. You will end up tapping each side possibly hundreds of times before it is done.

proxy.php


Another tip is to always keep the hammer moving around in relation to the job. By that I mean rotate the job and the hammer in relation to each other so that the head contacts the pin from all different angles. This way you will get a nice symmetrically domed pin head. If you only hit the pin in the same way the whole time the dome will look lopsided.

Once you have finished the peen and it is secure keep tapping for a while but gradually reduce the power of the taps. By the end you should be hardly touching the pin. This is no longer peening the head but polishing out all the tiny dents. The final result should look perfectly smooth and polished.

To put the pivot pin in is exactly the same procedure as the wedge pin. The longer you tap, the tighter the scales will be to the blade. Keep going until the friction between the blade and the scales is firm enough that the blade will stand up in the scales at a 45 degree angle all by itself, and then tap away for a bit longer. As the scales wear and break in the blade will tend to loosen up a bit. Better to make it a bit snug now.

proxy.php


proxy.php


proxy.php


And you are done! Remove the sticky paper from the acrylic and give it all a final buff with Brasso. You are all peened and finished, ready for the honer.

P1050691.jpg
P1050694.jpg
P1050696.jpg
P1050701.jpg
P1050702.jpg
P1050710.jpg
 
Last edited:
Great tutorial! I just got some acrylic and pinning supplies from Nerdman. Couldn't have been better timing with this and the DIY scales thread. Thanks!

Where'd you get a 2 oz hammer? The smallest I've been able to find are 4 oz.
 

Legion

Staff member
Great tutorial! I just got some acrylic and pinning supplies from Nerdman. Couldn't have been better timing with this and the DIY scales thread. Thanks!

Where'd you get a 2 oz hammer? The smallest I've been able to find are 4 oz.

Thanks! I got it from someone in England via ebay. It was a pretty inexpensive one. Jewellers and watch making supply places sell them.
 
Great tutorial!! thanks for putting it up here.I will have to order a small hammer as I am a bit tired of using the back of a big spoon, but sometimes the spoon is good for tightening up a loose pin.
 
Top Bottom