What's new

Straight Razor Restoration for Dummies

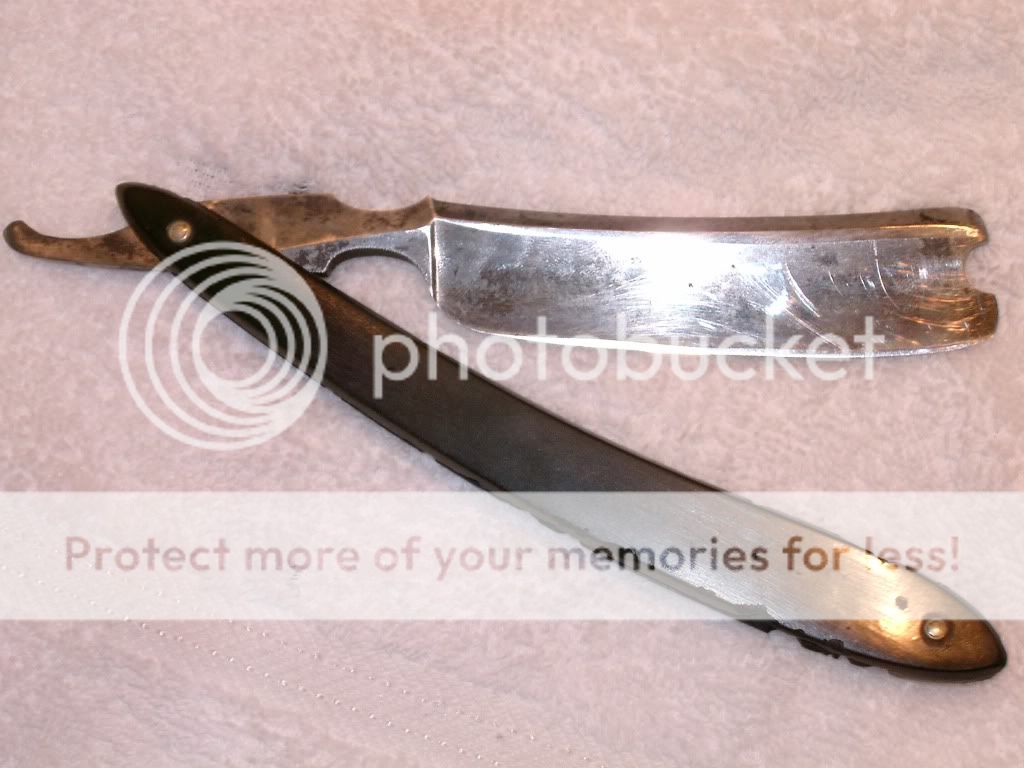
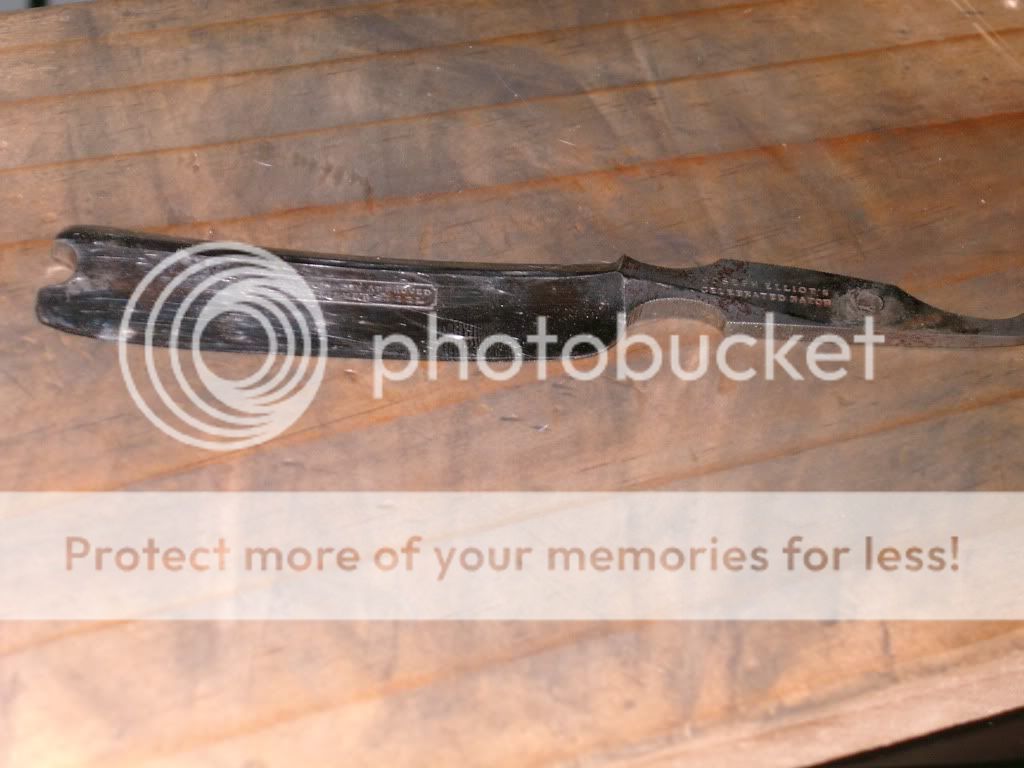
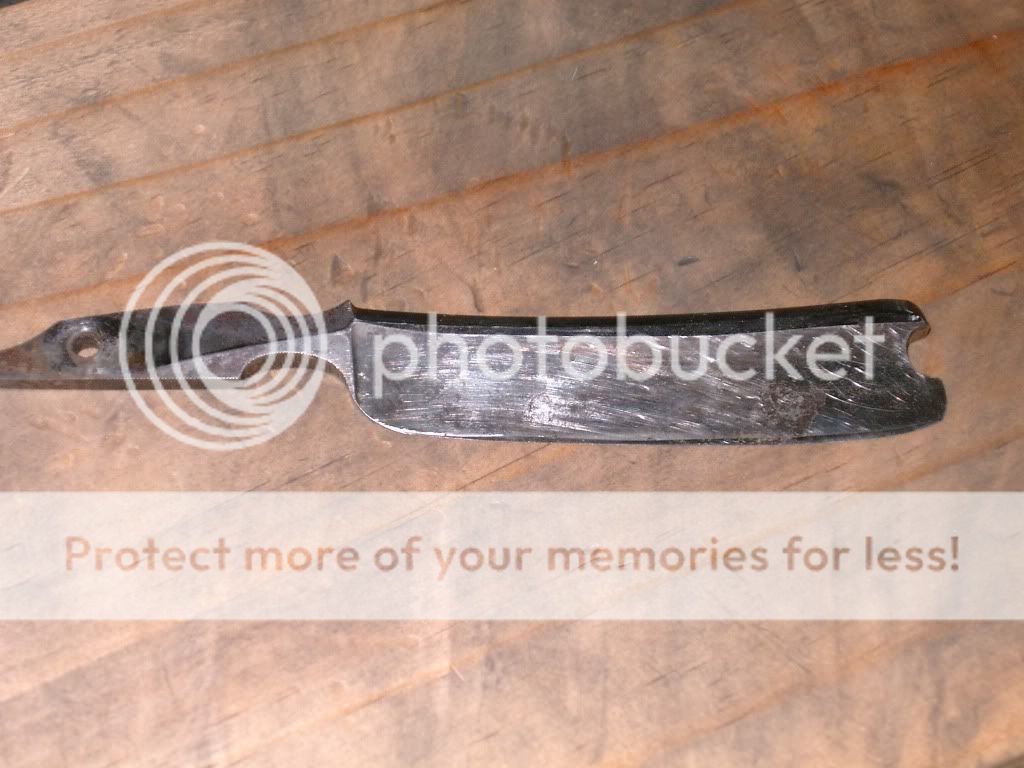
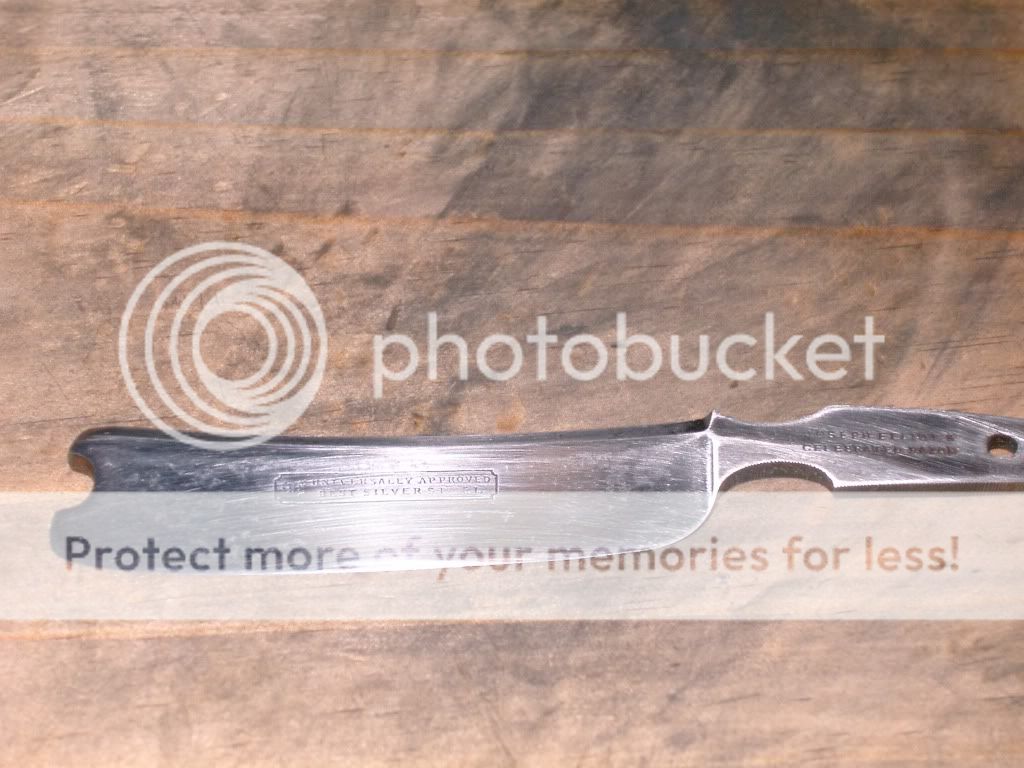
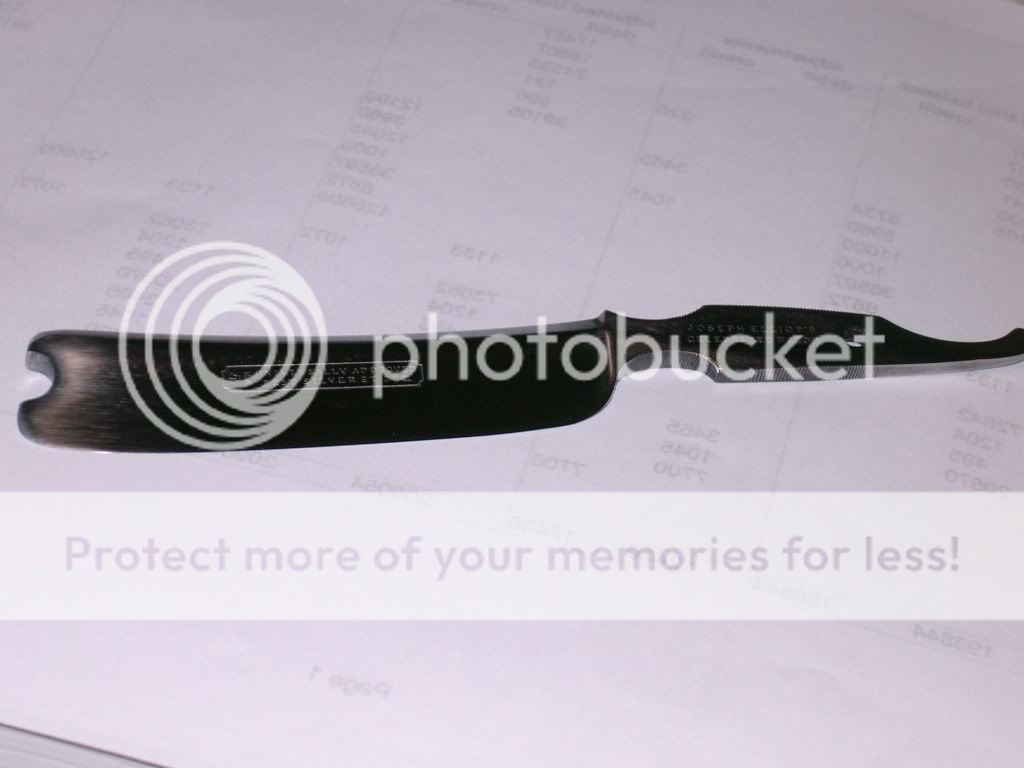
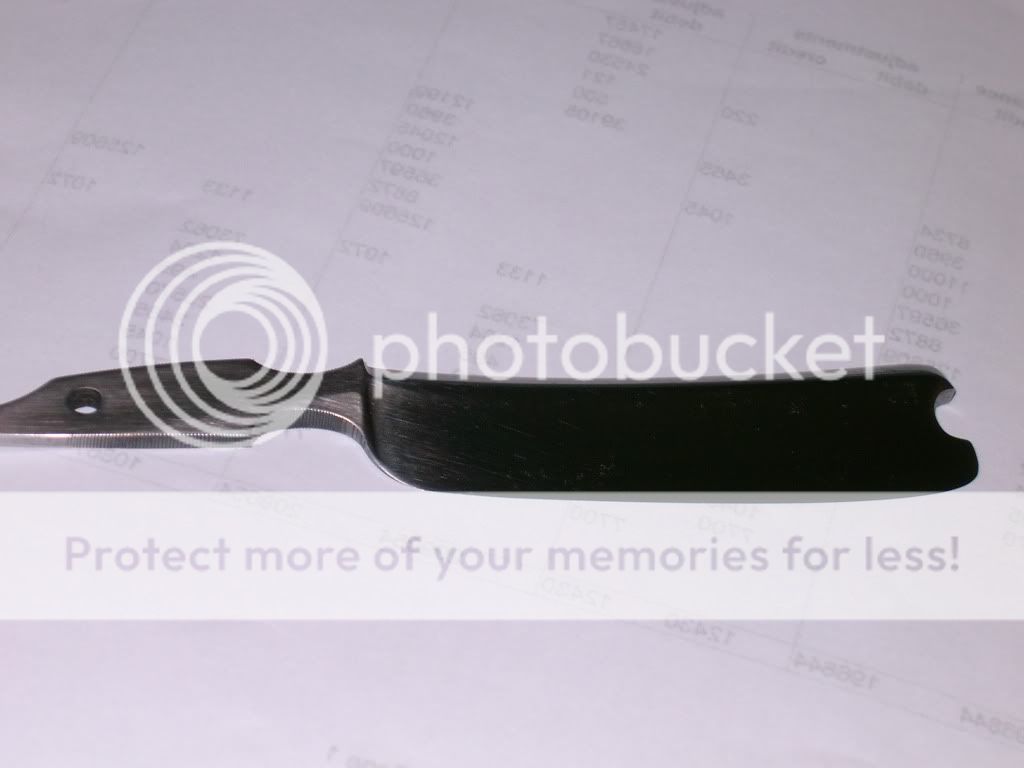
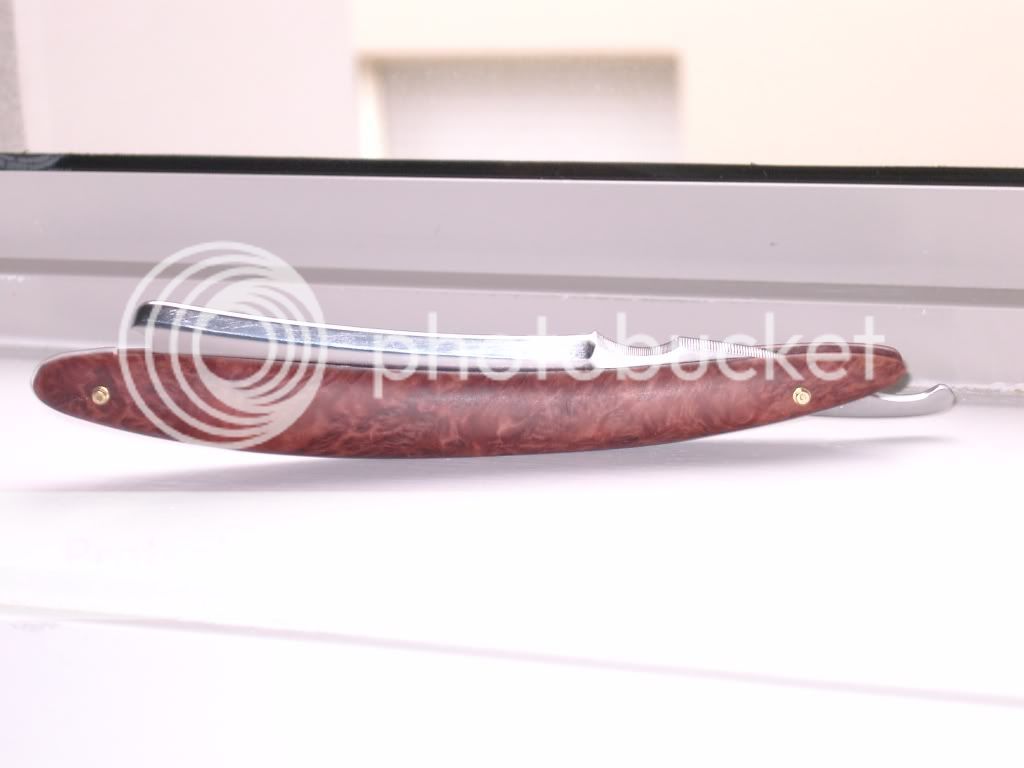
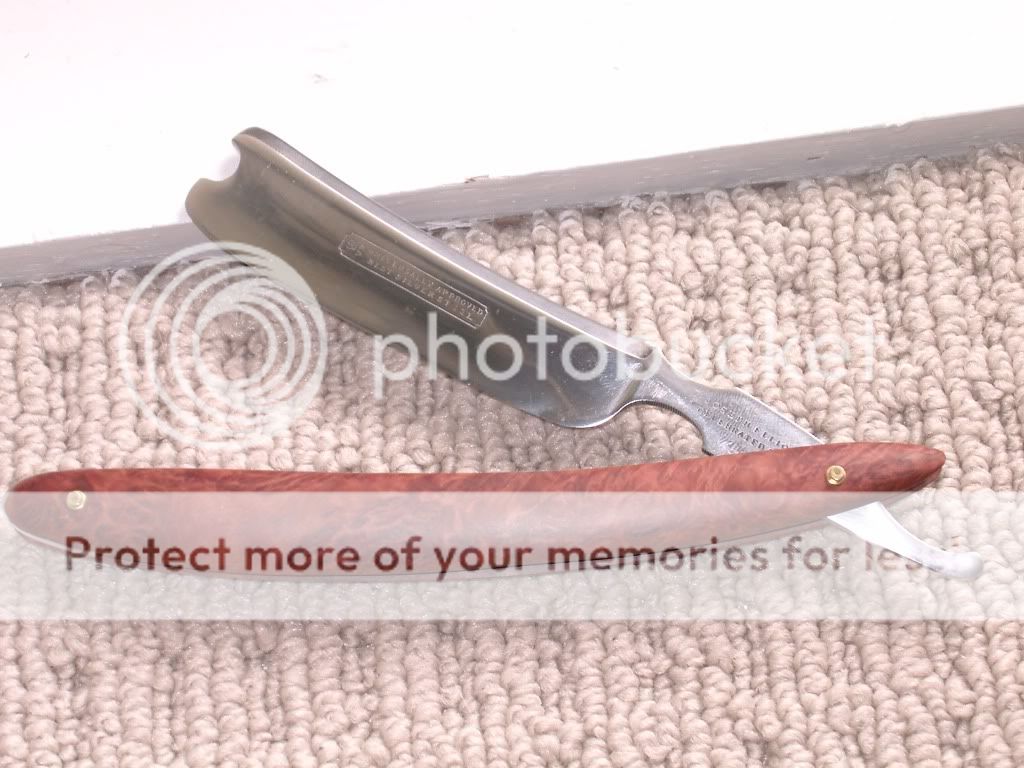
So how are the new scales coming along? I hope you show some pictures for that....I have a razor I'd like to rescale, and any info would be helpful.

--Matt

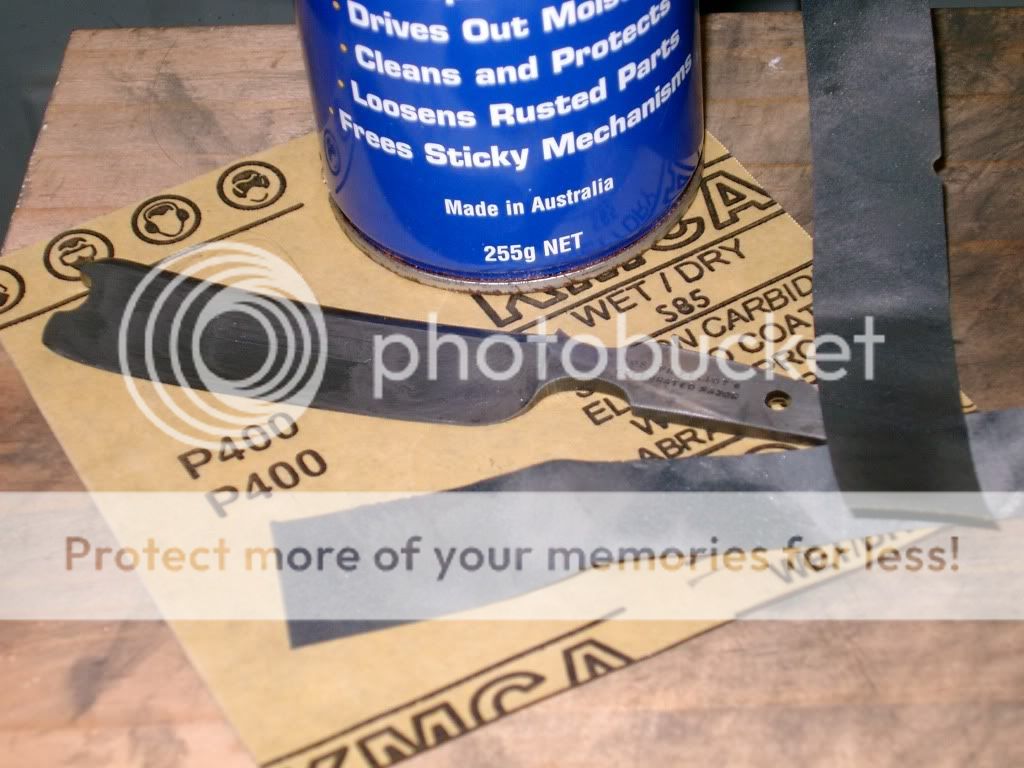
Im yet to make scales myself - ive got some time on a bandsaw and with drill presses etc next week, so im going to knock them out then.
I'll report back here for you with any lessons learnt
 
Scales are coming along nicely.

Cut the block of wood in half, planed it flat-ish then in half again to get the 4 pieces. Drilled the holes for pins and then cut out rough shapes with a jigsaw.

Im now just starting shaping them on a belt sander, before using an orbital sander to smooth off before handsanding a nice finish and then whatever finish I decide to use.
 
That is some seriously beautiful wood! They're going to look awesome once they are all done!

Thanks for posting more pics.

--Matt (aka Kopio)
 
More pics.

Little brass sleeves for the inside of the too-large pivot holes had to be made. Horay for my friend and his lathe skills.

These still need more sanding to get the last rough bits out, then its oiling, pinning and to the hoooooooooooones! Its been quite an adventure with these little guys
 

Attachments

  • $elliot_scales3.jpg
    53.3 KB · Views: 956
  • $elliot2_scales.jpg
    50.6 KB · Views: 949
Scales are finished, just need to clean up the wedge (clear perspex) and pin properly

picture.php

picture.php

picture.php
 

Luc

"To Wiki or Not To Wiki, That's The Question".
Staff member
Nice one Dunny! How did you go with the shave?
 
L

Lo'Tek

I don't know, I saw the word Dummies and I was naturally drawn to this thread - like it was for me.

Anyway, Great job! :thumbup1:

I prefer hand tools my self. It's harder to maker mistakes with the Low-Tek, hands on approach.
 
More pics.

Little brass sleeves for the inside of the too-large pivot holes had to be made. Horay for my friend and his lathe skills.

These still need more sanding to get the last rough bits out, then its oiling, pinning and to the hoooooooooooones! Its been quite an adventure with these little guys

So what ever happened with these razors. There's no finished pics? I was so excited to see them done.:001_huh:
 
You mean this one:

I decided to put it in some tortoiseshell (celluloid) scales I had. Looks pretty spiffy :biggrin:, ill keep you in mind if i let it go though

proxy.php
 
I meant the one on the other left :lol:.

Those scales though are awefully pretty!

Ha! Mate, join the queue for the other one, its got a fanclub all of its own. But its a line to nowhere, im not getting rid of it - its one of my best razors, both in looks and performance :thumbup:
 
So your Uncle gave you his old straight, or a friend picked one up for you because they know you shave like 'a crazyman', but you've only gotten as far as a DE (and the occasional lusting at straights in SOTD pics) you want to use it - only its a bit rough and you don't know quite what to do with it - what do you do? Sure, you can send it out to a pro, but that's expensive, and you're feeling pretty handy..........

After seeing more and more of these kinds of questions, I thought I'd create a thread showing that anyone with only the basic tools can bring a razor back to life well. Sure it wont be as good as one that a superpro has fixed, but there is a certain satisfaction that goes along with fixing it up yourself. I should also caveat that I'm no expert - but this is what works for me. I'll be working on a blade I saw on ebay, and even though it was a bit rough I couldnt help myself but get it anyway.

proxy.php
proxy.php


So here it is, just slid out of the envelope. The scales are clearly shot, and need to go. I used a hand drill with a tiny drill bit to drill out the pin on both sides, then I pushed a nail through and out it popped.

Lets get a better look at the condition of the blade...

proxy.php
proxy.php


Bummer. Worse than I thought. This is even after I'd given it a little polish with a rag and Brasso to see what was loose junk and what was actually rust/stain on the blade.

However, most importantly, the edge is fine. If there was rust right on the edge it would probably not be worth saving it, and even if it was - its outside the skill range of the average guy.

You can see the brown patches of rust - there's sure to be pitting under there. There's also these strange scratches (check out the second pic in paticular) that will need dealing with.

So now what... now we need to remove metal. That gets rid of the junk just on the surface, but also by removing metal across the entire blade it makes the pits shallower. This is a wedge so its no problem to remove metal, but you have to be more careful on a more hollow (thinner) grind.

The weapon of choice for the shaver without a dremel is wet&dry sandpaper! I start at 240 grit, you can go lower but I dont like to make such deep scratches.

proxy.php
proxy.php


This is after a decent bit of sanding with 240. I sand in a circular motion, and then just when I'm about to move up a grit, do some sanding along the length of the blade. You can see that the rust and discolouration has been removed, but the pitting remains. The horisontal scratches are from the sandpaper.

Its frustrating as hell to stay at this grit when all you want to do is start moving up - but you really want to remove all the pitting you plan on removing at this level.

Once you've removed all you want to or can (because it's a thin blade, or like this one you dont want to remove interesting stamps on the blade) then you start moving up. Then its 360, 400, 600, 800, 1200 and 2000 if you can find it (often at auto shops). Remember to remove all the scratches of the previos grit before you move to the next one. I spray a little WD40 on the blade every so often while im sanding, and it seems to make it go a little easier.

proxy.php


You can stop here if you like, the blade has all the rust removed, and will look pretty good, and have a fairly decent satin finish. If you want to go down the mirror polish road though, you need some more tools.

No, not a dremel... micromesh! I picked up a lot of cloth backed micromesh in grits 1500, 1800, 2400, 3200, 3600, 4000, 6000, 8000, 12000 on ebay for like $30. Use it just like sandpaper.

And after some attention from the micromesh.....

proxy.php
proxy.php


Looking good, though still not perfect. Some more rag and brasso action is needed!

Until...

proxy.php
proxy.php


Shazam! Mirror polish with only hand tools!

There's still a bit of pitting in the blade that I could have removed, but I like the looks of it being a little worn and used, I think it goes with this blades crazy curves and points.

So thats it, easy as pie. It will take a couple hours for all that sanding, but it's worth it in the end. Not a professional finish, but one you've done yourself and can be proud of :thumbup:

proxy.php

proxy.php


Thanks to my chat buddy SlagleRock for a proof read!​

Quoting myself to include newly-linked pictures!

proxy.php
 
Last edited:
Top Bottom