I've just done my very first brush re-knotting. I didn't want to practice on an irreplaceable antique... So, my first project was to turn the VdH handle into a nice badger brush to be proud of.
Here is the VdH handle with its new knot. It has been sanded with 1000, 1500, and 2000 grit sandpaper to remove the casting line, and I sanded off and smoothed out the hard-cornered ring at the top. Next, I rubbed it with Haggerty metal polish (coarse), Noxon metal polish (medium), Mother's Mag and Aluminum polish (fine), and finally Meguiars PlastX (super fine). It wasn't as much work as it sounds, and...
This finish on this thing absolutely GLOWS now, and doesn't look or feel cheap at all (to me).
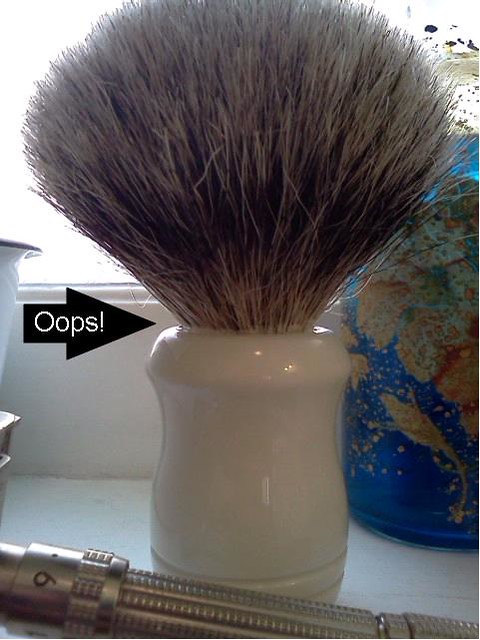
Thankfully I masked the handle prior to glueing, but I used waaay too much epoxy, and got it in the base of the hair as it oozed out. Dang it! Lesson learned.
Here is the VdH handle with its new knot. It has been sanded with 1000, 1500, and 2000 grit sandpaper to remove the casting line, and I sanded off and smoothed out the hard-cornered ring at the top. Next, I rubbed it with Haggerty metal polish (coarse), Noxon metal polish (medium), Mother's Mag and Aluminum polish (fine), and finally Meguiars PlastX (super fine). It wasn't as much work as it sounds, and...
This finish on this thing absolutely GLOWS now, and doesn't look or feel cheap at all (to me).
Thankfully I masked the handle prior to glueing, but I used waaay too much epoxy, and got it in the base of the hair as it oozed out. Dang it! Lesson learned.


