What's new

Gold Dollar, more bang for your buck, or your Pound.

Slash McCoy

I freehand dog rockets
Could you give me an opinion on the 208 vs 800? Looking to buy one for BF. Was leaning towards the 208 to start but wondering if there are differences besides the 800 being less likely to rust.

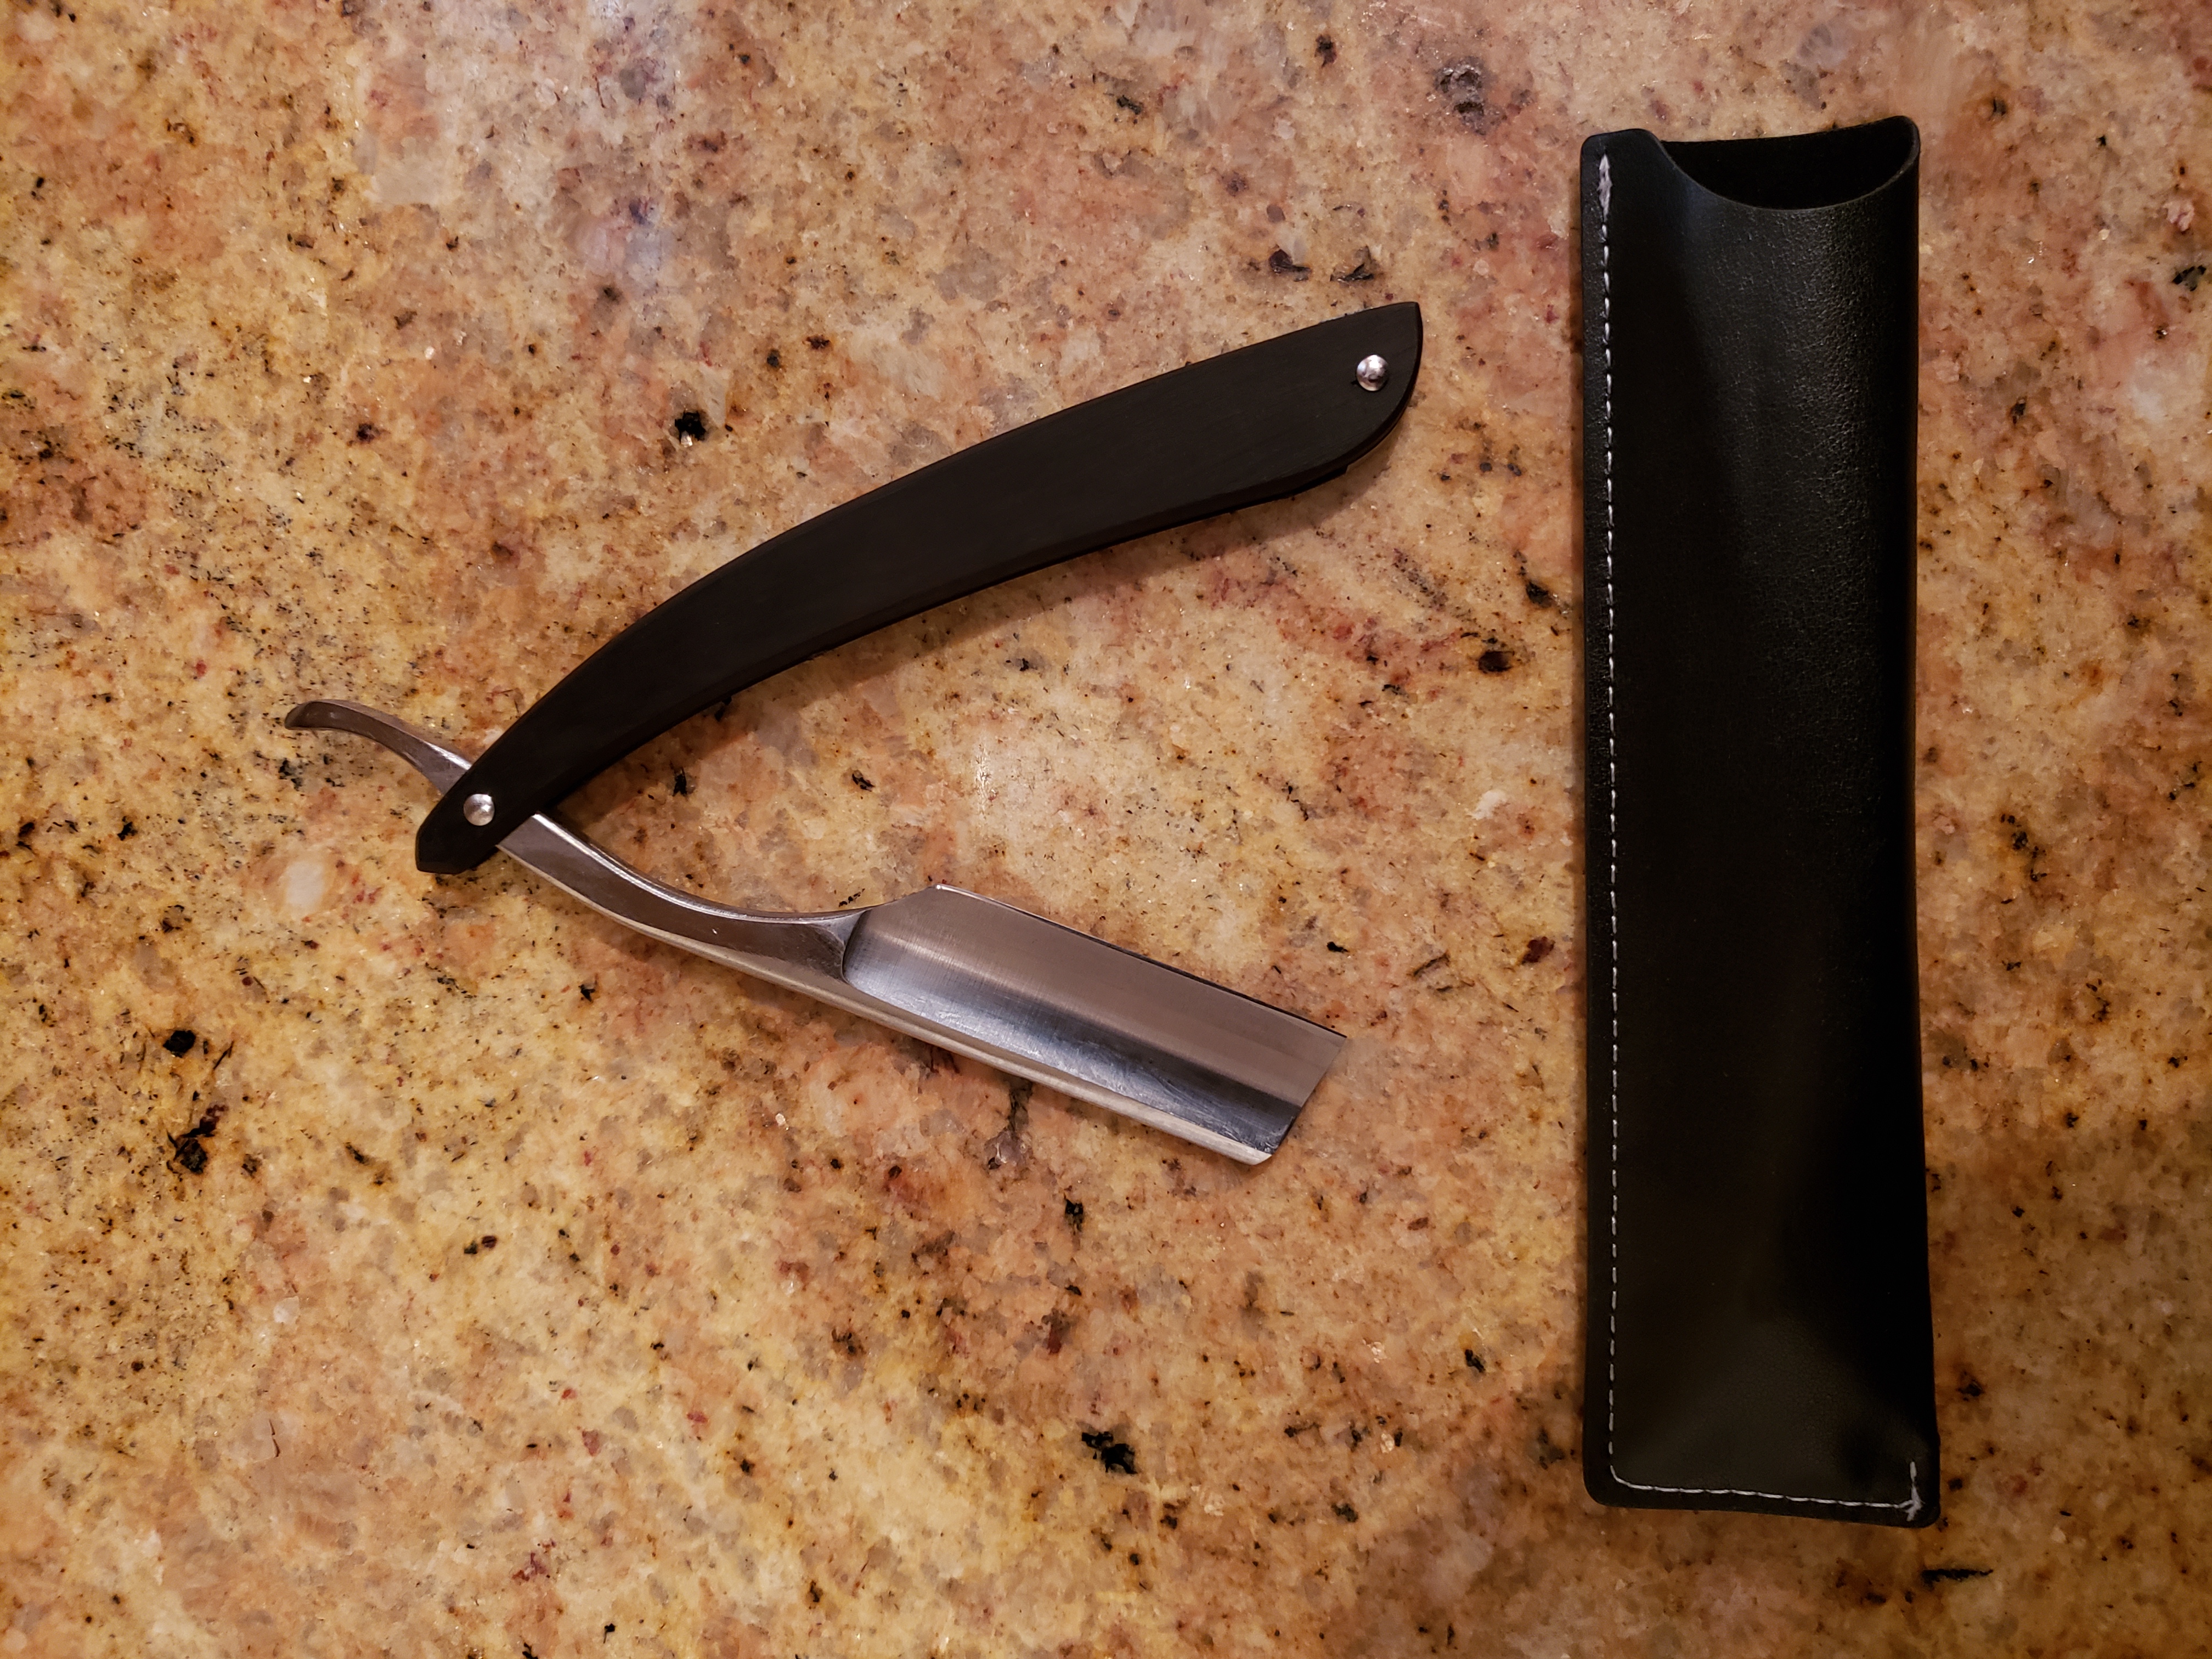
IMHO the best Gold Dollar, straight out of the box with no modification, is the W60. If it is honed by a competent individual it will shave nicely. Don't worry about rust. The vast majority of razors are not stainless. We take care of them, do not put them away wet or store them in the bathroom or other humid place, and usually store either in silicone razor socks, or oil them.
 
IMHO the best Gold Dollar, straight out of the box with no modification, is the W60. If it is honed by a competent individual it will shave nicely. Don't worry about rust. The vast majority of razors are not stainless. We take care of them, do not put them away wet or store them in the bathroom or other humid place, and usually store either in silicone razor socks, or oil them.

+1 on the W60 French Point.
The W59 is similar except it has a Spanish point with a very sharp tip that can be hazardous, especially to those new to straight razors.
 

Slash McCoy

I freehand dog rockets
There is a new 92 model, and I am trying to get a factory sample now. It is a humpback shoulderless with a diamond profile spine and it looks promising. There do not seem to be any resellers yet so if I like the sample I might place a factory order and do an ongoing fleabay sale. A group buy is not out of the question but minimum order is 100 and I don't want to have to herd together a dozen coconspirators, collect funds, handle shipping, and still get stuck with ebaying half the razors. We will see. Maybe someone else will start retailing them.

If you look at alibaba, you will see that the factory actually has a lot more models available than what we see in the retail market. Here is the 92.


I chatted just now with Cici Luo at the factory regarding a sample lot of three pieces. I am definitely going to mod at least one, thinning the shank, fairing down that dreadful hump a bit, maybe fairing the hollowgrind further back into the shank and getting rid of the harsh lines. Also it would look nicer if the heel profile matched the nose, so I may do a bit of grinding there. I don't know what the bevel angle is, can't tell much from the pics. A diamond profile spine is a lot easier to thin down, if it is needed.

The nice thing about a factory order is they will put whatever logo I want on them, or none at all if I want. I suspect I can get them without scales, too.
 
1576685292850.png

Here is another 66. I wanted to experiment with making a kamisori. I literally spend less than 30 minutes grinding on a belt sander, moving the heel well forward for easy honing, and creating a french point. Very wonky spine on this side, as you can see from the spine wear. The other side is perfect. Shaves OK, but not as well as the one that I thinned the spine.
 

Slash McCoy

I freehand dog rockets
View attachment 1044672

Here is another 66. I wanted to experiment with making a kamisori. I literally spend less than 30 minutes grinding on a belt sander, moving the heel well forward for easy honing, and creating a french point. Very wonky spine on this side, as you can see from the spine wear. The other side is perfect. Shaves OK, but not as well as the one that I thinned the spine.
Nice looking profile. What you can do with a wonky spine is tape the edge and power hone the spine. That way the spine and edge are still aligned and you get your nice slim spine. Then use the nose wheel of a belt sander to push the hollowgrind higher up into the spine until the spine bevel is nice and narrow, and then grind down the top of the spine but don't push the top edge of the bevel down. Next, hand sand the spine with coarse sandpaper so the spine gets a nice rounded profile again. Easy way is to bend a small piece, like 1" x 2", over the spine and pinch it with thumb and forefinger, web of the hand toward the spine and not the edge. (which would sooner or later, probably sooner, earn you a trip to the ER.) Then simply work the razor longitudinally through/between the fold of sandpaper. Start with maybe 60 grit red resin type wet/dry paper and keep going until everything is well shaped and faired. Next, thin the shank so that it is thinner than the spine, and no part of the spine intrudes into the honing plane. A 100 grit belt works pretty good for that. Byebye, cheesy logo. Next, keep sanding all that you coarse sanded, progressing through your grits to 1k, then if desired, polish the entire blade with a dremel and felt wheel loaded with diamond paste. Start with maybe 3u and progress as high as you like. Don't cross contaminate the buffing wheels! When dremel buffing, I like to lay the razor flat on a steel or aluminum plate for a heat sink and edge protector.

If the edge bevel is very wide, it can be helpful to thin it. The folded sandpaper works good for that, too. Start with 100 or 150 grit. Always work with the spine toward the hand and proceed particularly carefully with this operation. Once the bevel is very narrow, if you have a very light touch you can finesse a crazy edge on the razor. It is simply unbelievable, coming from stock Gold Dollars.

BTW, for coarse grinding of the spine, I first set a preliminary bevel at around 400 grit, then "tape" the edge with steel from a can lid. Lasts longer than tape, and is belt sander safe. The important thing is to keep that spine bevel parallel to the edge bevel. Otherwise when you hone it, you will see what essentially is the same as a warped (twisted) blade.

Do at your own risk, with all proper precautions. Not responsible if you maim yourself.
 
Sorry if this is a dumb question but I’m a complete Noob looking for my first Straight Razor. How do you remove the stabilizer? Grinder, sander? Thanks.


Sent from my iPhone using Tapatalk
 

Steve56

Ask me about shaving naked!
A diamond plate is safe but slow, a low-speed belt sander or low-speed grinding wheel is faster but more hazardous to you and the razor. If you’re beginning, just buy a model without the stabilizer.
 
Nice looking profile. What you can do with a wonky spine is tape the edge and power hone the spine. That way the spine and edge are still aligned and you get your nice slim spine. Then use the nose wheel of a belt sander to push the hollowgrind higher up into the spine until the spine bevel is nice and narrow, and then grind down the top of the spine but don't push the top edge of the bevel down. Next, hand sand the spine with coarse sandpaper so the spine gets a nice rounded profile again. Easy way is to bend a small piece, like 1" x 2", over the spine and pinch it with thumb and forefinger, web of the hand toward the spine and not the edge. (which would sooner or later, probably sooner, earn you a trip to the ER.) Then simply work the razor longitudinally through/between the fold of sandpaper. Start with maybe 60 grit red resin type wet/dry paper and keep going until everything is well shaped and faired. Next, thin the shank so that it is thinner than the spine, and no part of the spine intrudes into the honing plane. A 100 grit belt works pretty good for that. Byebye, cheesy logo. Next, keep sanding all that you coarse sanded, progressing through your grits to 1k, then if desired, polish the entire blade with a dremel and felt wheel loaded with diamond paste. Start with maybe 3u and progress as high as you like. Don't cross contaminate the buffing wheels! When dremel buffing, I like to lay the razor flat on a steel or aluminum plate for a heat sink and edge protector.

If the edge bevel is very wide, it can be helpful to thin it. The folded sandpaper works good for that, too. Start with 100 or 150 grit. Always work with the spine toward the hand and proceed particularly carefully with this operation. Once the bevel is very narrow, if you have a very light touch you can finesse a crazy edge on the razor. It is simply unbelievable, coming from stock Gold Dollars.

BTW, for coarse grinding of the spine, I first set a preliminary bevel at around 400 grit, then "tape" the edge with steel from a can lid. Lasts longer than tape, and is belt sander safe. The important thing is to keep that spine bevel parallel to the edge bevel. Otherwise when you hone it, you will see what essentially is the same as a warped (twisted) blade.

Do at your own risk, with all proper precautions. Not responsible if you maim yourself.

All good advice, thanks Slash.

I still have a few 66's around, so when I have time I will have another go and spend more time. This one was just a rough and ready to see what the profile I had in my mind would look like, and also to see if I like a kamisori.

When I work with a Gold Dollar I try to get the blade geometry correct. Correct in my mind is to keep the spine and the edge parallel, Keep as much width as possible and thin the spine to achieve a better bevel angle.

It also makes sense to thin the shank, actually to taper it towards the tail. I have not tried this yet.

As far as your disclaimer, I have learned the hard way that sharp edges and fingers are not compatible, doesn't matter how careful you are, so at a minimum precaution, I tape the edge when working. Your folded can method sounds like a more durable solution. I am also very careful to always consider the rotation direction when working with any power tools, making sure the rotation is always from the spine towards the edge.
 
Sorry if this is a dumb question but I’m a complete Noob looking for my first Straight Razor. How do you remove the stabilizer? Grinder, sander? Thanks.


Sent from my iPhone using Tapatalk
I use a Dremel with the flapping sanding wheel, but if you are starting out I would also suggest you get razor honed by an expert.
Gold Dollars are good value for money, but they require some work to get them to a standard that shaves well.
 

Slash McCoy

I freehand dog rockets
All good advice, thanks Slash.

I still have a few 66's around, so when I have time I will have another go and spend more time. This one was just a rough and ready to see what the profile I had in my mind would look like, and also to see if I like a kamisori.

When I work with a Gold Dollar I try to get the blade geometry correct. Correct in my mind is to keep the spine and the edge parallel, Keep as much width as possible and thin the spine to achieve a better bevel angle.

It also makes sense to thin the shank, actually to taper it towards the tail. I have not tried this yet.

As far as your disclaimer, I have learned the hard way that sharp edges and fingers are not compatible, doesn't matter how careful you are, so at a minimum precaution, I tape the edge when working. Your folded can method sounds like a more durable solution. I am also very careful to always consider the rotation direction when working with any power tools, making sure the rotation is always from the spine towards the edge.

Tapering it is okay but not the real objective. What I look for is to have spine and edge in contact with the honing media, but if I run the razor too far onto the hone, I still see daylight between shank and hone. This way you never get a ramp or step at the shoulder area. Think of it as a reverse shoulder. This makes subsequent honing dead simple and precise. All of my full mods have this feature. It adds a couple hours to the modding process but that isn't much compared to all the other work involved.

Here is one that I did, just didn't quite make the cut. I PIF-ed it. Anyway you can just barely tell from the pic that the shank is thinned and shaped so as to not touch the hone in an over-run situation. Thanks, Slash! - https://www.badgerandblade.com/forum/threads/thanks-slash.539823/. There are a few more here and there on the forum that I PIF-ed or entered in the annual comp.
Very nice! Clearly not my 30 minute mod.
 

Steve56

Ask me about shaving naked!
I hope the quality has improved. The first image is of two 777 Gold Monkeys that have been in the ‘to do’ drawer for 2-3 years, the bottom razor is untouched. The quality Grinding, finish) is well below 208s from the same time period. The second picture shows two 777 Gold Monkeys, one of the ones in the first image, and one from many years ago. These are not the same razor. The one with the stabilizer is from the factory that way, it has not been refinished or modded, and is clearly a much better razor in all as;ects. All I did was hone it.

And the 800 is not stainless, it just says that it is. I’ve had them, they rust just as easily as the 66 Or 208.


42D7B5F6-DCE3-45F1-81E6-E370EBCE3AB9.jpeg
9C1C55F4-FF99-479B-AE6B-639B64AC6D0E.jpeg
 
Top Bottom