What's new

Brush Restore Ever-Ready

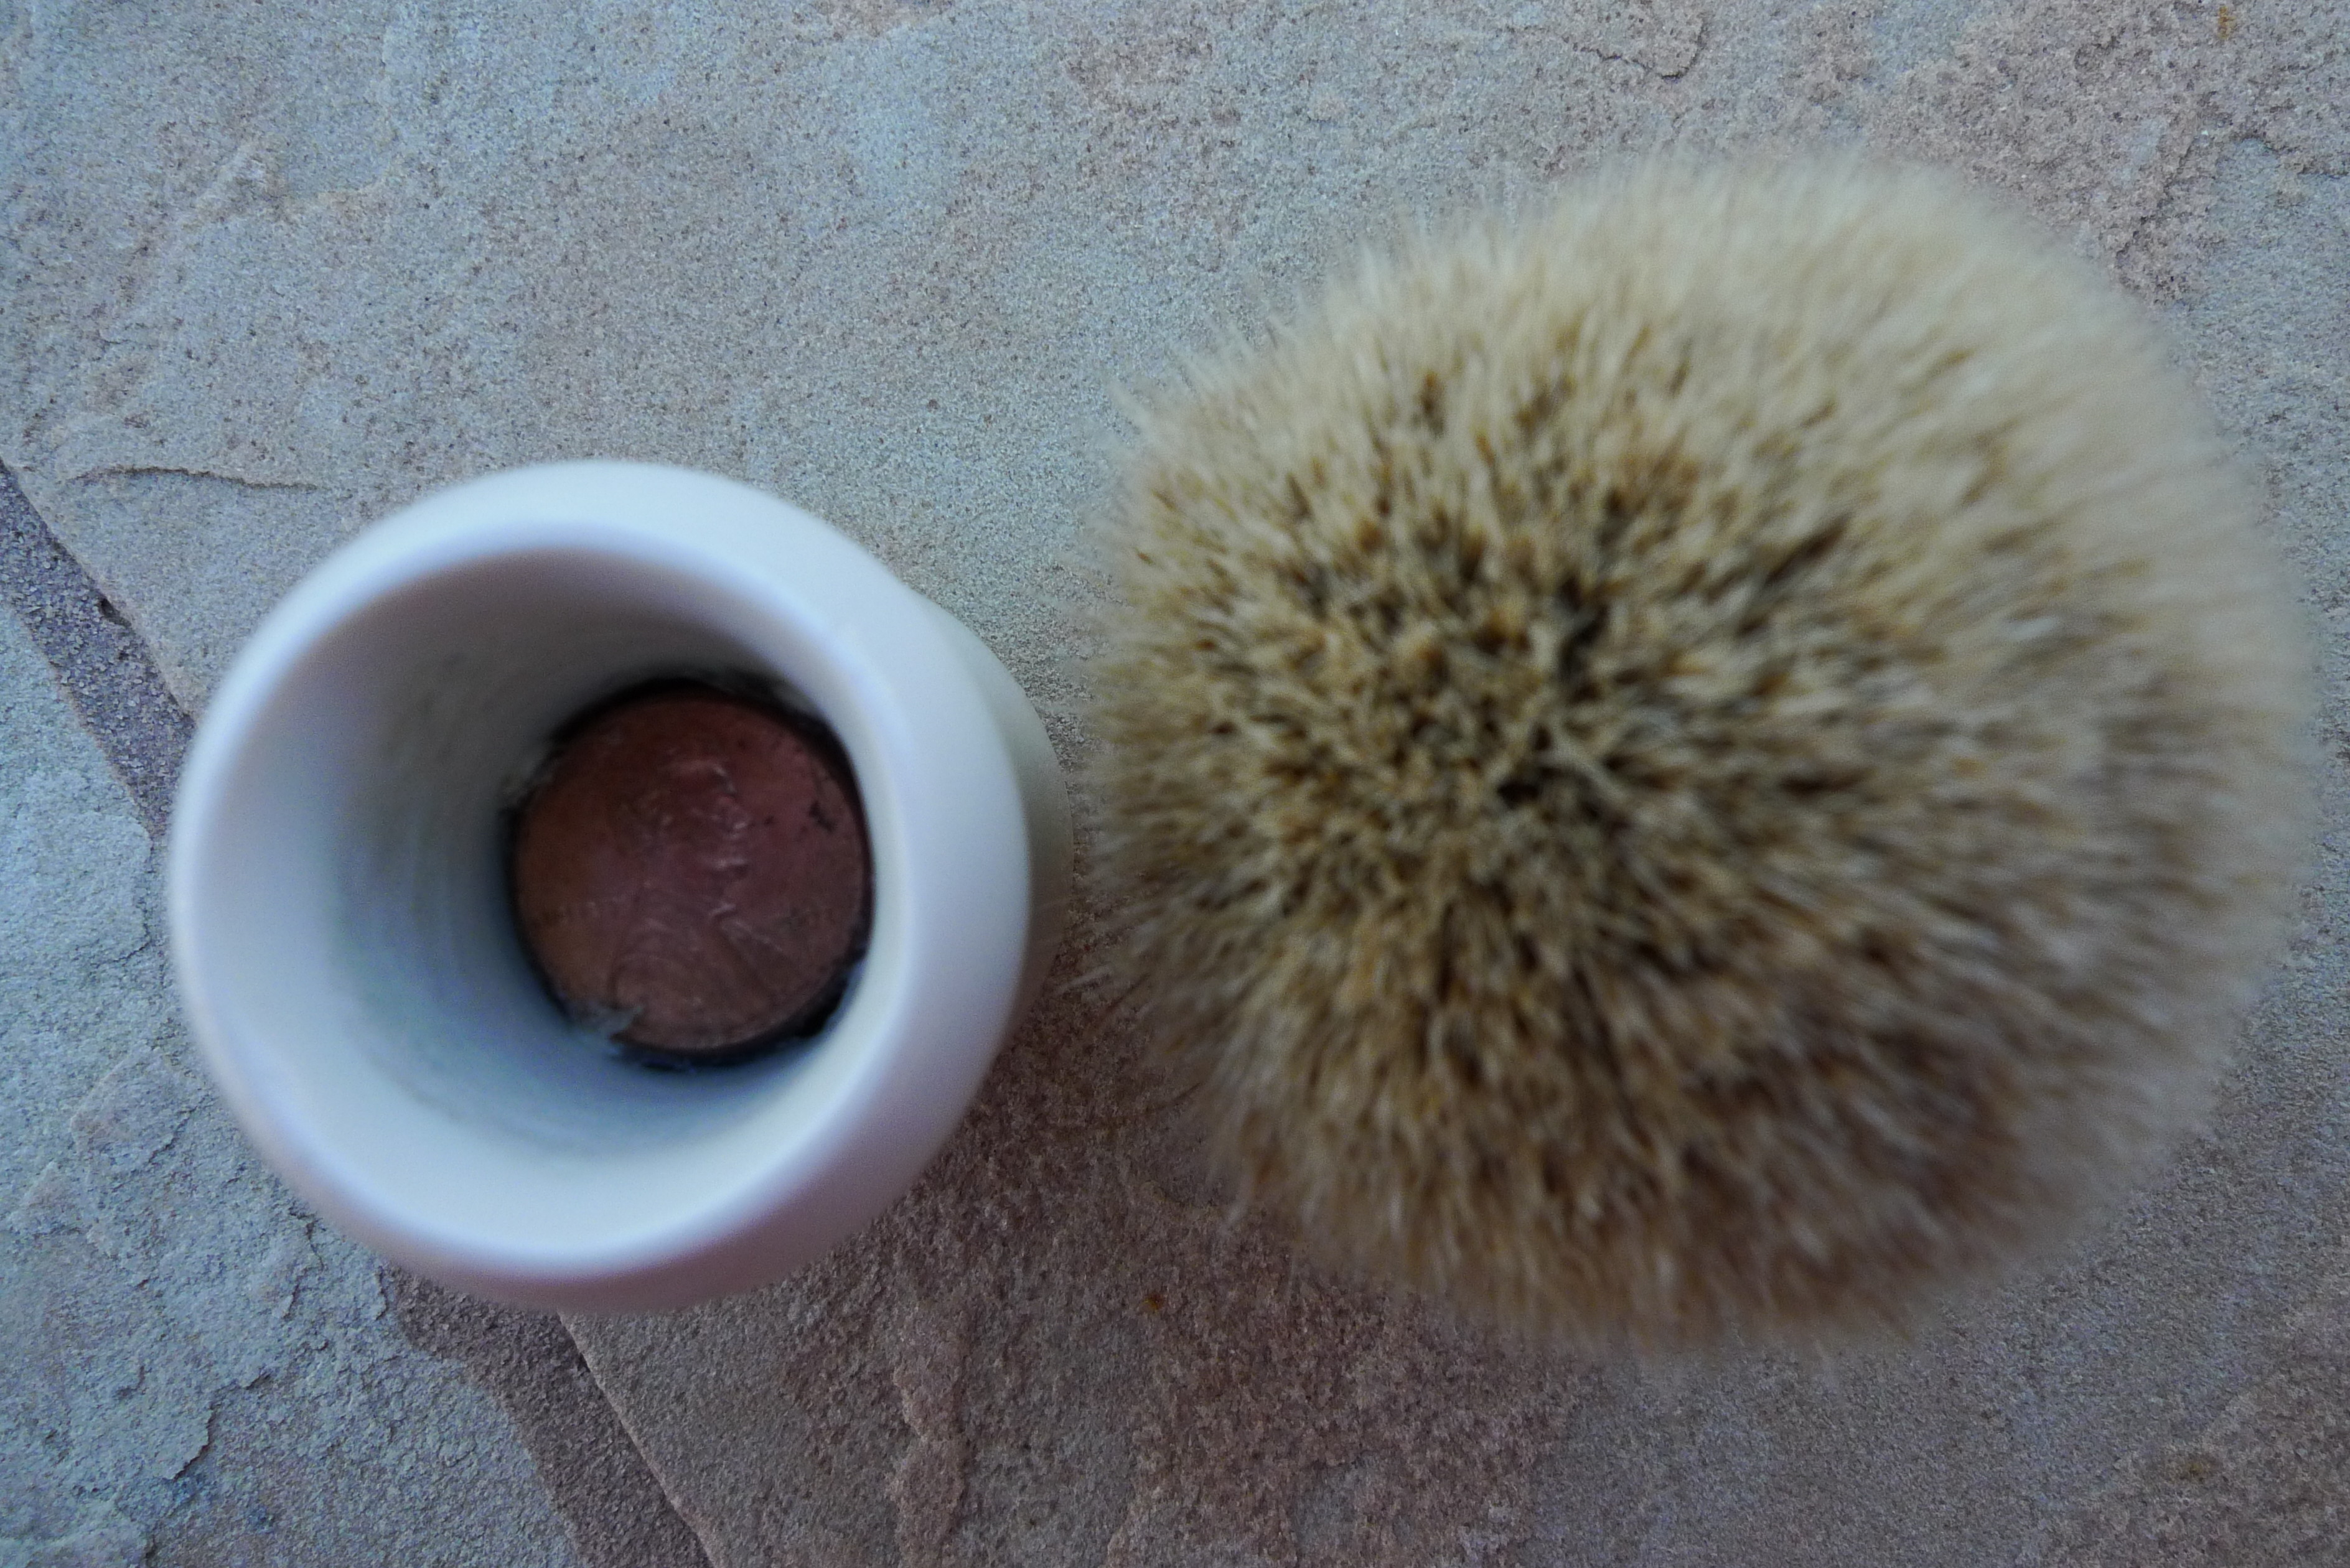
This will be my first brush restore and I have a few questions. I recently purchased a H40 and a 100T Ever Ready. I did get the knots dremeled out and noticed some tiny cracks on the 100T near the hole. I think I will smear some epoxy to fill them unless there is a better way.

Is the Yellow color supposed to be white? I did put a small scratch in the T100 and it looks White deeper down. Not sure if I should get aggressive with the sanding or leave them Yellow. There is also a ribbed area around the body. Looks like maybe it was on some kind of rack and over the years it wore down. I can see the black portion of the base through the yellow. May run into issues with aggressive sanding. Looks like the T100 will be the guinea pig.

I will check out the utube vids to learn some more.

I also picked up a generic brush and the body is in good shape. Thanks for any advice.

proxy.php


proxy.php


proxy.php
 
I went to work on just two of the brushes (decided not to refurb the 100T at this time). I know many here don't like pennies for added weight, but since I am not working with epoxy, I filled the inside with silicone glue and added 25 cents to the H40 and about 20 cents to the generic handle. They are nice and hefty :)

I used Flitz polish to shine them up and just fitted the knots this morning. I ordered the 20mm and 22mm Luxury Silvertip Premium Knots from Envy Shave. Still working on the bottom of the H40.

Should make a nice pair for quite some time. Not sure how the performance will be since these are my first real badger brushes.

Thanks for looking:

proxy.php


proxy.php


proxy.php


proxy.php


proxy.php


proxy.php


proxy.php


proxy.php


proxy.php


proxy.php


proxy.php
 
You did a great job on those, it looks like they shine better than they did when new. If you've only used synthetic knots before you may have to practice a bit to get the hang of lathering with a badger. IMO synths are a breeze to lather with and great for beginners. I personally prefer a two band badger, or a silvertip if I'm using a cream. Once you figure out how much water it holds lathering becomes much easier. And they won't fling water/wet lather all over the place or leave you with it running down your arm. As for coins to weight the handle, many of us have done that. You went the smart route, I used $1.50 in quarters on an ER C40... Then added weight makes a huge difference and lets you know you're using a real brush instead of one that feels like it came in a toy shaving kit.
 
Those brushes look great...nicely done!
I would echo CigarSmoka’s thoughts on the difference between synthetic and badger. I have both, however, I prefer the feel and water retention of the natural hair brushes. At the end of the day, use what makes you happy.
 
I restored an Ever-Ready 1000 last year. I used a 2-band finest knot from China and it has become one of my favorite brushes. Your's look beautiful! Enjoy.
 
Thanks for the replies :)

I have decided to re-think the assembly process. The knot came right out after drying for two days. I noticed last night that the silicone glue is not able to dry properly within the body. I am going to remove the knot and half the pennies and let it dry out for a week or so and then add the rest of the pennies for another drying session. Finally I will add the knot.

How did you guys do this part?

Rather than silicone I use epoxy. The use of silicone makes it possible to remove the knot if you need to reset it, however, it does not have the holding strength of epoxy. I am not aware of any commercial brush makers using silicone as a final product.

If you liked the placement you had, I would remove the silicone, clean it up and then reset the coins with epoxy, letting it dry overnight. The next morning/day, set the knot and let that dry overnight before using.
 
Those look terrific! Nice polishing job on the Surrey handle. What was your method for polishing? Some sort of polishing compound? Mechanical buffing wheel?

I also like how the top and bottom of the two Ever-Readys are opposite of each other.

Nice job!!
 
Rather than silicone I use epoxy. The use of silicone makes it possible to remove the knot if you need to reset it, however, it does not have the holding strength of epoxy. I am not aware of any commercial brush makers using silicone as a final product.

If you liked the placement you had, I would remove the silicone, clean it up and then reset the coins with epoxy, letting it dry overnight. The next morning/day, set the knot and let that dry overnight before using.

Thanks for the advice. I think I will get home tonight and pull them apart. I will use epoxy on the coins and let set for a day or two as I'm real happy with the heft :)

I think I will continue to use the epoxy for the knots since I'm not sure about their performance.

Thanks so much :)
 
Thanks tipster.

I used a dremel with a cotton wheel and some Flitz polish that I picked up at the hardware store.

The 100T and the H40 are exact opposites and the same size :)
 
Those look incredible.

I too have and Ever-Ready just like the Black/Cream on I need to restore, just hesitant about starting. Would be my first. This thread and your success inspires me to begin.
 
Those look incredible.

I too have and Ever-Ready just like the Black/Cream on I need to restore, just hesitant about starting. Would be my first. This thread and your success inspires me to begin.

Just go super slow with the dremel. I did hit the outside a few times not being overly careful, but it sanded out. Also when chucking up the buffing wheels - Leave as much length as you can to have the wheel farthest away from the dremel. It will slip and the knurled dremel part will hit the brush body.
 
Don't laugh, but I have had good luck filling the body with wood filler for weight leaving the space where the knot will sit. After it sets up and hardens I use Gorilla Glue and a homemade clamp set up to install the knot.
 
Just a tip, but I wouldn't recommend Gorilla Glue for setting the knot because it expands. You don't want the glue working its way into the knot.
 
Just a tip, but I wouldn't recommend Gorilla Glue for setting the knot because it expands. You don't want the glue working its way into the knot.
That is why I use it. The expansion makes up for any imperfections in the base of the knot/handle. You only use the light skin of the glue, clamp it (I made a nifty little clamp) and viola, glued tight. I can see what you are saying if you get over zealous with the glue however! In this case, a little dab will do ya though.
 
That is why I use it. The expansion makes up for any imperfections in the base of the knot/handle. You only use the light skin of the glue, clamp it (I made a nifty little clamp) and viola, glued tight. I can see what you are saying if you get over zealous with the glue however! In this case, a little dab will do ya though.
I realize this is an old thread, but is there a chance you still have the clamp you made and perhaps post a picture of it for me?
 
Top Bottom