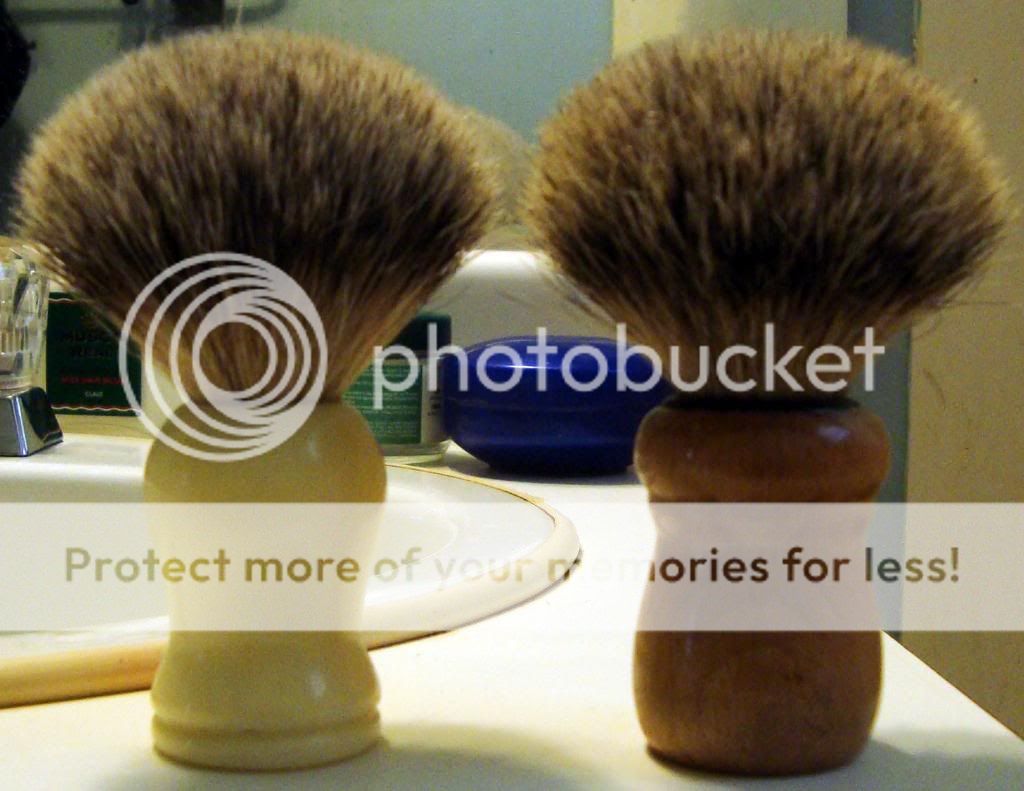
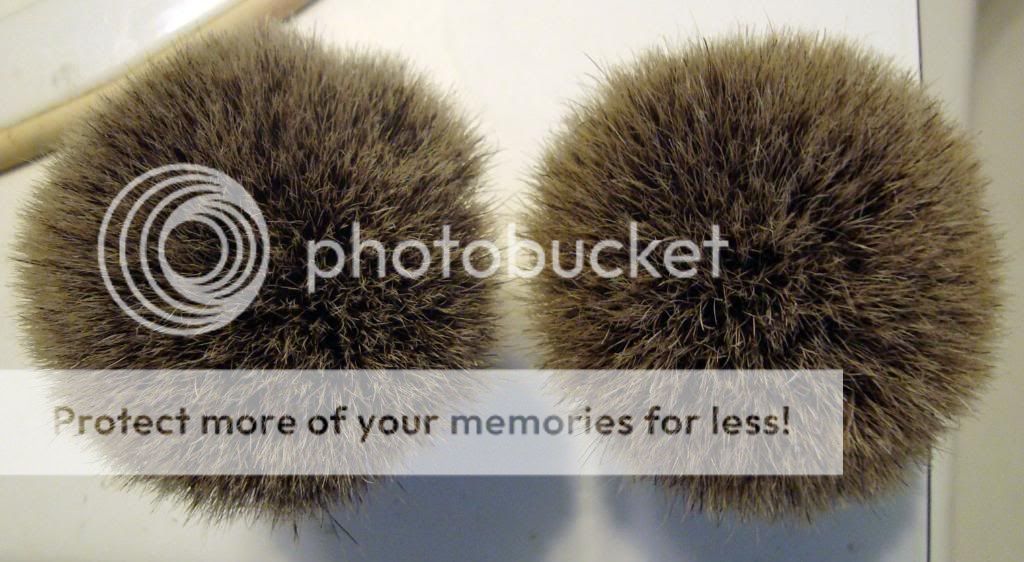
So I recently made the switch to a badger brush from a boars hair brush. The boars hair brush I have is an Omega 10005. The brush was great and I enjoyed using it very much, that is till I tried a friends pure badger brush for a week. When I had to give back the pure badger brush and return to the Omega, it just didn't do it any more. I found it didn't make a nice rich lather, it was floppy, and all in all just not as good as a lower end badger. With that I jump in with both feet and ordered a super badger brush.
I had originally planned on making the Omega my travel brush, but the thought of having to use it, just didn't fill me with anticipation. I could have given it away, but it was 6 months old, and if I didn't like it I wasn't going to burden it on someone else. While I was looking for brushes I stumbled onto The Golden Nib, and they sold all sorts of knots,. With that floating around in the back of my head, I got the idea of converting my old brush into a badger brush.
With the new brush in hand, and having used the pure badger brush, and the Omega in its original state I had a fairly good idea of what I wanted. I knew the handle on the Omega was beechwood and it looked pretty good for a $15 brush, but for some reason I thought that it had a 22mm knot. With my misinformed information I ordered up a silvertip badger knot with 65mm of loft. The day after I got my shipping notice I found out that my Omega was actually a 24mm knot Well not being one to be put off by a little miscalculation I just decided to remove the existing knot find or make a plug for the 24mm hole and bore it out to the proper 22mm size.
So on to the work in progress now that I have my long winded intro out of the way
This is what I started with, this is a picture of a new one in unused condition

The first thing I did was soak the brush in boiling water to see if that would loosen up the epoxy, but it didn't work. Then I just took a Olfa knife and cut the knot right at the edge of the plastic ring and grabbed a 1/2 drill bit and hand drill. Drilling at slow speed as close to the middle of the remaining knot as I could, I went till I saw wood chips.
Well I didn't see any wood chips the drill just suddenly sank in an extra 1/2 so I stopped and looked to see what I had. There was a nice gap under the knot. With the drilling out of the way I took a small chisel and started working out small pieces of the knot moving towards the plastic ring. With about 1/4 of the knot removed the epoxy let loose and the remaining knot came out with my fingers.
Time for a measure with a digital vernier caliper to see what the actual measurement was. It turned out to be 22mm with the plastic ring/sleeve still in the handle. Perfect I wasn't going to have to plug the hole and re-bore it
I then lightly sanded the handle to remove the Omega graphic, and wanting to keep this conversion on the cheap I gave it a few coats of mag wheel clear from dupli color I had laying around. It is meant to withstand the elements, so life on a shaving brush should be easy.
Here is what the handle looks like now
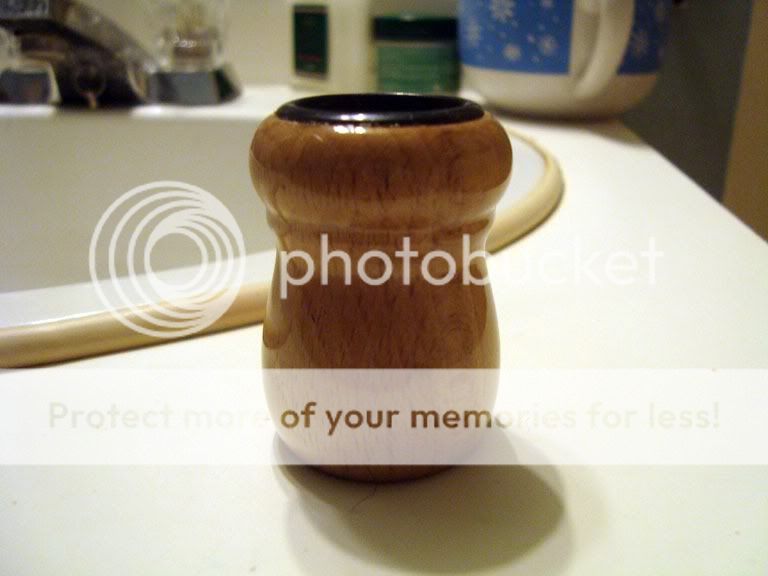
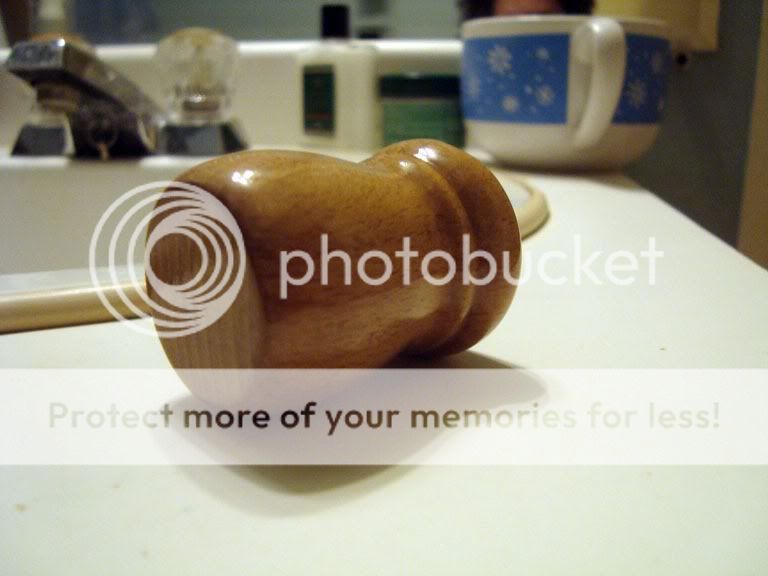
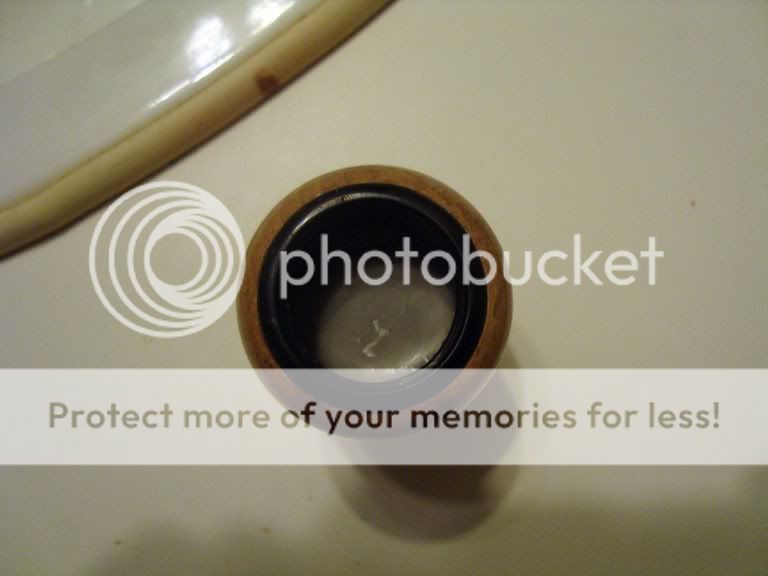
No more Omega emblem, or pure bristle written on it. Really high gloss, that I have tested with a wet soapy hand. I also trimmed down the plastic ring/sleeve a couple of mm so the total set depth is now 17mm. That means that when I set my new knot my loft should be right around 48mm. The super badger I bought has a 53mm loft and a 23mm knot, so this one should have a touch more backbone, but the silvertip is softer so they should be pretty close on overall feel.
Now all I am waiting for is the new knot,

and I am ready to epoxy it in. For epoxy I am going to give West Systems a try. There is a place in the city that I can get sample sized containers and that should be more then enough for the brush and a knife.
I will update this when the knot gets here, should be between today and Wednesday, with the installation of the knot, and the first use of the new Omega 10005 silvertip brush.
I had originally planned on making the Omega my travel brush, but the thought of having to use it, just didn't fill me with anticipation. I could have given it away, but it was 6 months old, and if I didn't like it I wasn't going to burden it on someone else. While I was looking for brushes I stumbled onto The Golden Nib, and they sold all sorts of knots,. With that floating around in the back of my head, I got the idea of converting my old brush into a badger brush.
With the new brush in hand, and having used the pure badger brush, and the Omega in its original state I had a fairly good idea of what I wanted. I knew the handle on the Omega was beechwood and it looked pretty good for a $15 brush, but for some reason I thought that it had a 22mm knot. With my misinformed information I ordered up a silvertip badger knot with 65mm of loft. The day after I got my shipping notice I found out that my Omega was actually a 24mm knot
So on to the work in progress now that I have my long winded intro out of the way

This is what I started with, this is a picture of a new one in unused condition
The first thing I did was soak the brush in boiling water to see if that would loosen up the epoxy, but it didn't work. Then I just took a Olfa knife and cut the knot right at the edge of the plastic ring and grabbed a 1/2 drill bit and hand drill. Drilling at slow speed as close to the middle of the remaining knot as I could, I went till I saw wood chips.
Well I didn't see any wood chips the drill just suddenly sank in an extra 1/2 so I stopped and looked to see what I had. There was a nice gap under the knot. With the drilling out of the way I took a small chisel and started working out small pieces of the knot moving towards the plastic ring. With about 1/4 of the knot removed the epoxy let loose and the remaining knot came out with my fingers.
Time for a measure with a digital vernier caliper to see what the actual measurement was. It turned out to be 22mm with the plastic ring/sleeve still in the handle. Perfect I wasn't going to have to plug the hole and re-bore it

I then lightly sanded the handle to remove the Omega graphic, and wanting to keep this conversion on the cheap I gave it a few coats of mag wheel clear from dupli color I had laying around. It is meant to withstand the elements, so life on a shaving brush should be easy.
Here is what the handle looks like now


No more Omega emblem, or pure bristle written on it. Really high gloss, that I have tested with a wet soapy hand. I also trimmed down the plastic ring/sleeve a couple of mm so the total set depth is now 17mm. That means that when I set my new knot my loft should be right around 48mm. The super badger I bought has a 53mm loft and a 23mm knot, so this one should have a touch more backbone, but the silvertip is softer so they should be pretty close on overall feel.
Now all I am waiting for is the new knot,

and I am ready to epoxy it in. For epoxy I am going to give West Systems a try. There is a place in the city that I can get sample sized containers and that should be more then enough for the brush and a knife.
I will update this when the knot gets here, should be between today and Wednesday, with the installation of the knot, and the first use of the new Omega 10005 silvertip brush.

 . It was shedding like crazy and didn't have the feel that it should have any more.
 it is somewhere in transit, but it has been for 9 business days now. I was kind of hoping it would have been here by now.
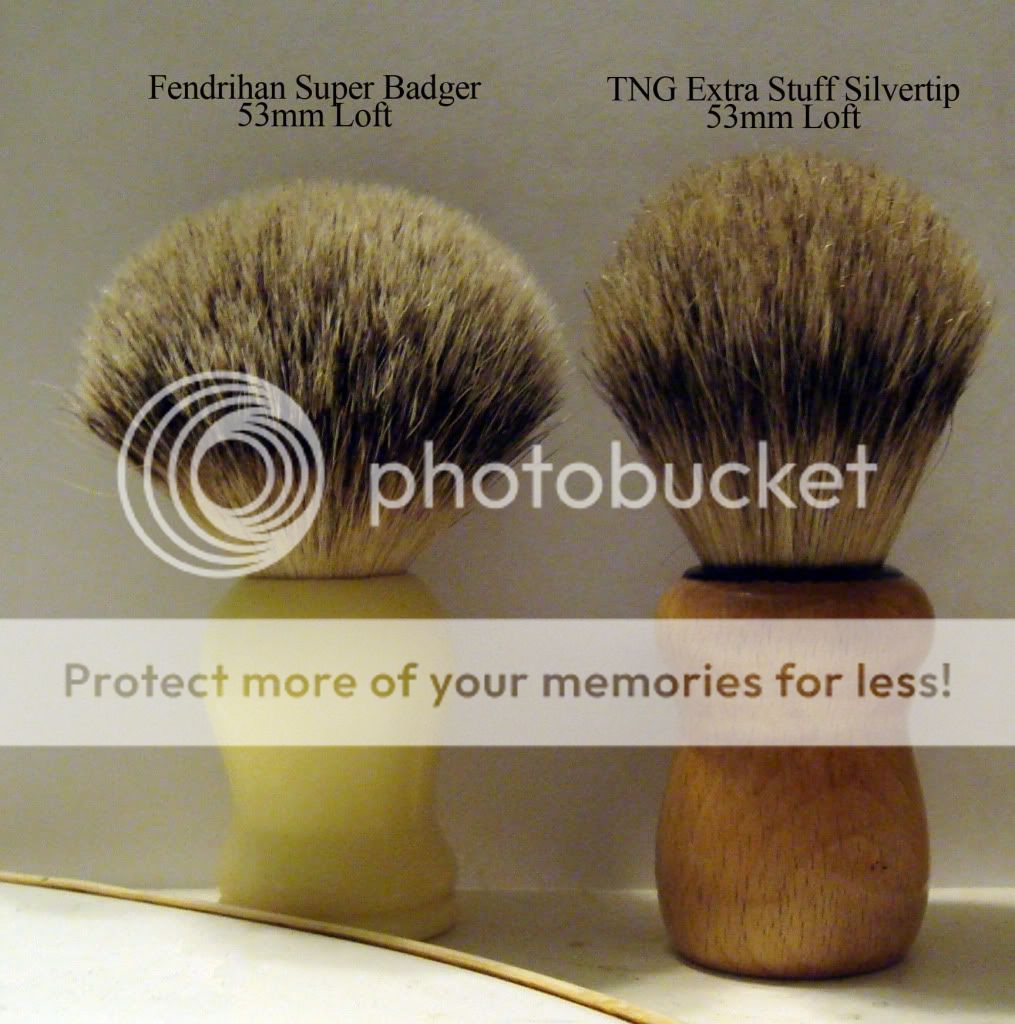
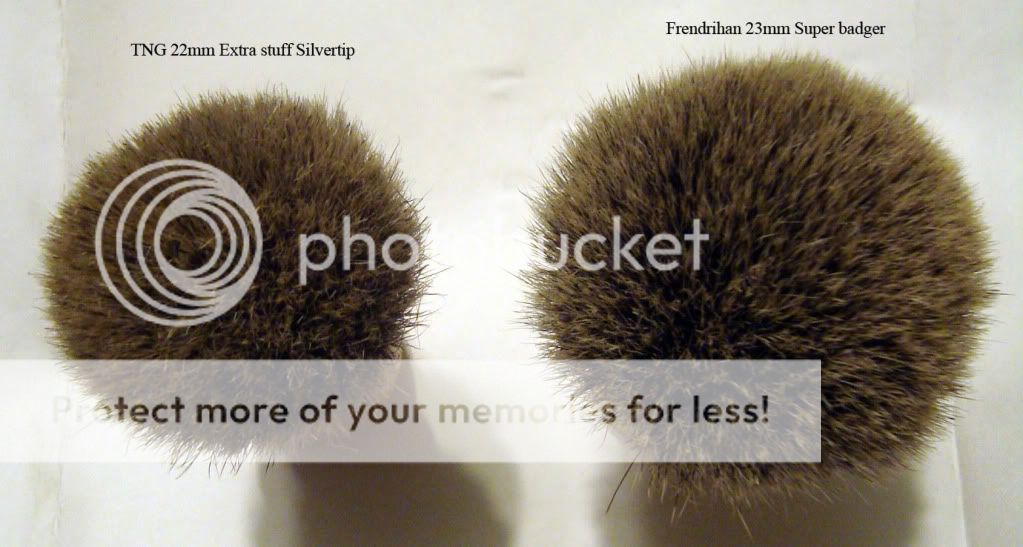
 It bloomed wonderfully, lathered great, held enough lather to do 5 passes with more in reserve and thats not counting what was still in the bowl.