NOTE: This is a rough draft and work in progress. Expect errors. Expect typos. The content of this page is the work of @rbscebu and used with permission.
READ FIRST – IMPORTANT
READ FIRST – IMPORTANT
- Read this annex through in full before you start putting together and using your lapping films.
- It is important that you follow these instructions without any variation. Once you can get consistently perfect results from lapping films, then and only then should you consider making any alterations to suit your particular technique.
- Most common question:
Q. Rather than follow the instructions, can I [insert your proposal here]?
A. You can do whatever you like. No one will punish you – just don’t expect the same quality result.
INTRODUCTION
Lapping films are used as a substitute for whetstones in honing a straight razor (SR) to get the edge to a shave-ready standard. Lapping films can be a more economical way to hone a straight razor than using whetstones, particularly is you are only honing a few straight razors. Honing with lapping films takes some of the variables out of honing like honing surface flatness and inconsistent abrasive grit size. Learning to properly use lapping films for honing will give you a good foundation to build upon if you decide later to venture into honing with whetstones.
These instructions are a summary of the relevant threads in the Badger & Blade Forum. They are not a substitute for reading the threads that can be found here:
https://www.badgerandblade.com/forum/threads/setting-the-bevel-with-the-burr-method.516373/
https://www.badgerandblade.com/forum/threads/lapping-film-try-it.283576/
They are a long read but well worth the effort in what it will teach you about honing a SR using lapping films to a shave-ready edge. Read it all through once taking notes. Then read it all again to check you notes. By then you should be in a position to hone your SR’s from start to shave-ready.
WHAT YOU NEED
- A traditional straight razor, preferably of high carbon steel. Straight razors of stainless steel can also be used, however they may take more work and need greater care to get a shave-ready edge.
- A lapping film substrate.
- Pieces of lapping film sheets without an adhesive backing (PSA). Each sheet should be about 280mm x 217mm and of the following micron size;
- 30µm (optional but recommended if needed),
- 12µm,
- 9µm (optional but recommended),
- 5µm,
- 3µm and
- 1µm.
Without the recommended micron sizes, you will need to do a lot more honing to achieve the desired results.
- A sheet of copy paper at least 280mm long and a pair of scissors.
- A traditional straight razor (SR) of high carbon steel (not stainless steel).
- A marker (Sharpie) pen of permanent (black or blue) ink.
- Some nail-polish remover.
- A loupé (optional but recommended).
- A good strong light (like a desk lamp).
- A measuring ruler about 300mm long.
- One of, in order of preference:
- a paper guillotine with a cutting length of at least 300mm,
OR - a steel straight edge at least 300mm long, a box cutter and a cutting board,
OR - a pair of scissors.
- A Biro type pen.
- A few squares of toilet paper.
- A supply of clean fresh water.
- A spray or squirt bottle (optional)
- A clean dry towel.
SOURCING EQUIPMENT
All equipment is reasonably readily available. The following are just suggestions and may not be the most convenient or economical for you.
- Lapping film substrate:
- See Annex III(A).
- Lapping film without an adhesive backing:
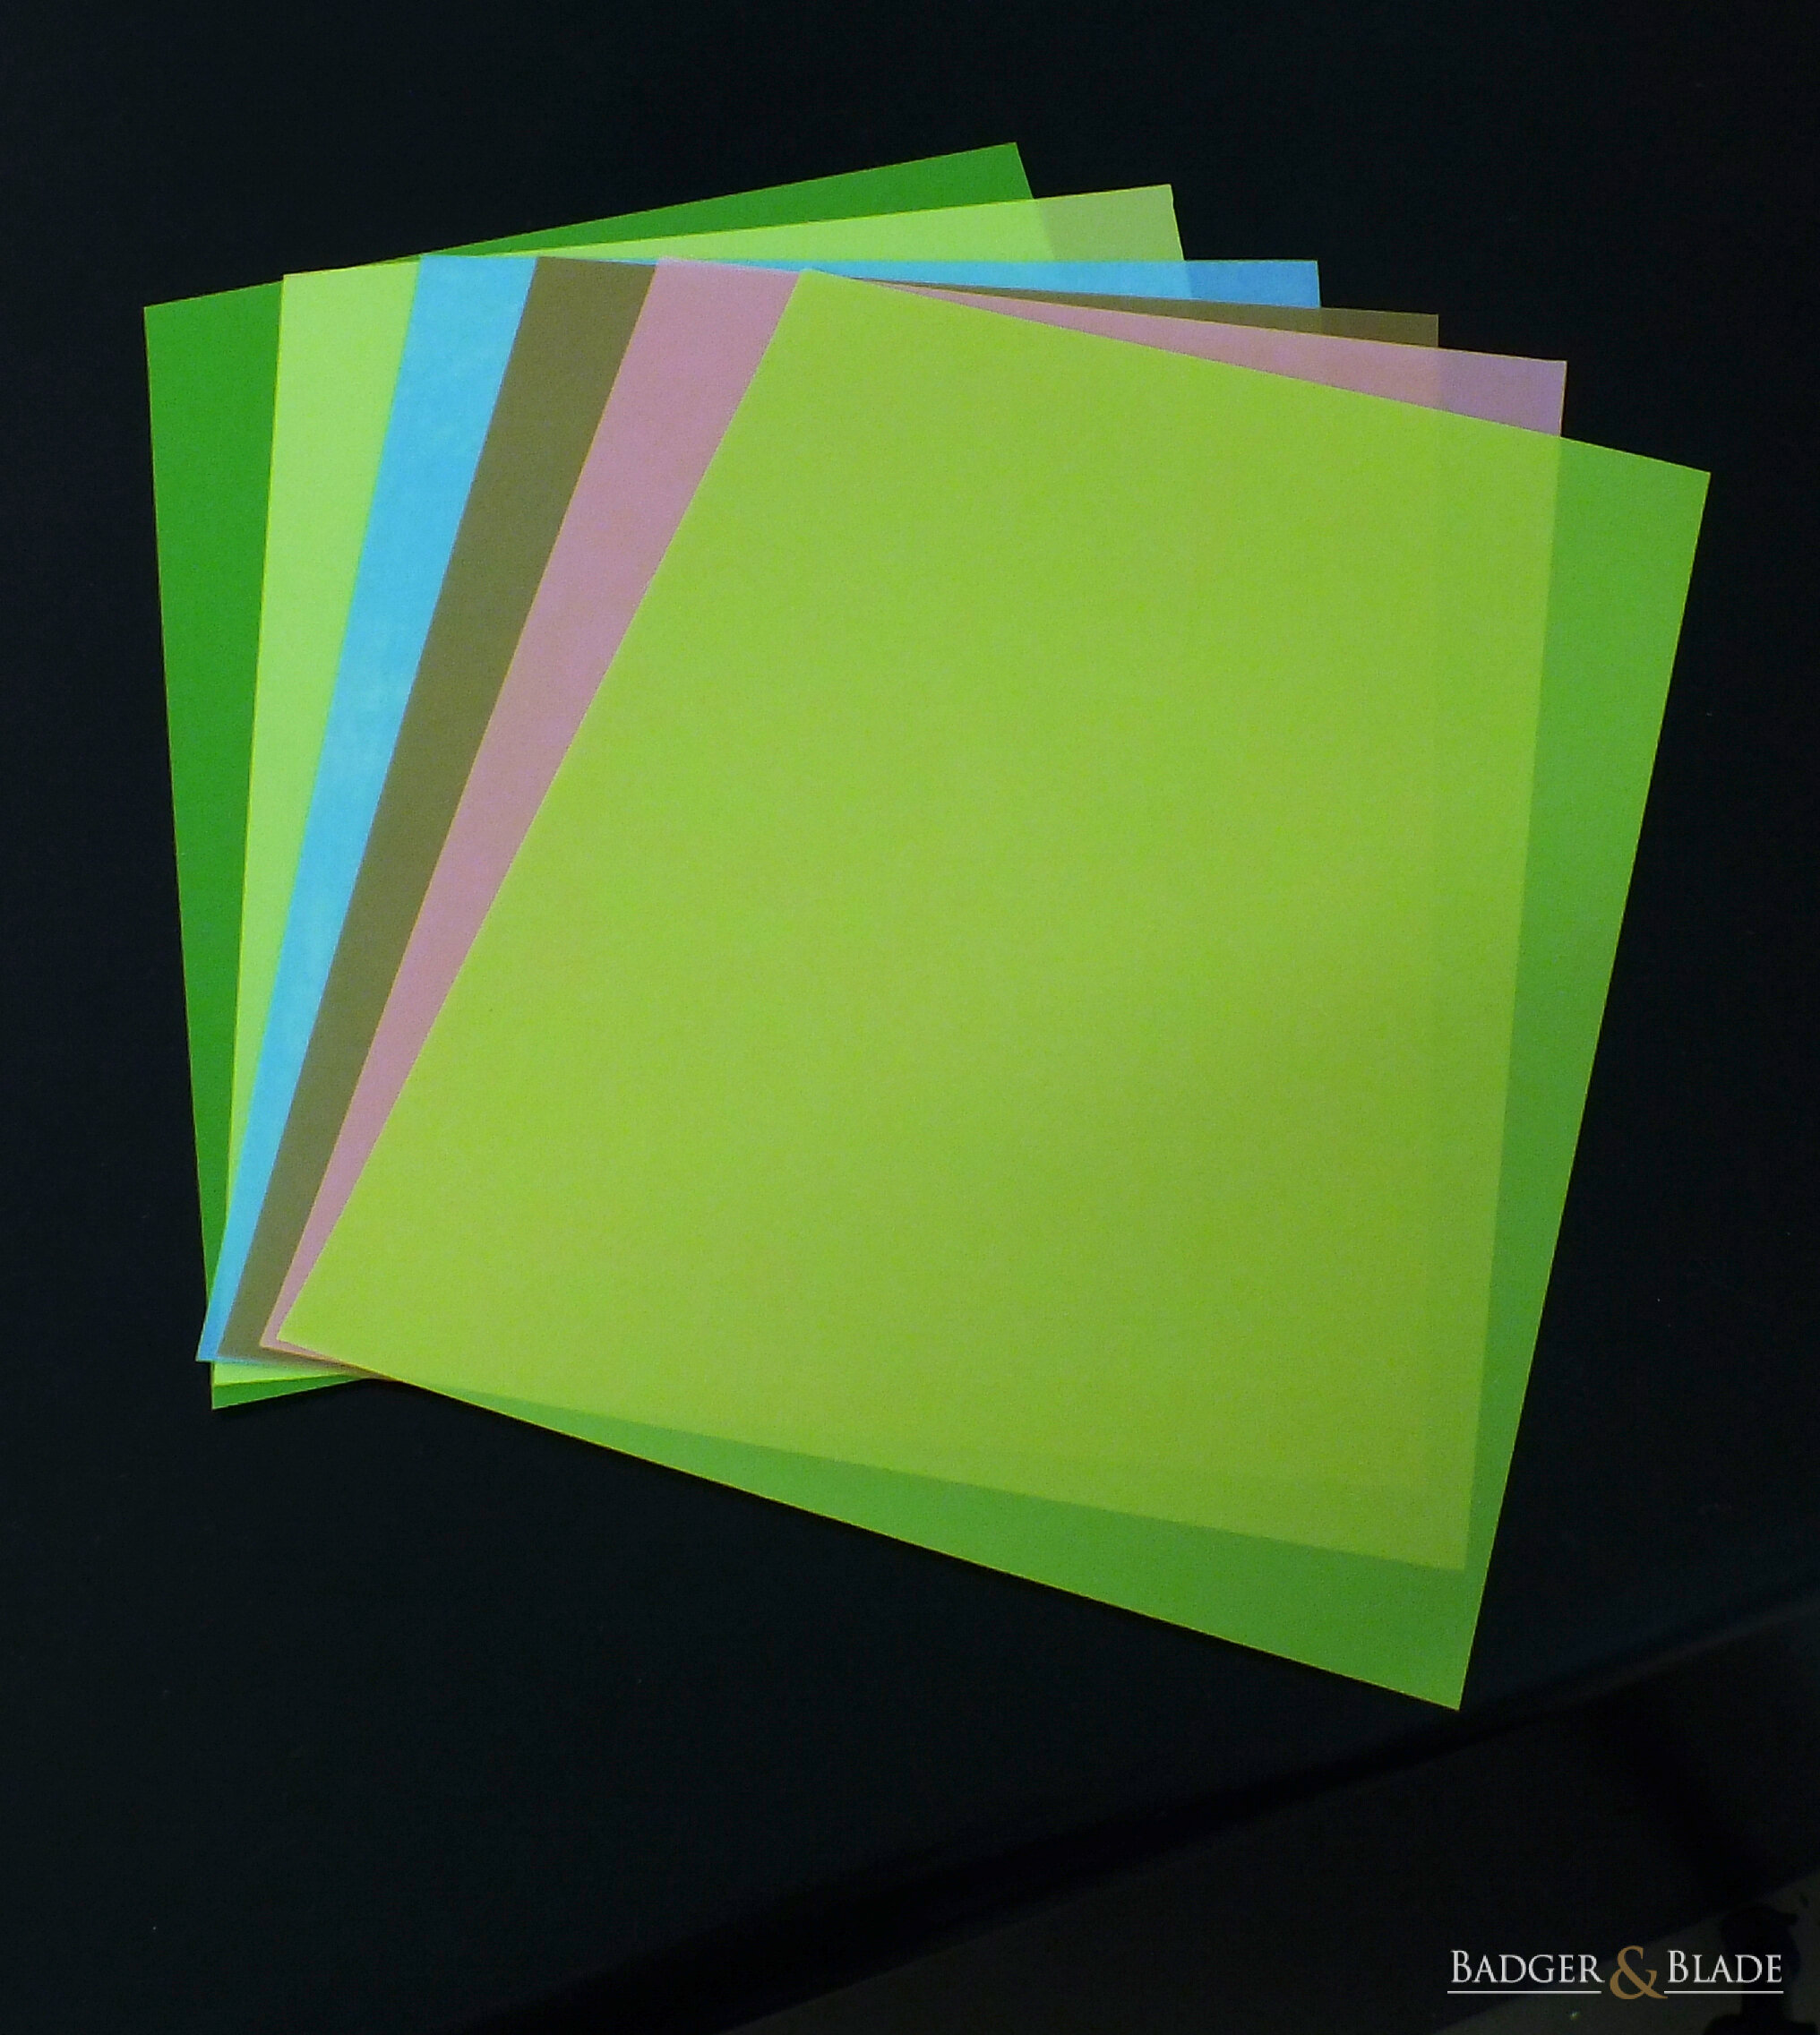
- Search for lapping film sheets on AliExpress, eBay, Amazon, etc. They will look like this –
Fig. III 1
- Search for lapping film sheets on AliExpress, eBay, Amazon, etc. They will look like this –
- Sheet of copy paper at least 280mm long and a pair of scissors:
- Supermarket or stationery store.
- Traditional SR of high carbon steel (not stainless steel):
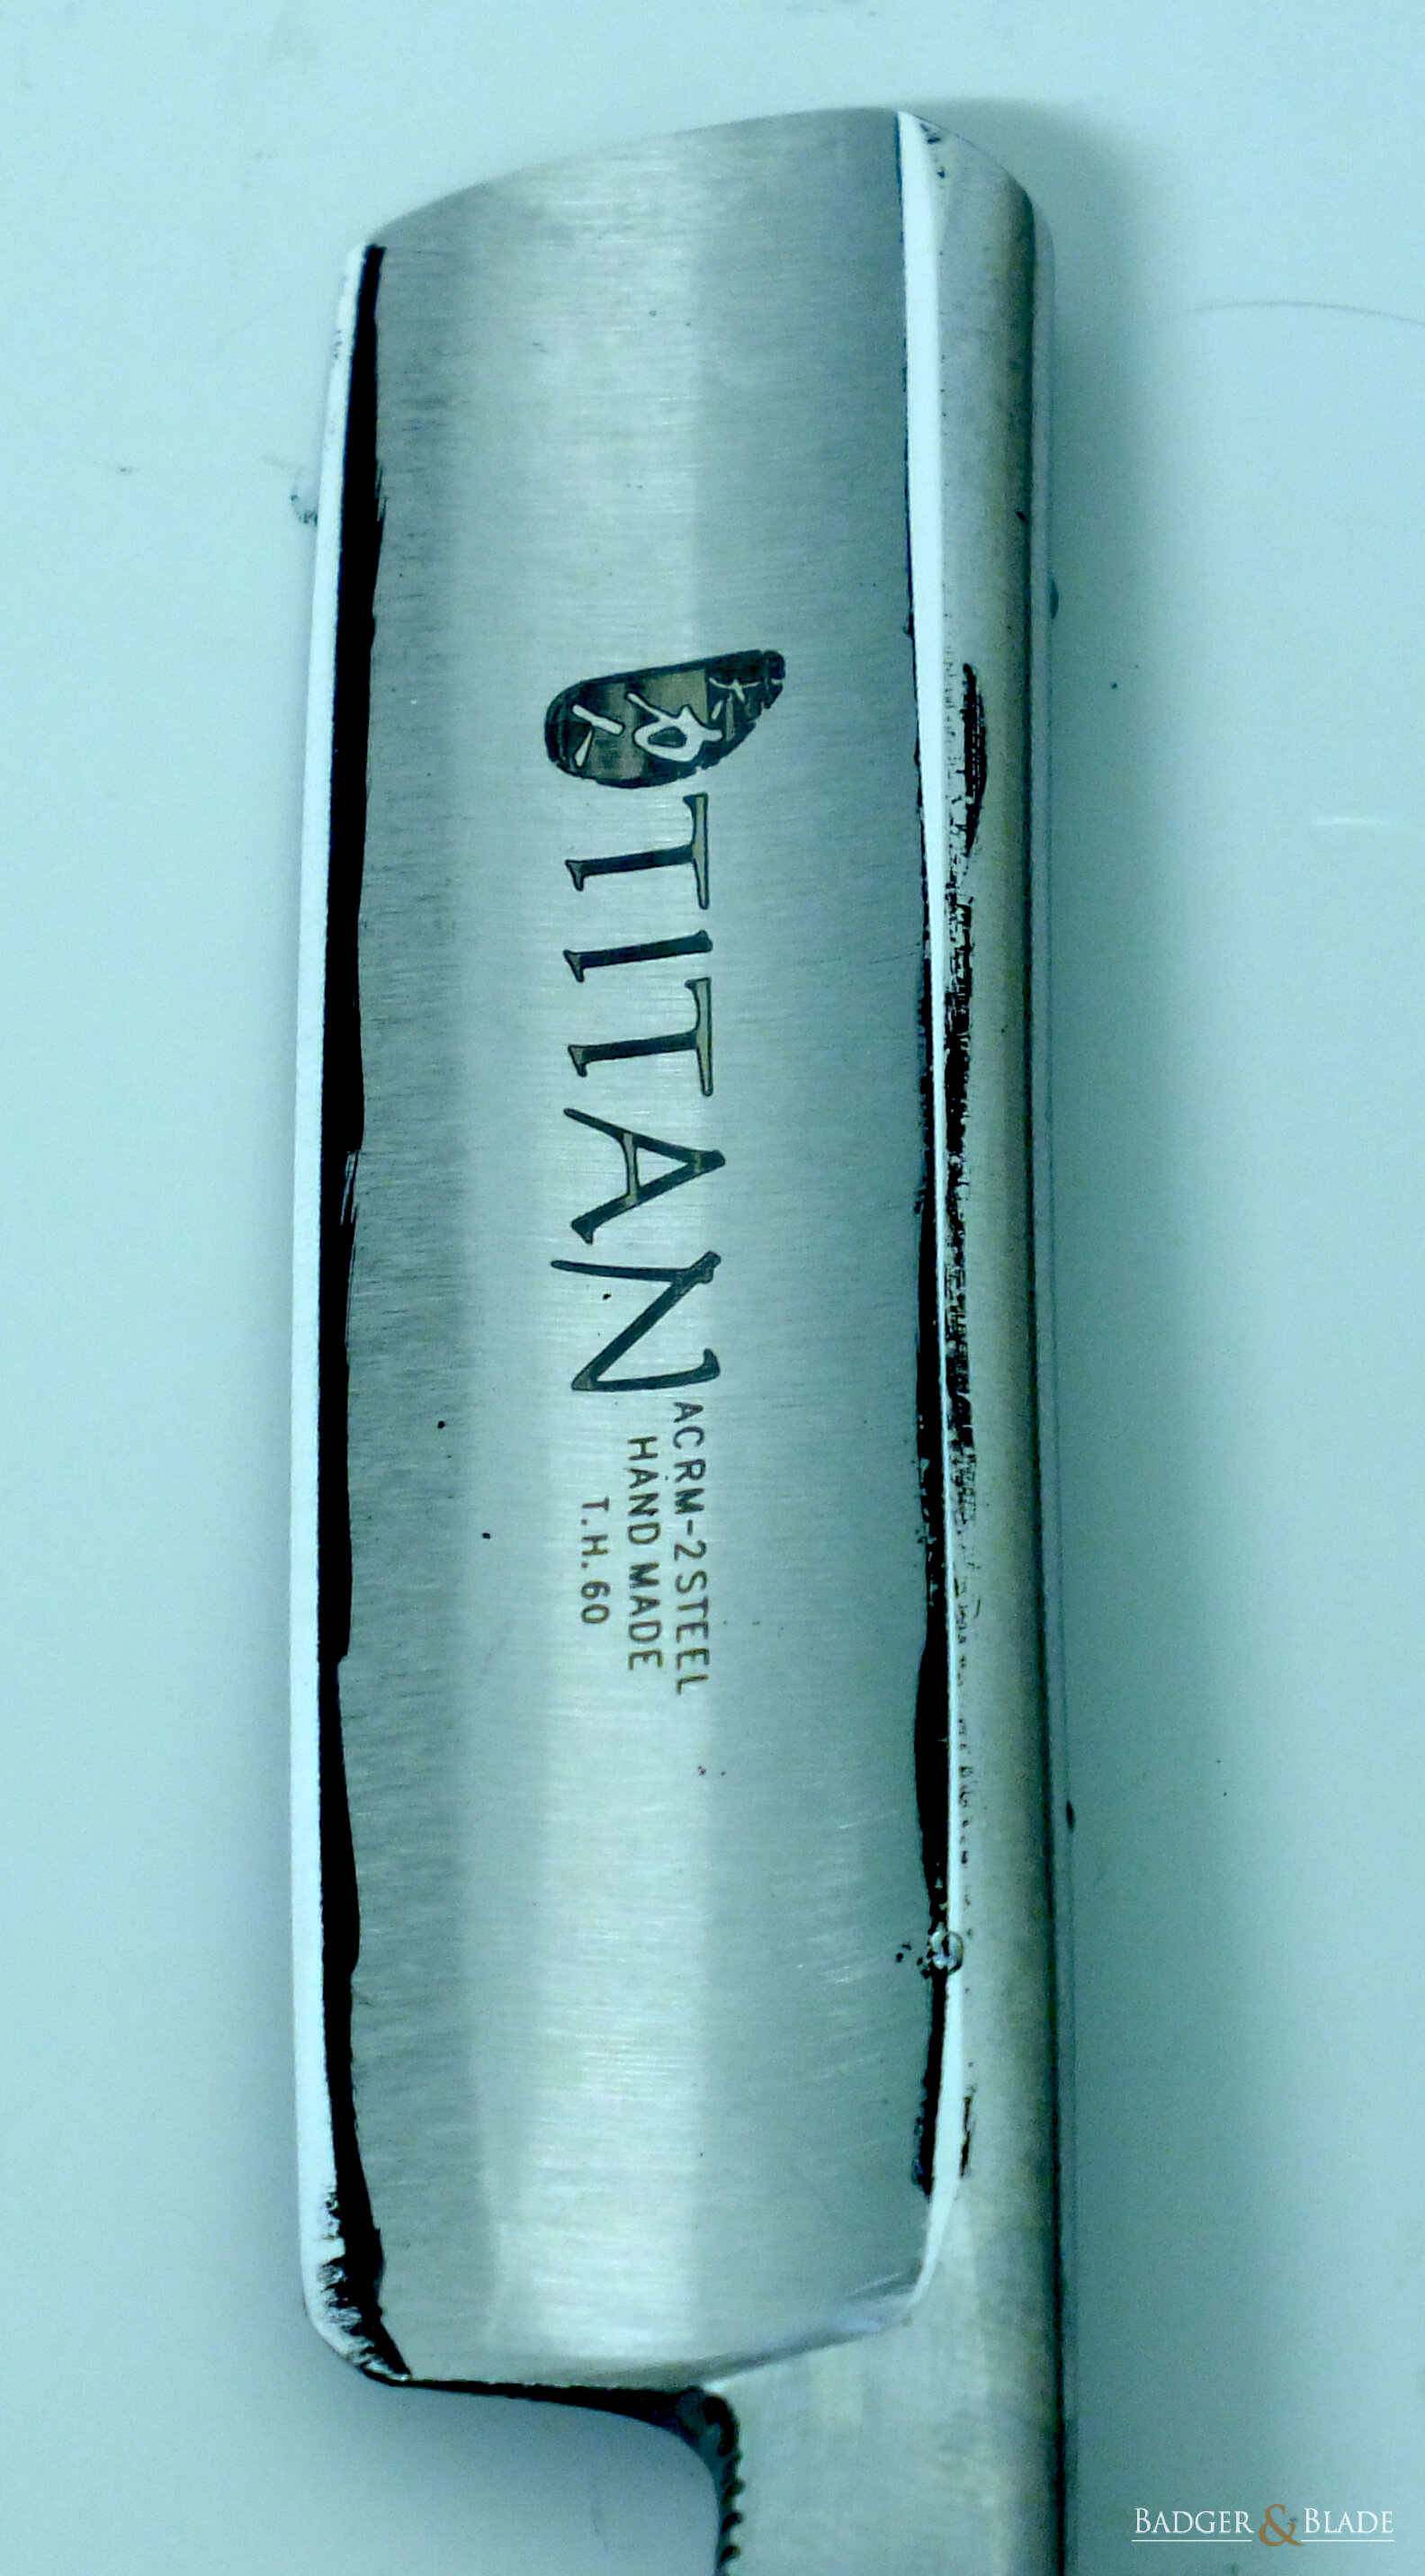
- Search for a suitable SR on AliExpress, eBay, Amazon, etc. (if AliExpress look for a Gold Dollar 208 a Titan ACRM-2 model and no other).
- Marker (Sharpie) pen of permanent (black or blue) ink:
- Supermarket or stationery store.
- Nail-polish remover:
- Supermarket or pharmacist store.
- Loupé (optional, preferably with 10X or 20X magnification):
- Search on AliExpress, eBay, Amazon, etc.
- Good strong light (like a desk lamp):
- Search on AliExpress, eBay, Amazon, etc. or at a lighting store.
- Measuring ruler about 300mm long:
- Supermarket or stationery store.
- One of:
- Paper guillotine with a cutting length of at least 300mm:
- Search on AliExpress, eBay, Amazon, etc. or at a stationery store.
OR
- Steel straight edge at least 300mm long, a box cutter and a cutting board:
- Search on AliExpress, eBay, Amazon, etc. or at a stationery/hardware store.
OR
- Pair of scissors:
- Supermarket or stationery store.
- Paper guillotine with a cutting length of at least 300mm:
- Biro type pen:
- Supermarket or stationery store.
- Toilet paper:
- Supermarket or your toilet.
- Spray or squirt bottle (optional):
- Supermarket.
- Clean dry towel:
- Supermarket or your bathroom.
PREPARING THE FILM
Lapping films often come in sheets each about 280mm x about 216mm. They need to be cut to size of a little under the length of your substrate by about the width or a little less of your substrate. For me, my sheets were 280mm x 216mm so I cut each sheet into three pieces each 280mm x 72mm. You can use any of the following (in order of preference) to cut your sheets;
- a paper guillotine,
- a steel straight edge about 300mm long, a box cutter (Stanley knife) and a cutting board, or
- a pair of scissors.
If using steel straight edge, box cutter and a cutting board of timber, it is best to cut across the timber grain rather than with the timber grain. This will help prevent the timber grain from guiding your cutting edge away from or into the steel straight edge.
Once you have your lapping films cut to a suitable size, use your marker (Sharpie) pen to write the grit size on the non-abrasive surface of each piece.

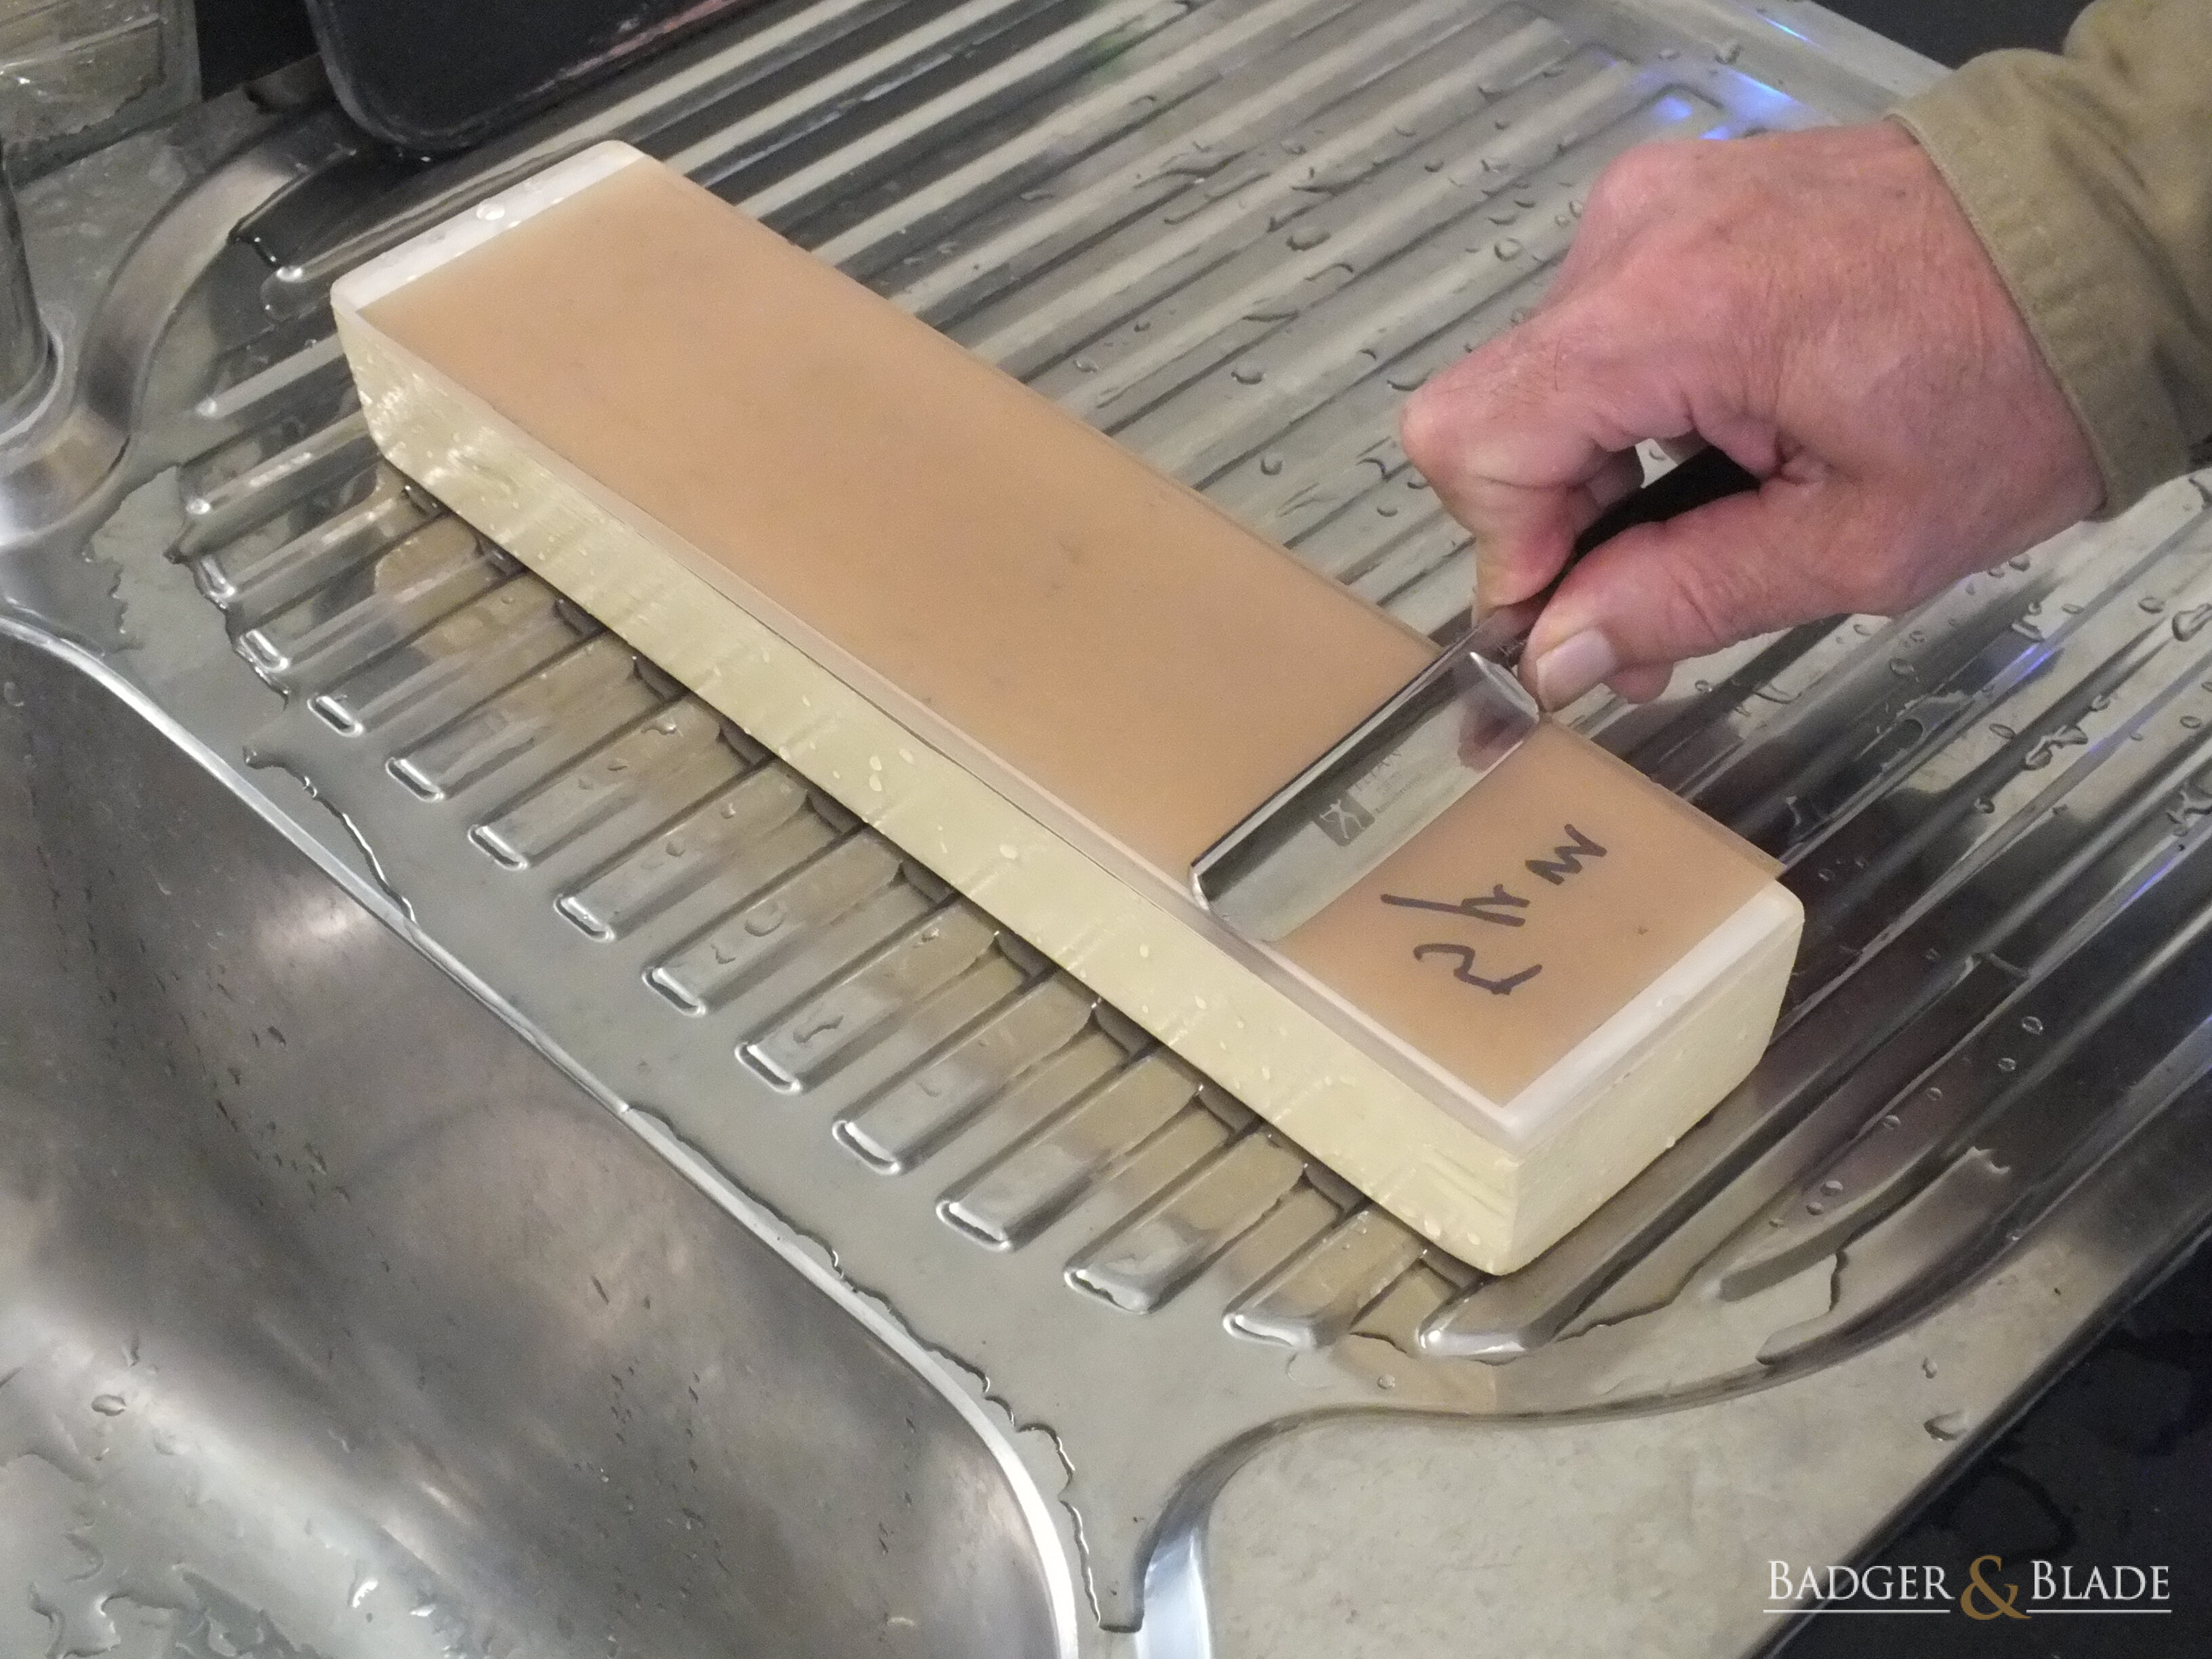
MOUNTING A PIECE OF LAPPING FILM
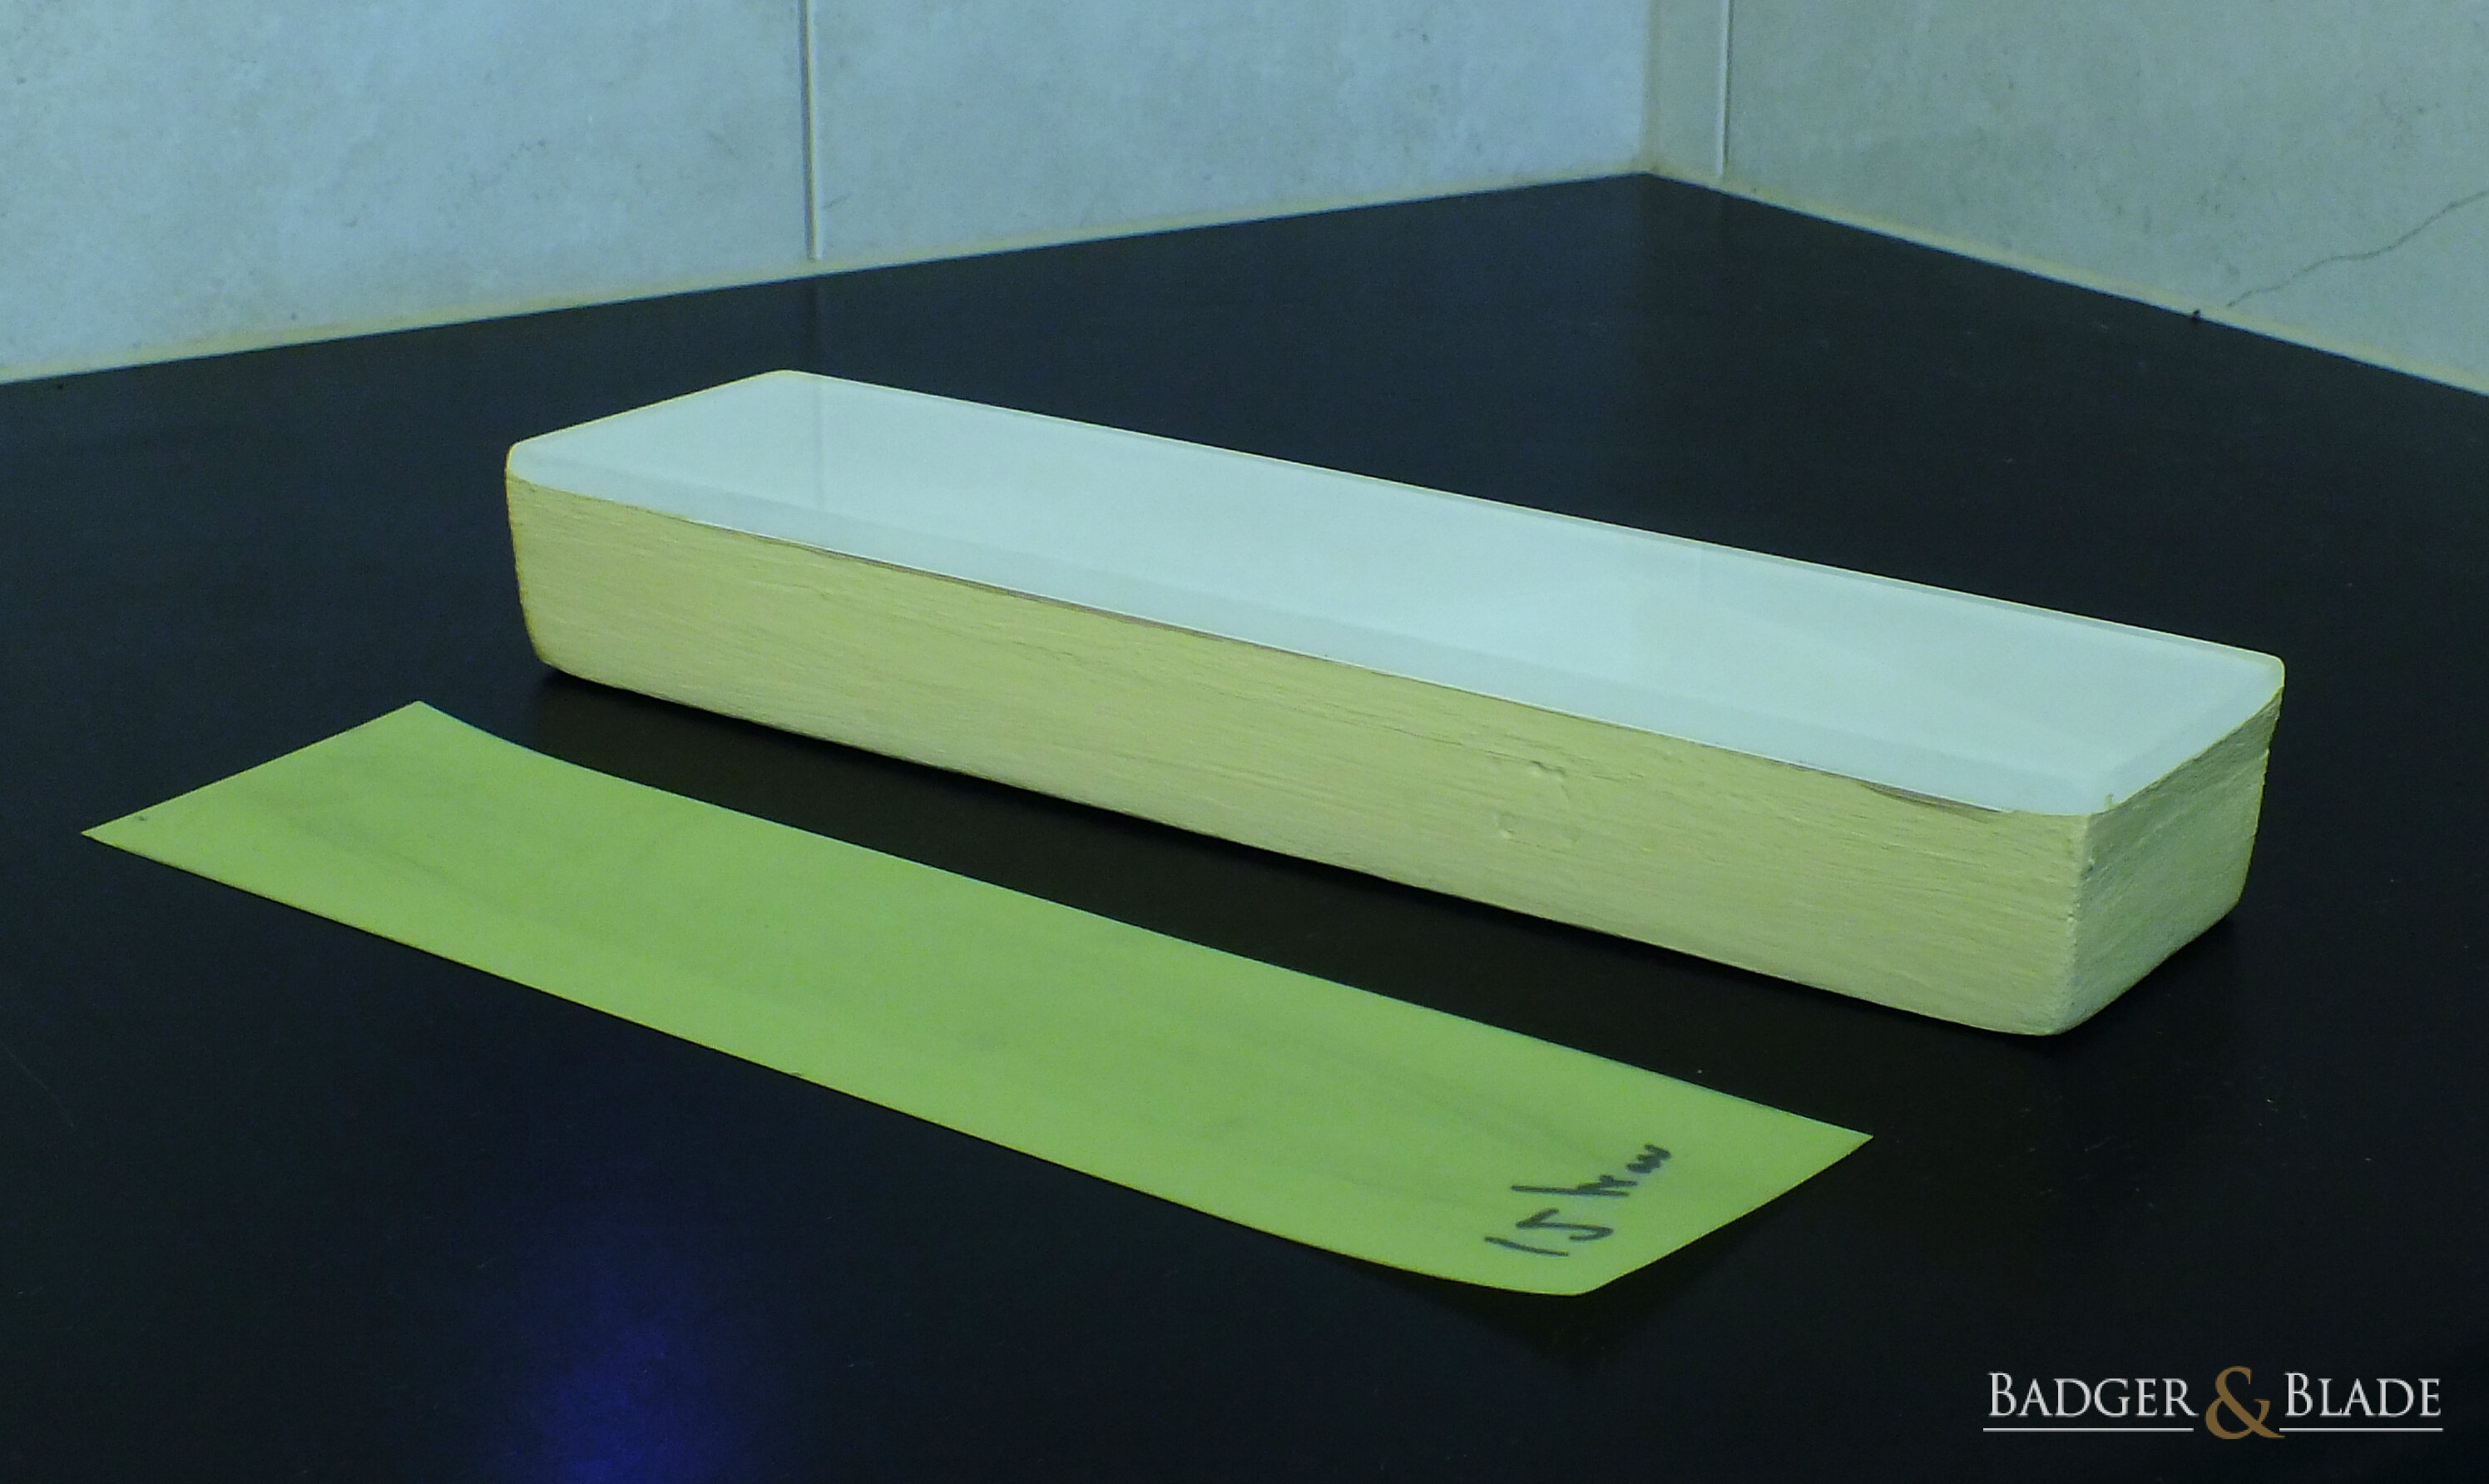
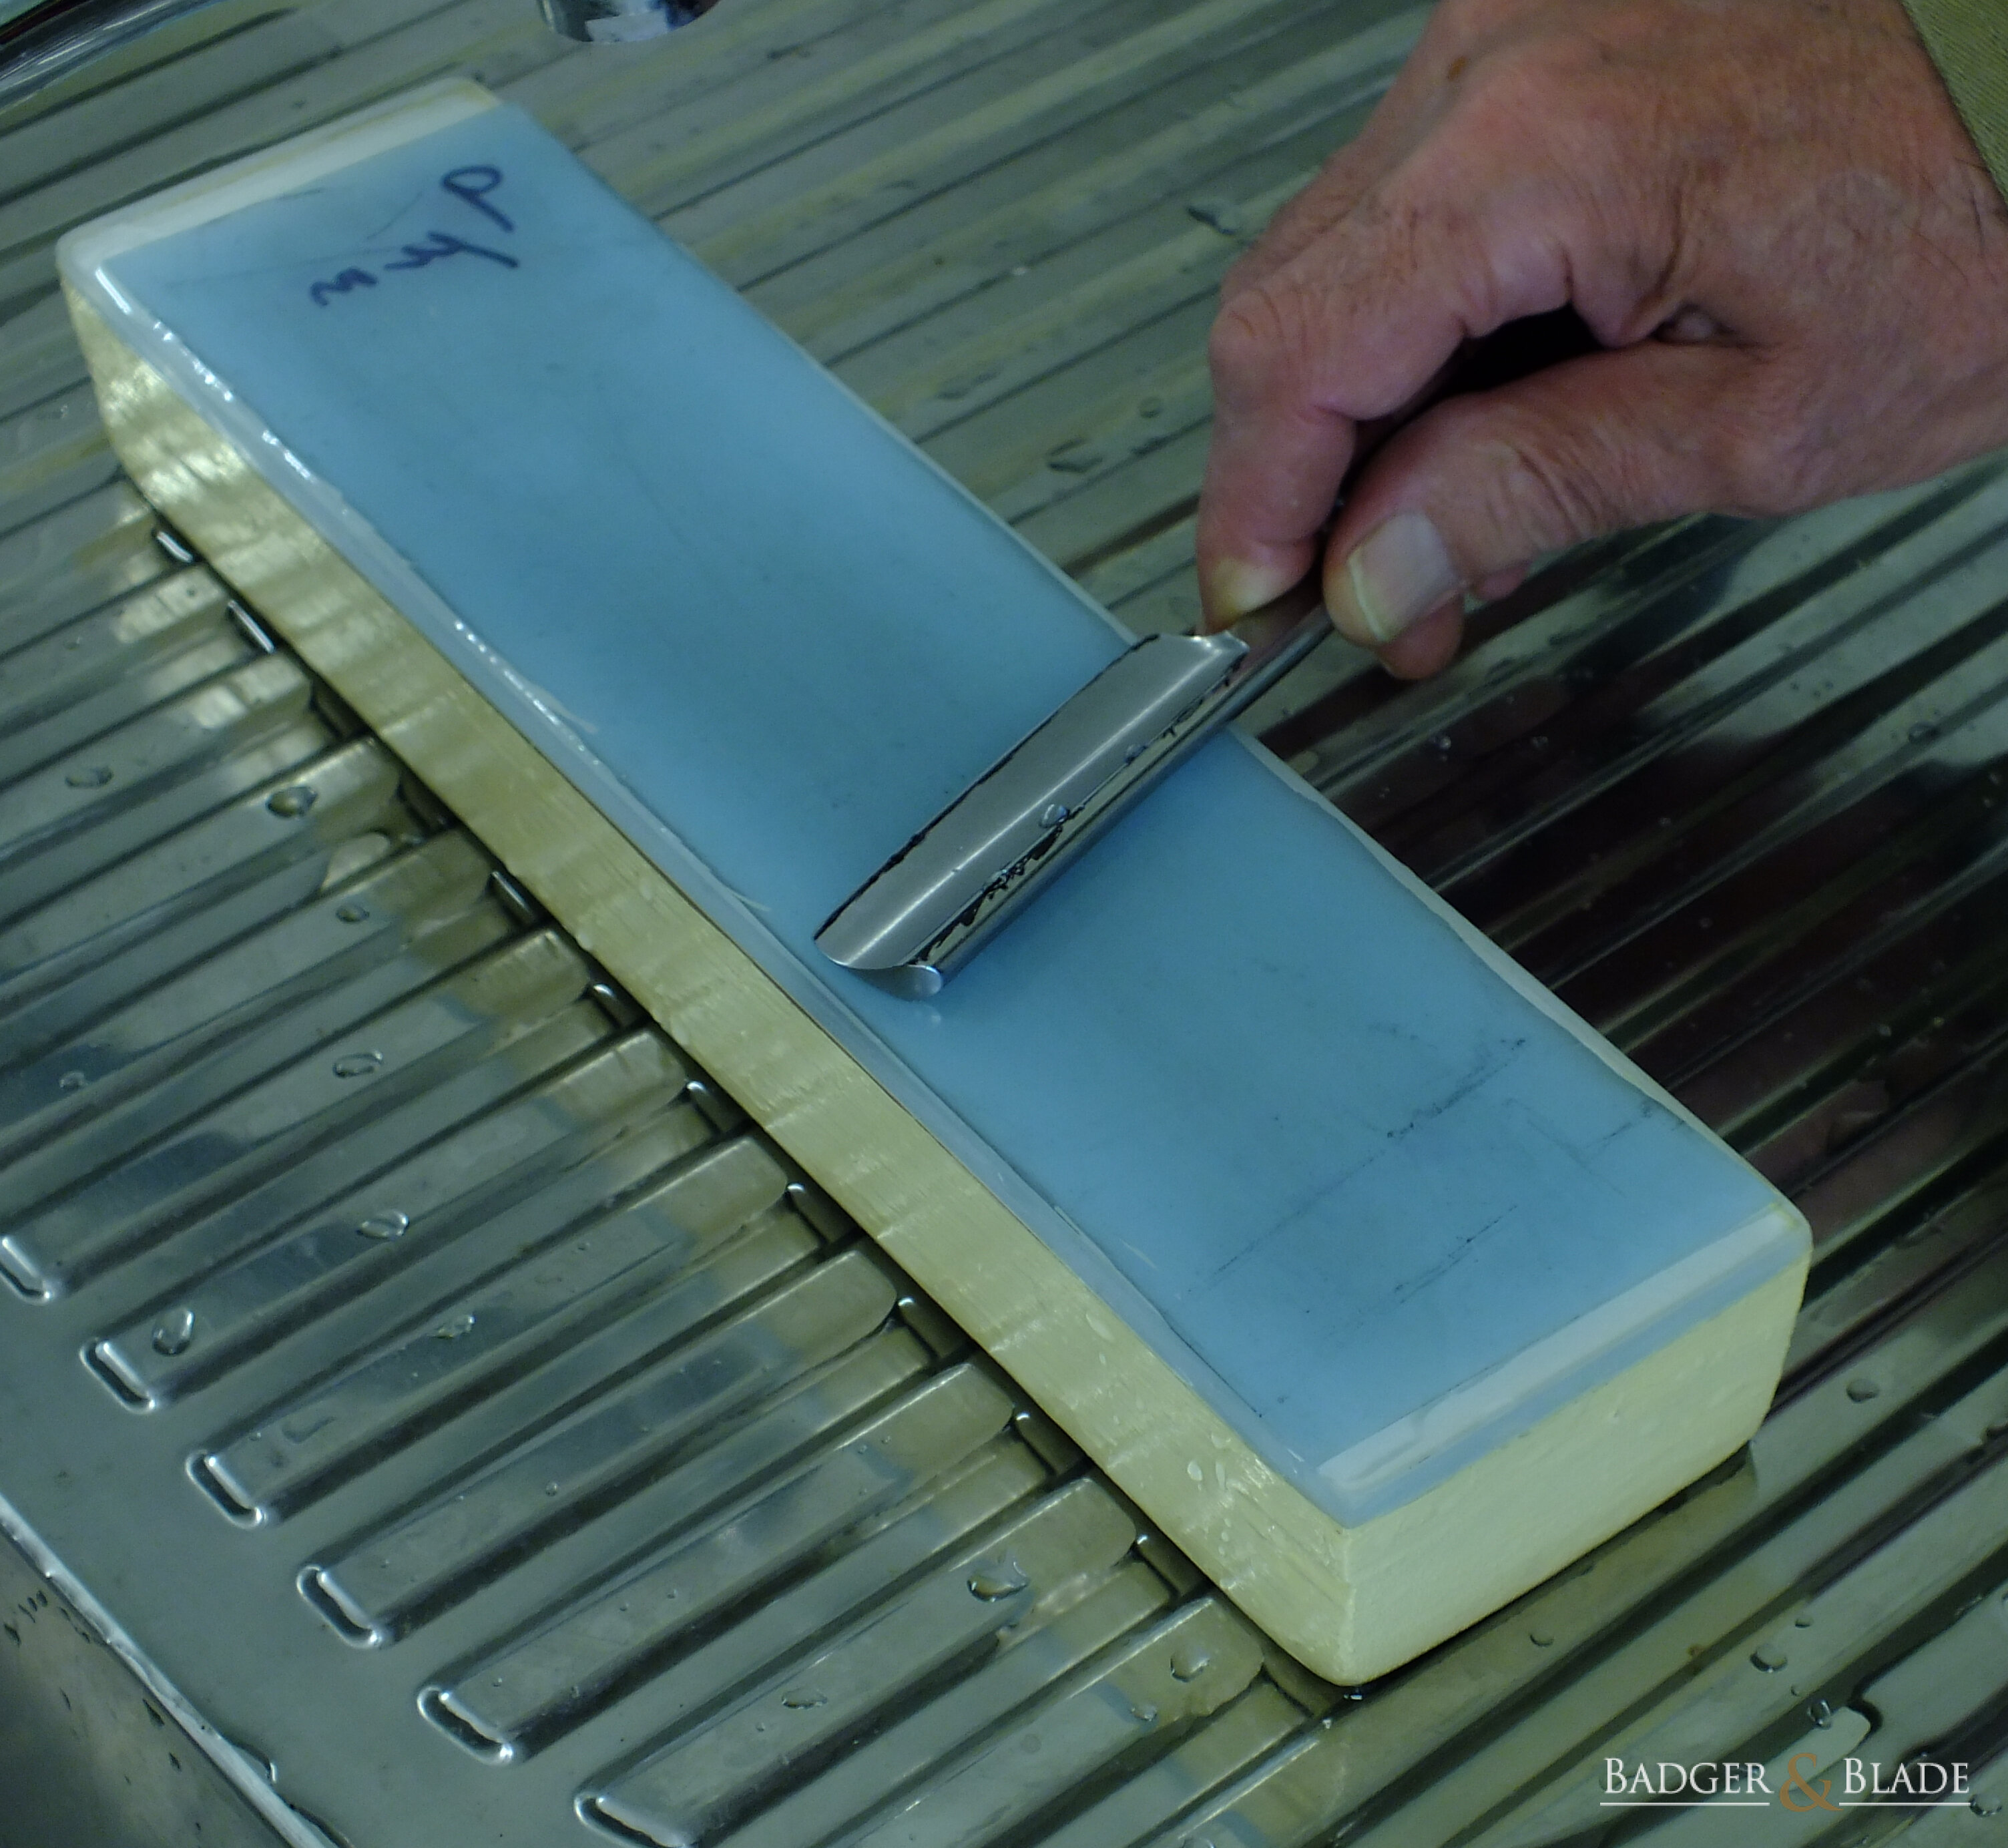
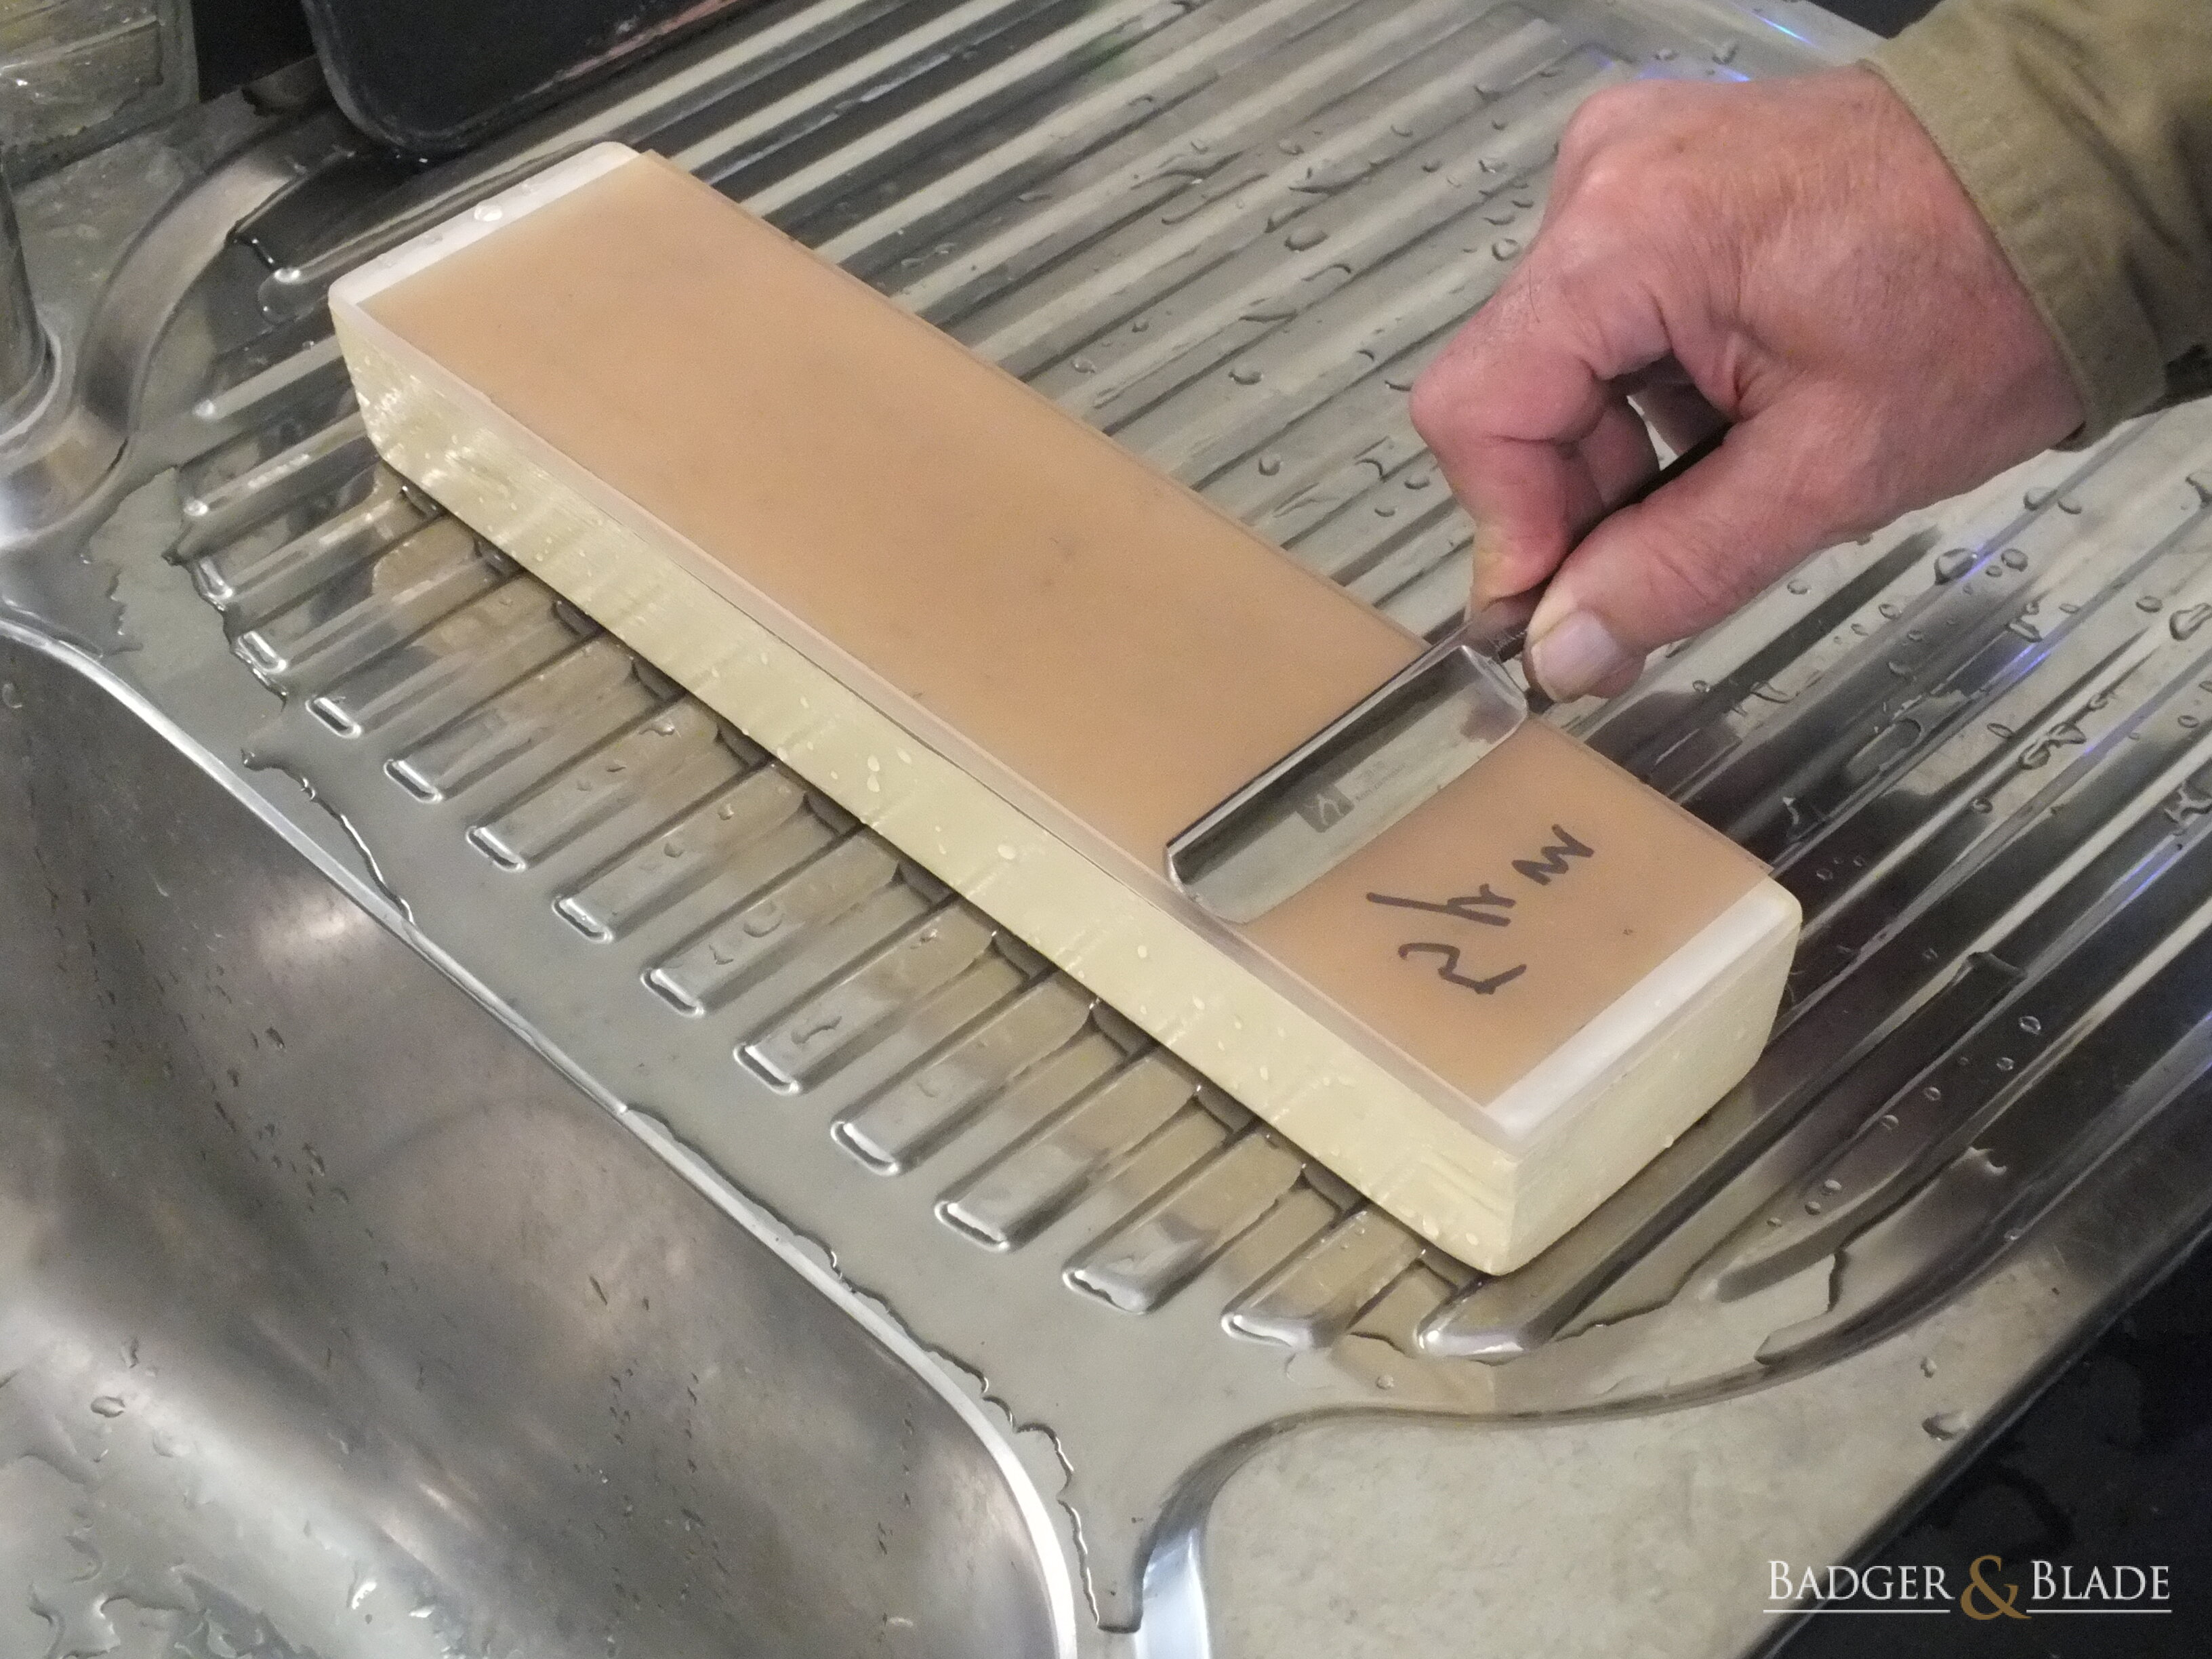
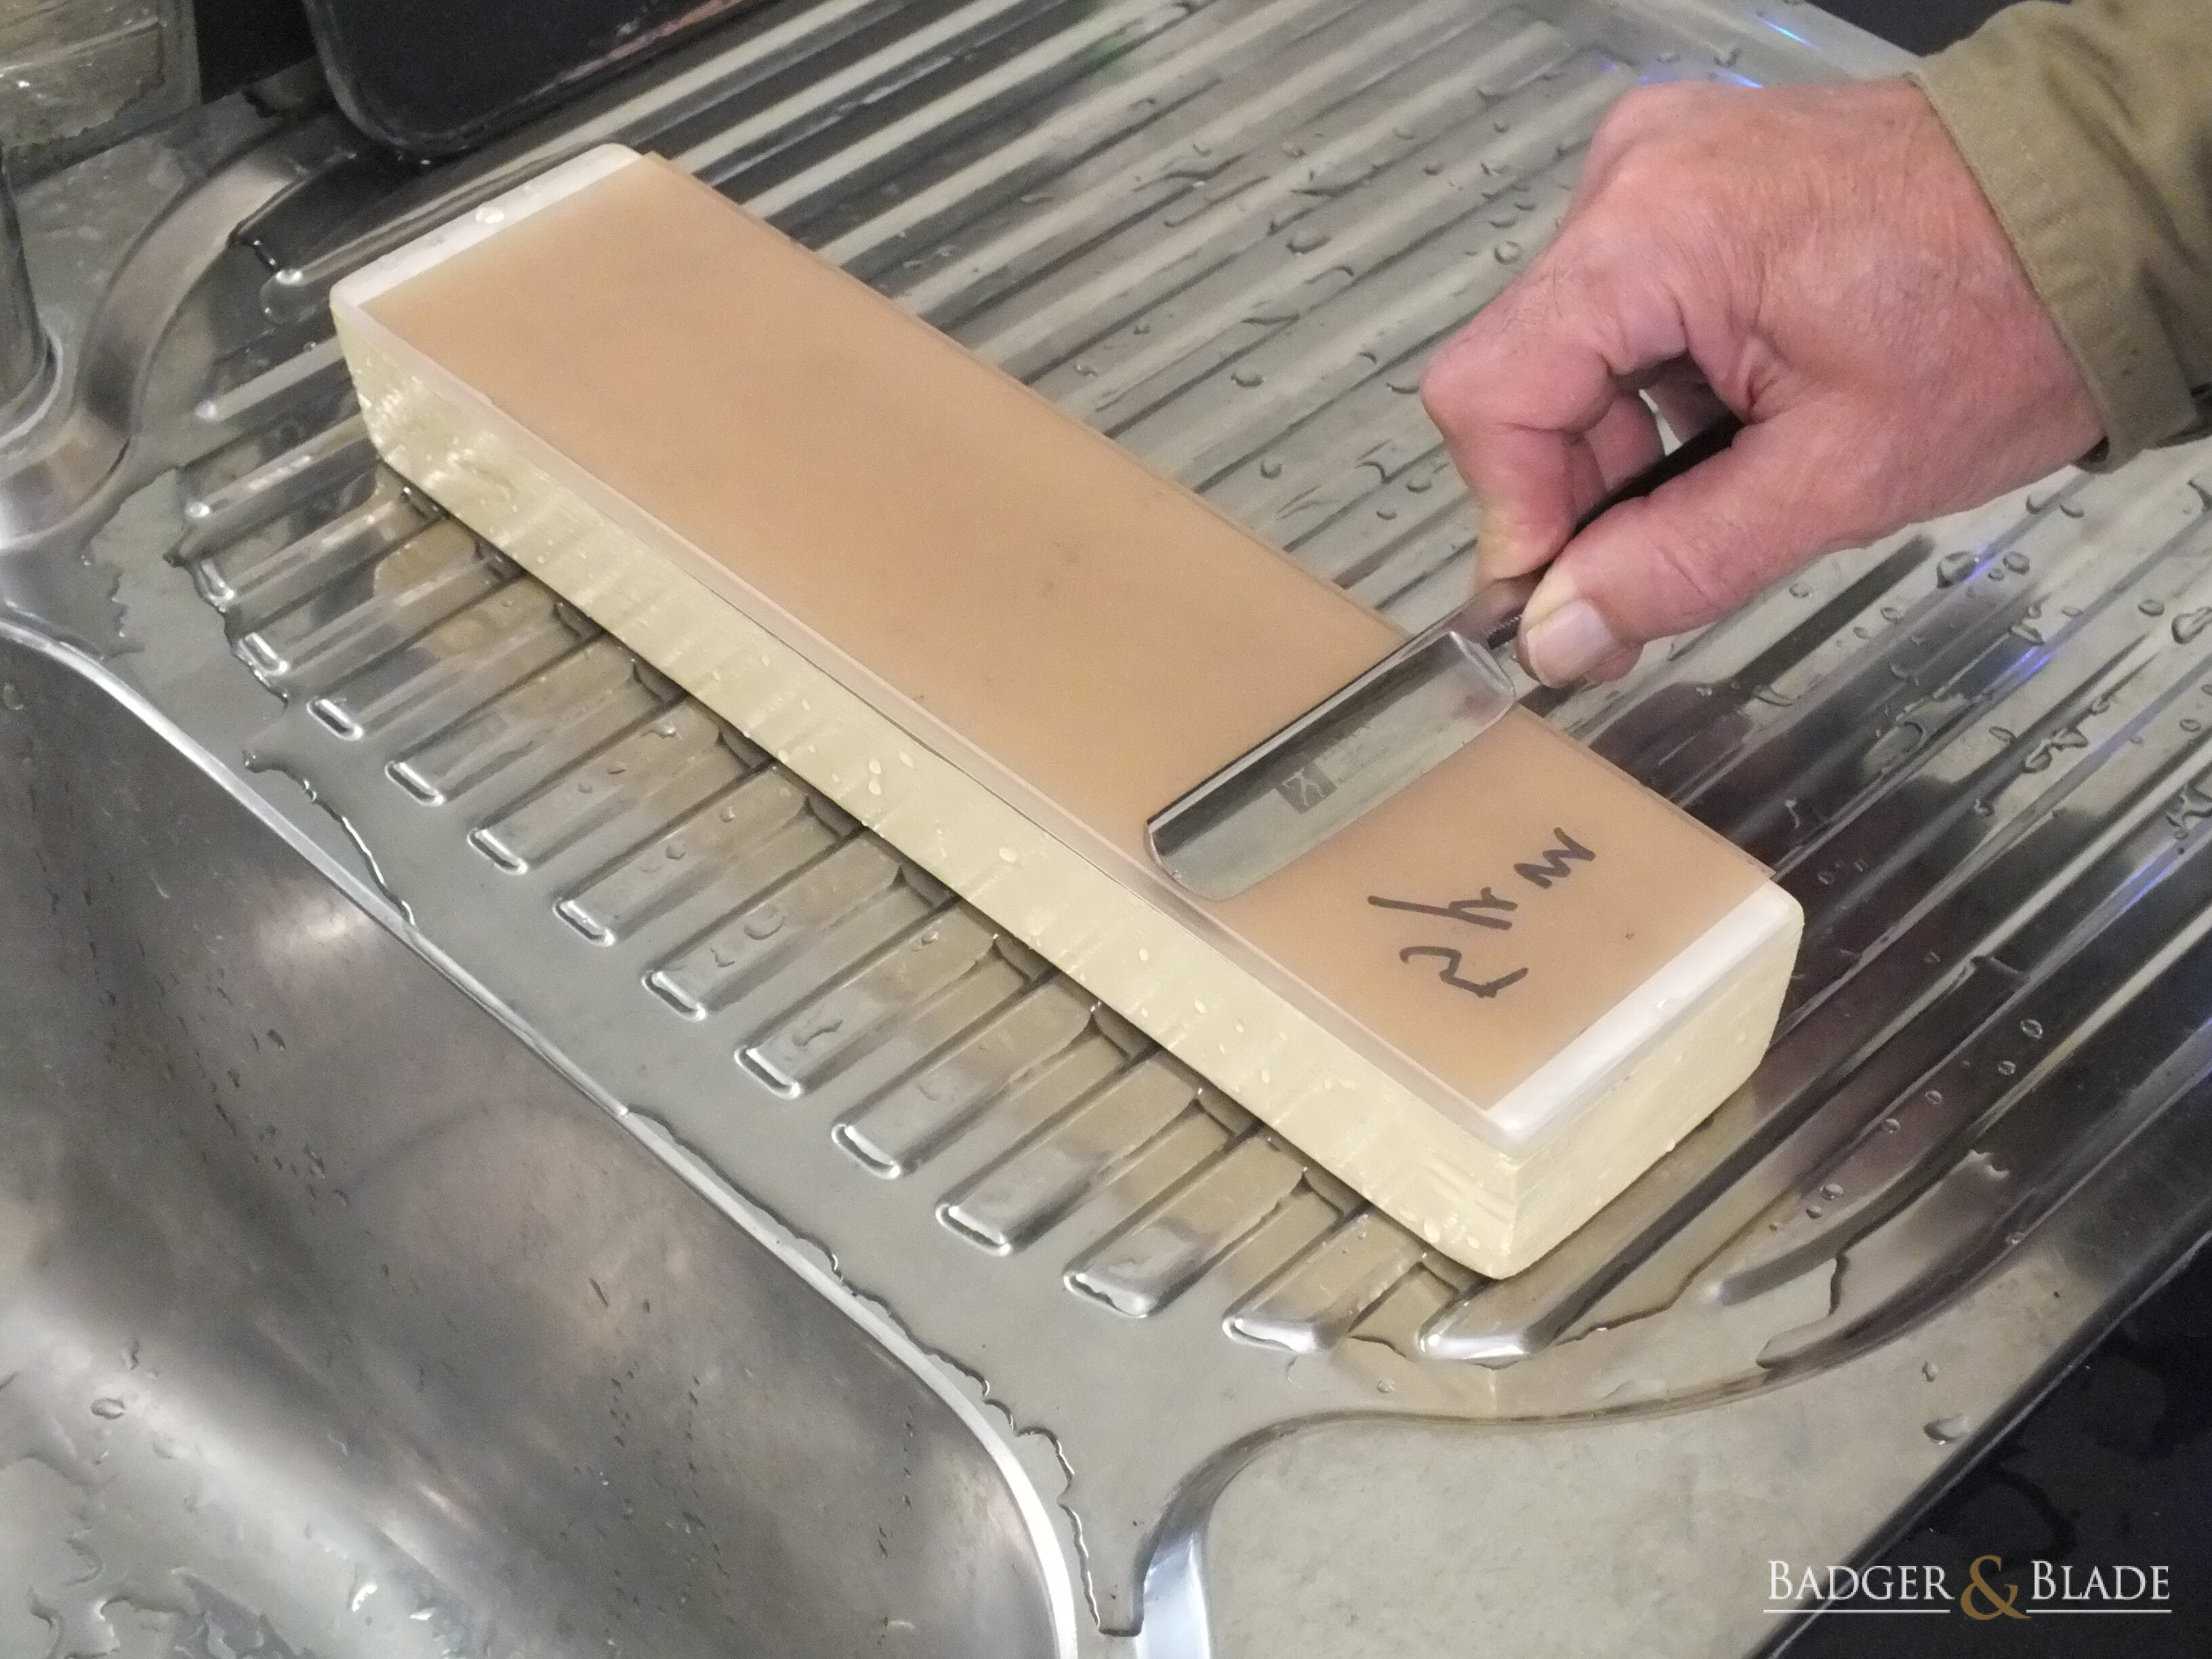
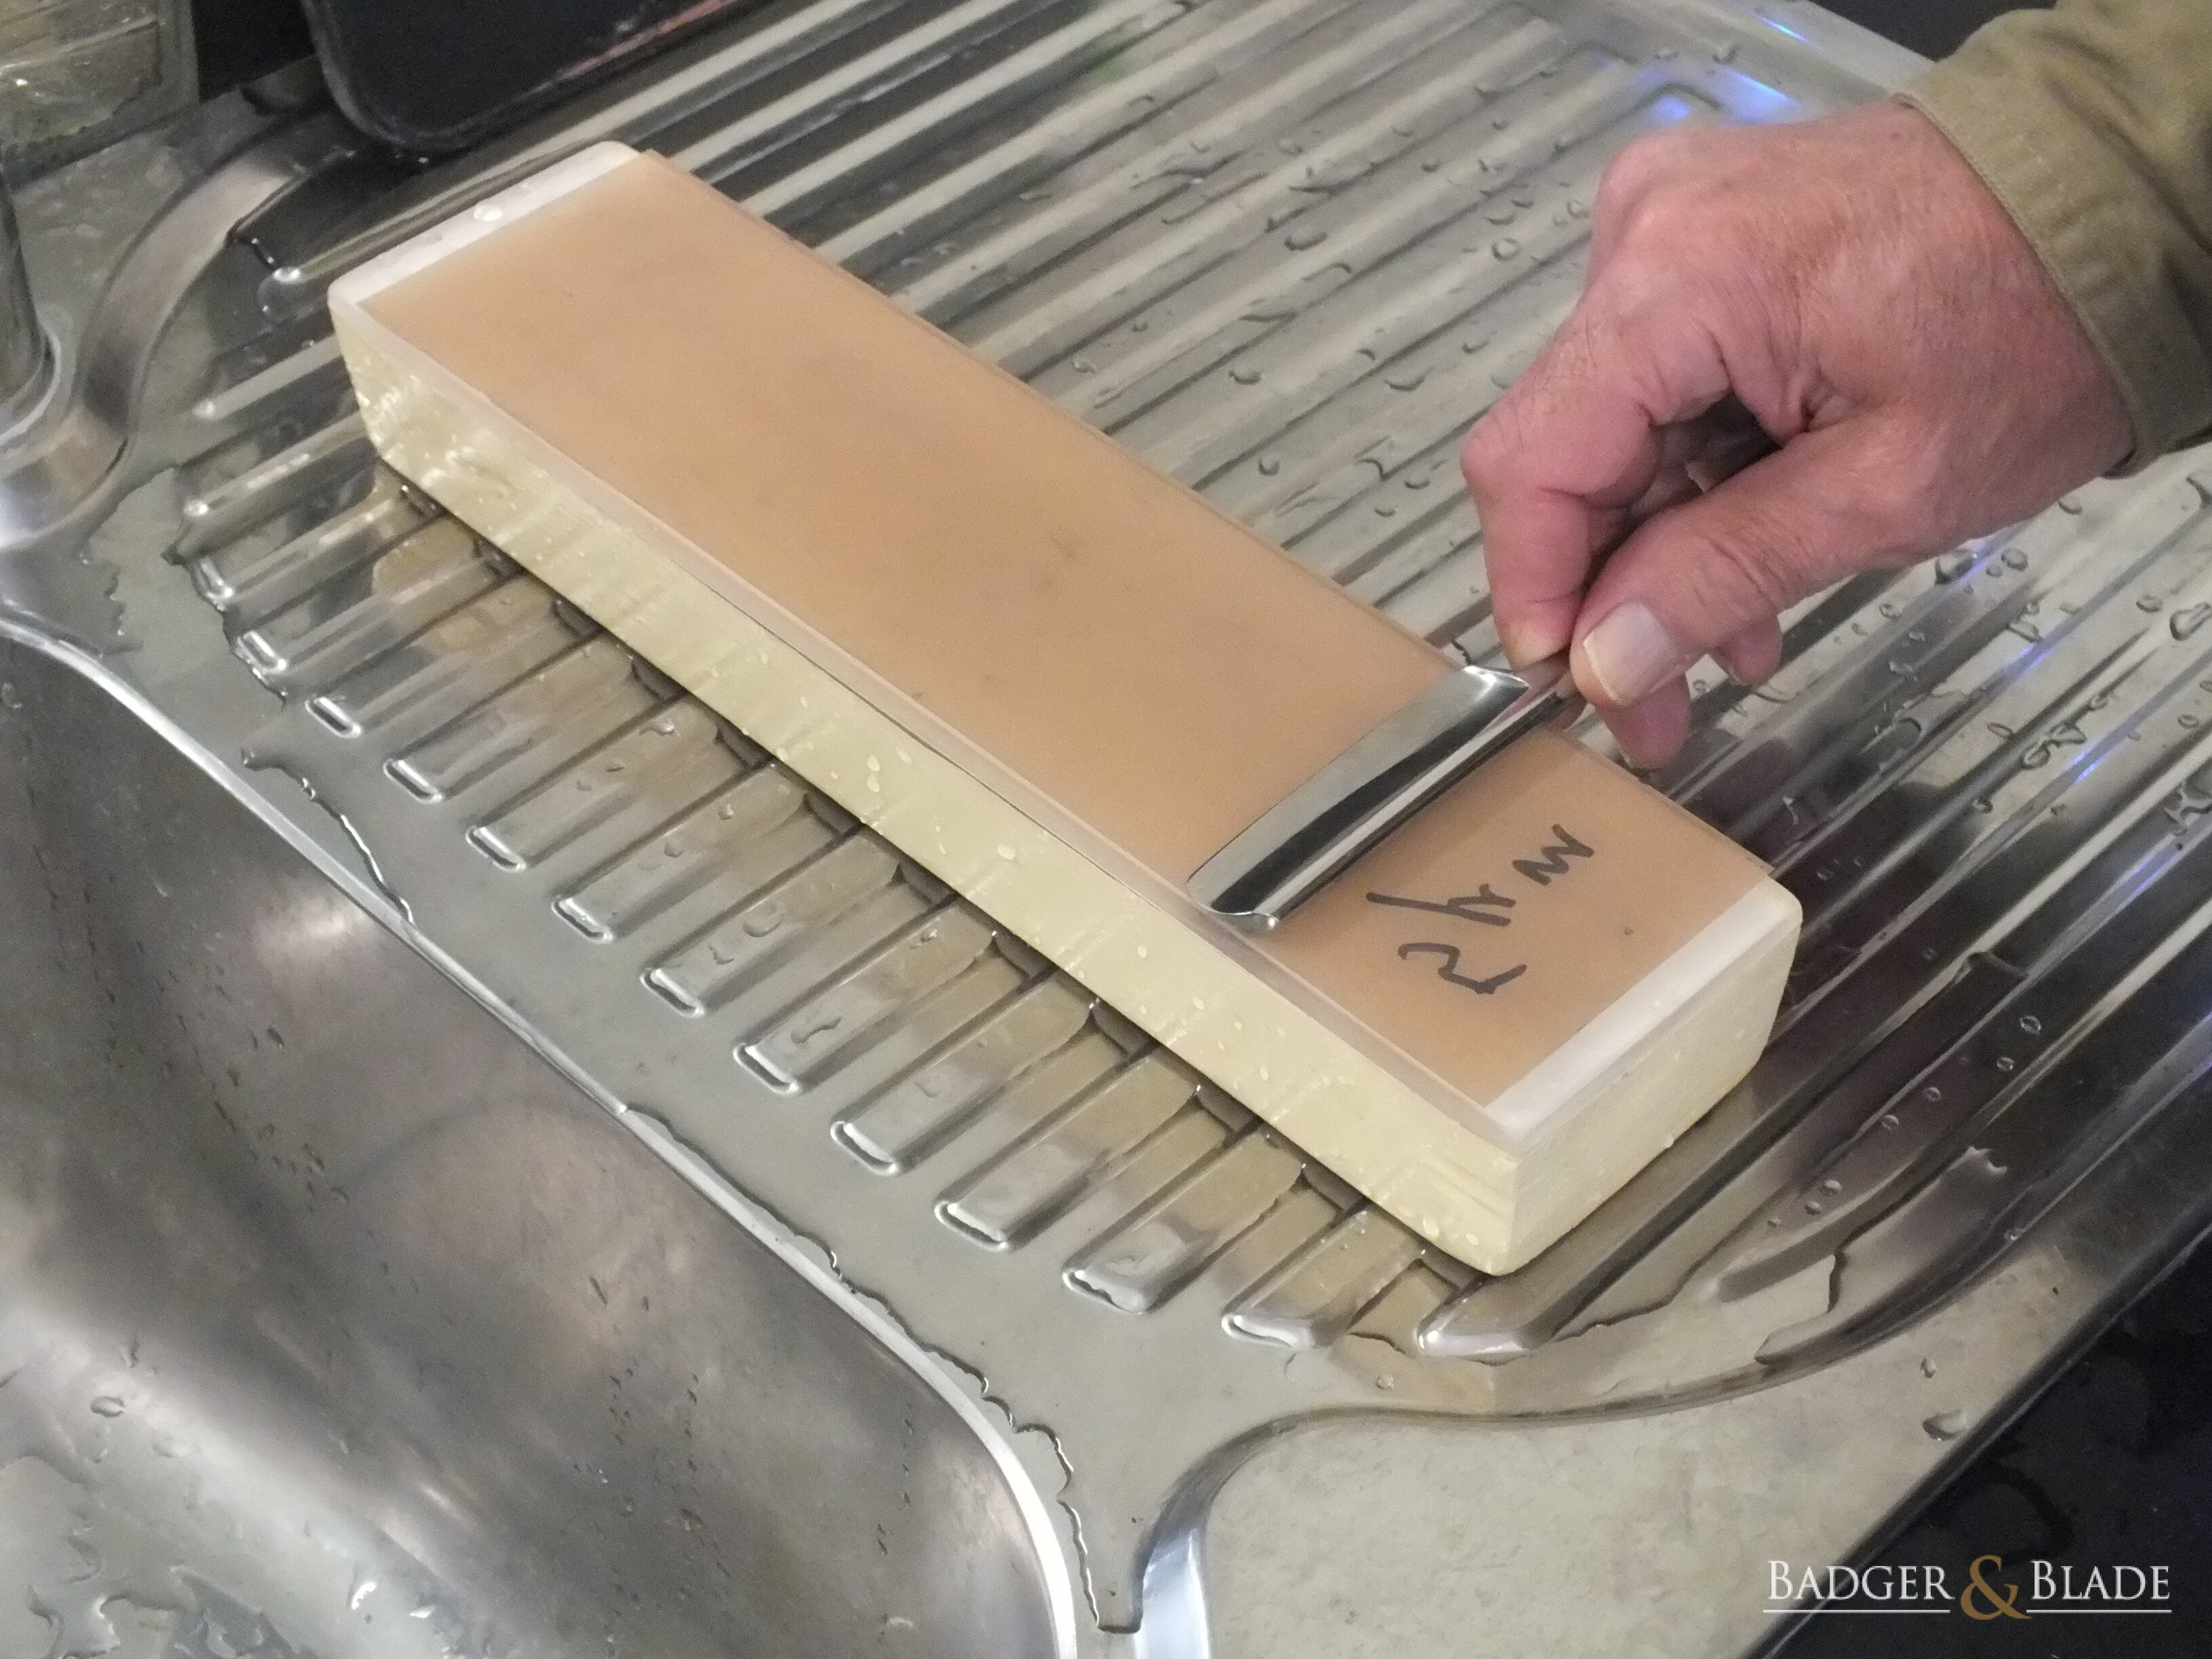
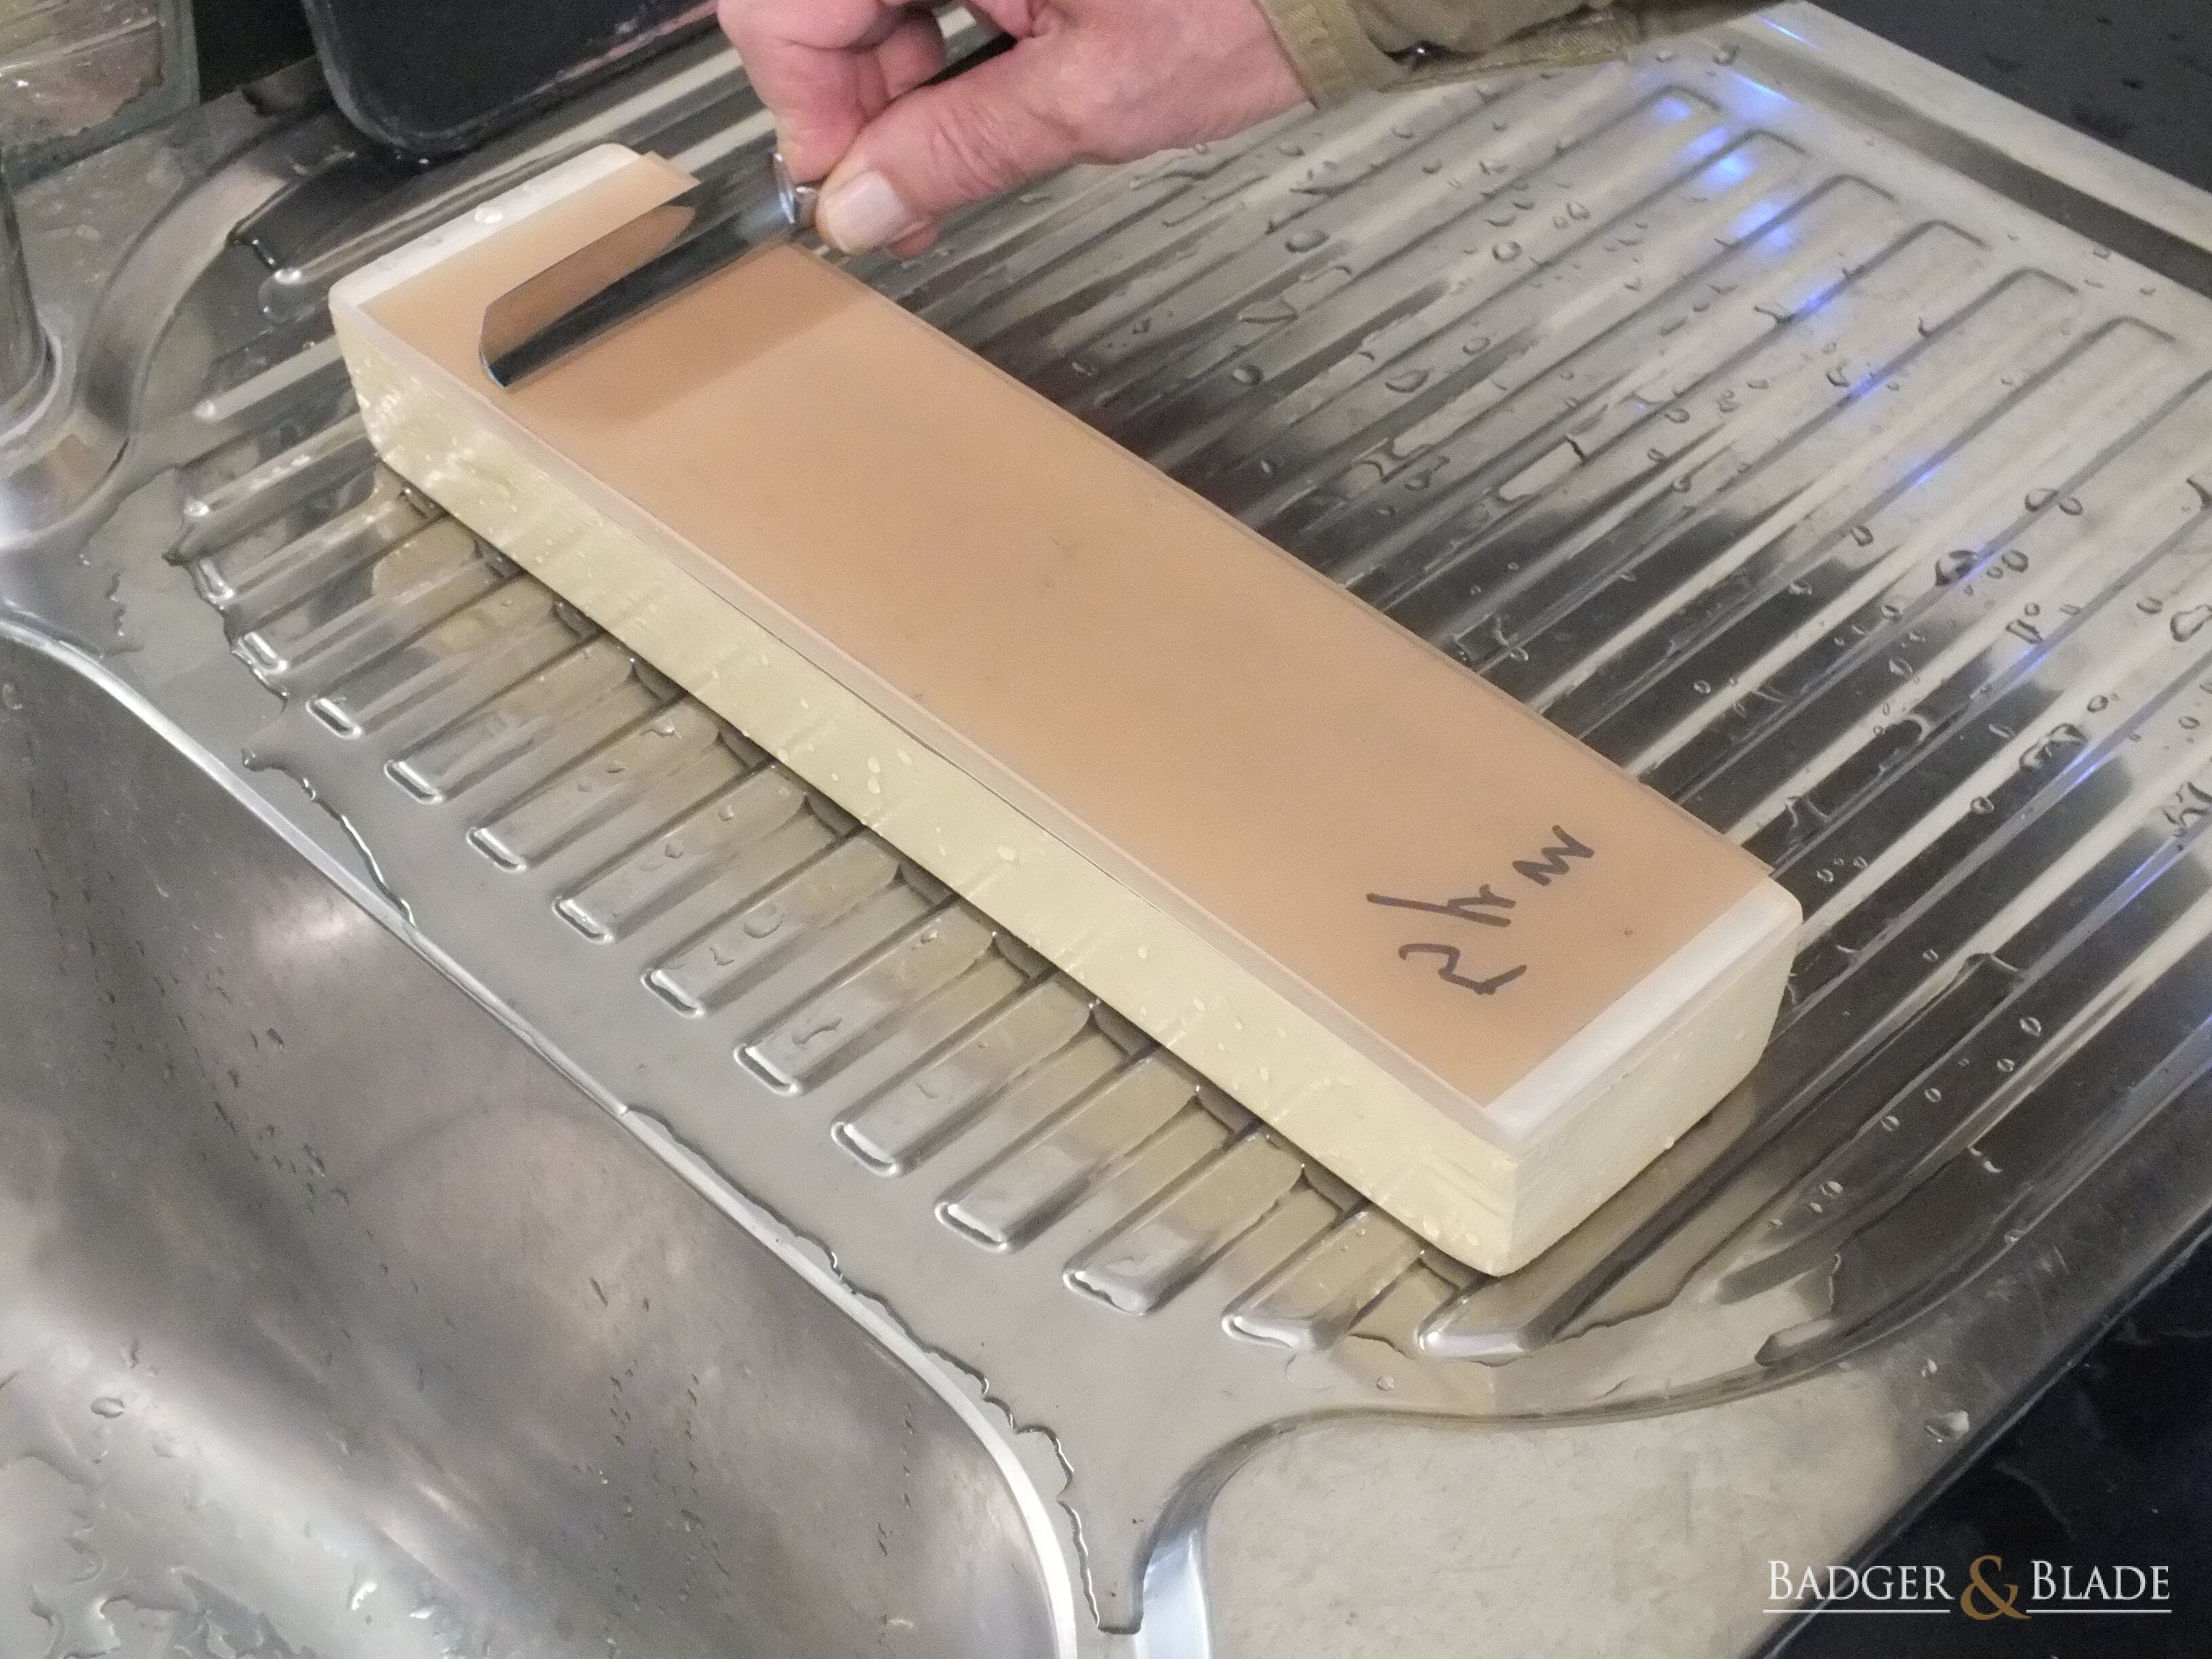
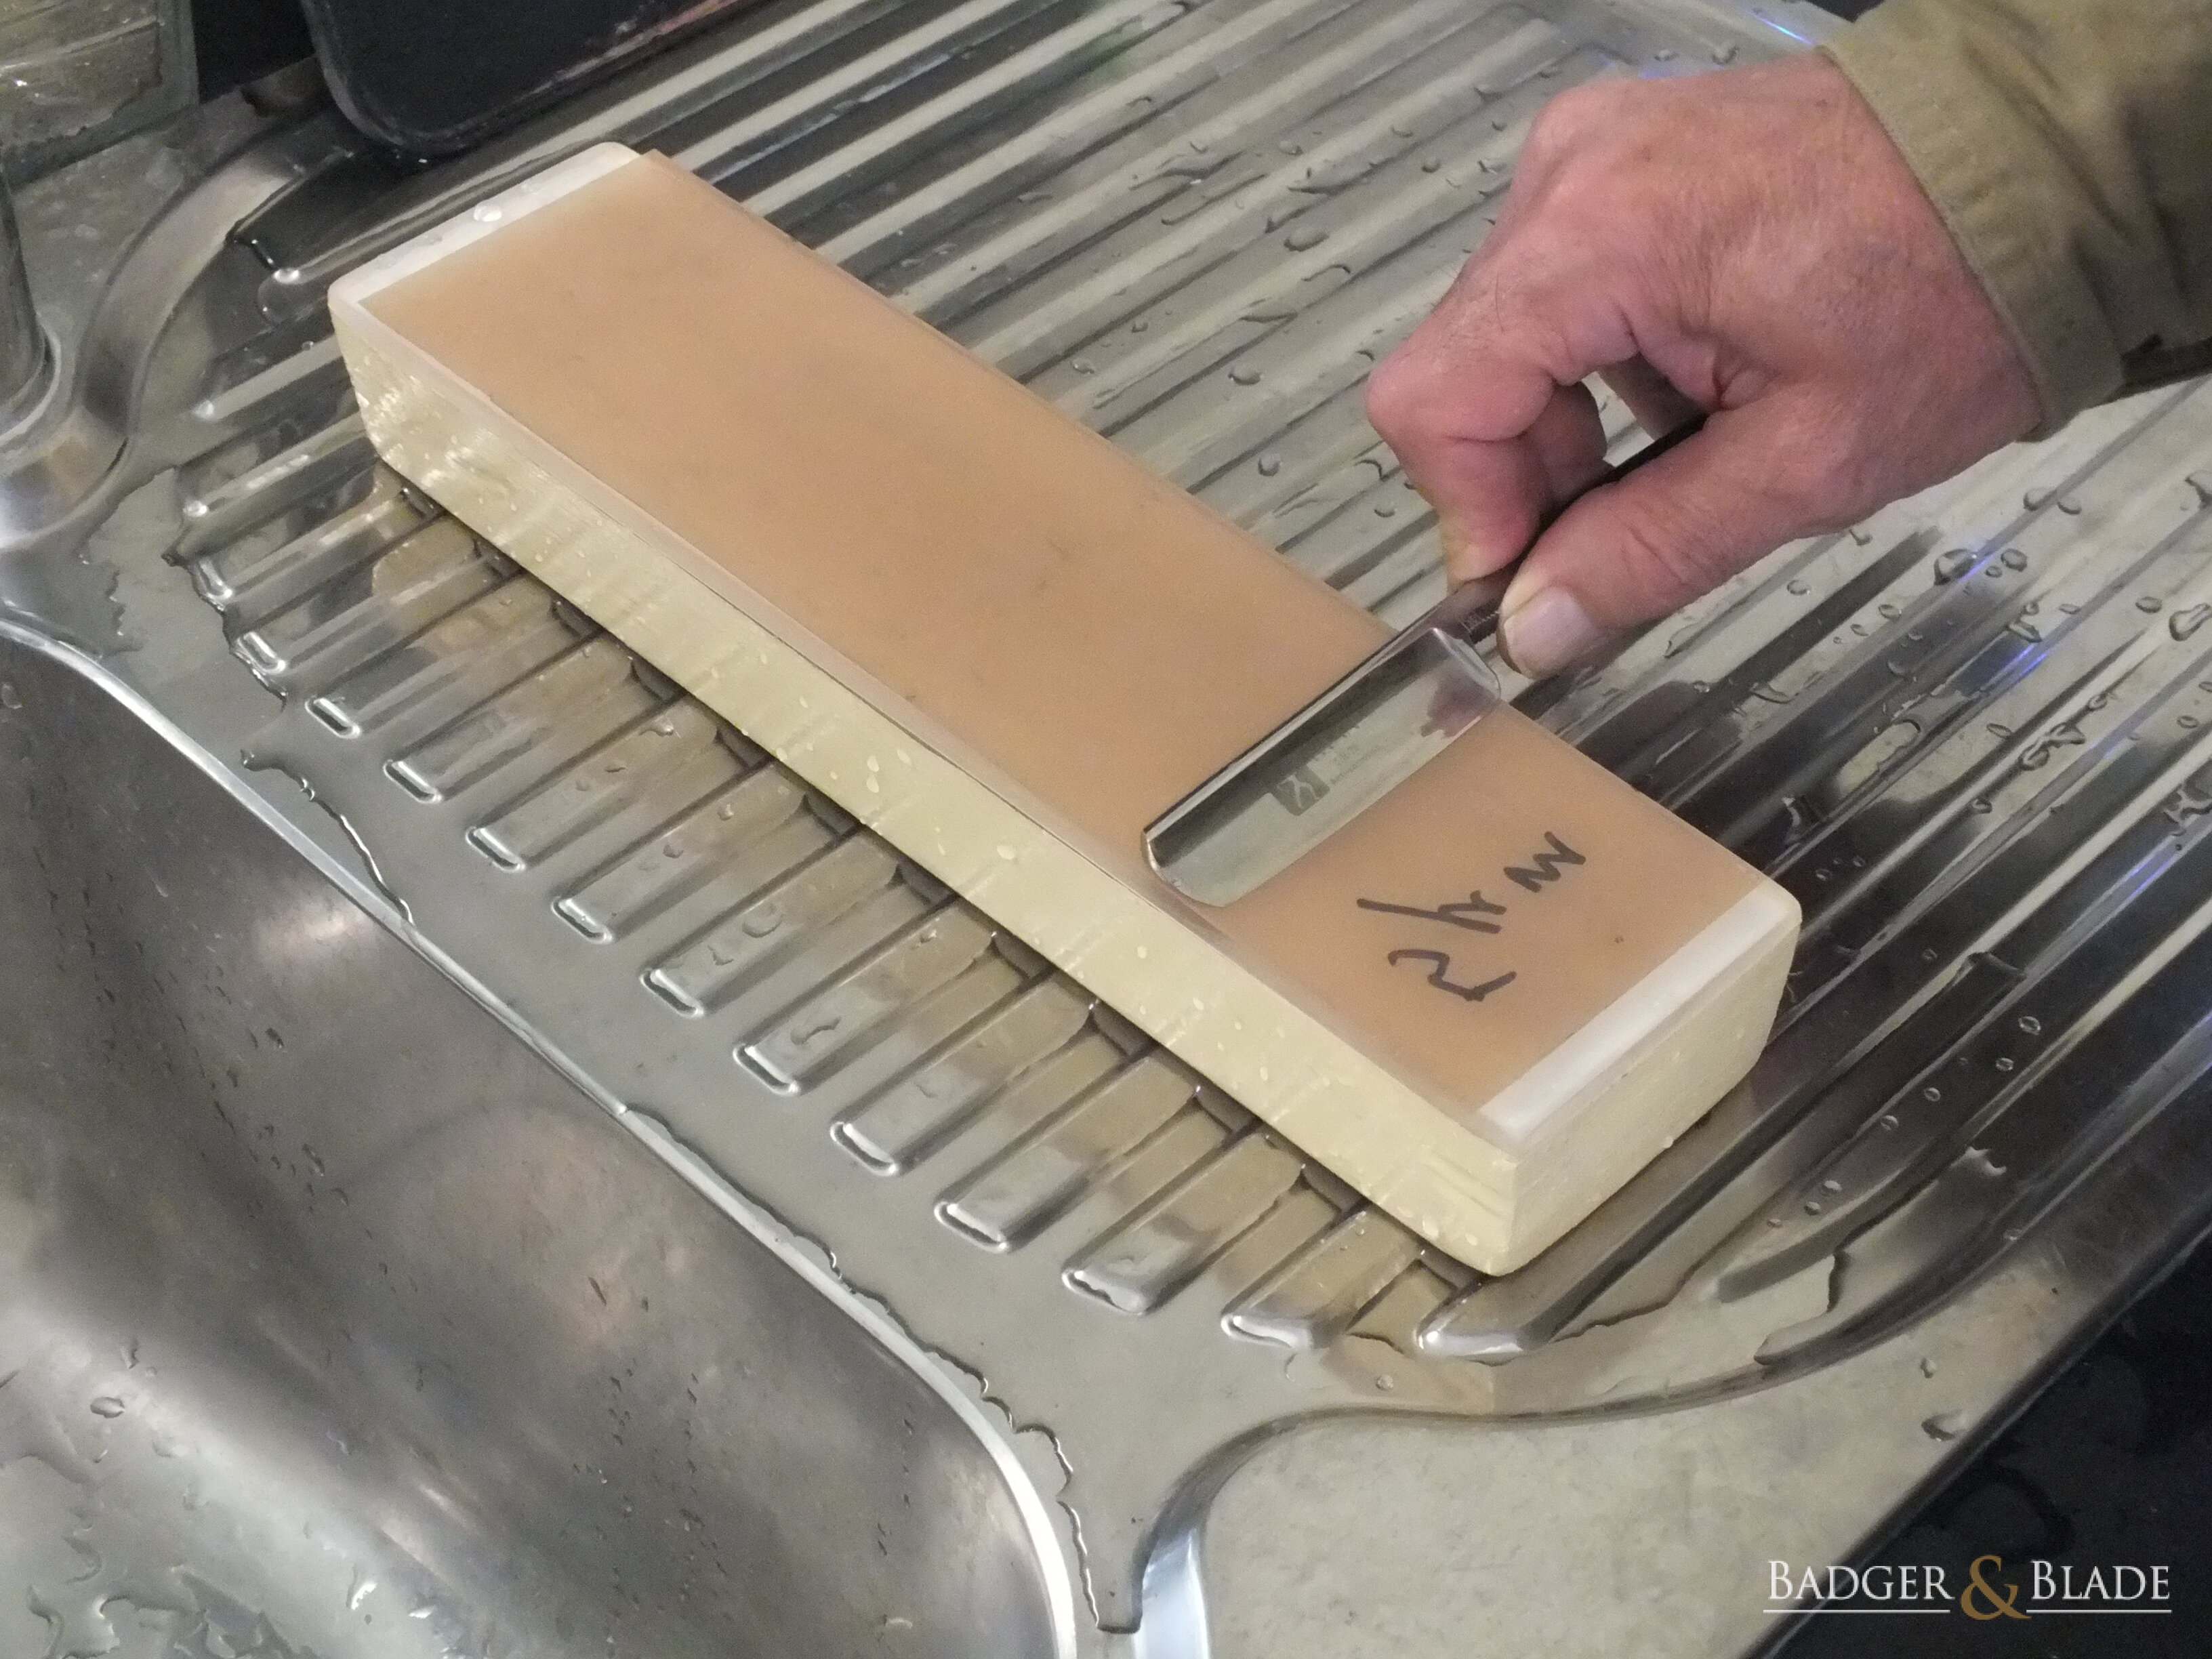
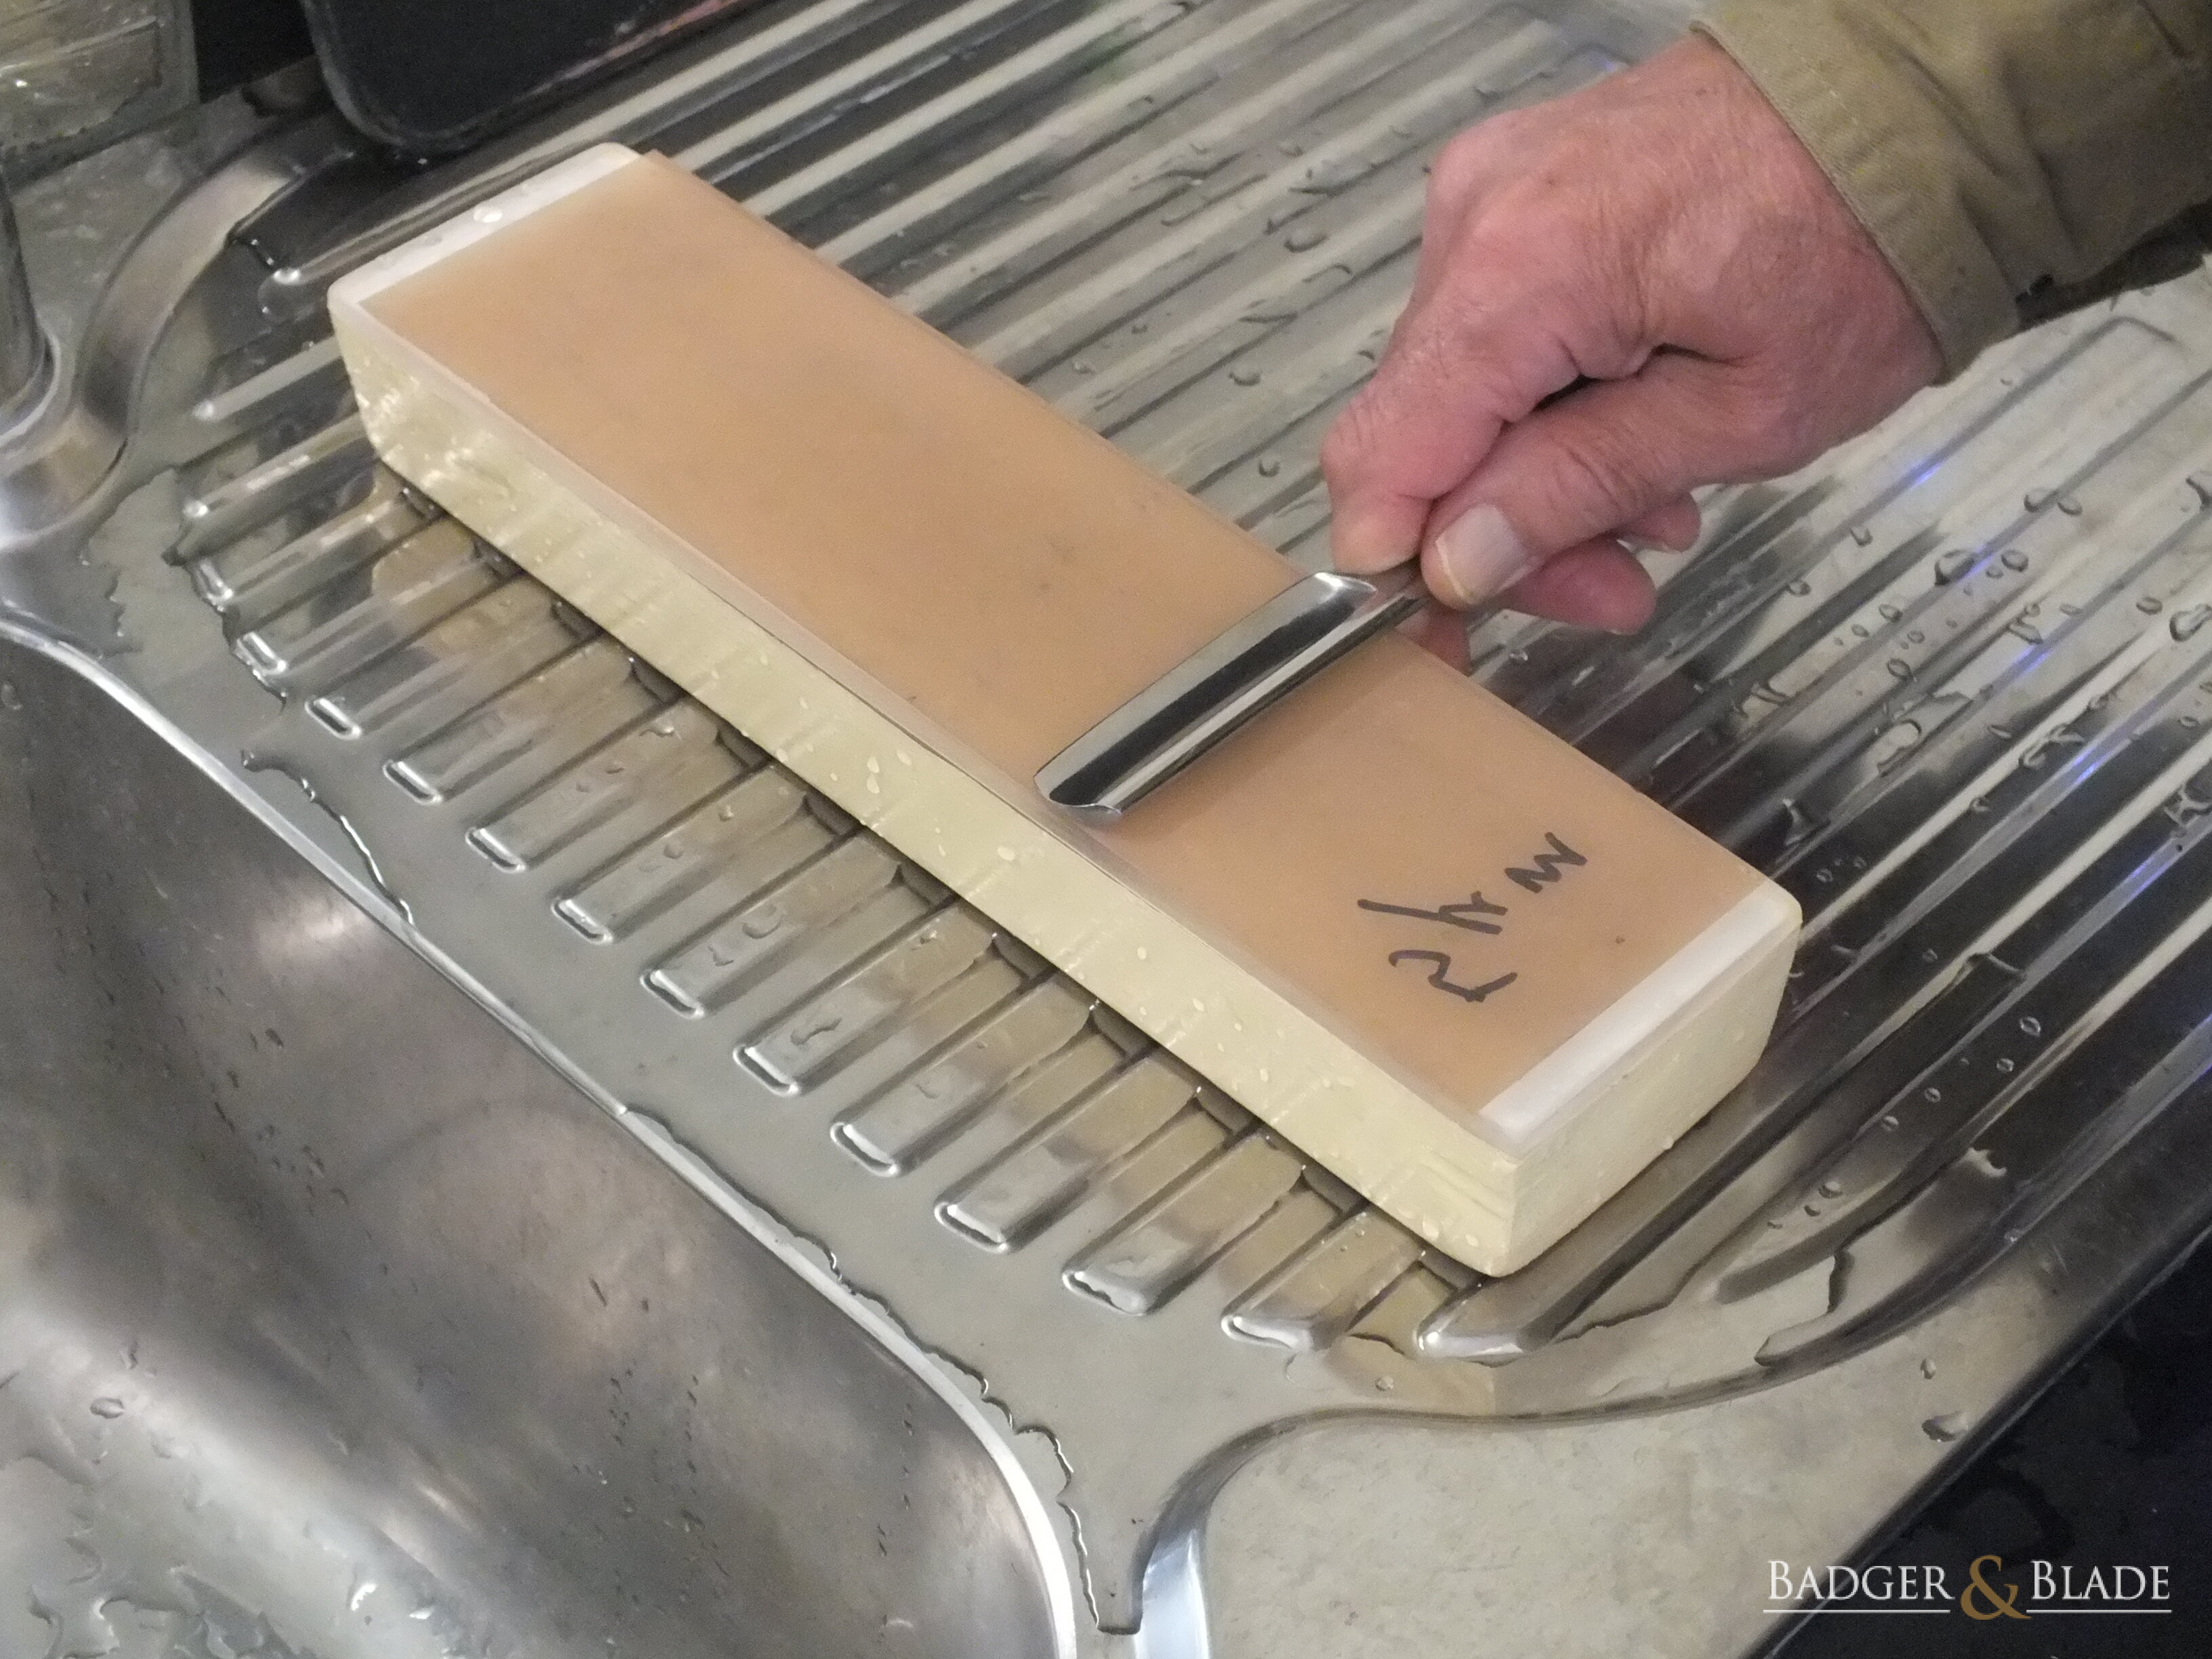
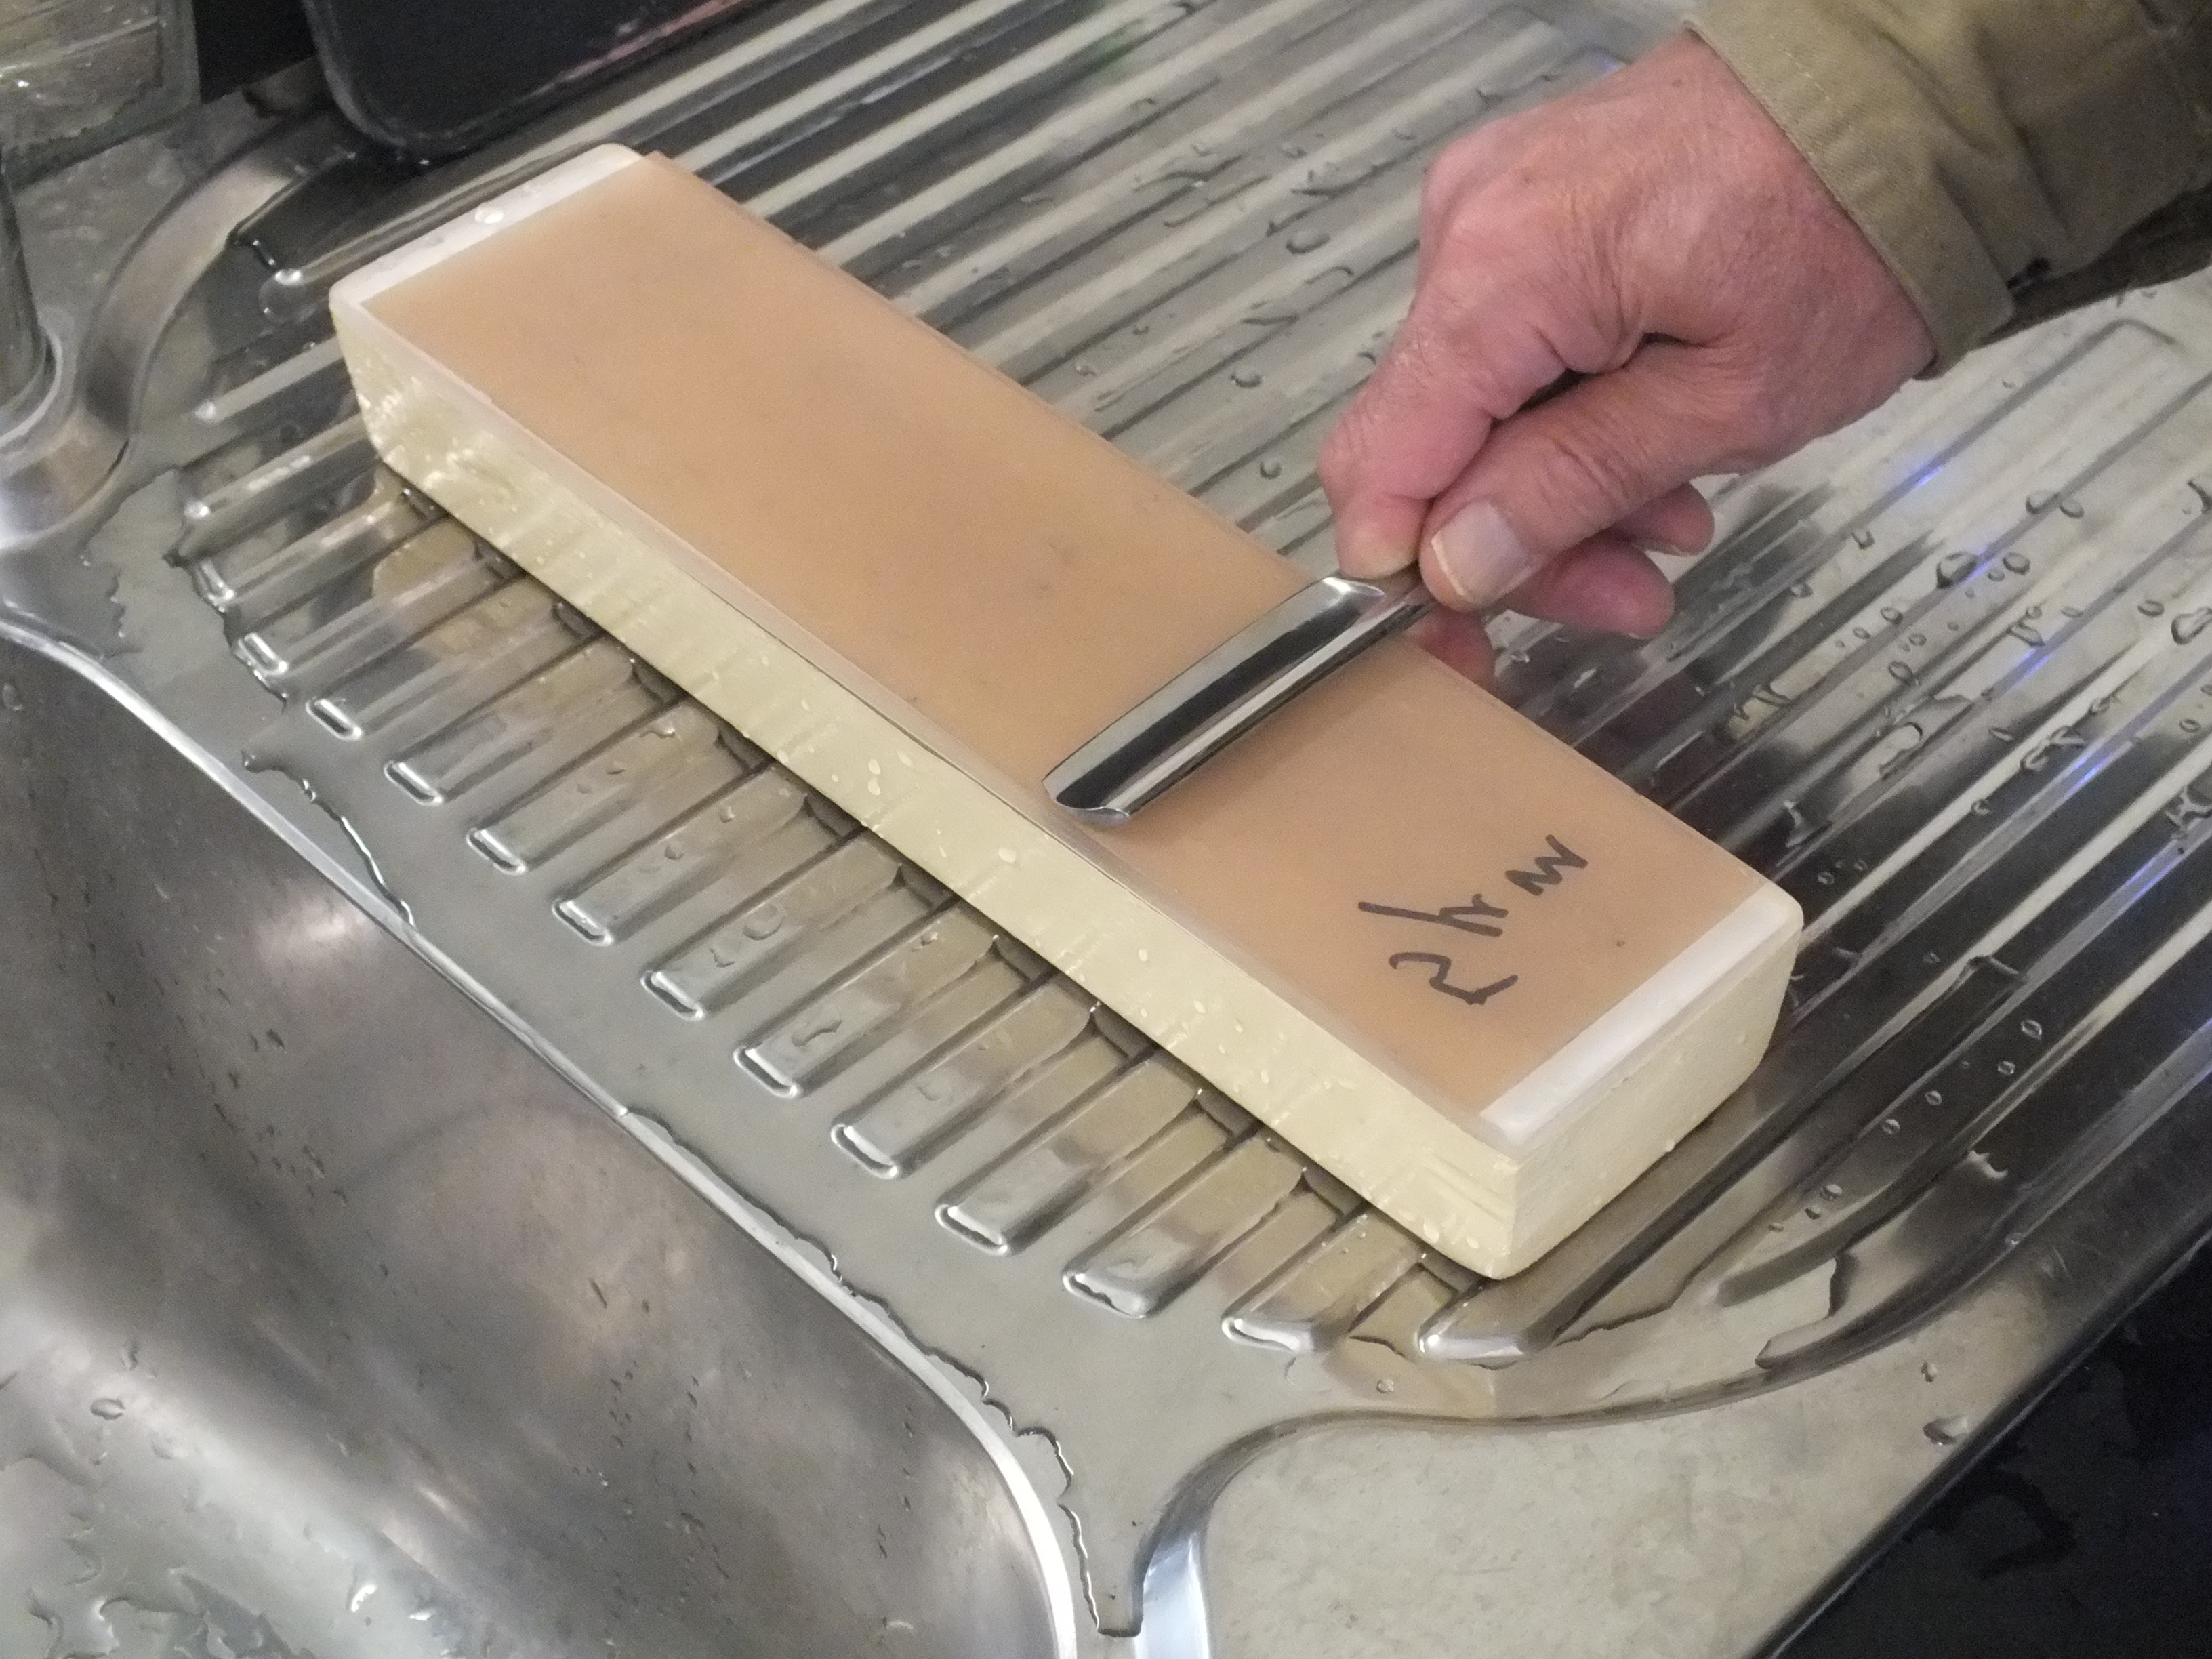
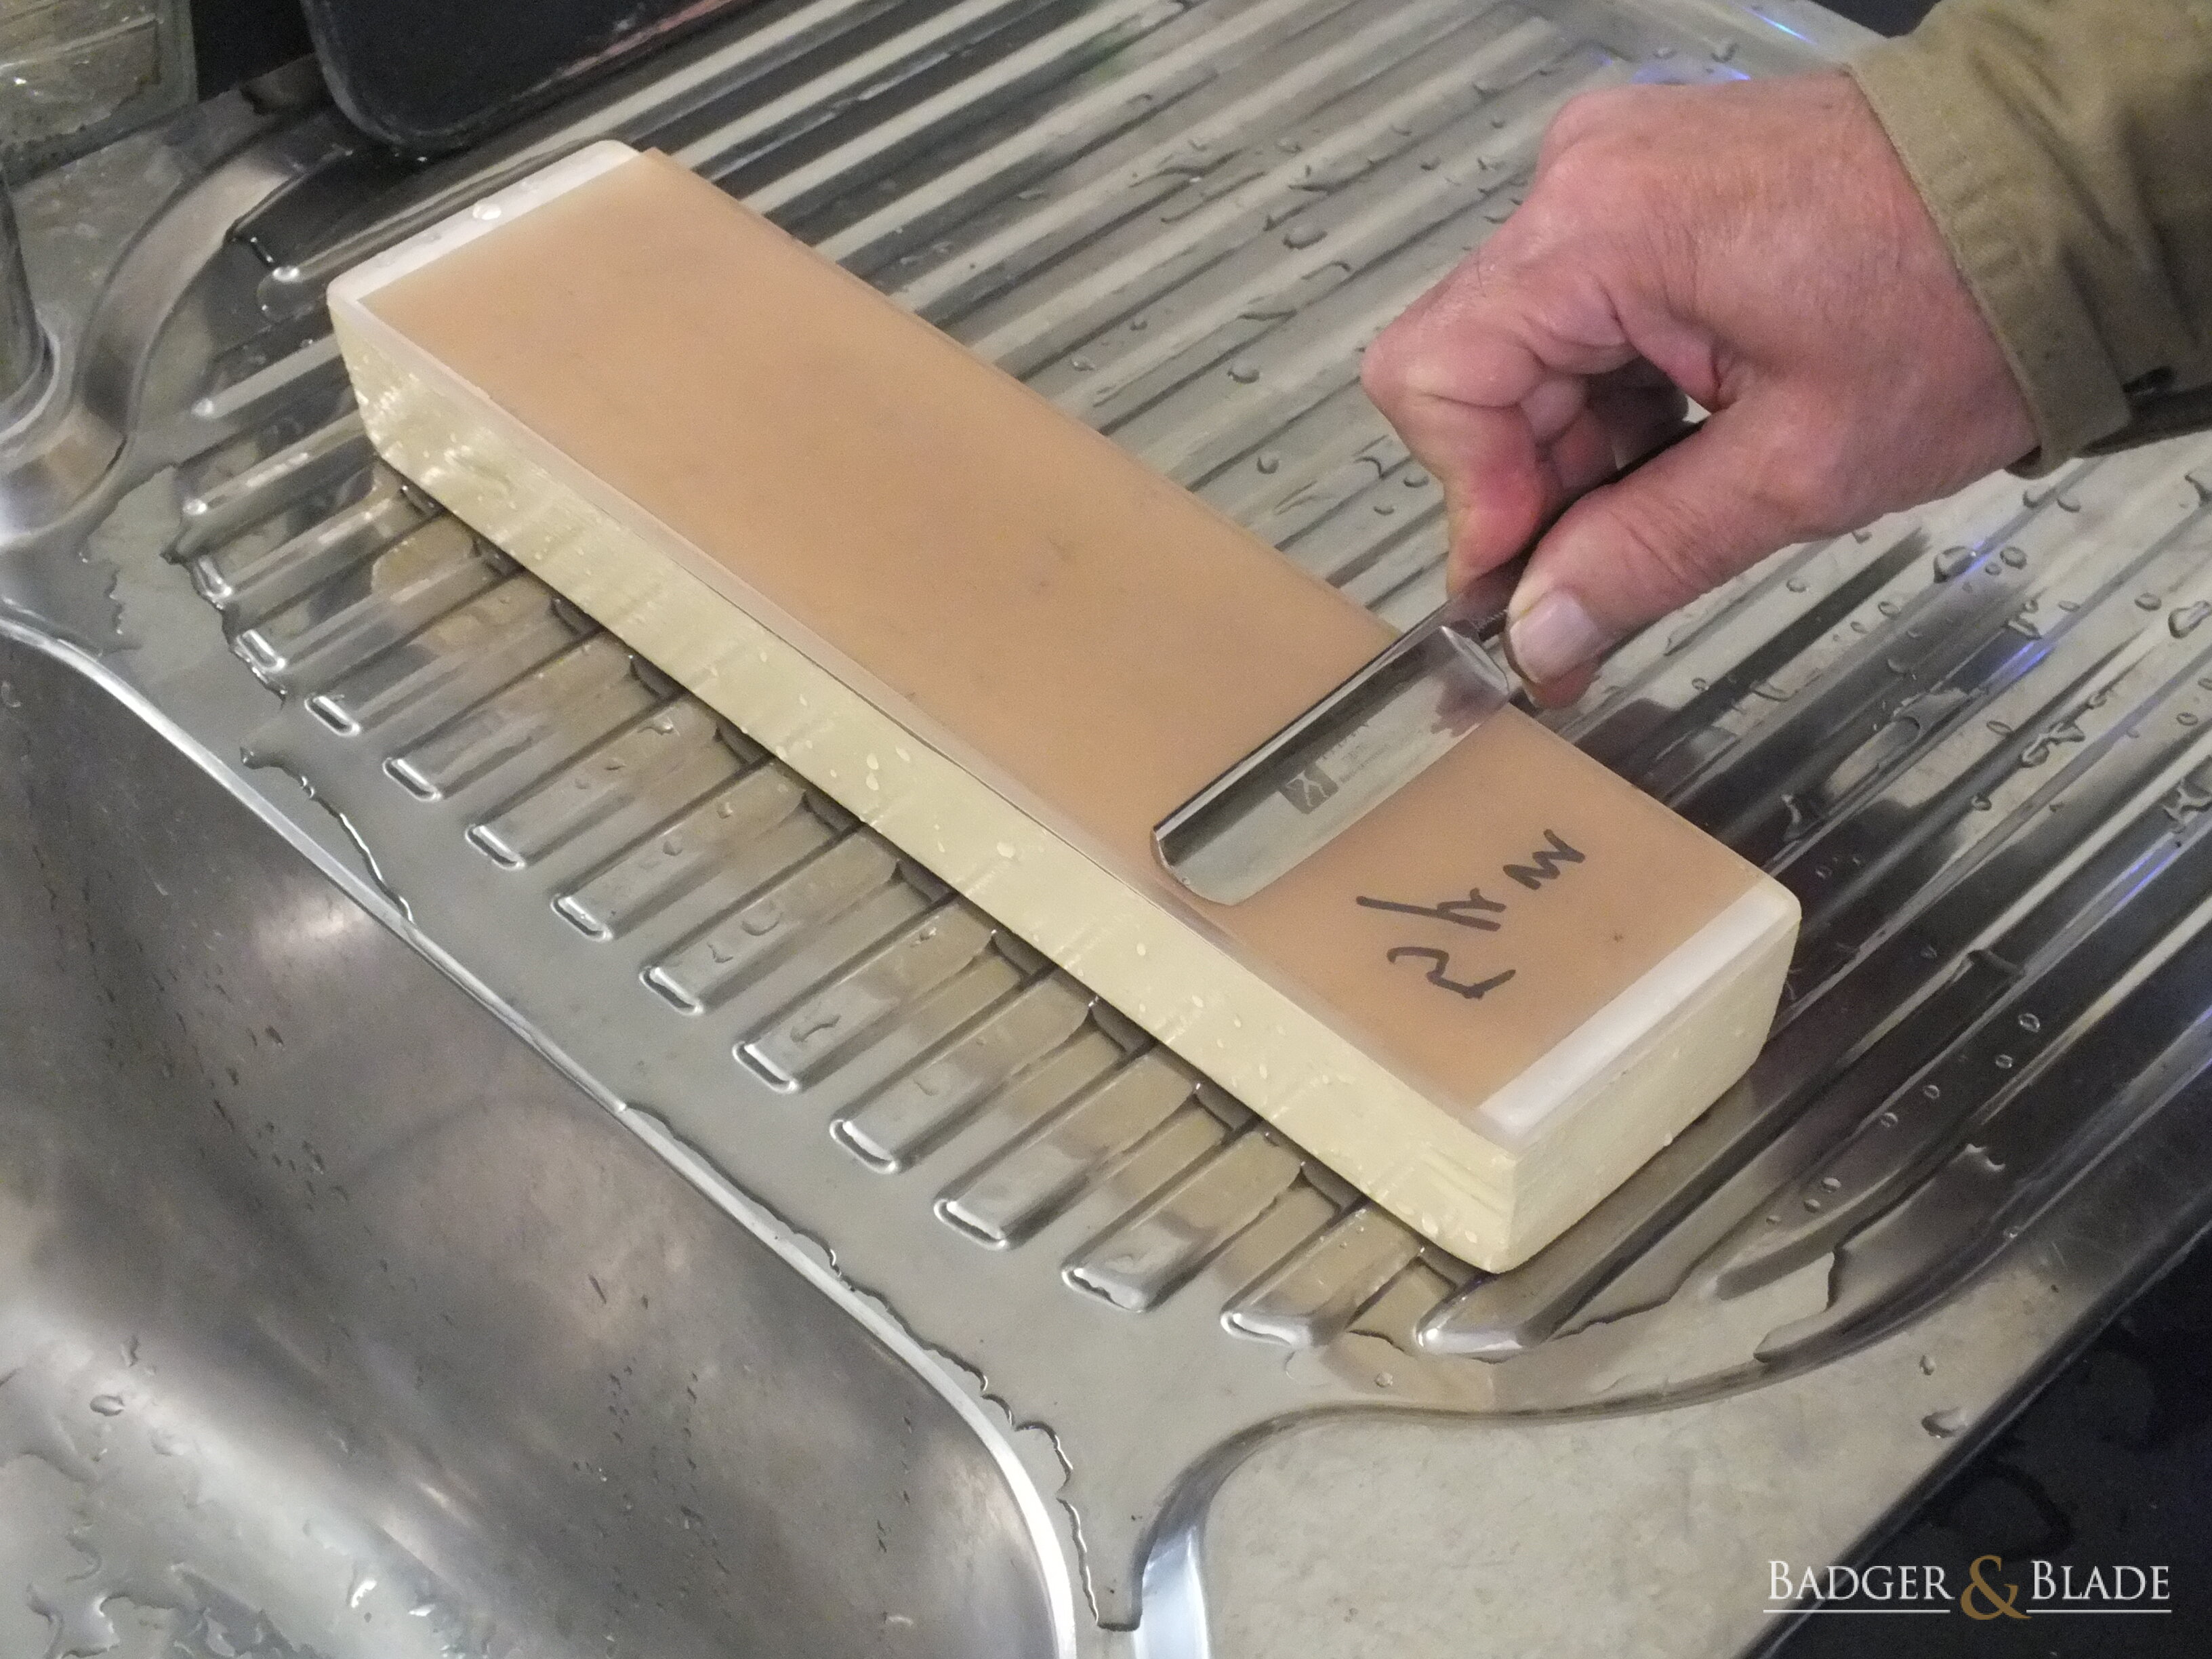
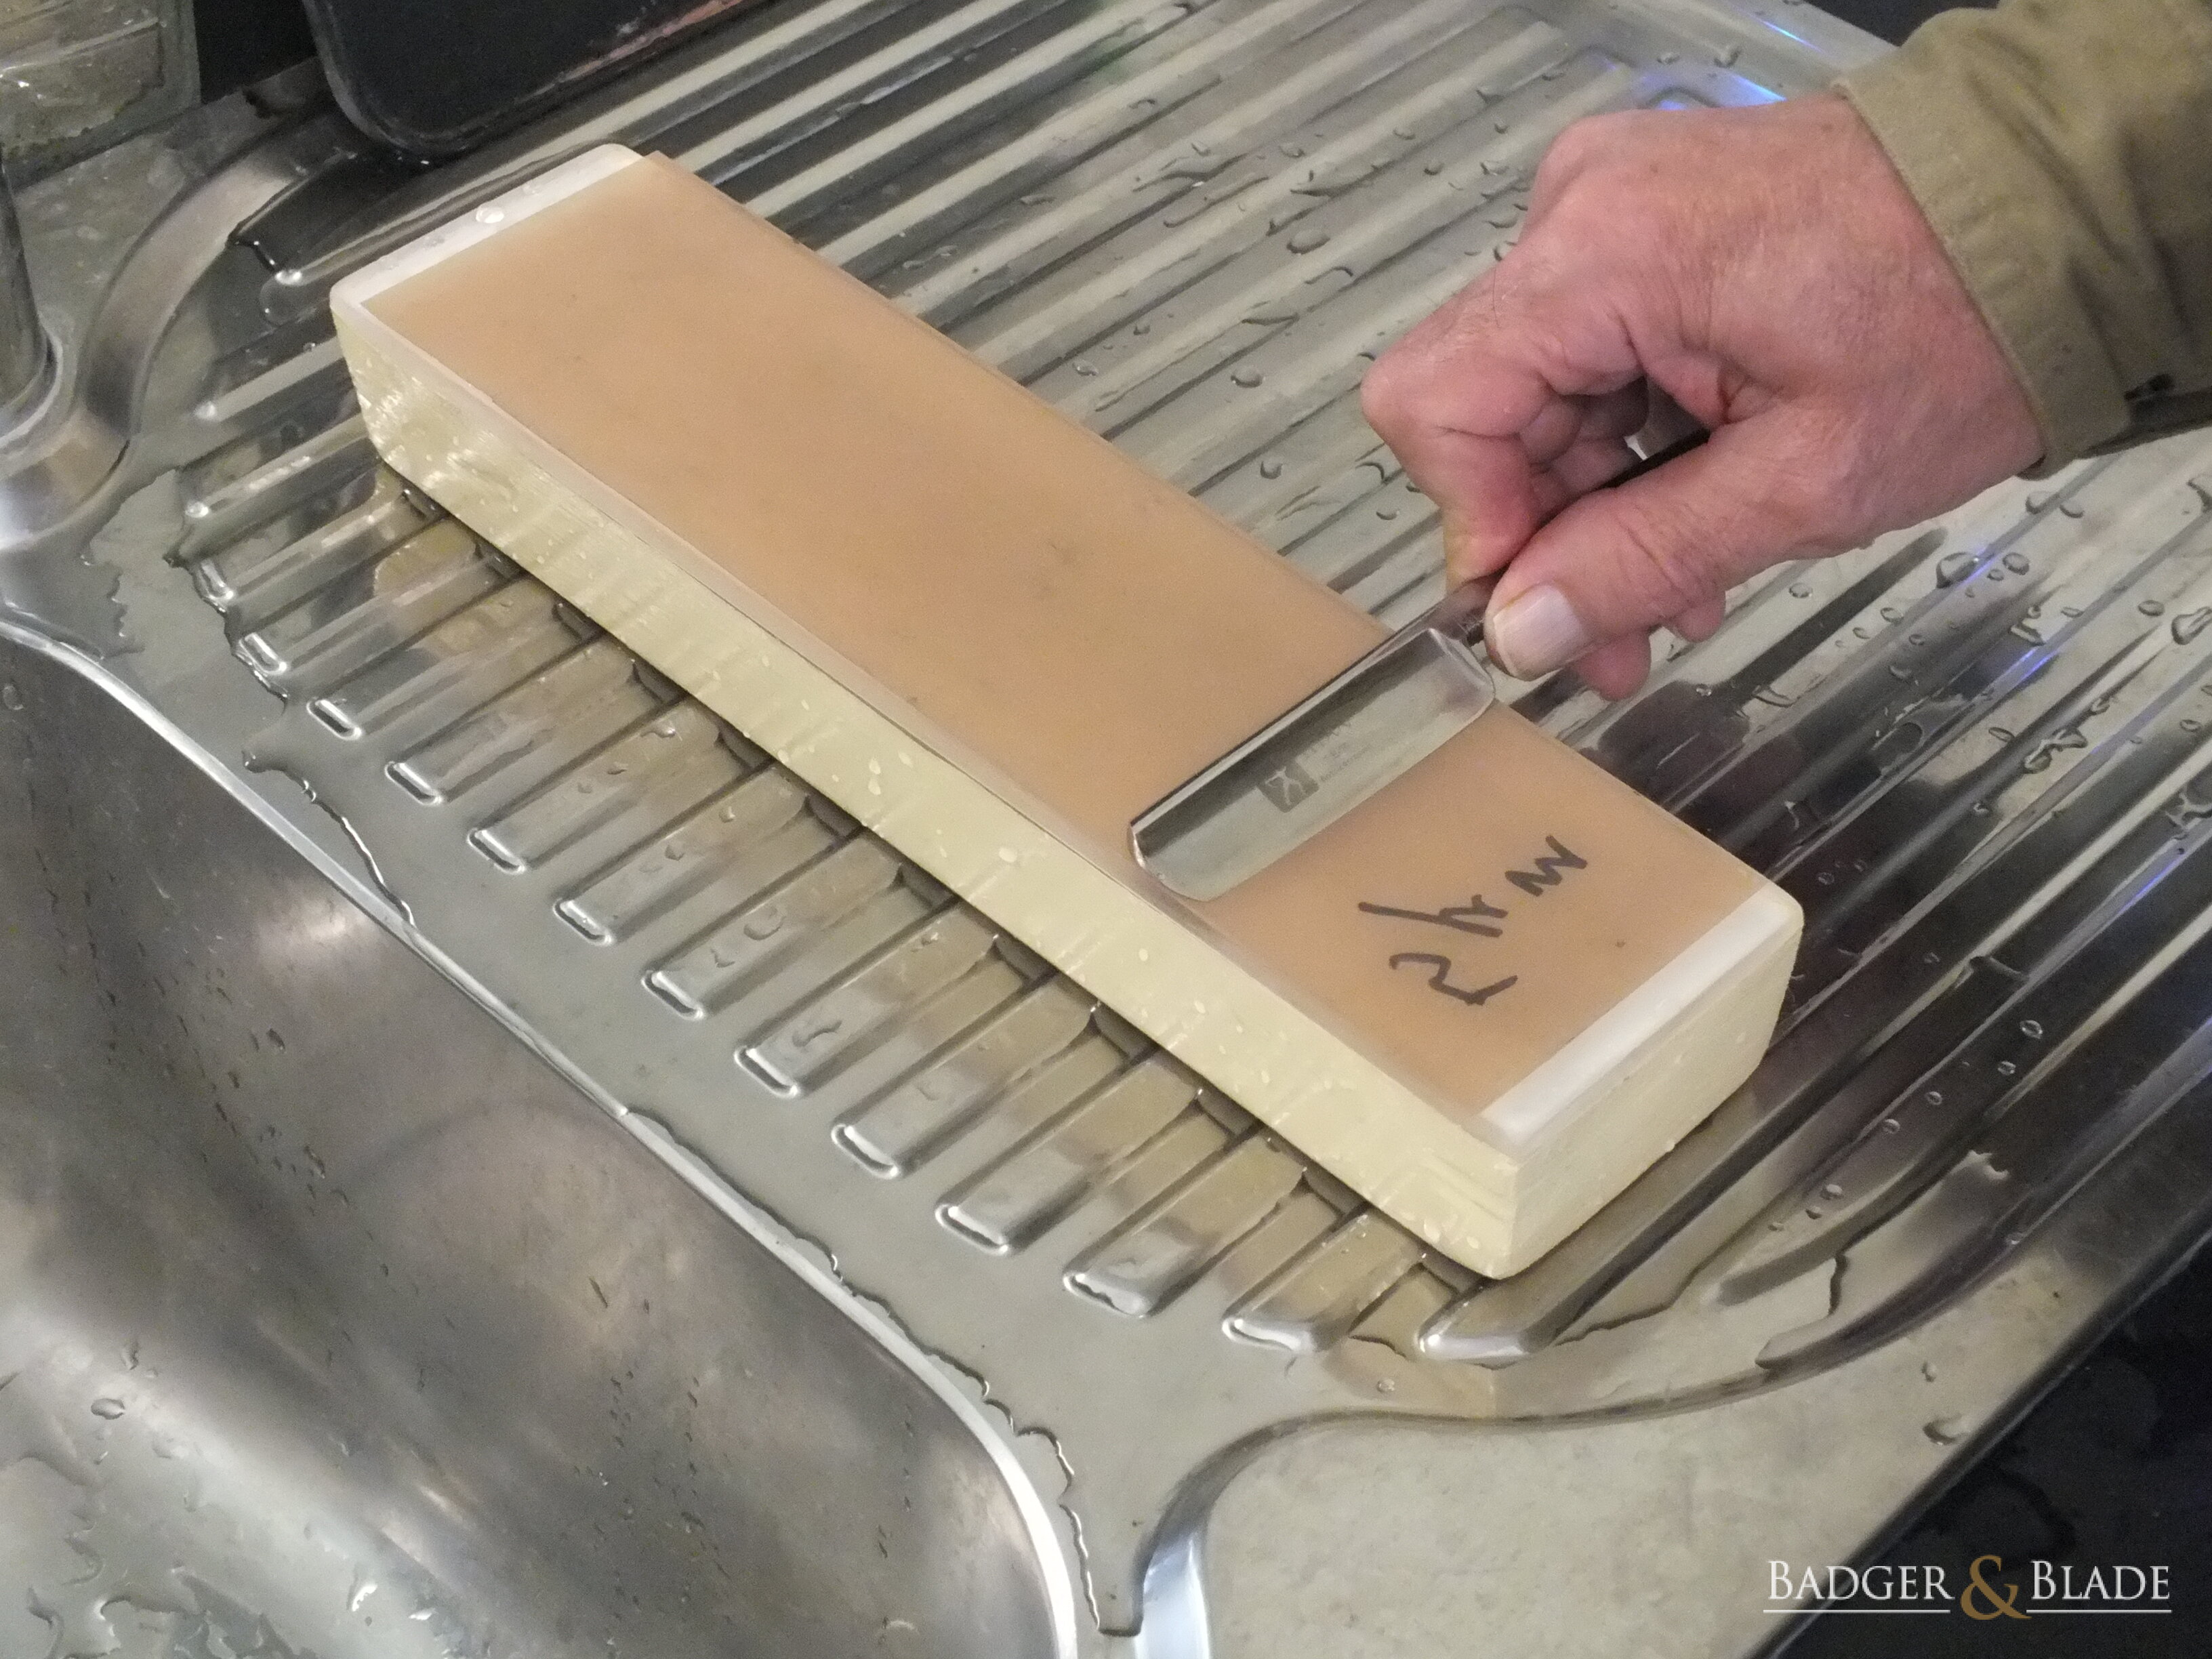
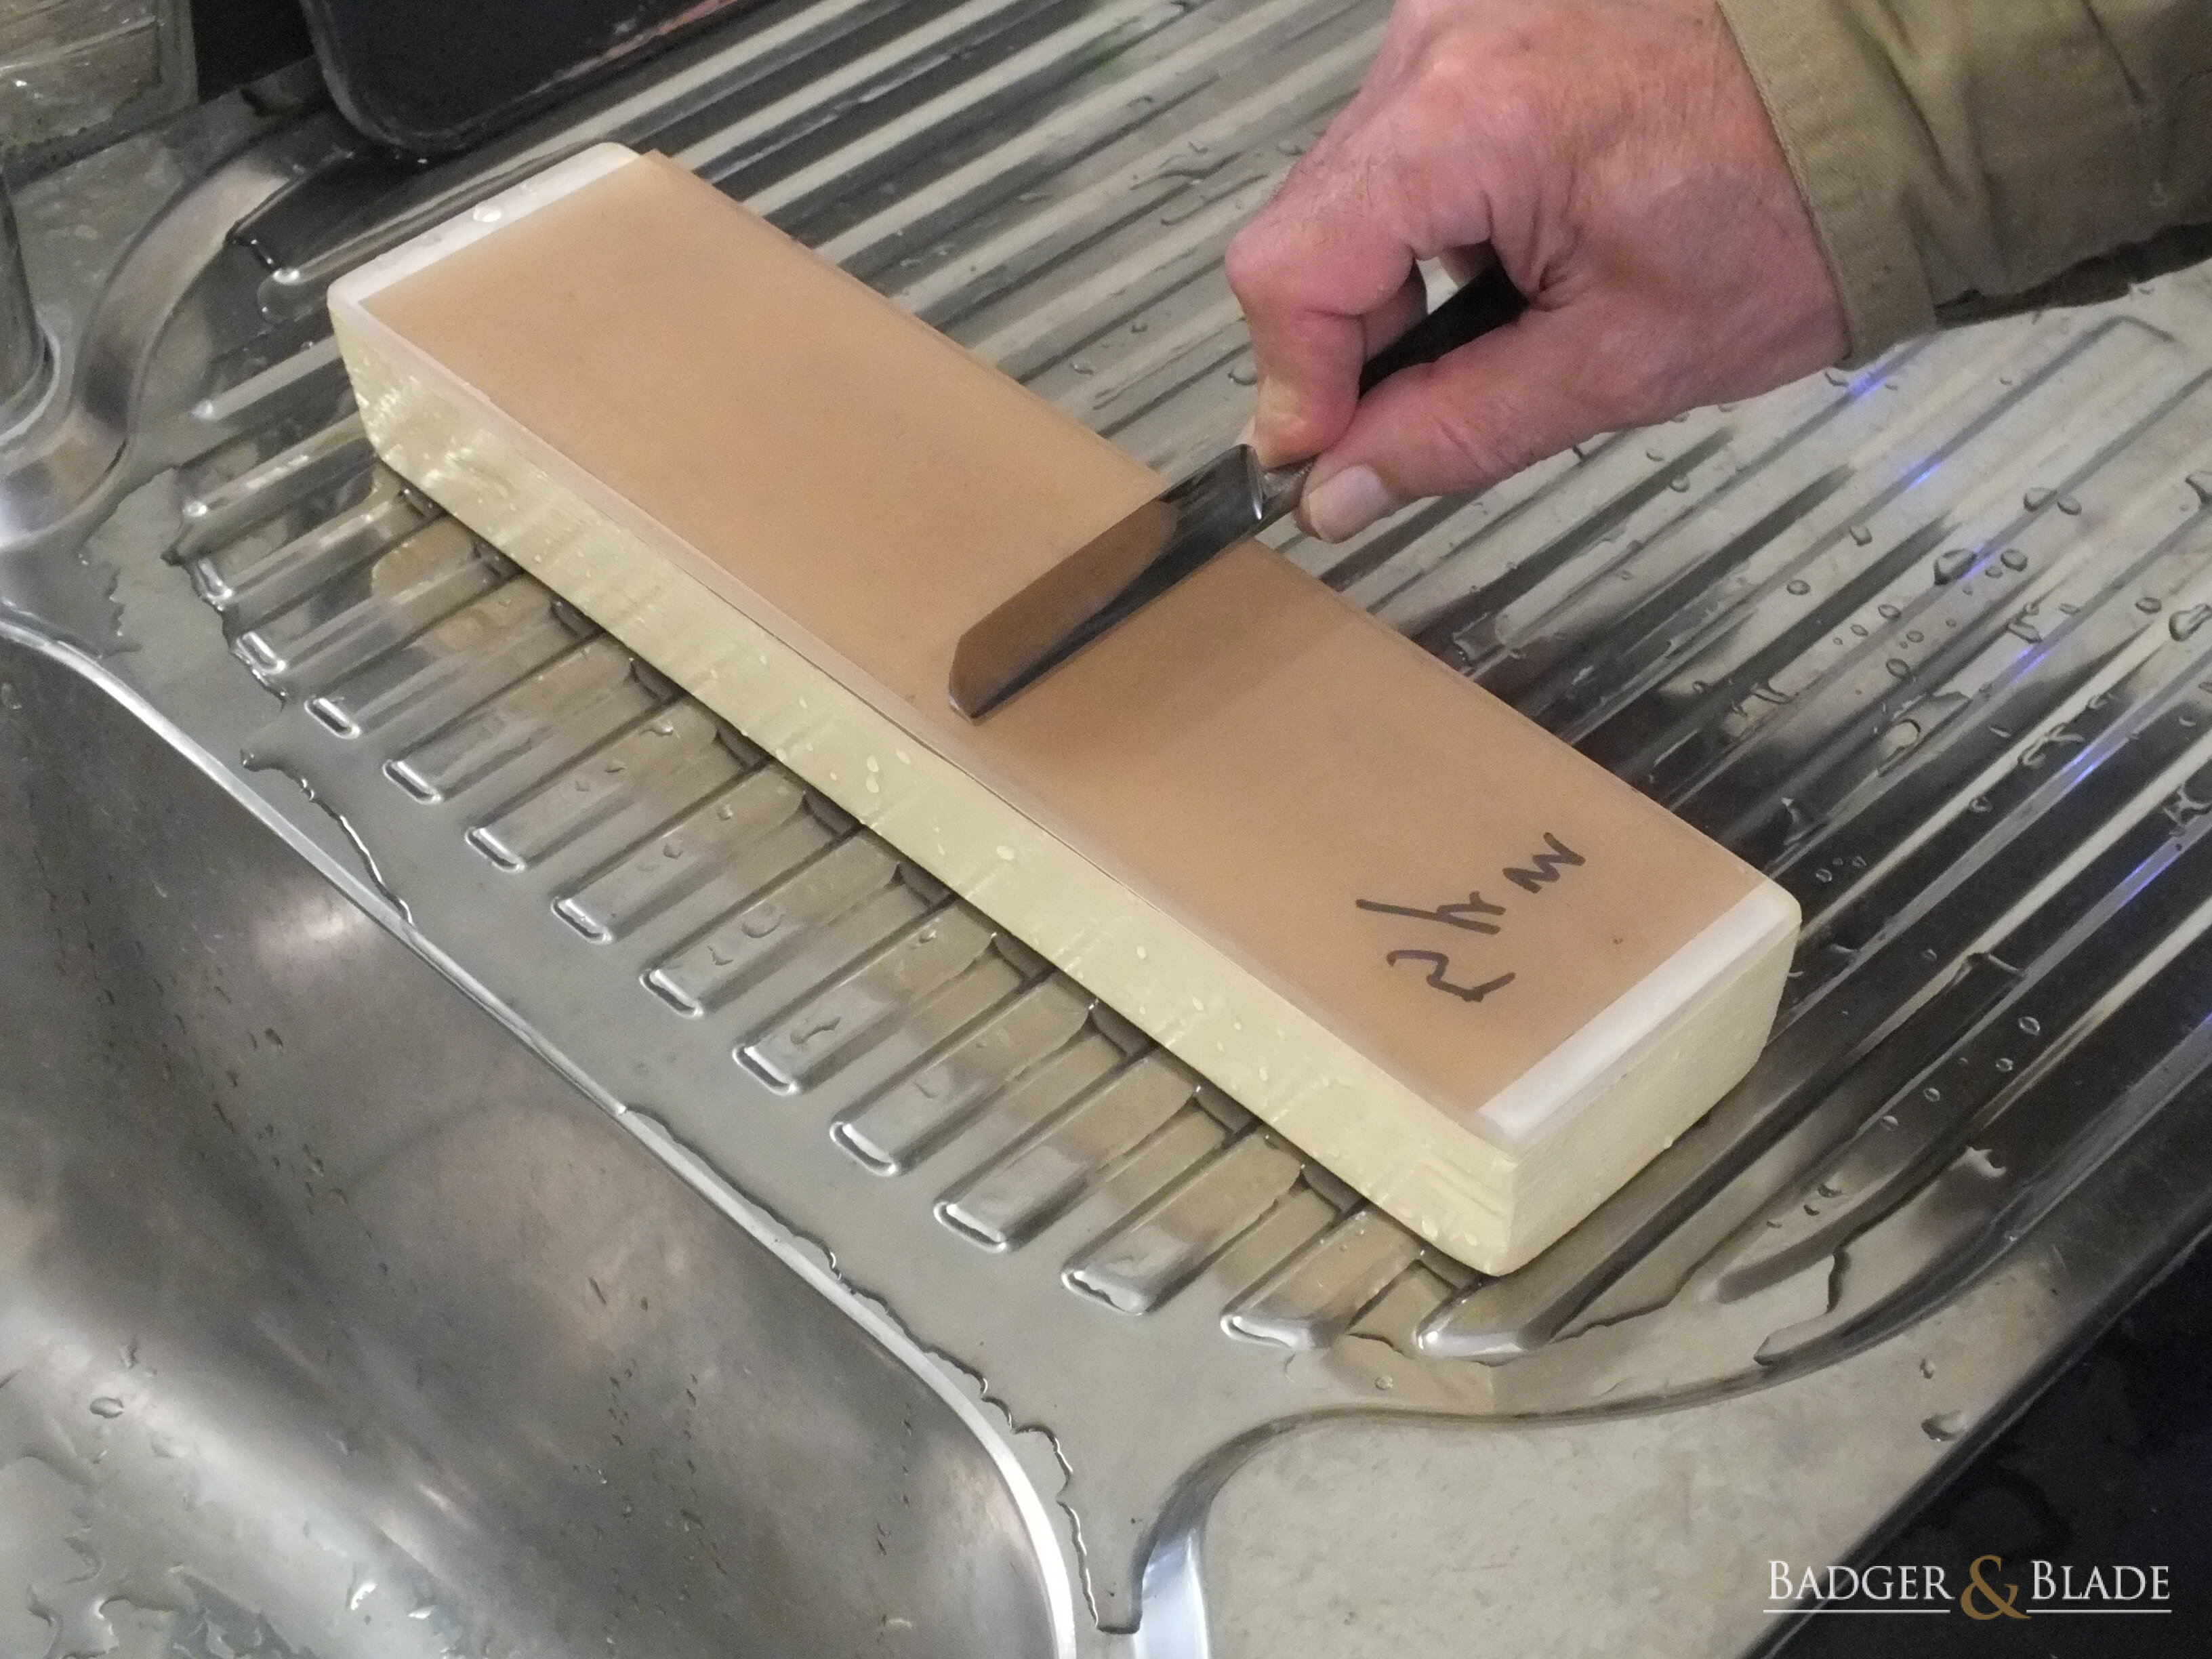
The lapping film is used mounted on the acrylic surface of the substrate. Water surface tension is used to hold the piece of lapping film in place. Fig. III 3 is the substrate and a piece of lapping film (abrasive side up).
To mount a piece of lapping film (either 9µm or 5µm as you will be using that in your marker pen test), first thoroughly wet and wash the acrylic surface with clean fresh water.
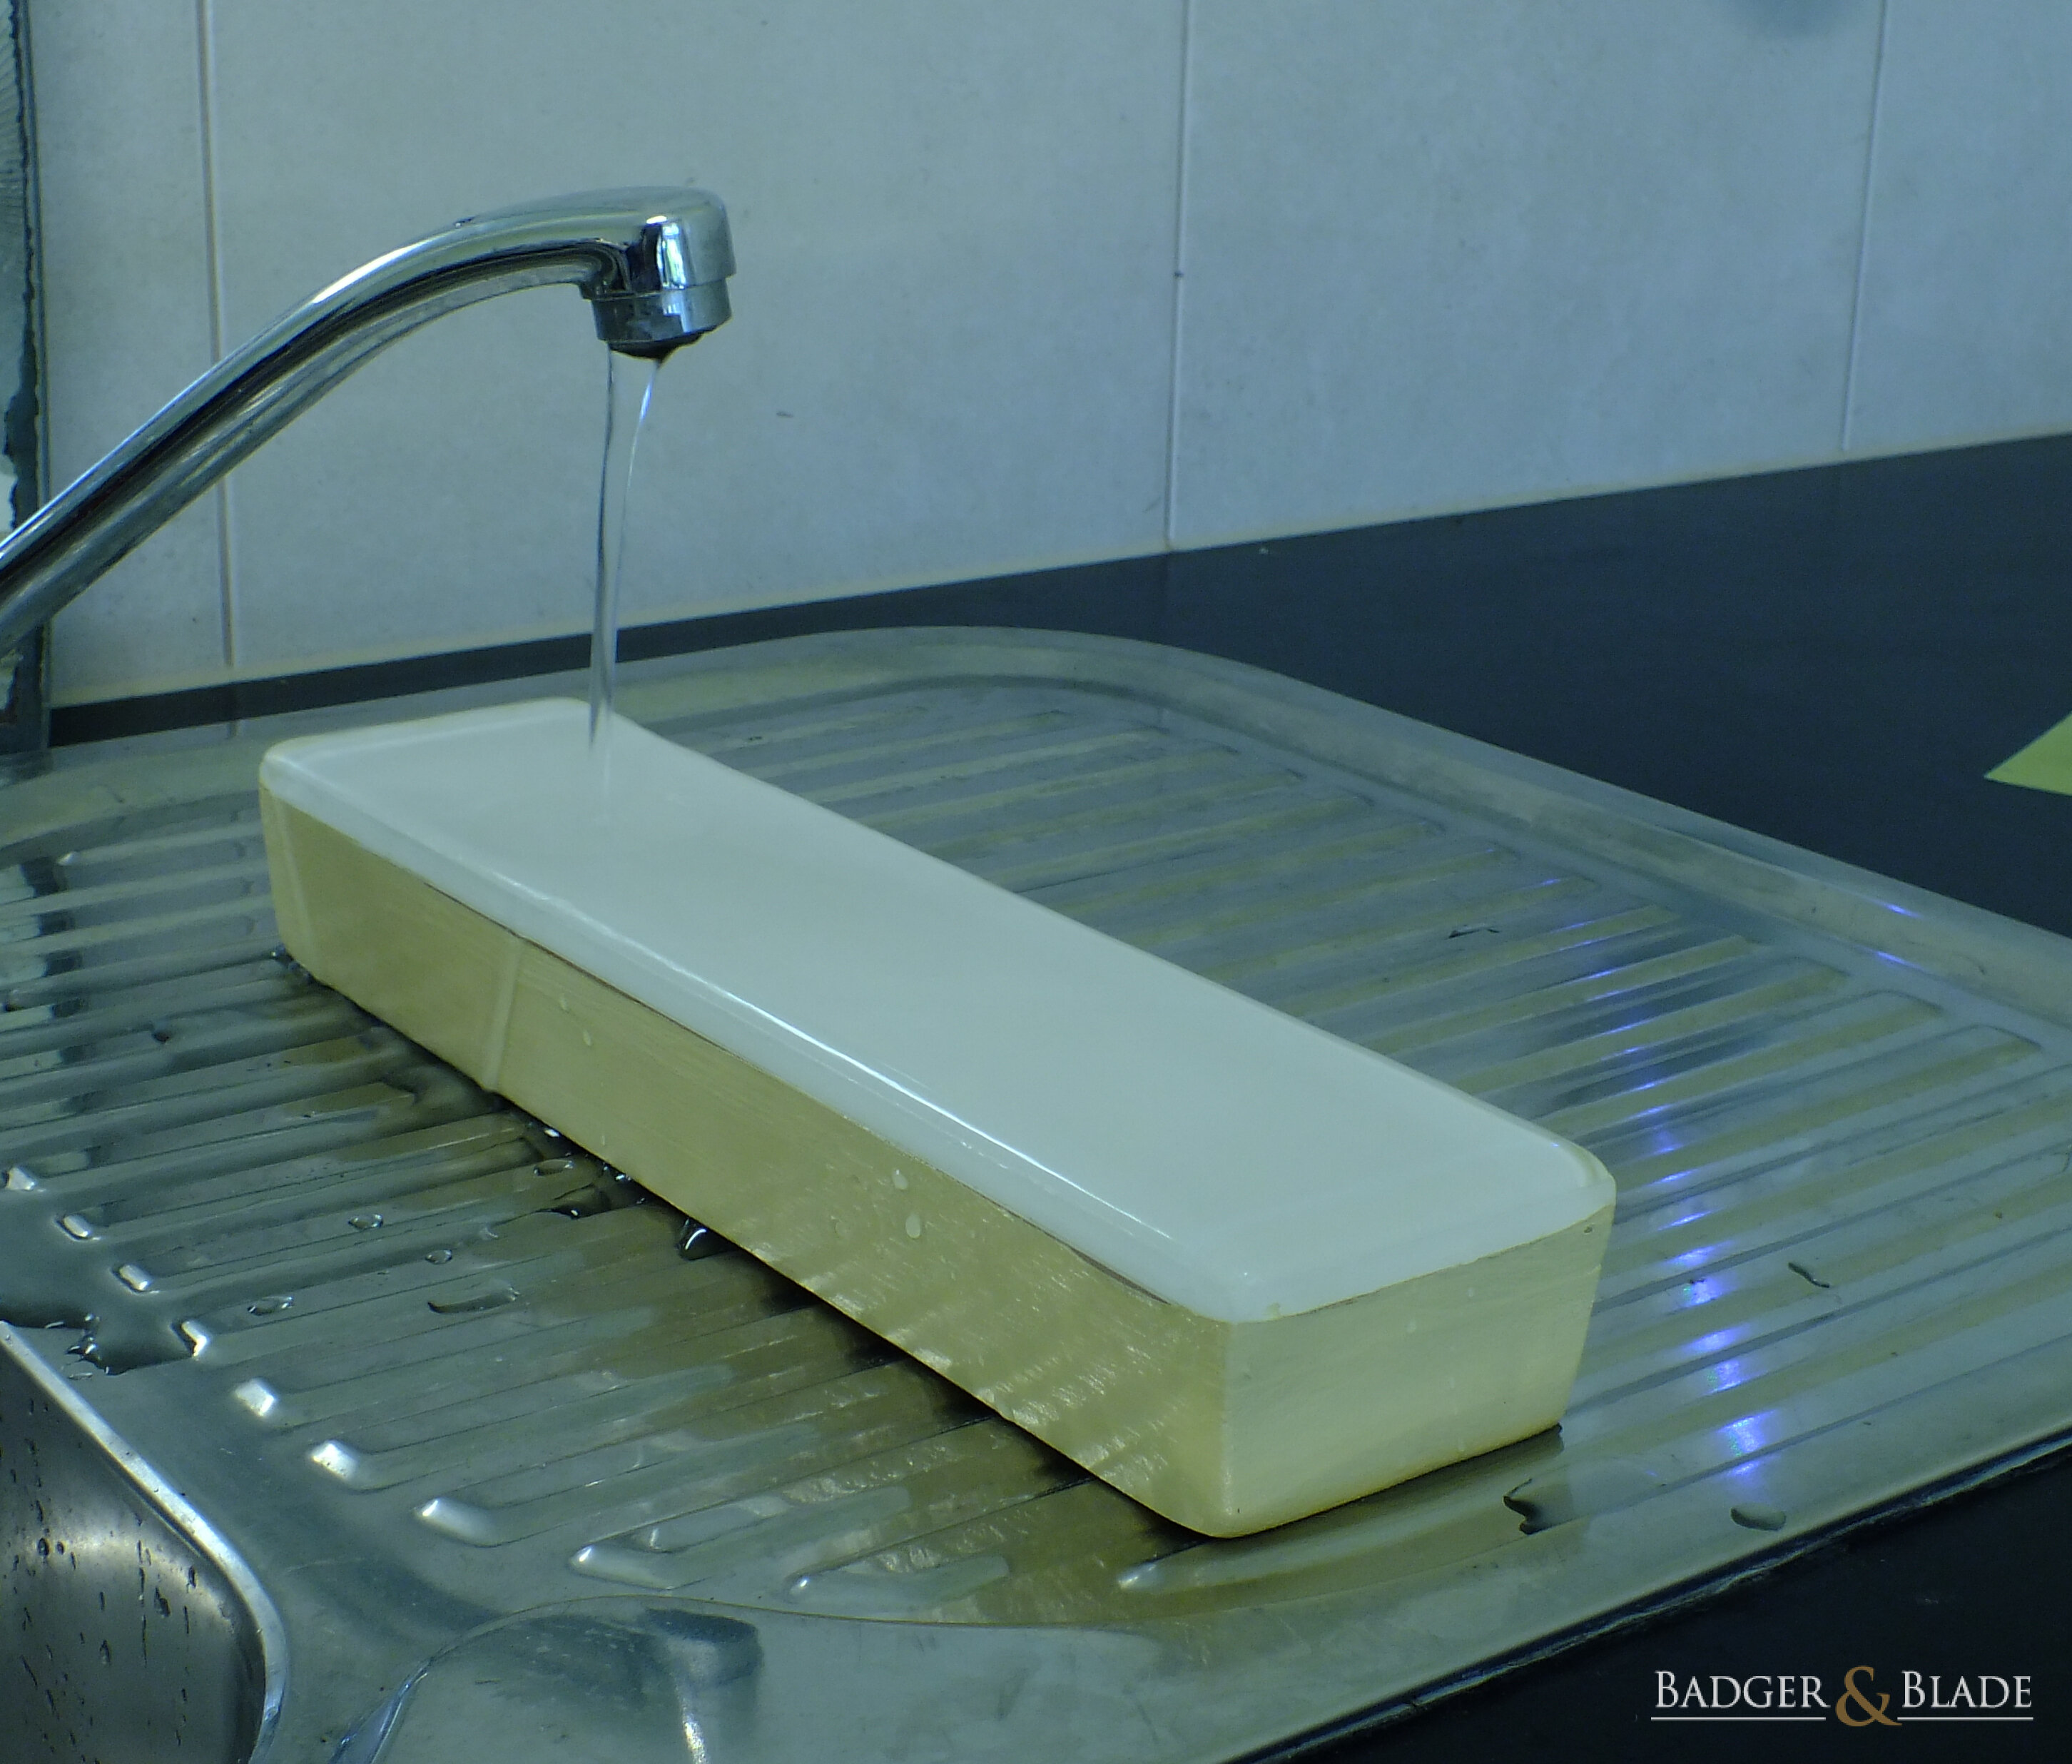
With plenty of water on the acrylic surface, you then place the lapping film (abrasive side up) on top of the water surface.

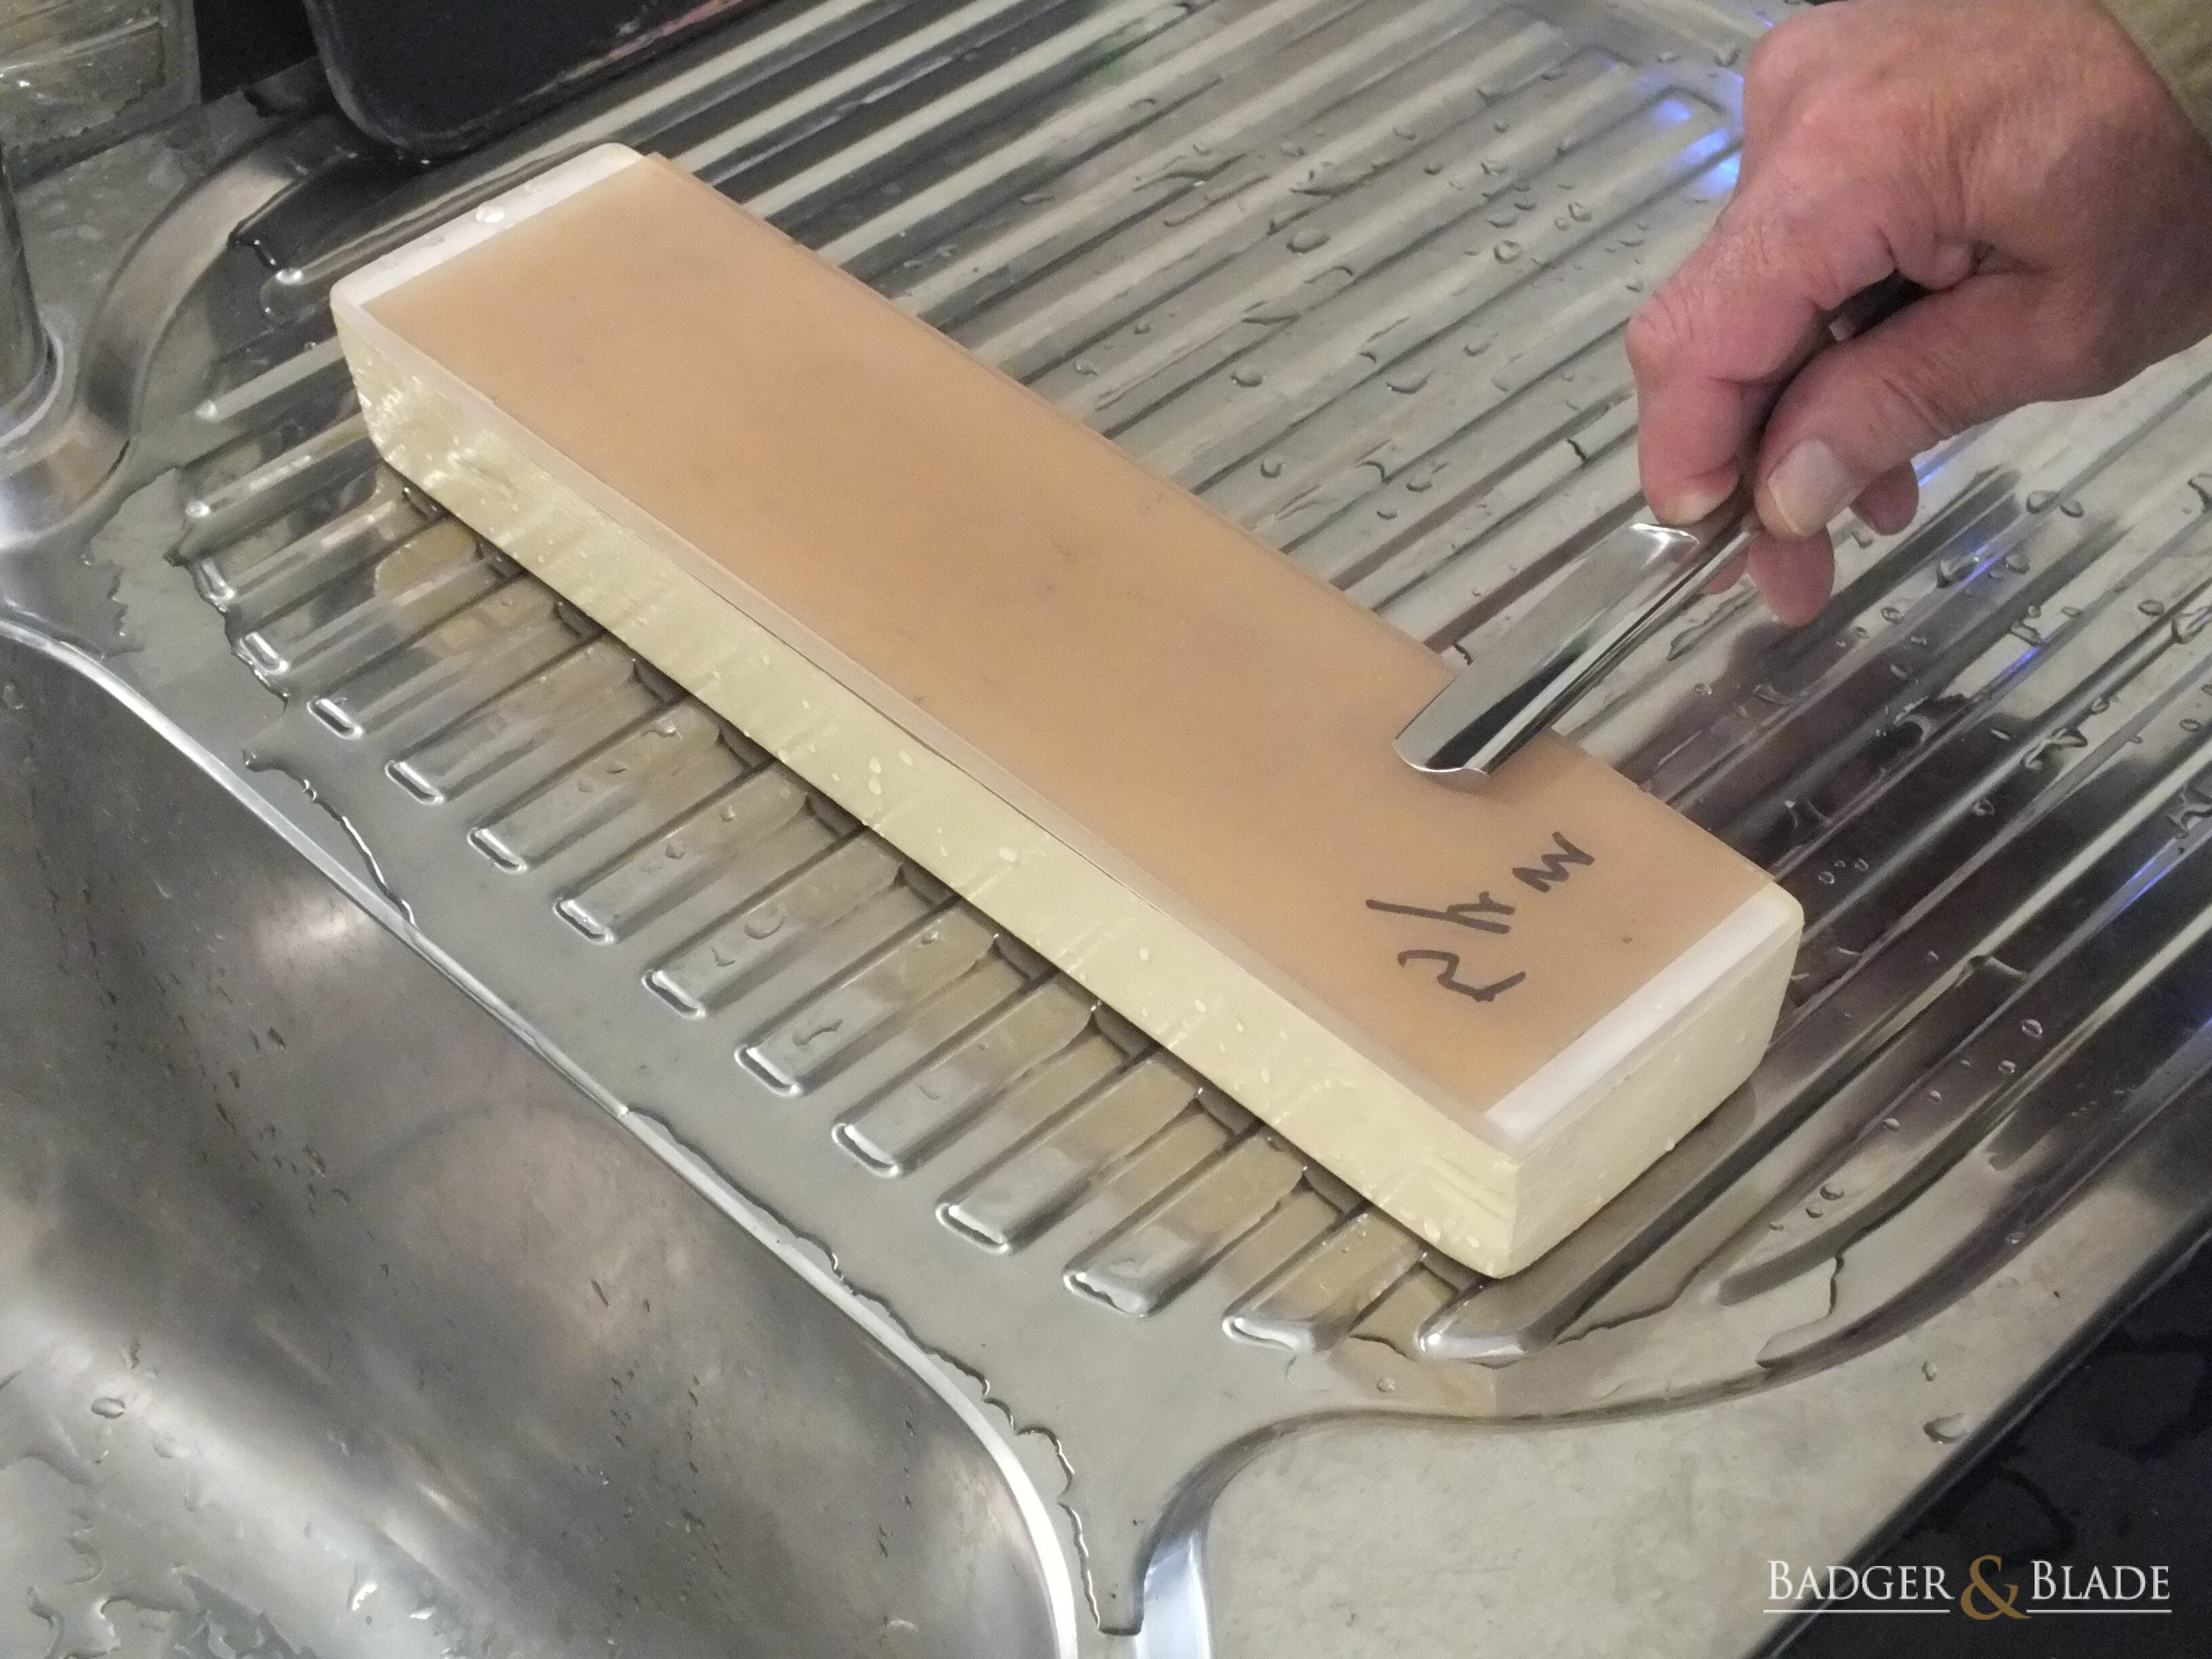
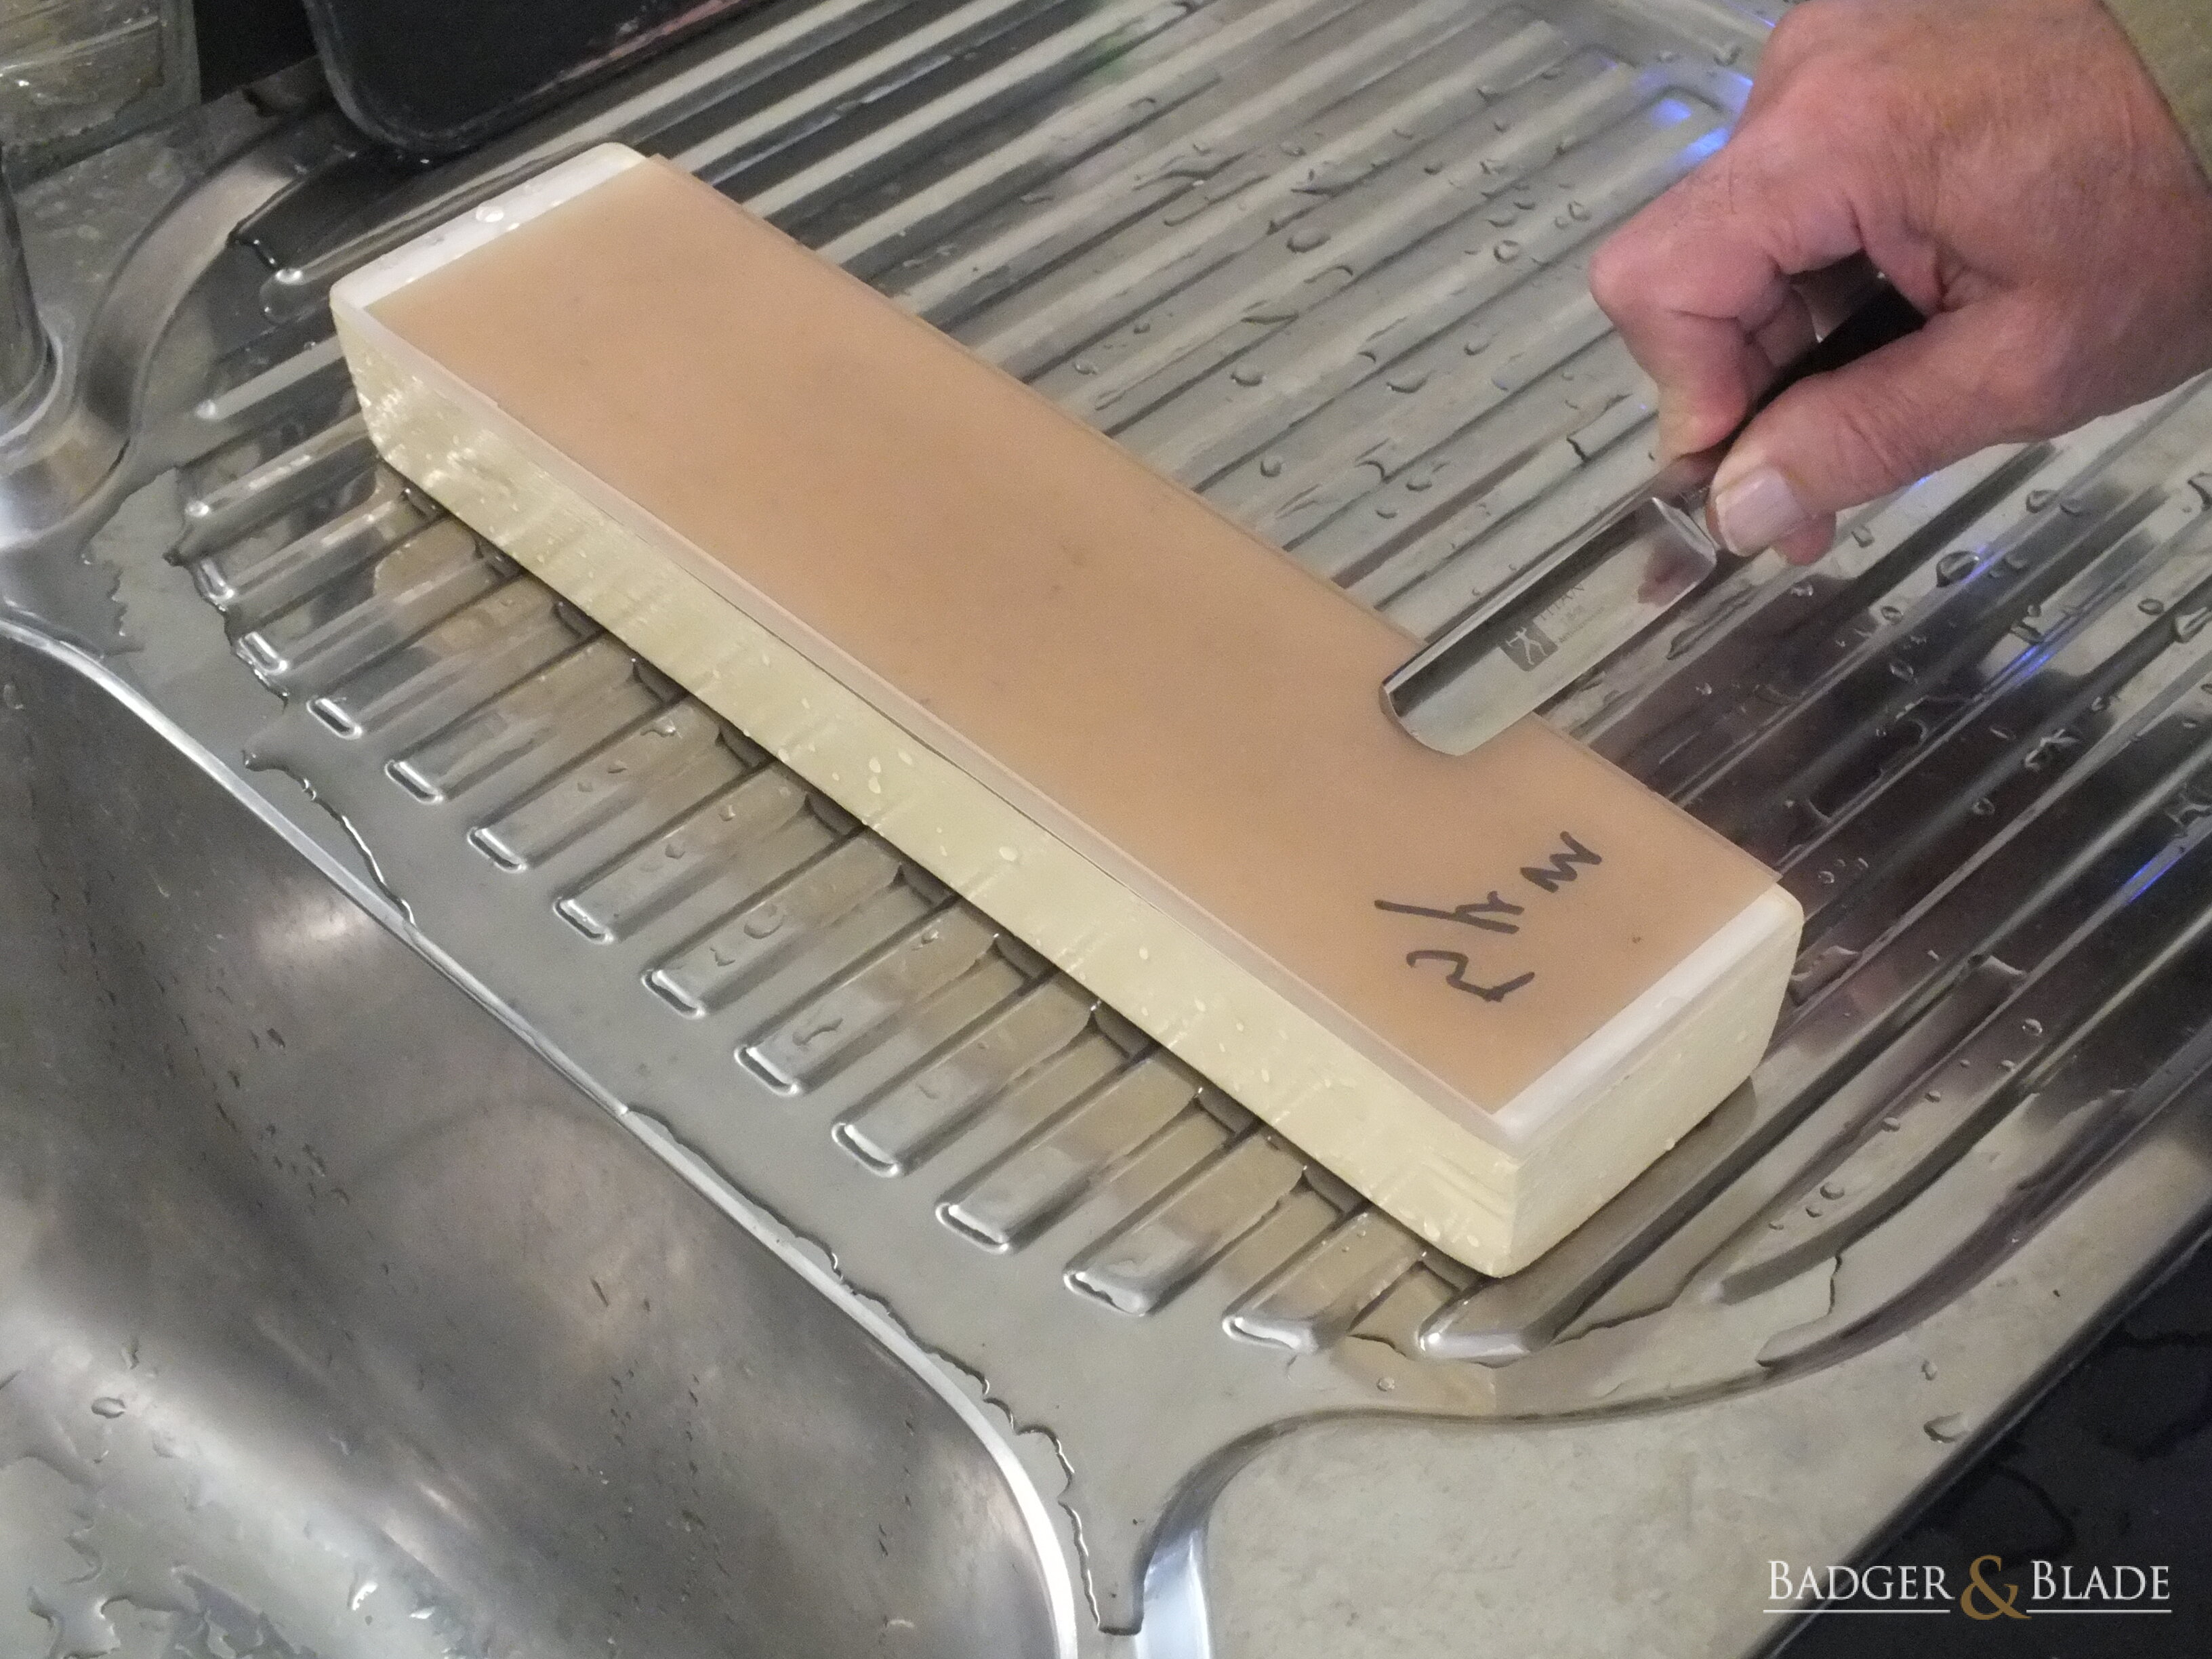
Then squeegee the excess water out from under the lapping film using your SR. This is best done without running water. Hold one end of the lapping film to the acrylic with a finger of your non-dominant hand. With your dominant hand, hold your SR and move it across the length of the film (edge leading) to squeegee out the water. For pressure, use about twice the weight of the blade. When doing this, ensure that both the blade’s spine and bevel are in contact with the lapping film piece.
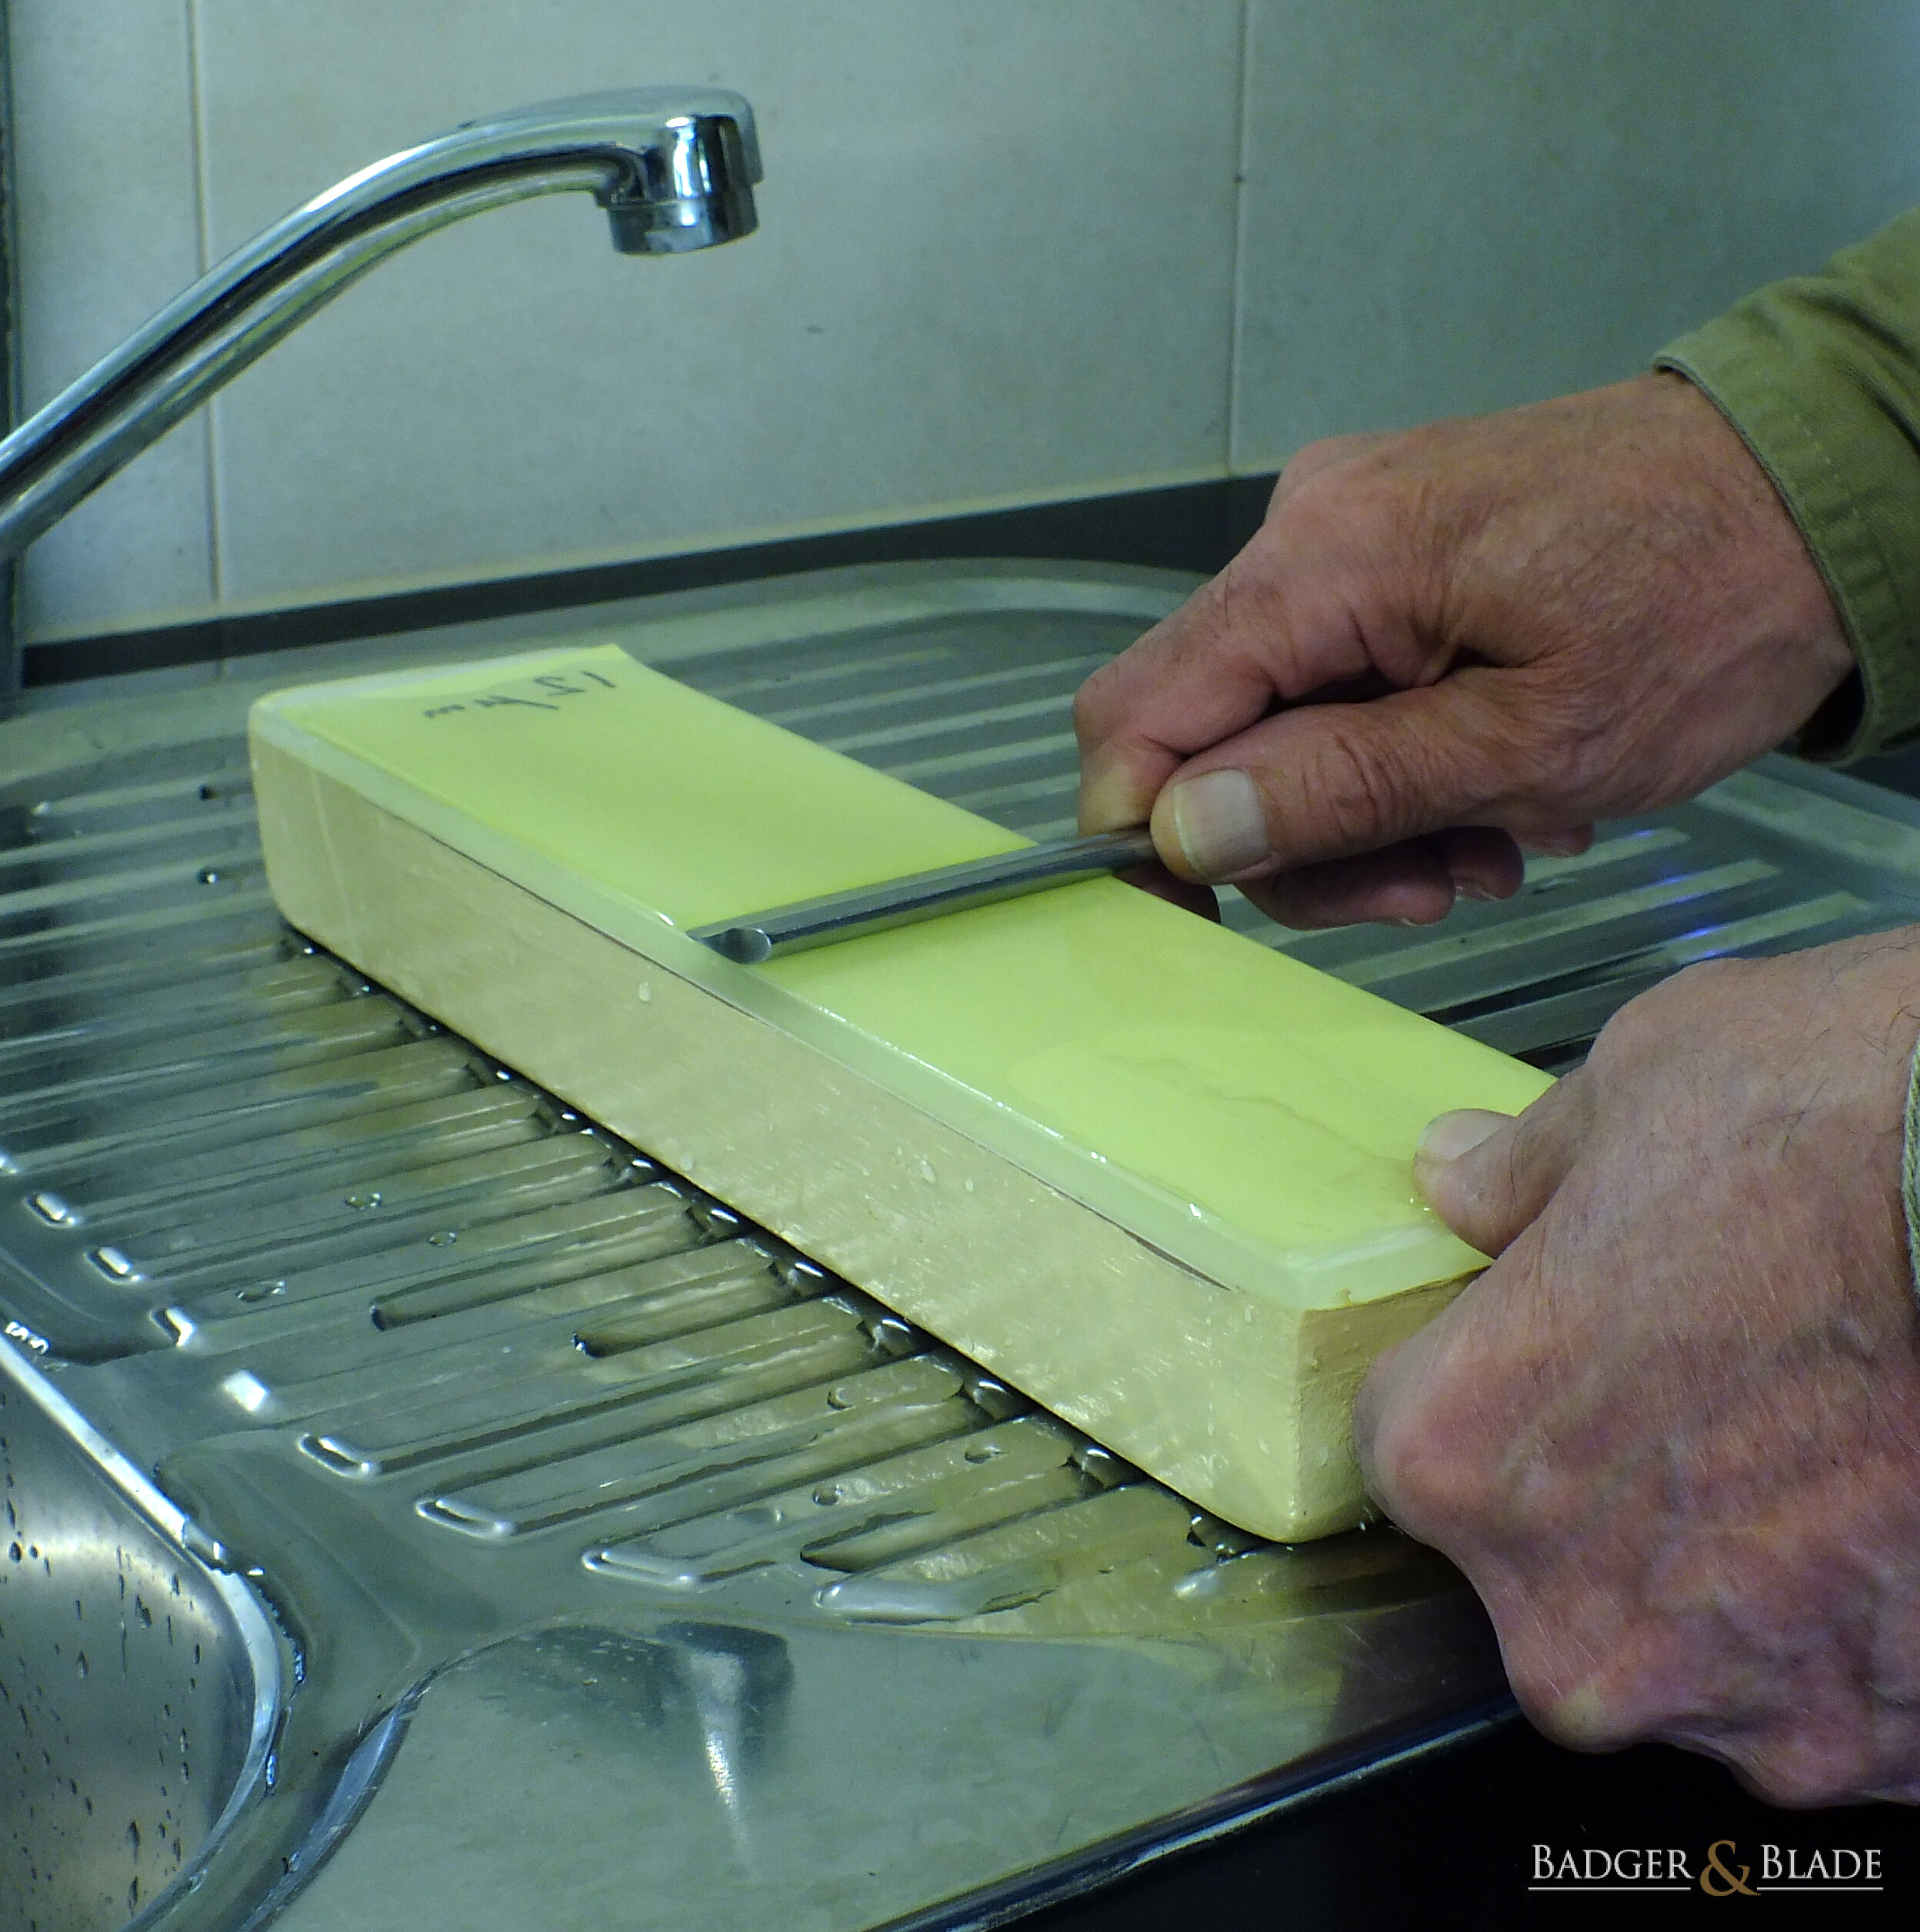
End-for-end your substrate with lapping film and repeat the process from the opposite end.
Note: It is most important that there are no air bubbles or foreign matter between the acrylic surface and the lapping film piece. If there is, remove the lapping film and start the mounting procedure again. Bubbles you will have to look for. Foreign matter can generally be felt when squeegeeing the water out.
Practice this mounting procedure a few times until you become confident that you know and understand how to do it successfully.
MARKER PEN TEST
The purpose of doing a marker pen test is to give you an indication as to the current condition of the blade’s bevel before you do a bevel set. It is something that you should consider doing before every bevel set.
The basic steps are to:
- mark the bevel and spine-wear area (both sides) with marker pen ink,
- perform 2 or 3 very light edge leading laps (weight of blade only) on 9µm or 5µm (preferred) lapping film, and
- then read the results.
MARKING YOUR SR
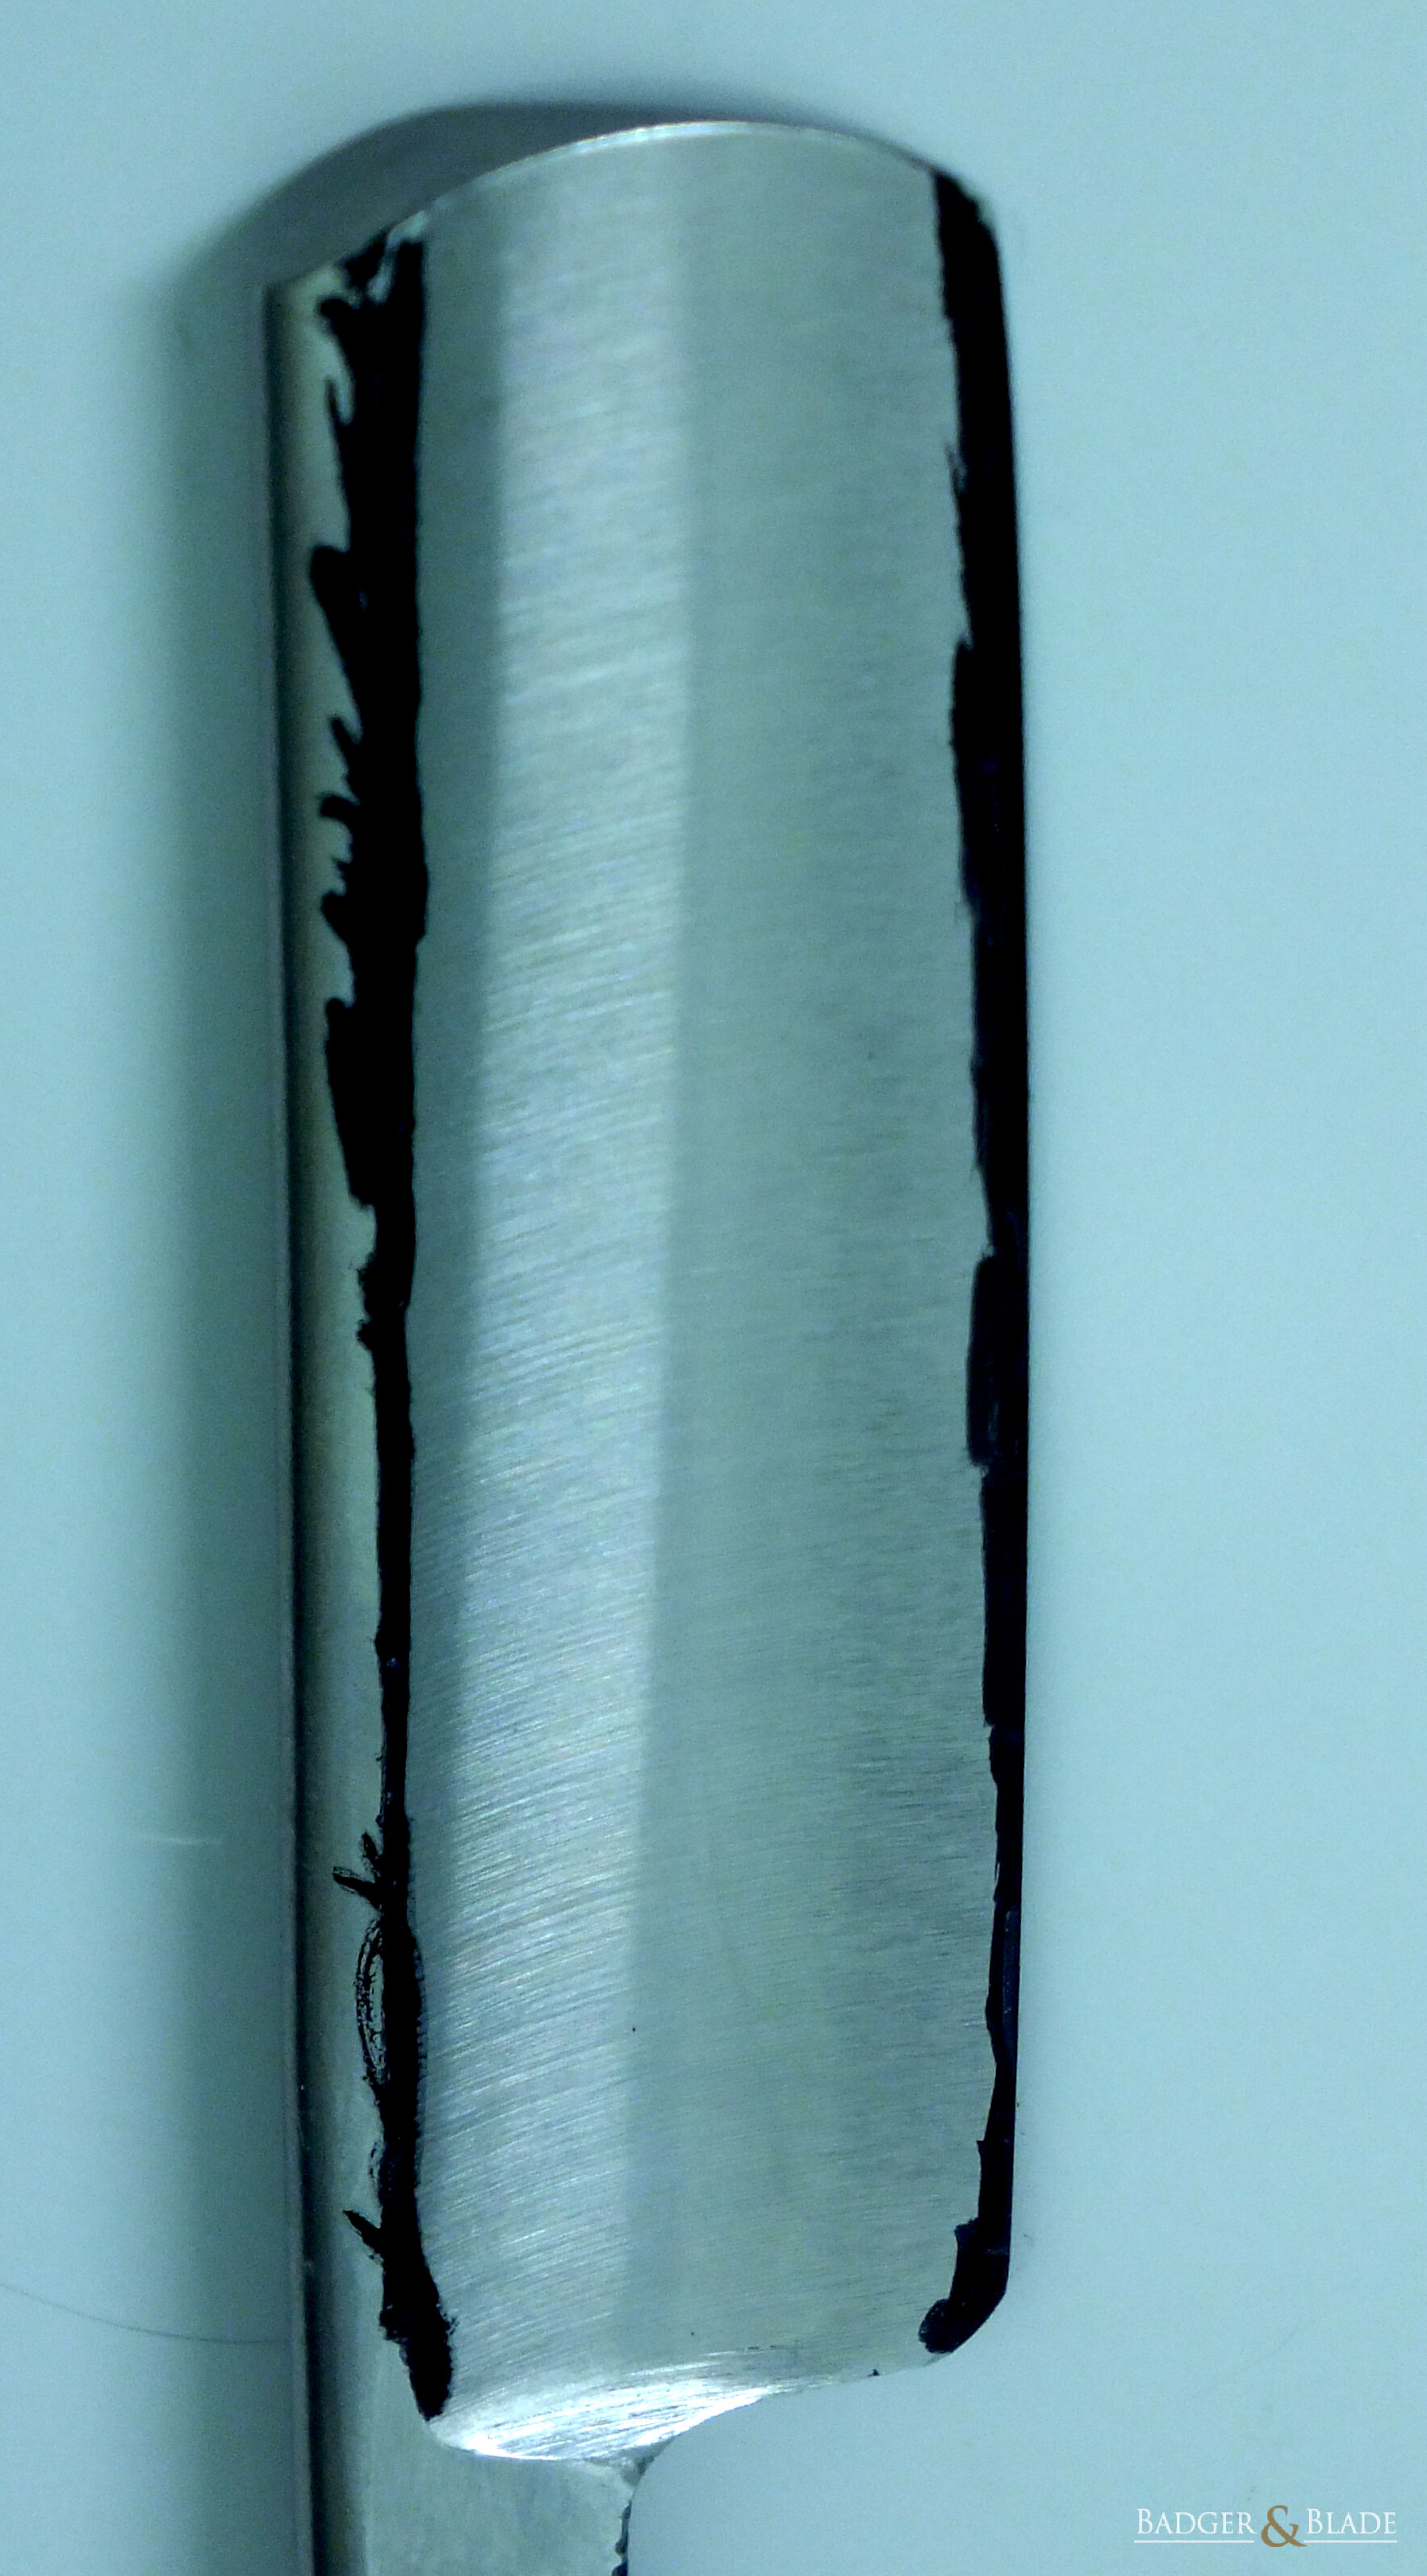
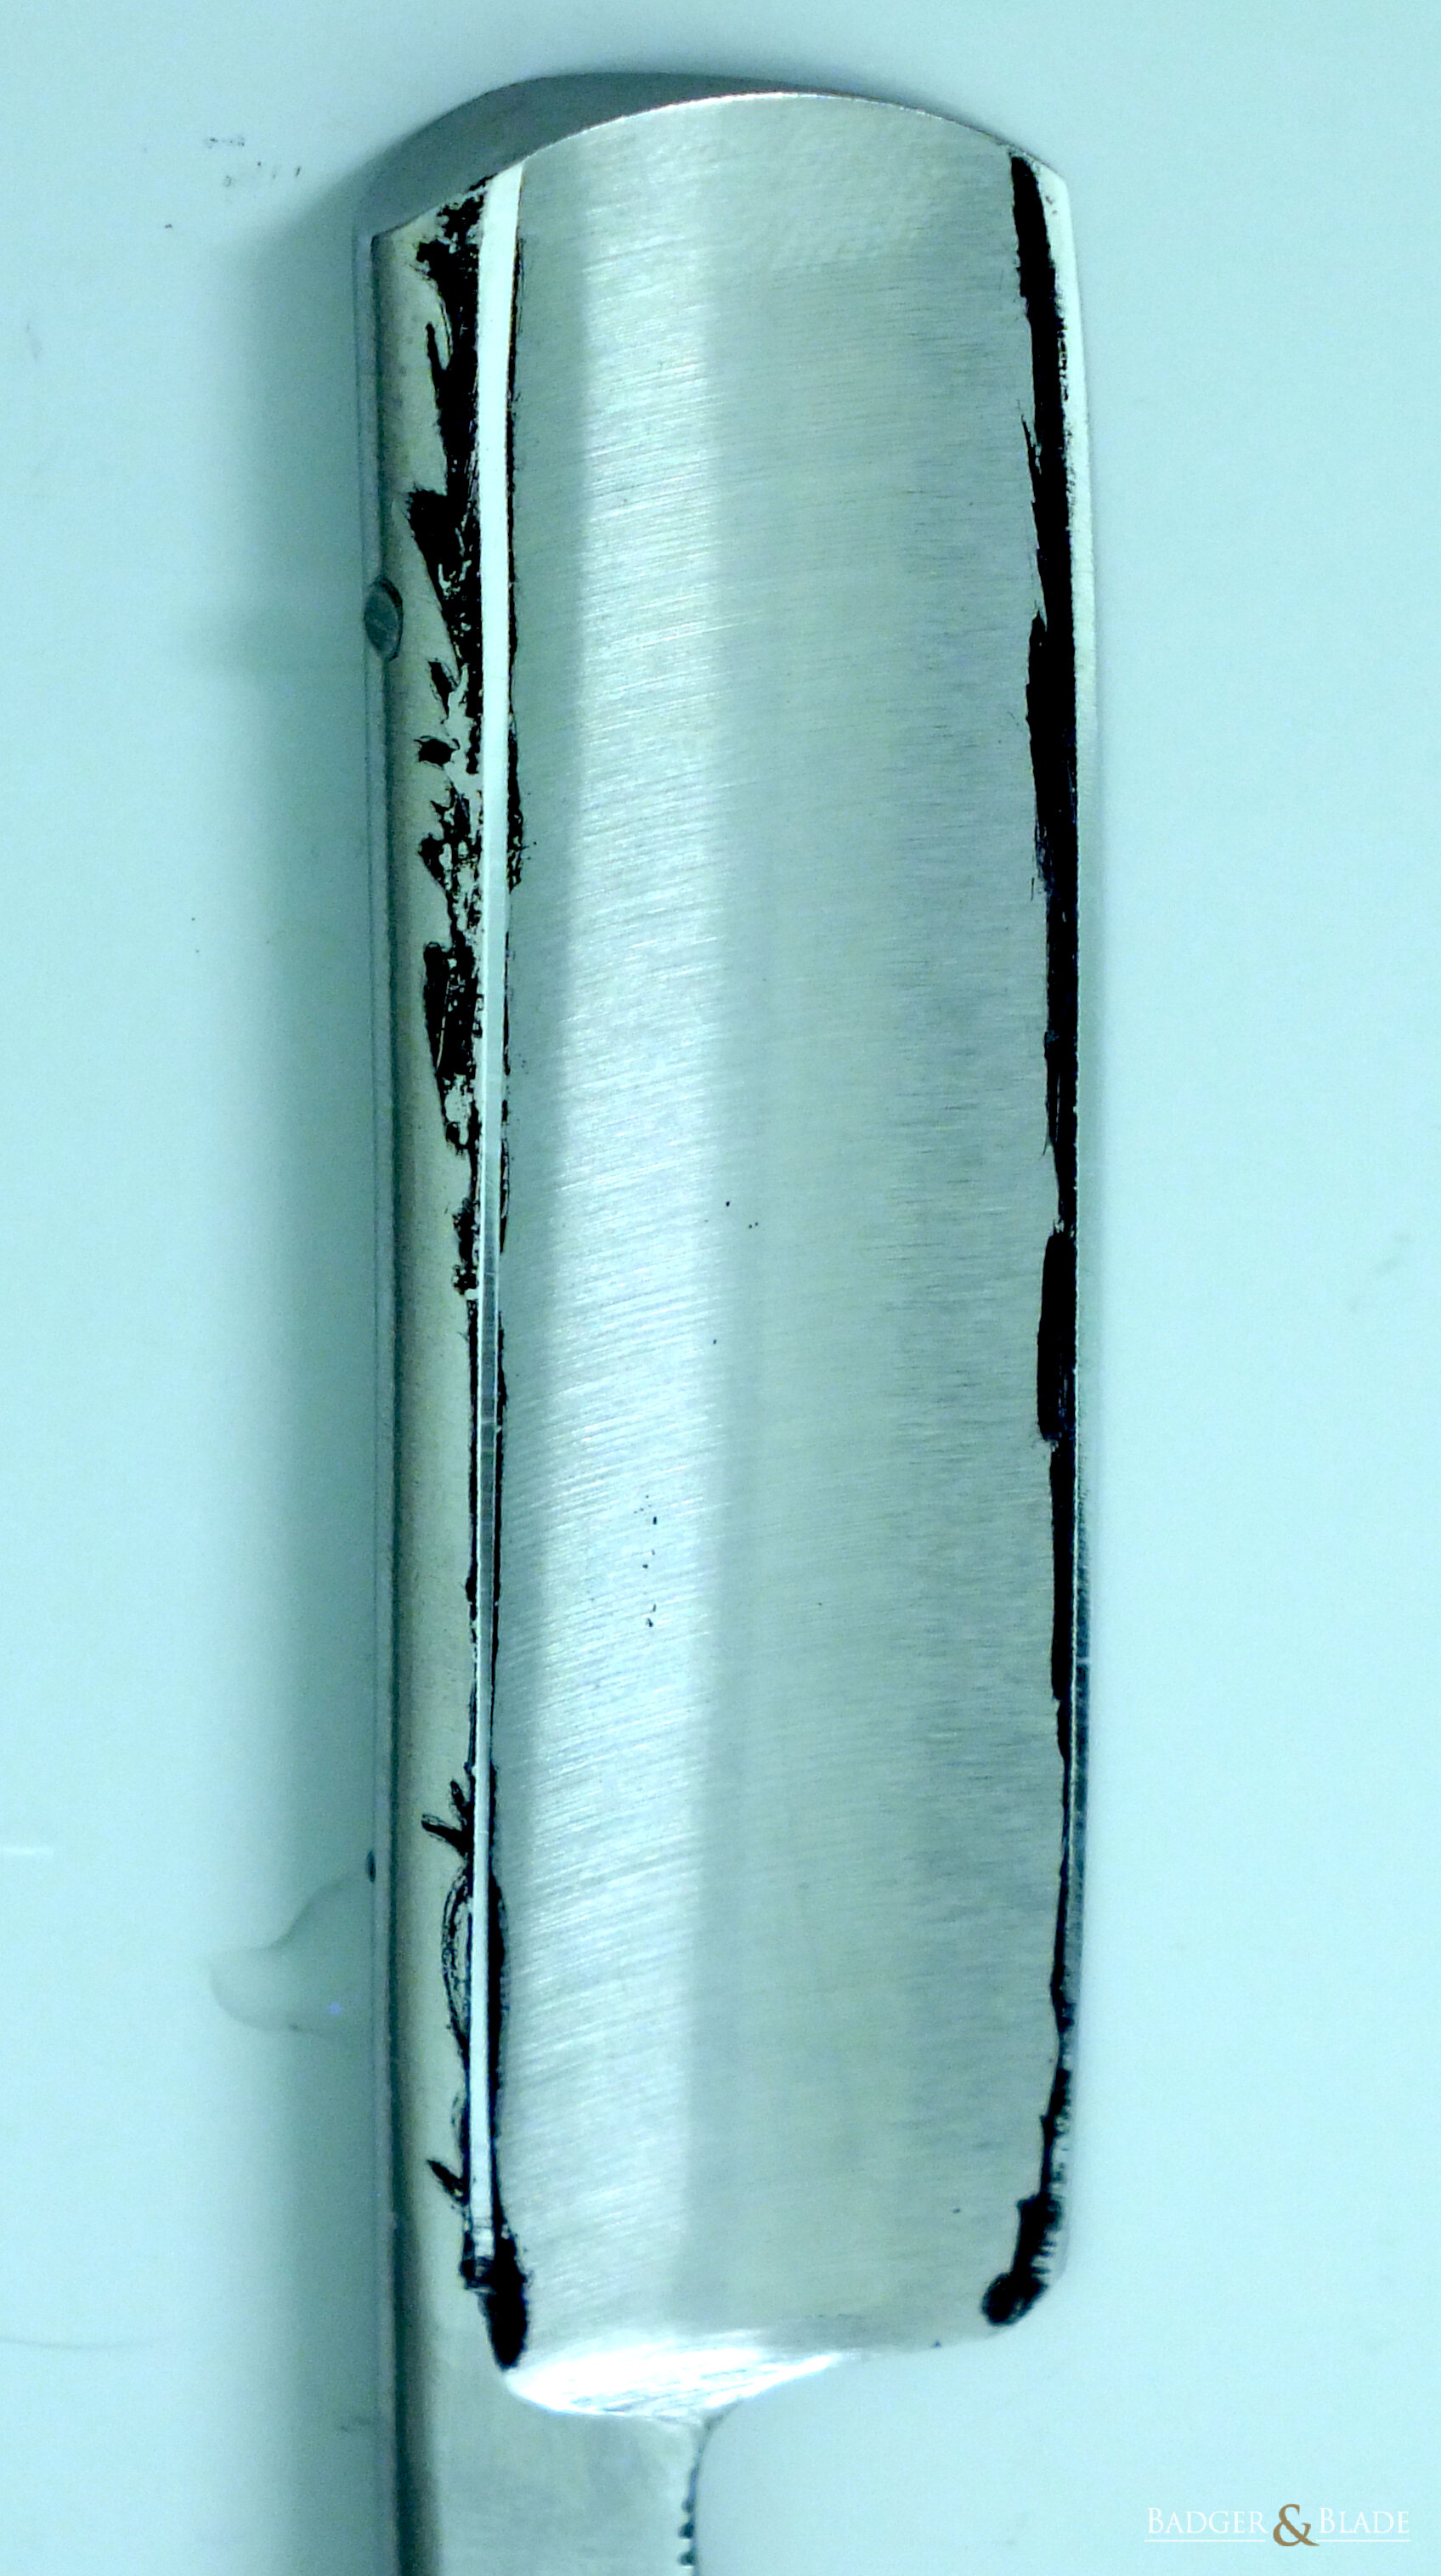
The first step is to mark the blade’s bevel and spine-wear areas with marker pen ink. This must be done on both sides of the blade. The ink must cover all of the bevel area right down to the edge and all of the spine-wear area. Don’t worry about getting ink on any other parts of the blade, the ink can be easily wiped off with nail polish remover once you have the results of the test.
Once marked, it should look something like this:

| 
|
PERFORMING THE TEST
Mount your 9µm or 5µm (preferred) lapping film piece onto your acrylic substrate. Once mounted, apply a few drops of water to the abrasive surface of the mounted lapping film. Hold the lapping film substrate at about mid-length in your non-dominant hand lapping film up. (Do not use you lapping film substrate bench-mounted.) Hold your marked SR on your dominant hand and lay it gently onto the lapping film at one end with the edge pointing towards the other end. Make sure that both the blade’s spine and bevel are in contact with the lapping film surface. Do not tape the spine.
Now slide the blade (edge leading) along the length of the lapping film using almost no downward pressure on the blade. Be sure to keep the blade’s spine and bevel in contact with the lapping film surface at all times. Speed does not help. Take your time and concentrate on what you are doing. Stop once near (about 30mm to 50mm from) the other end of the lapping film. Keeping the blade’s spine on the lapping film, turn the blade over 180° so that the other side is up and the blade’s edge is now facing the other end of the lapping film.
Fig. III 9 is about halfway through half a lap, sliding towards the top of the photo. This blade is a little wider than my piece of lapping film, so it is performed with a bit of an angle (heel leading) so as to ensure that the full length of the edge is in contact with the lapping film surface. The substrate would of course be held in-hand, not bench mounted as shown.
Again slide the blade (edge leading) along the length of the lapping film using almost no downward pressure on the blade being sure to keep the blade’s spine and bevel in contact with the lapping film surface at all times. Once near (about 30mm to 50mm from) the other end of the lapping film stop. Keeping the blade’s spine on the lapping film, turn the blade over 180° so that the other side is up and the blade’s edge is now facing the other end of the lapping film.
You have now completed one full lap.
Repeat this one or two more times – two or three full laps total. Gently wipe the blade dry with toilet paper being careful not to wipe off any of the ink.
Remove the lapping film from your substrate and thoroughly rinse it. Don’t worry about any ink left on the lapping film, it will do no harm. Dry your lapping film and substrate with a towel and then let them air dry before putting them away.
ANALYSING THE RESULTS
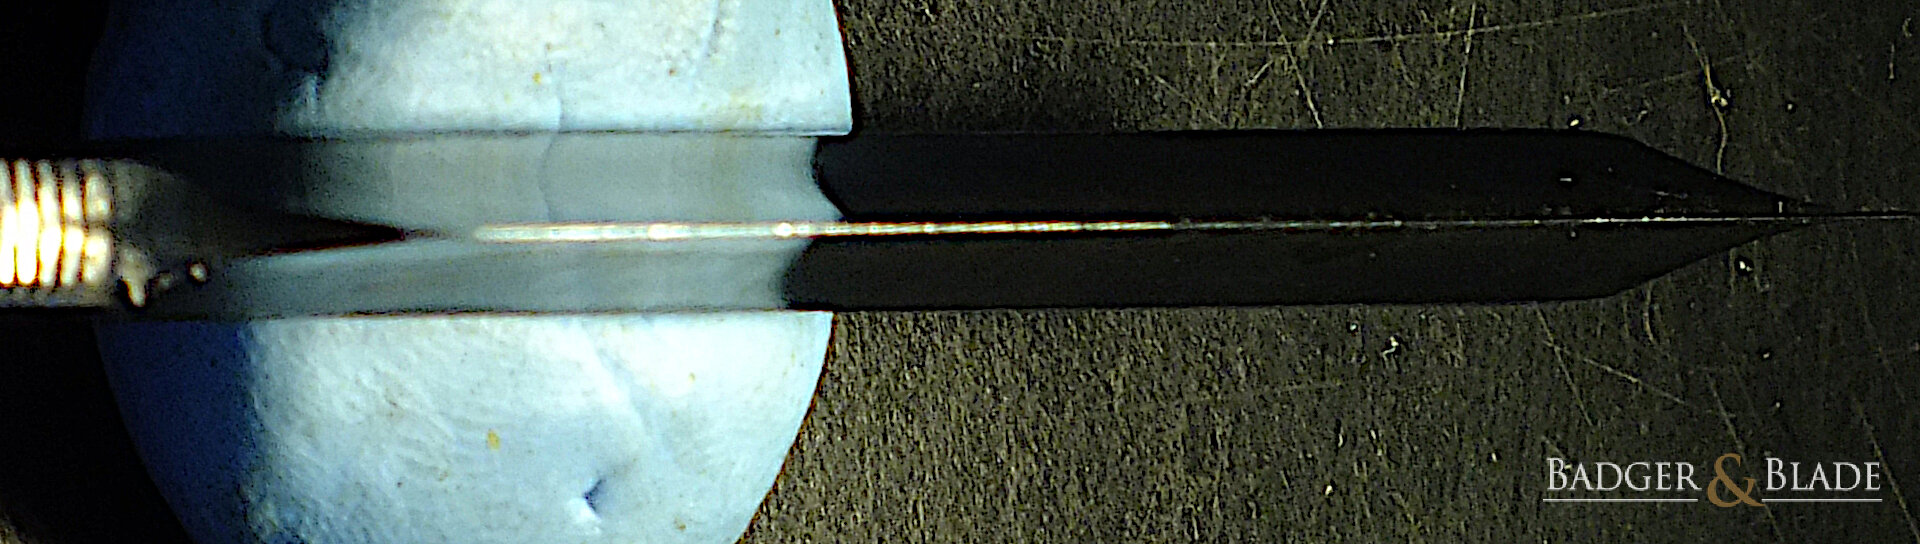
The perfect result is that all the ink has been removed from the entire bevel surfaces and there is a line of removed ink along the entire length of the spine-wear areas both sides. Here is an example of the results of a marker pen test.
| 
|
You will notice in the above photos that all of the ink has been removed from the entire bevel surfaces and that there is a line of removed ink along most of the spine wear areas both sides. The small areas of spine wear that still have some ink on them is of no concern and will not affect the bevel set and shave-ready finish.
You will also notice that the bevel on the face side is wider than the bevel on the reverse side. This is only a cosmetic issue and again will not affect the bevel set and shave-ready finish. Some more time may be spent on the reverse side when setting the bevel. This will increase the width of the bevel on the reverse side and decrease its width on the face side. The only reason to do this is to make the blade more aesthetically pleasing.
SETTING THE BEVEL & INITIAL SHAVE TEST
BEVEL-SET
The purpose of performing a rough bevel-set is to remove enough steel from the bevel so that you are close to setting the bevel but not quite there. Fig. III 12 is an SR before the rough bevel-set.

This is a photograph that tries to show the light reflecting off the blade’s edge. You will see that this reflection is quite prominent from about the heel (LH side) to mid-edge length and then there are more parts of the edge reflecting the light towards the toe (RH sided).
Mount The Lapping Film
Depending on how much metal you need to remove, mount the 30µm (if you need to remove a lot of steel) or 12µm lapping film on your substrate.
Rough Bevel Set
Note: During the bevel-set procedure, you can perform another marker pen test whenever you feel like it to see how things are going.
Hold the substrate in your non-dominant hand and apply a few (4 to 6) drops of water to the abrasive surface of the lapping film. Holding the SR opened about 180° in your dominant hand, lay the blade across the lapping film near one end of the substrate with the edge towards the nearest end of the substrate. Both the blade’s edge and spine must be in contact with the lapping film.
Using about the weight of your arm or a bit less on the blade, slide the blade, spine leading (edge trailing), towards the opposite end of the substrate. Stop when you get to about 25mm to 30mm from the end of the lapping film. Without turning the blade over, now slide the blade back to its initial position, edge leading, using just the weight of the blade as pressure. That is now one complete rough-bevel lap. Repeat this rough-bevel lap about 9 more times.
Note: It is important that you do not apply too much pressure or torque about the blade’s longitudinal axis to the blade when honing. Doing so will bend the blade about its longitudinal axis and prevent the blade’s edge from coming into contact with the honing surface. The lighter the pressure and no torque the better, however it will take longer (more laps).
Fig. III 13 to III 15 is a photo sequence of one (1) complete rough-bevel lap. You of course will be holding your substrate in-hand and using either 30µm or 12µm lapping film.
Start position (with pressure) | 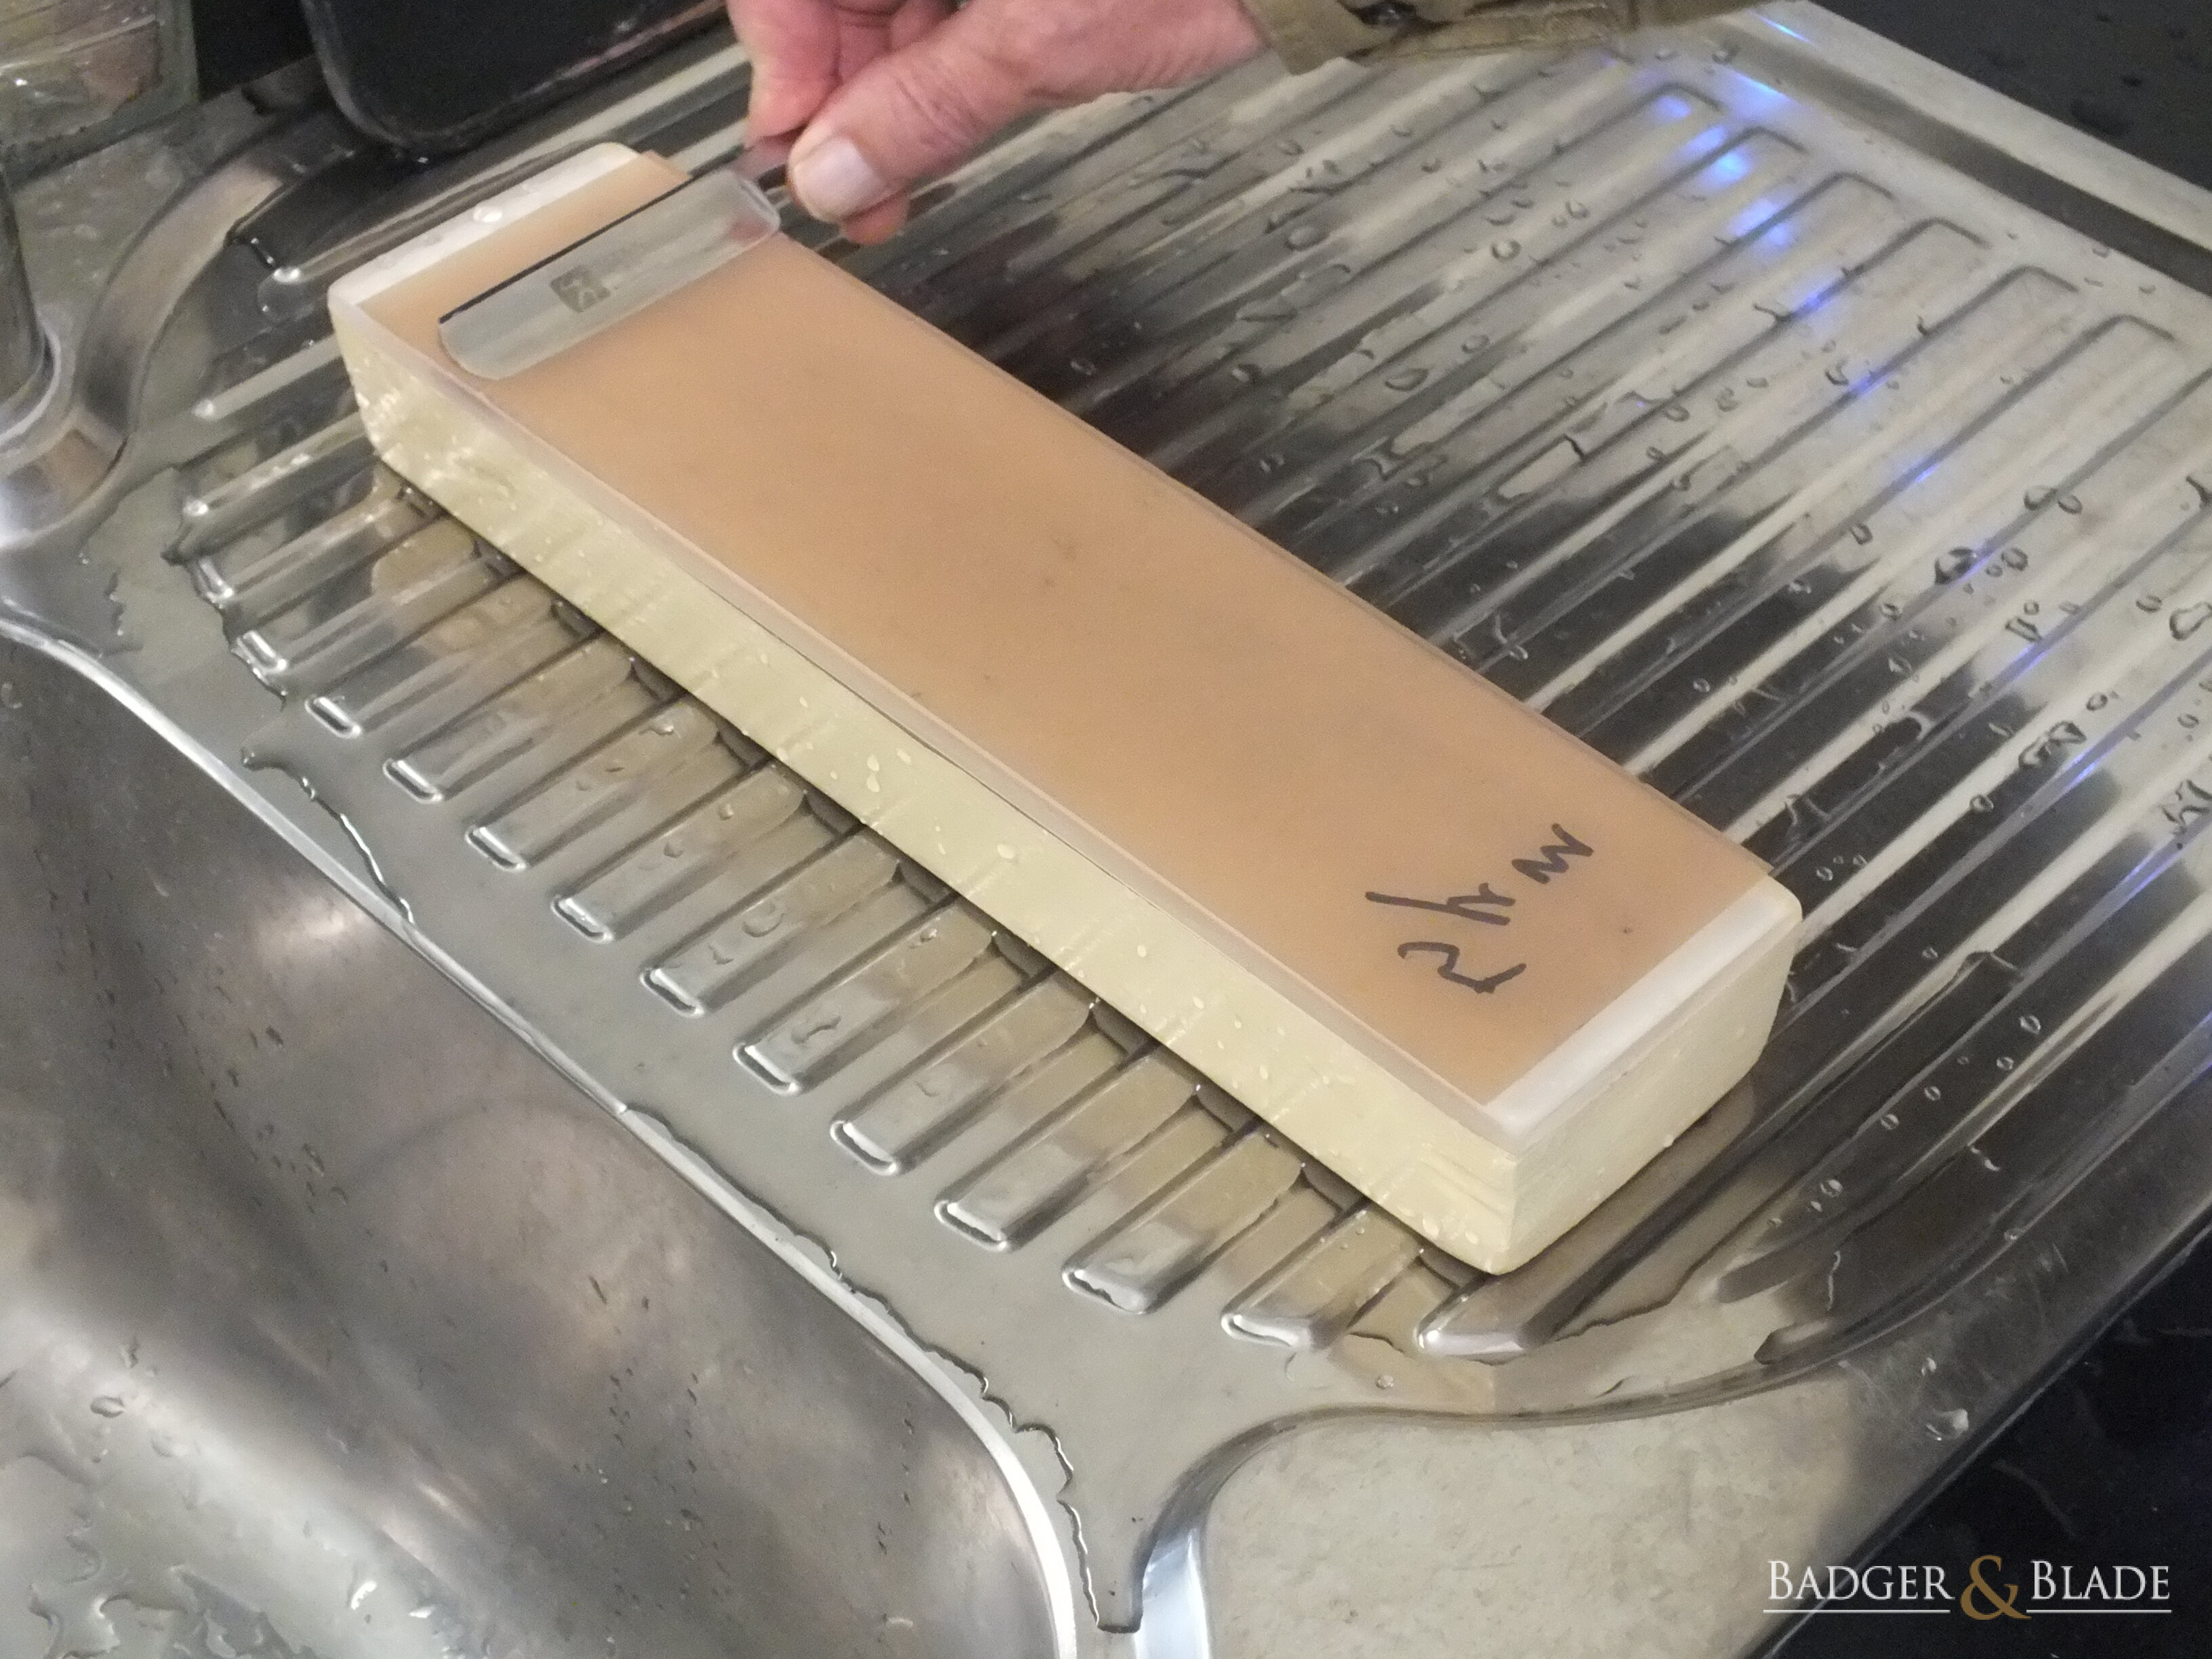
Spine leading slide to other end |
Edge leading return (without pressure) |
After 10 laps, feel the edge to determine if there is any burr appearing anywhere along the edge on the upper surface. This is best done with a wet finger. With very light (almost none) pressure, slide your finger from spine to past the edge. Remember the feel as your finger passes over the edge. Now do the same on the other side of the blade at about the same spot and compare the feeling. Perform this burr test along the full length of the edge. If a burr is starting to develop, you will feel it on the edge on the upper surface. If no burr is detected, add a few more drops of water and perform another 10 laps on the same side. Keep on repeating until a test for a burr produces a result.
Once a burr is felt on any part of the edge, turn the blade over and repeat the rough-bevel laps about the same total number of times with the same pressure on the opposite bevel surface.
Your rough bevel-set is now completed. Wipe your blade dry. If using 30µm film, now remove it from the substrate and mount the 12µm lapping film.
Refining The Bevel Set
With the 12µm lapping film mounted on your substrate, hold the substrate in your non-dominant hand and apply a few (4 to 6) drops of water to the abrasive surface of the lapping film. Holding the SR opened about 180° in your dominant hand, lay the blade across the lapping film near one end of the substrate with the edge towards the nearest end of the substrate. Both the blade’s edge and spine must be in contact with the lapping film.
Using about just the weight of your hand or a bit less on the blade, slide the blade, spine leading (edge trailing), towards the opposite end of the substrate. Stop when you get to about 25mm to 30mm from the end of the lapping film. Without turning the blade over, now slide the blade back to its initial position, edge leading, using just the weight of the blade as pressure. You have now completed one rough bevel-set lap. Repeat this rough bevel-set lap about 9 more times.
Note: It is important that you do not apply too much pressure or torque about the blade’s longitudinal axis to the blade when honing. Doing so will bend the blade about its longitudinal axis and prevent the blade’s edge from coming into contact with the honing surface. The lighter the pressure and no torque the better, however it will take longer (more laps).
After 10 laps, using the same method as you did before, feel the edge to determine if a burr has developed along the full whole length of the edge on the upper surface. If the burr is not detected along the full whole length of the edge, add a few drops of water, perform another 10 laps on the same side and repeat the test for a burr. Repeat as necessary until you can feel the burr along the full whole length of the edge on the upper surface.
Once a burr is felt the full whole length of the edge (this took me about 20 laps with my blade), turn the blade over, add a few drops of water and repeat the finishing bevel-set laps (adding a few drops of water after about each 10 laps) about the same total number of times with the same pressure on the opposite bevel surface. This should again produce a burr along the full whole length of the edge on the upper side. If not, keep on going until that burr is detected.
If 30µm lapping film was used, there should be by now no visible signs of scratches from that 30µm film. You can check this under a strong light with a loupé.
Finishing The Bevel Set
With the 12µm lapping film still mounted on the substrate, you will now finish the bevel set.
Still holding the substrate in your non-dominant hand, apply a few (4 to 6) drops of water to the abrasive surface of the lapping film. Holding the SR opened about 180° in your dominant hand, lay the blade across the lapping film near one end of the substrate with the spine towards the nearest end of the substrate. Both the blade’s edge and spine must be in contact with the lapping film.
Using about the weight of your hand as pressure, slide the blade, edge leading (spine trailing), towards the opposite (far) end of the substrate. Stop when you get to about 30mm to 40mm before the end of the lapping film. While keeping the blade’s spine on the lapping film surface, turn the blade over 180° so that the edge is now pointing towards the far end of the substrate. Again, just with the weight of your hand as pressure, slide the blade, edge leading (spine trailing), towards the other (far) end of the substrate and stop at about 30mm to 40mm before the end of the lapping film. Then again turn the blade over on its spine 180° so that the edge is now pointing towards the far end of the substrate. You have now completed one standard honing lap. Repeat this standard honing lap about 9 more times.
Note: It is important that you do not apply too much pressure or torque about the blade’s longitudinal axis to the blade when honing. Doing so will bend the blade about its longitudinal axis and prevent the blade’s edge from coming into contact with the honing surface. The lighter the pressure and no torque the better, however it will take longer (more laps).
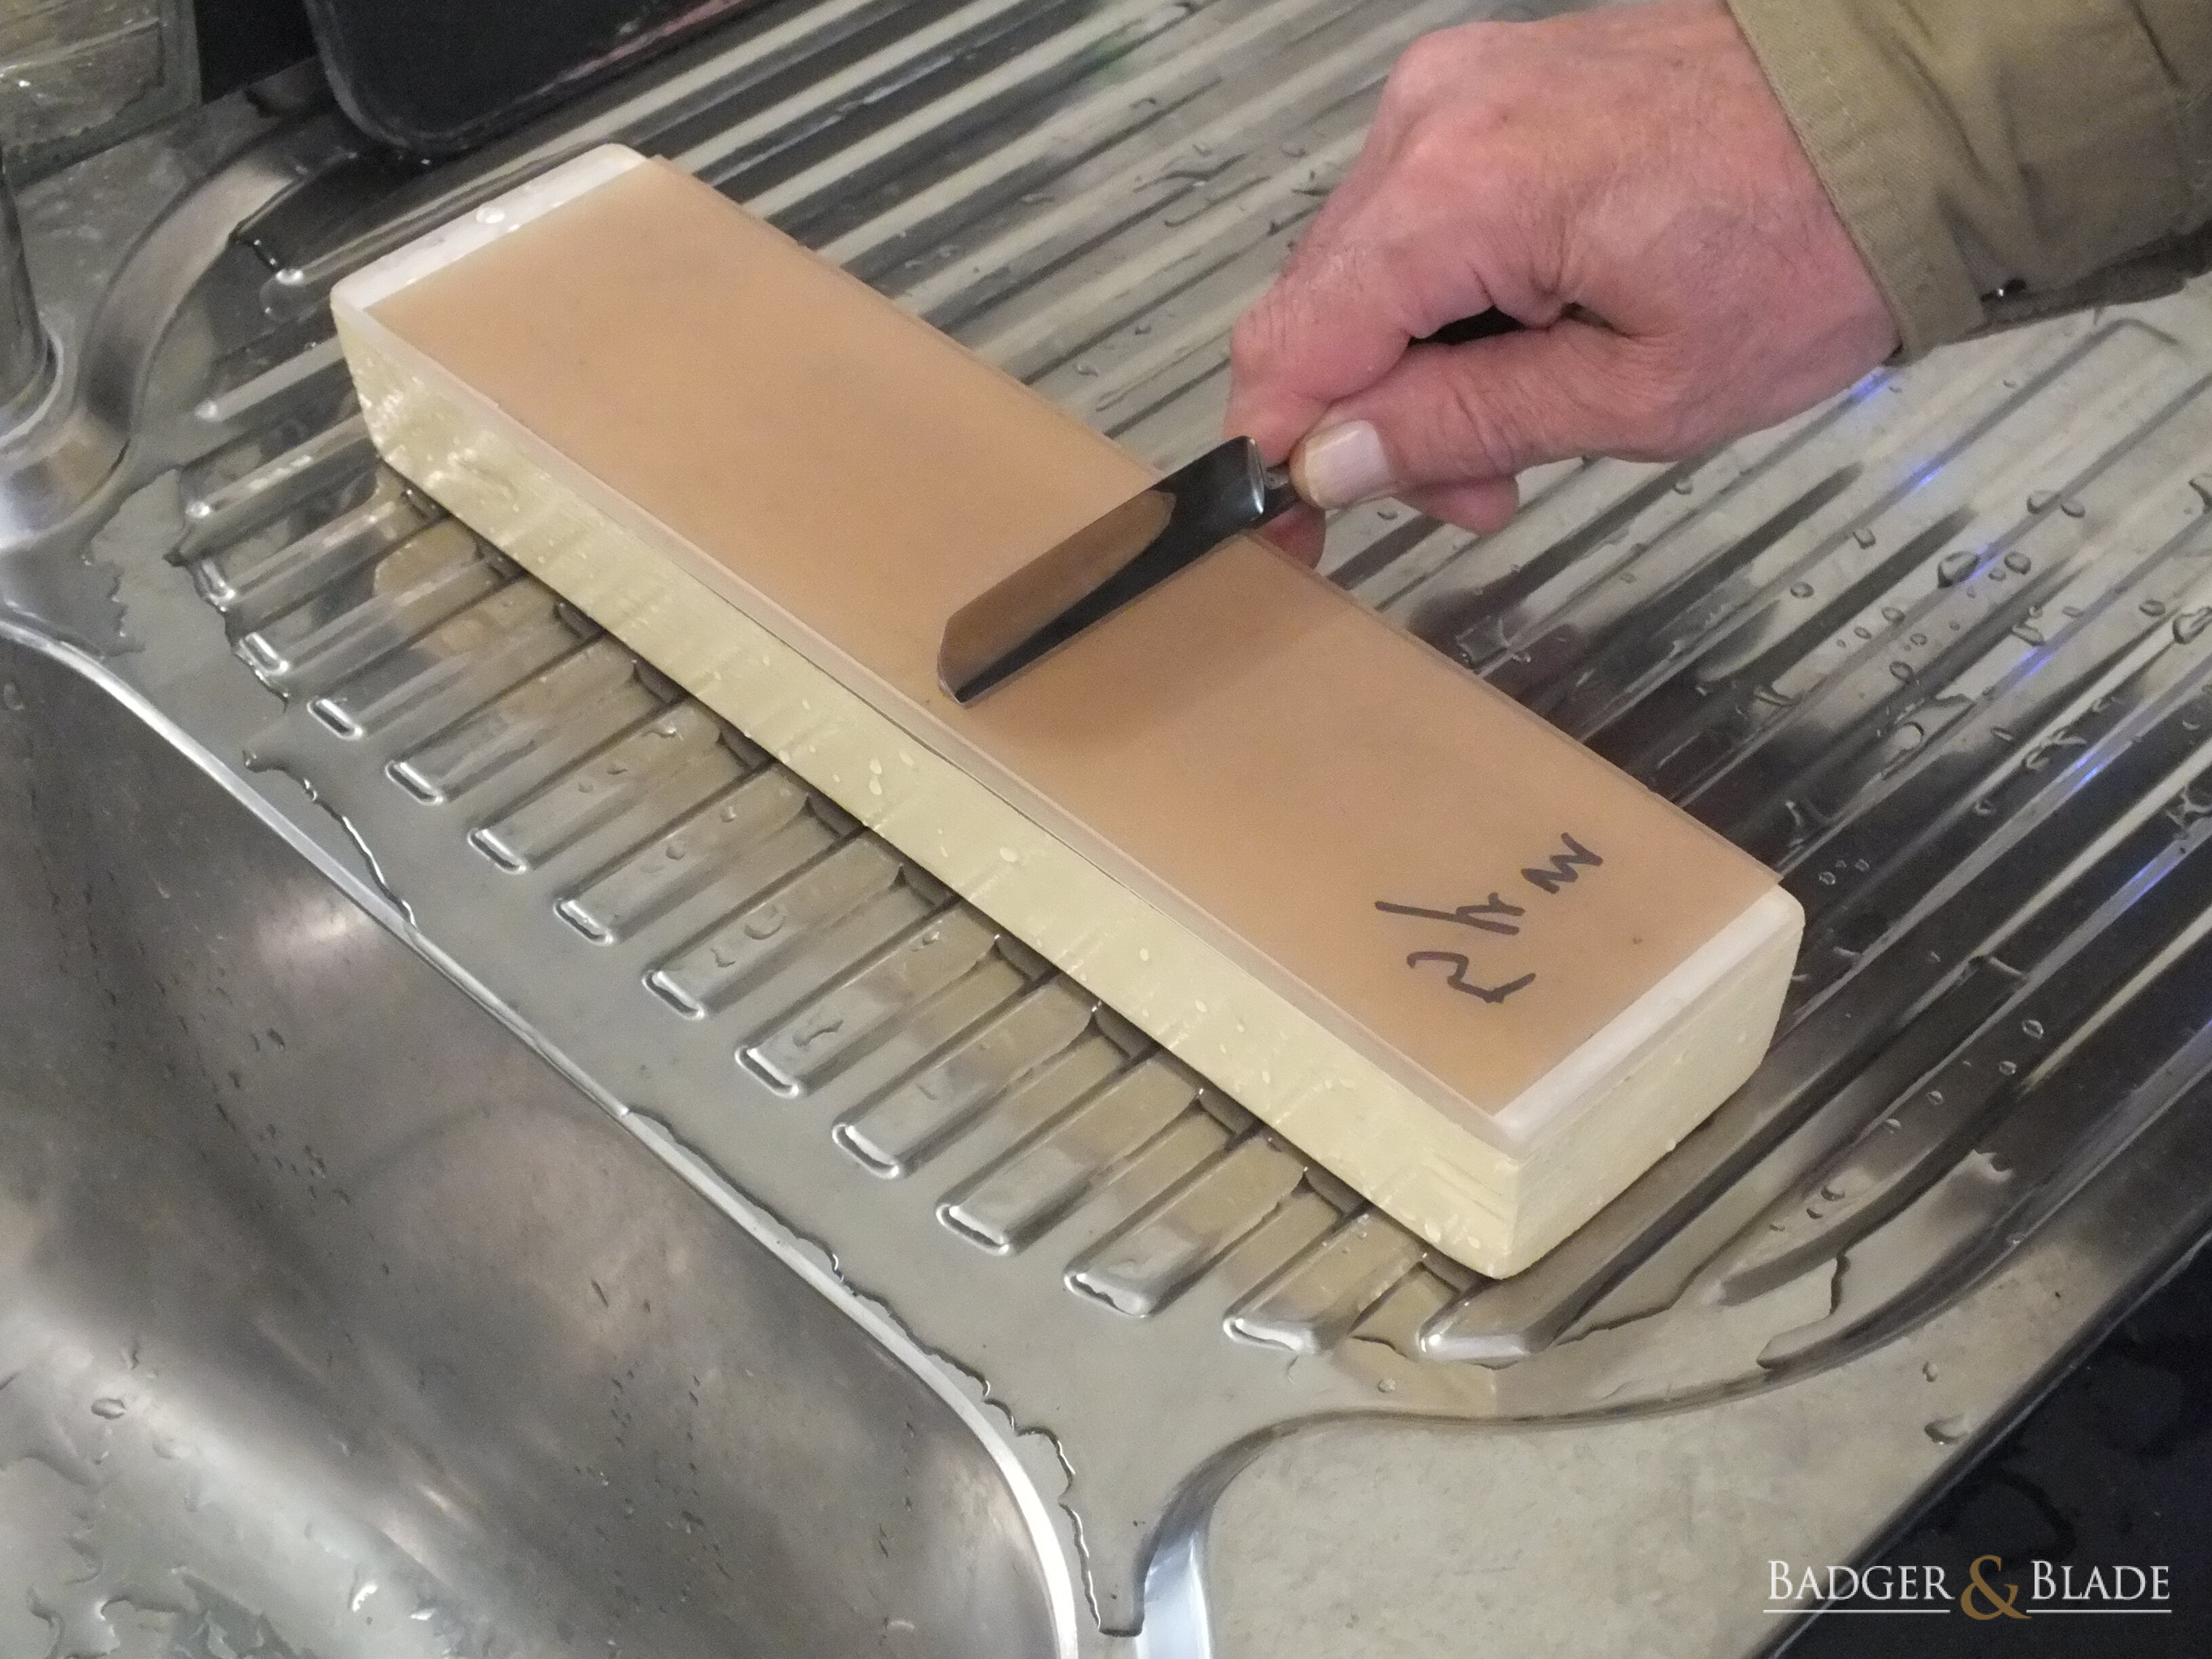
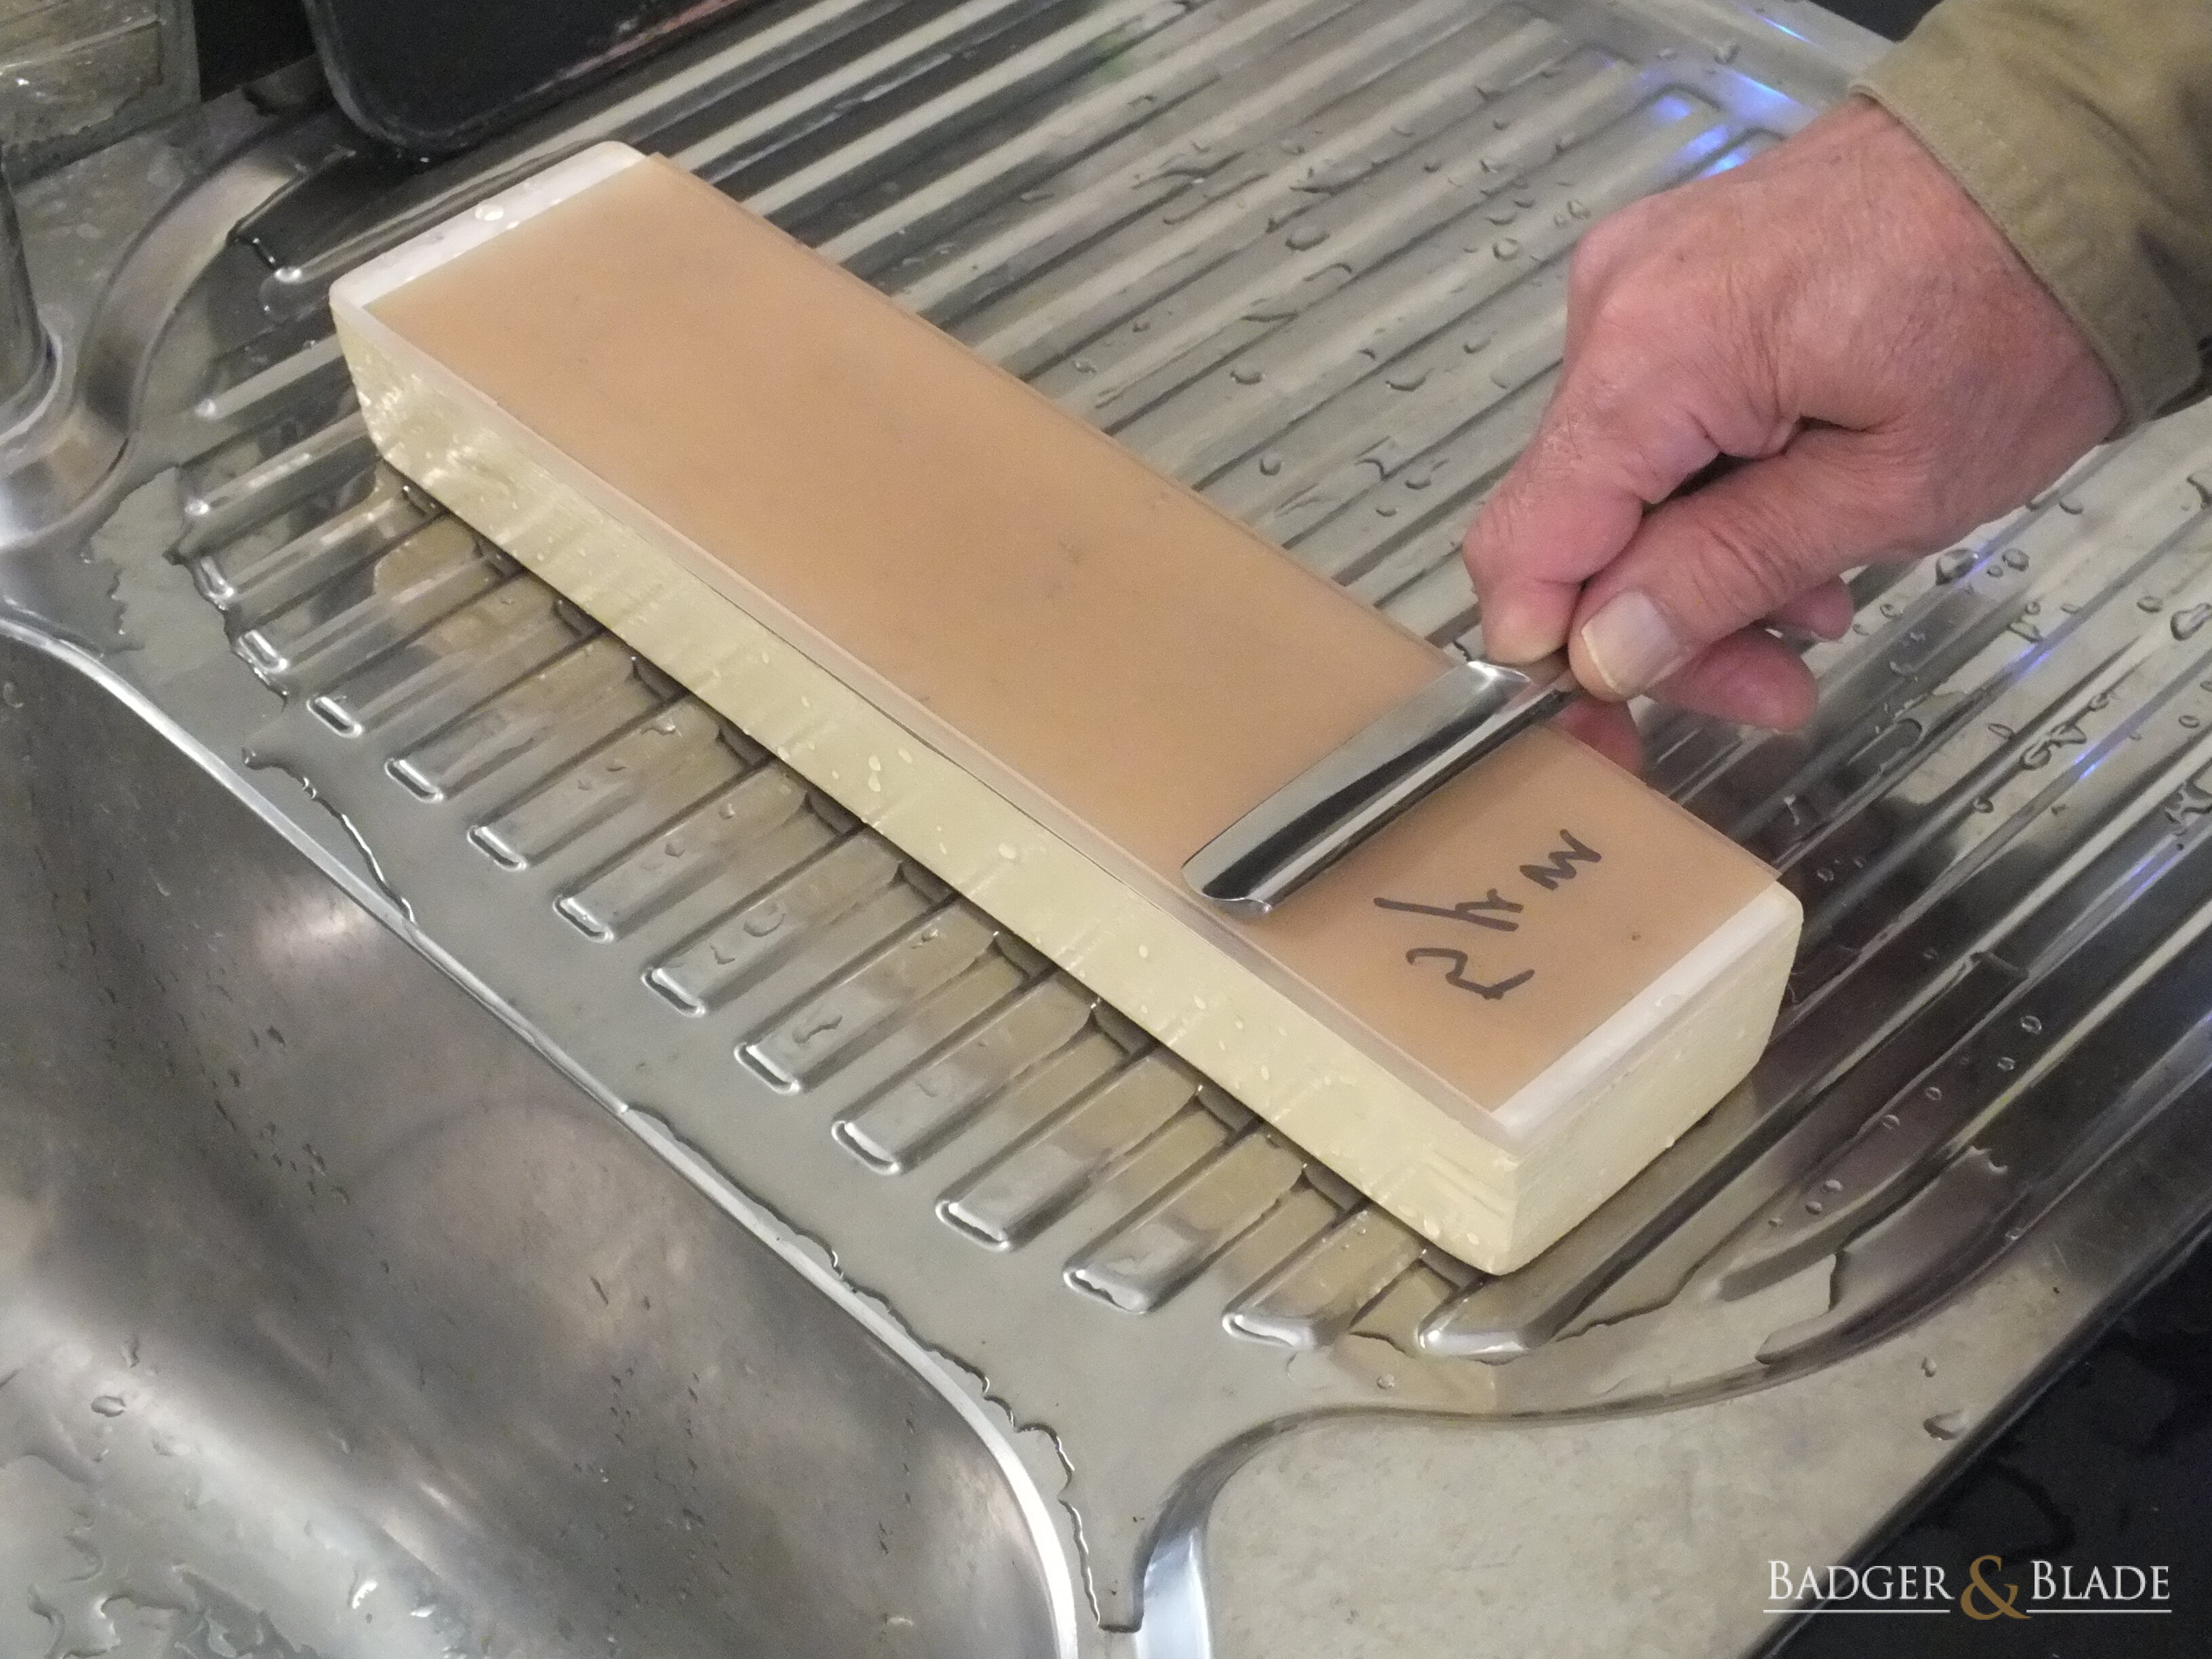
Fig. III 16 to III 22 is a photo sequence of one (1) complete standard honing lap. You of course will be holding your substrate in-hand and using 12µm lapping film.
Start position | 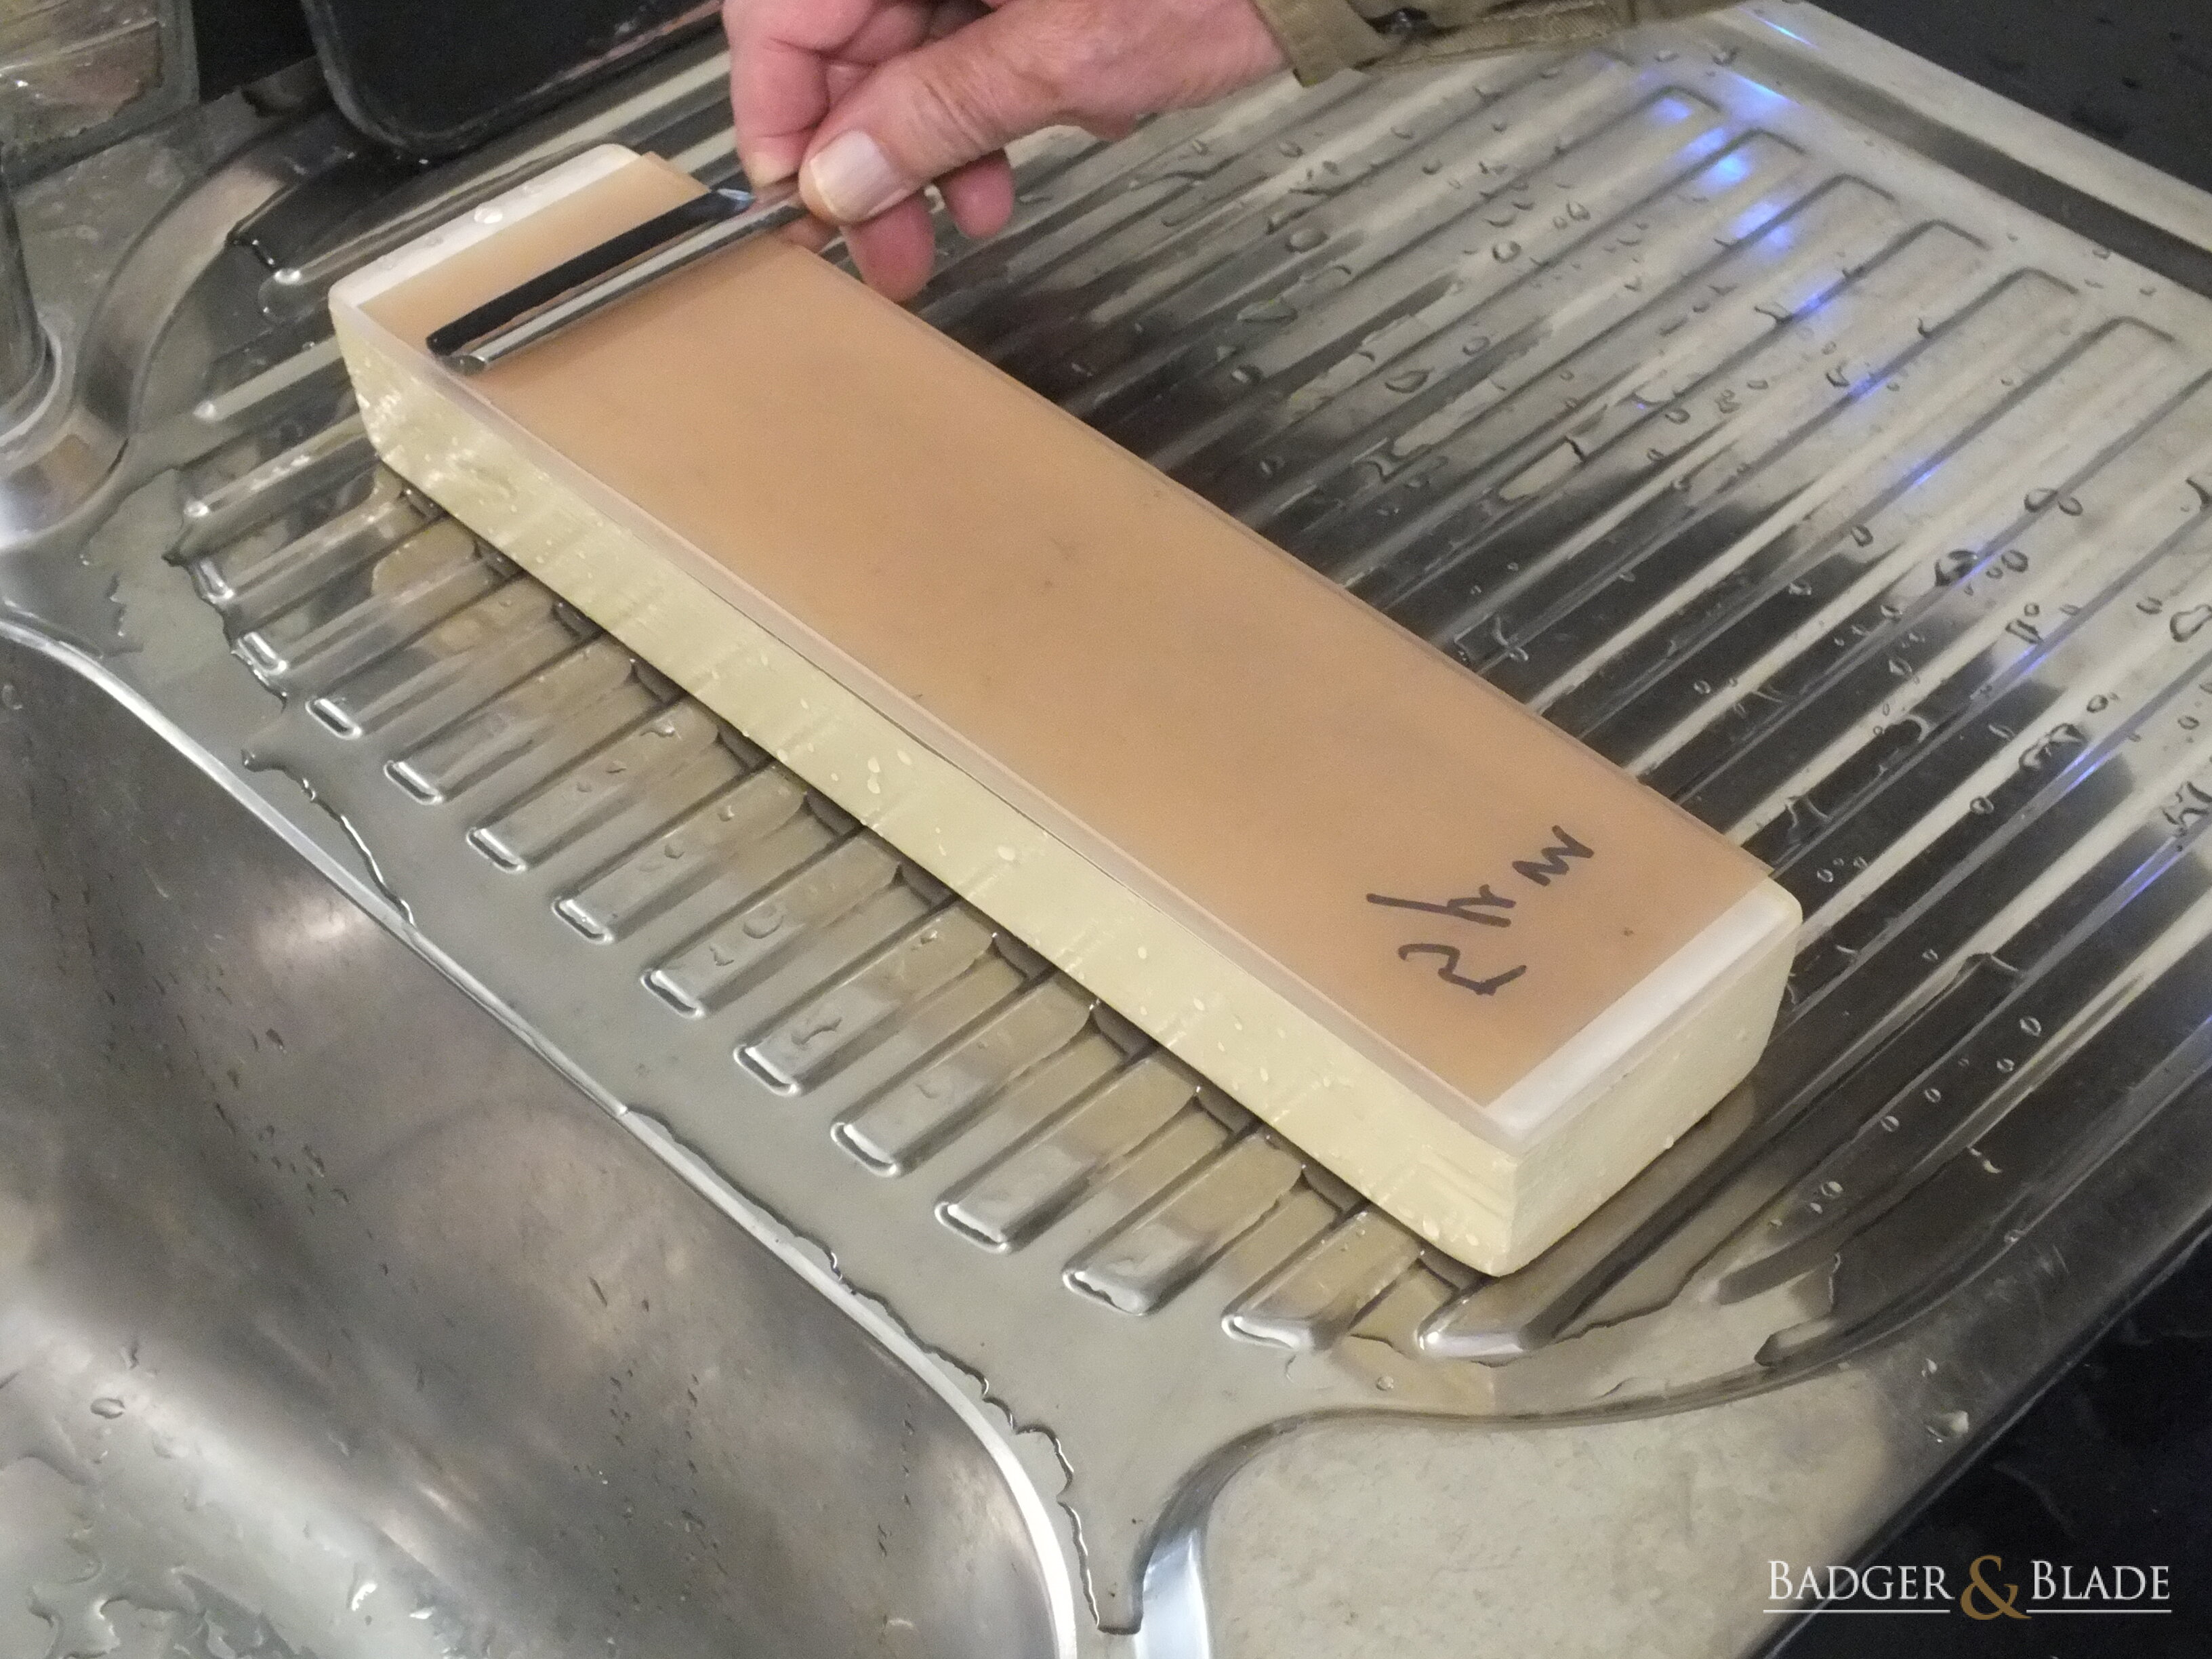
Edge leading slide to other end |
Turning blade | 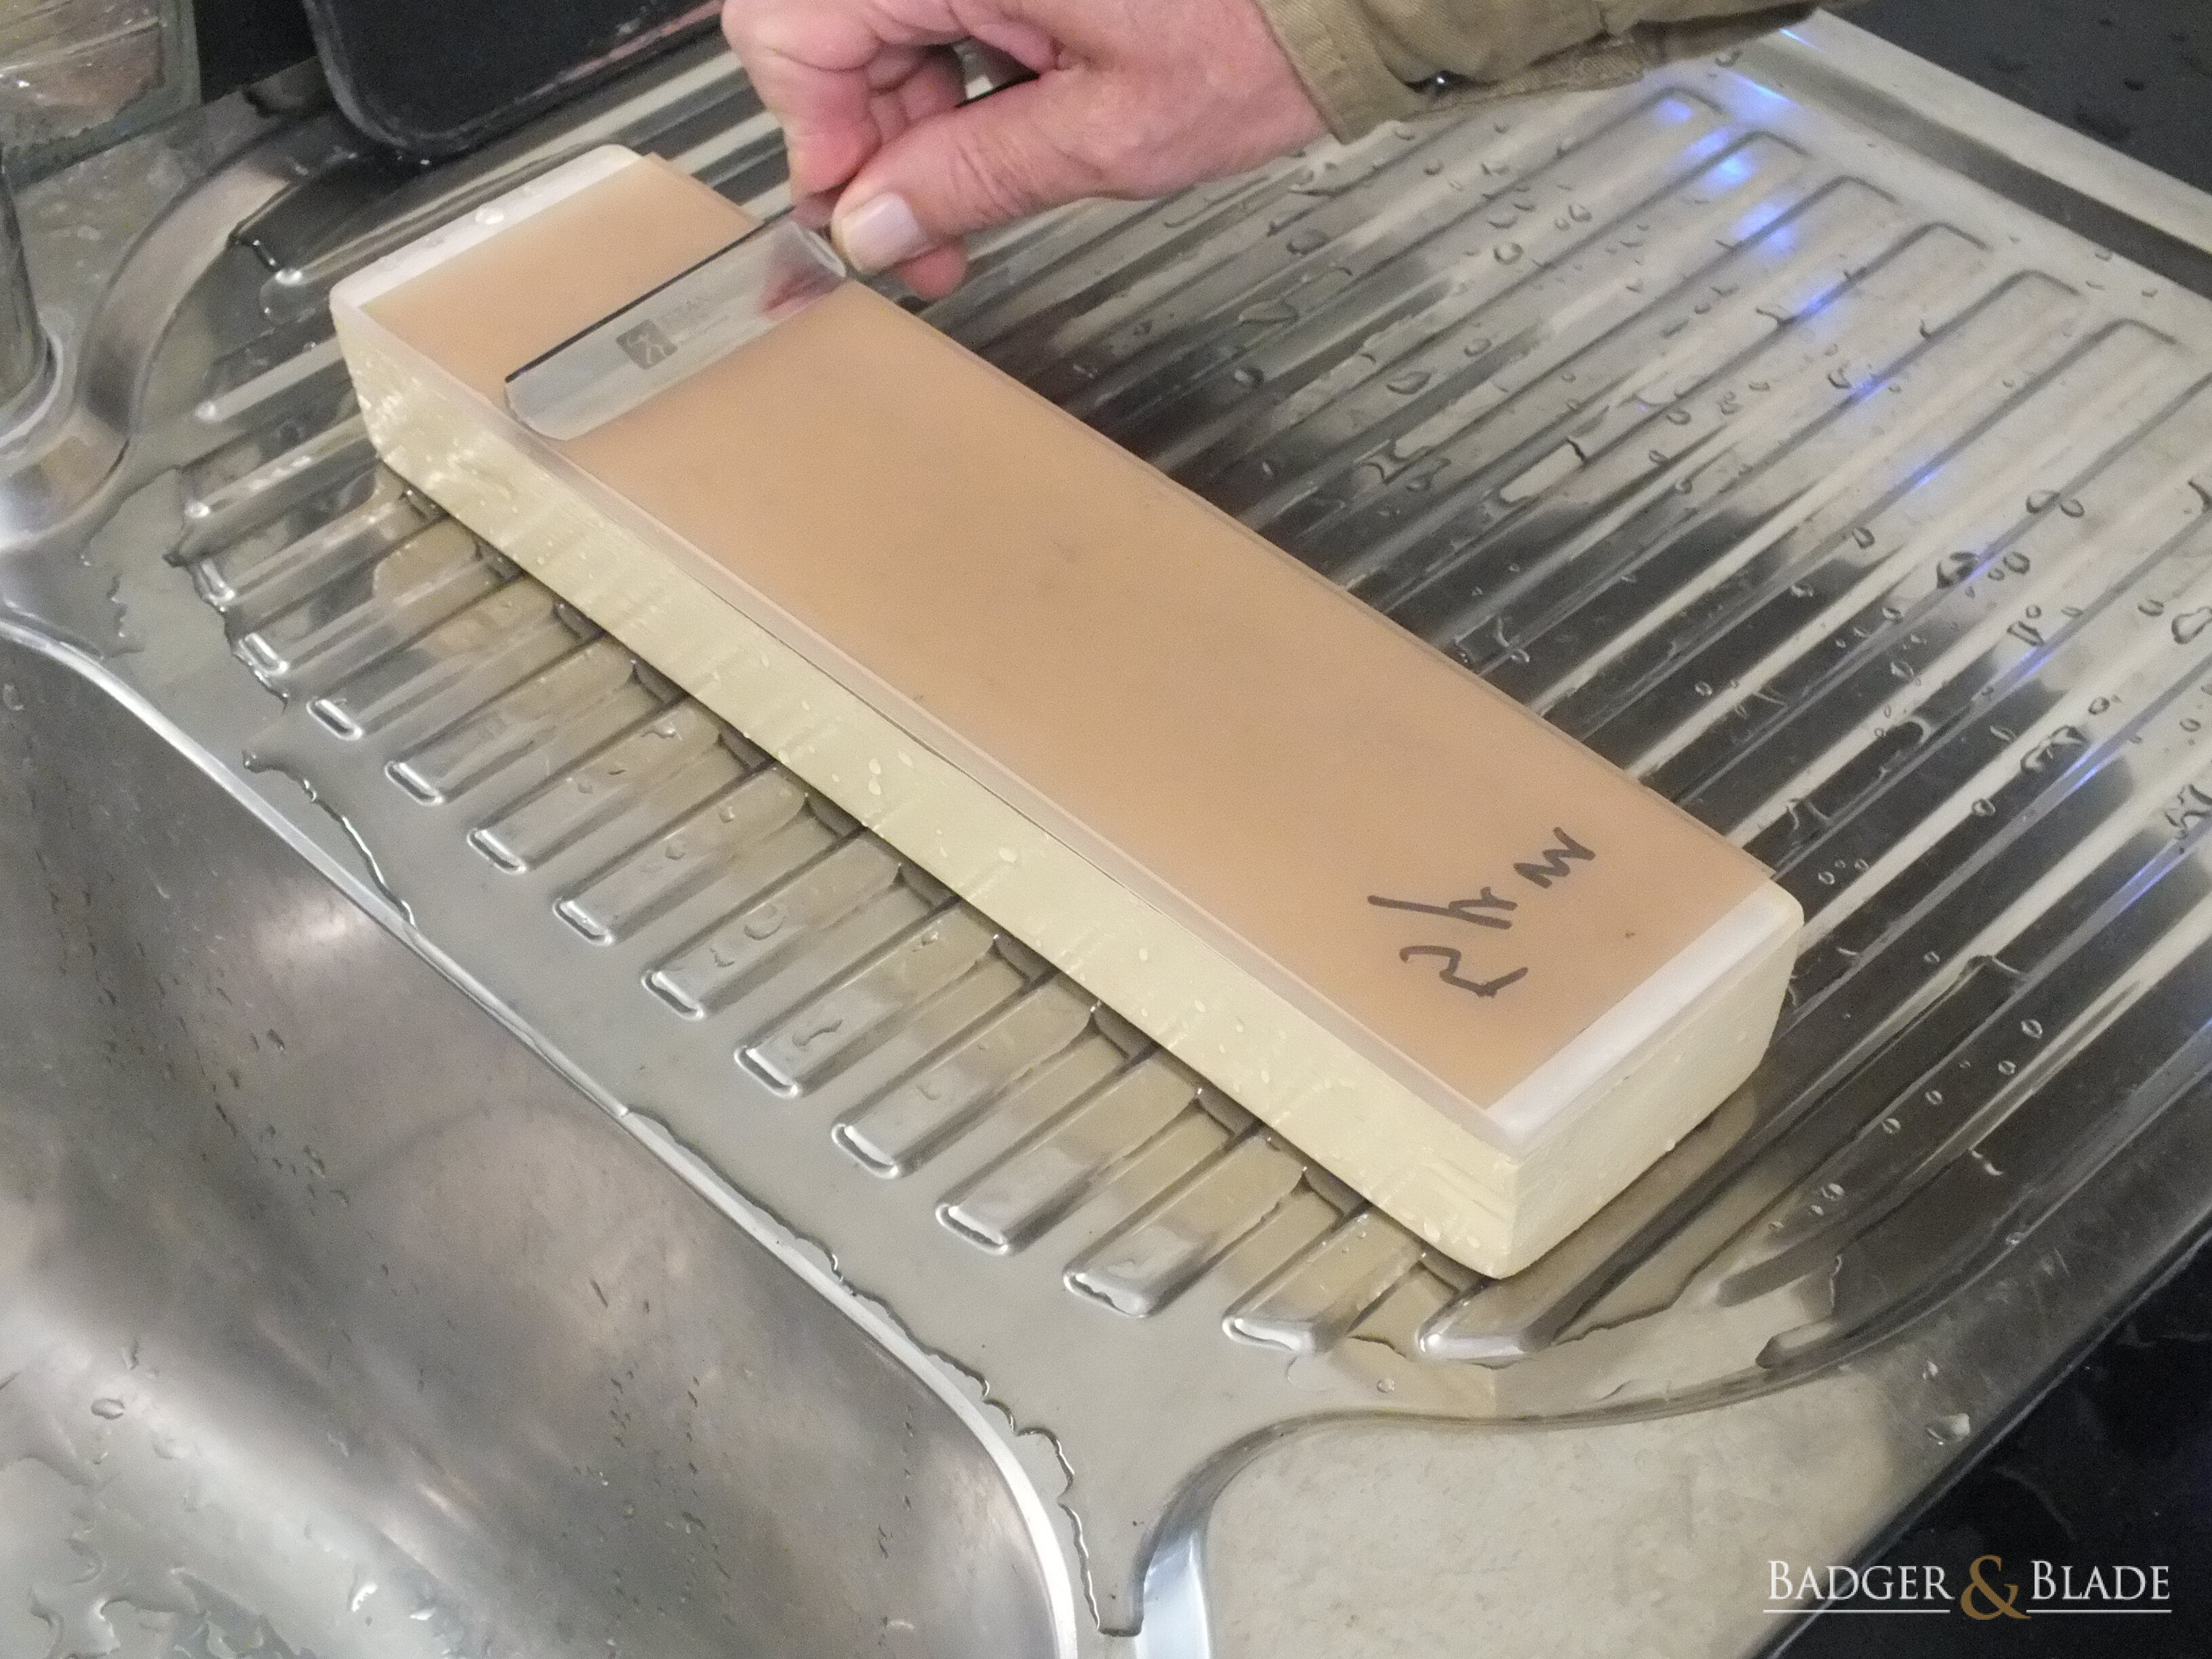
Start of return slide |

Edge leading return slide | 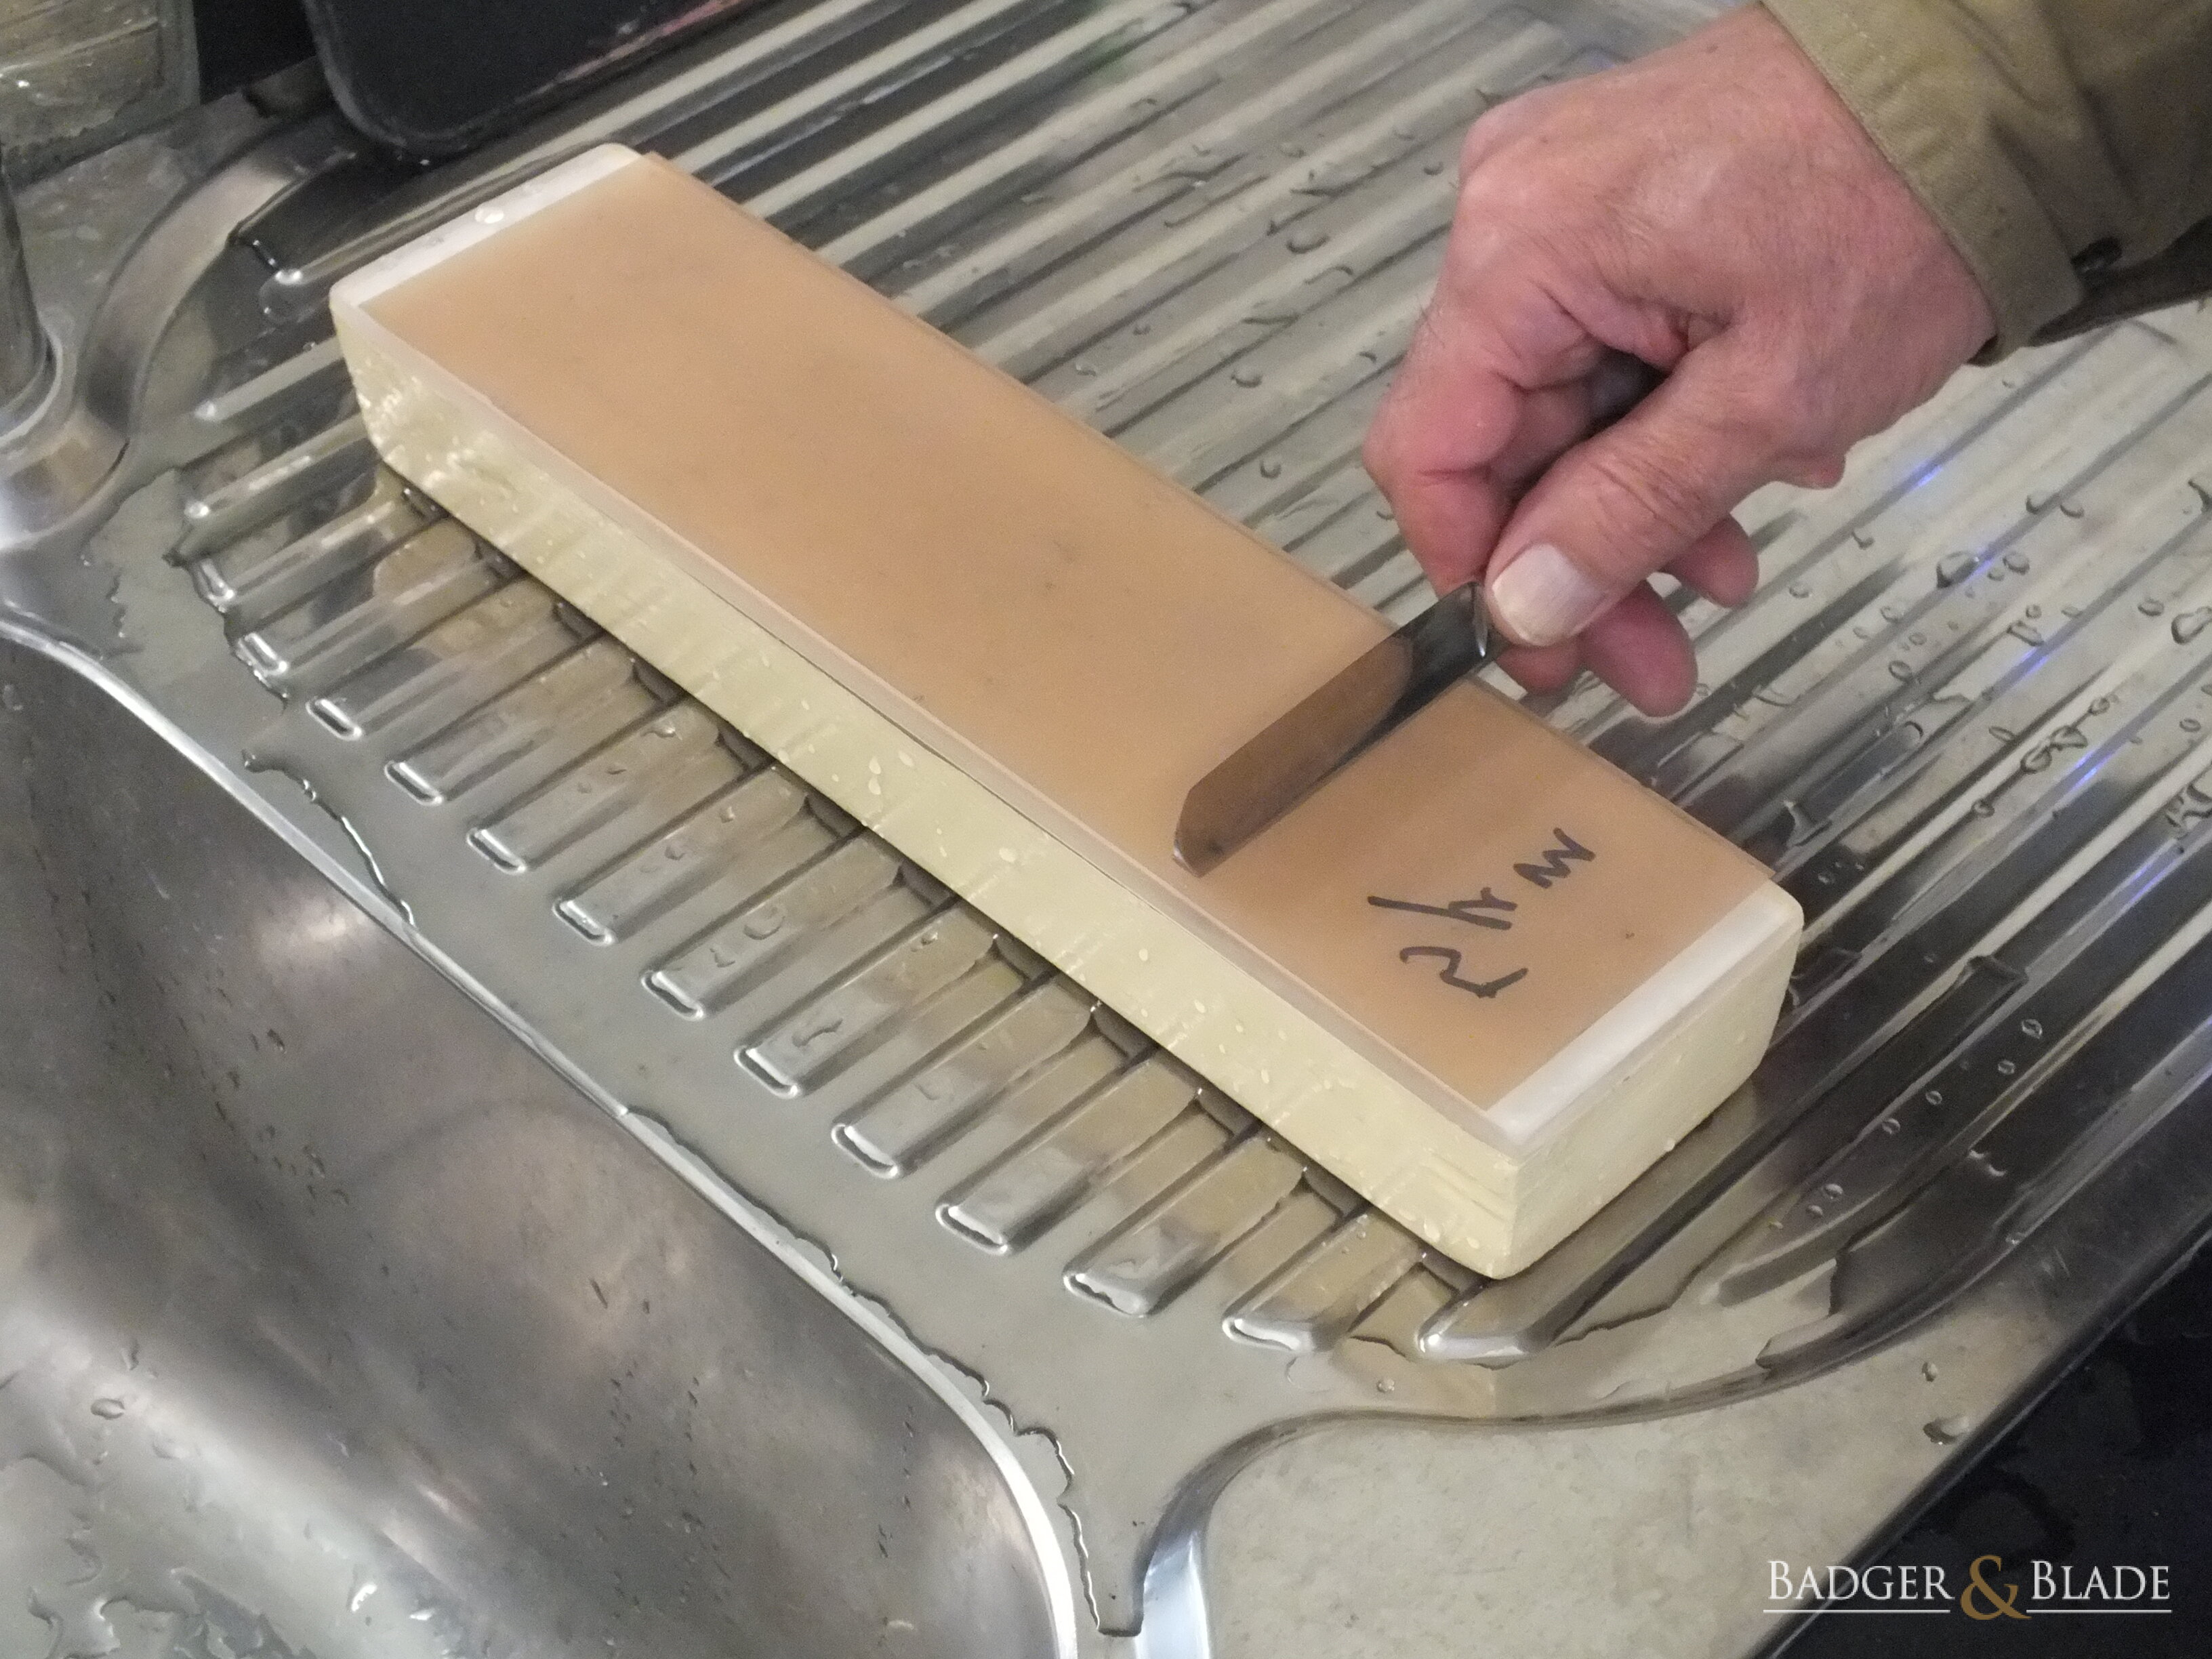
Turning blade |

Ready for next lap |
You now need to perform about 3 to 5 pull laps. This is remove any micro burr that may be on the blade’s edge.
A pull lap is performed by holding the substrate in your non-dominant hand, apply a few (4 to 6) drops of water to the abrasive surface of the lapping film. Holding the SR opened about 180° in your dominant hand, lay the blade across the lapping film near one end of the substrate with the edge towards the nearest end of the substrate. Both the blade’s edge and spine must be in contact with the lapping film.
Using just the weight of your hand as pressure, slide the blade across the lapping film (perpendicular to the longitudinal axis of the substrate) heel end leading about 10mm to 15mm. Then slide the blade across the lapping film, point end leading, to about its original position. While keeping the blade’s spine on the lapping film surface, turn the blade over 180° so that the edge is now pointing towards the far end of the substrate. Again, just with the weight of the blade as pressure, slide the blade across the lapping film (perpendicular to the longitudinal axis of the substrate) heel end leading about 10mm to 15mm. Then slide the blade across the lapping film, point end leading, to about its previous position. While keeping the blade’s spine on the lapping film surface, turn the blade over 180° so that the edge is now pointing towards the near end of the substrate, the same as the starting position. You have now completed one pull lap. Repeat this pull lap about 2 to 4 more times.
Note: It is important that you do not apply too much pressure or torque about the blade’s longitudinal axis to the blade when honing. Doing so will bend the blade about its longitudinal axis and prevent the blade’s edge from coming into contact with the honing surface. The lighter the pressure and no torque the better, however it will take longer (more laps).
Fig. III 23 to III 31 is a photo sequence of one (1) complete pull lap. You of course will be holding your substrate in-hand and using 12µm lapping film.

Start position | 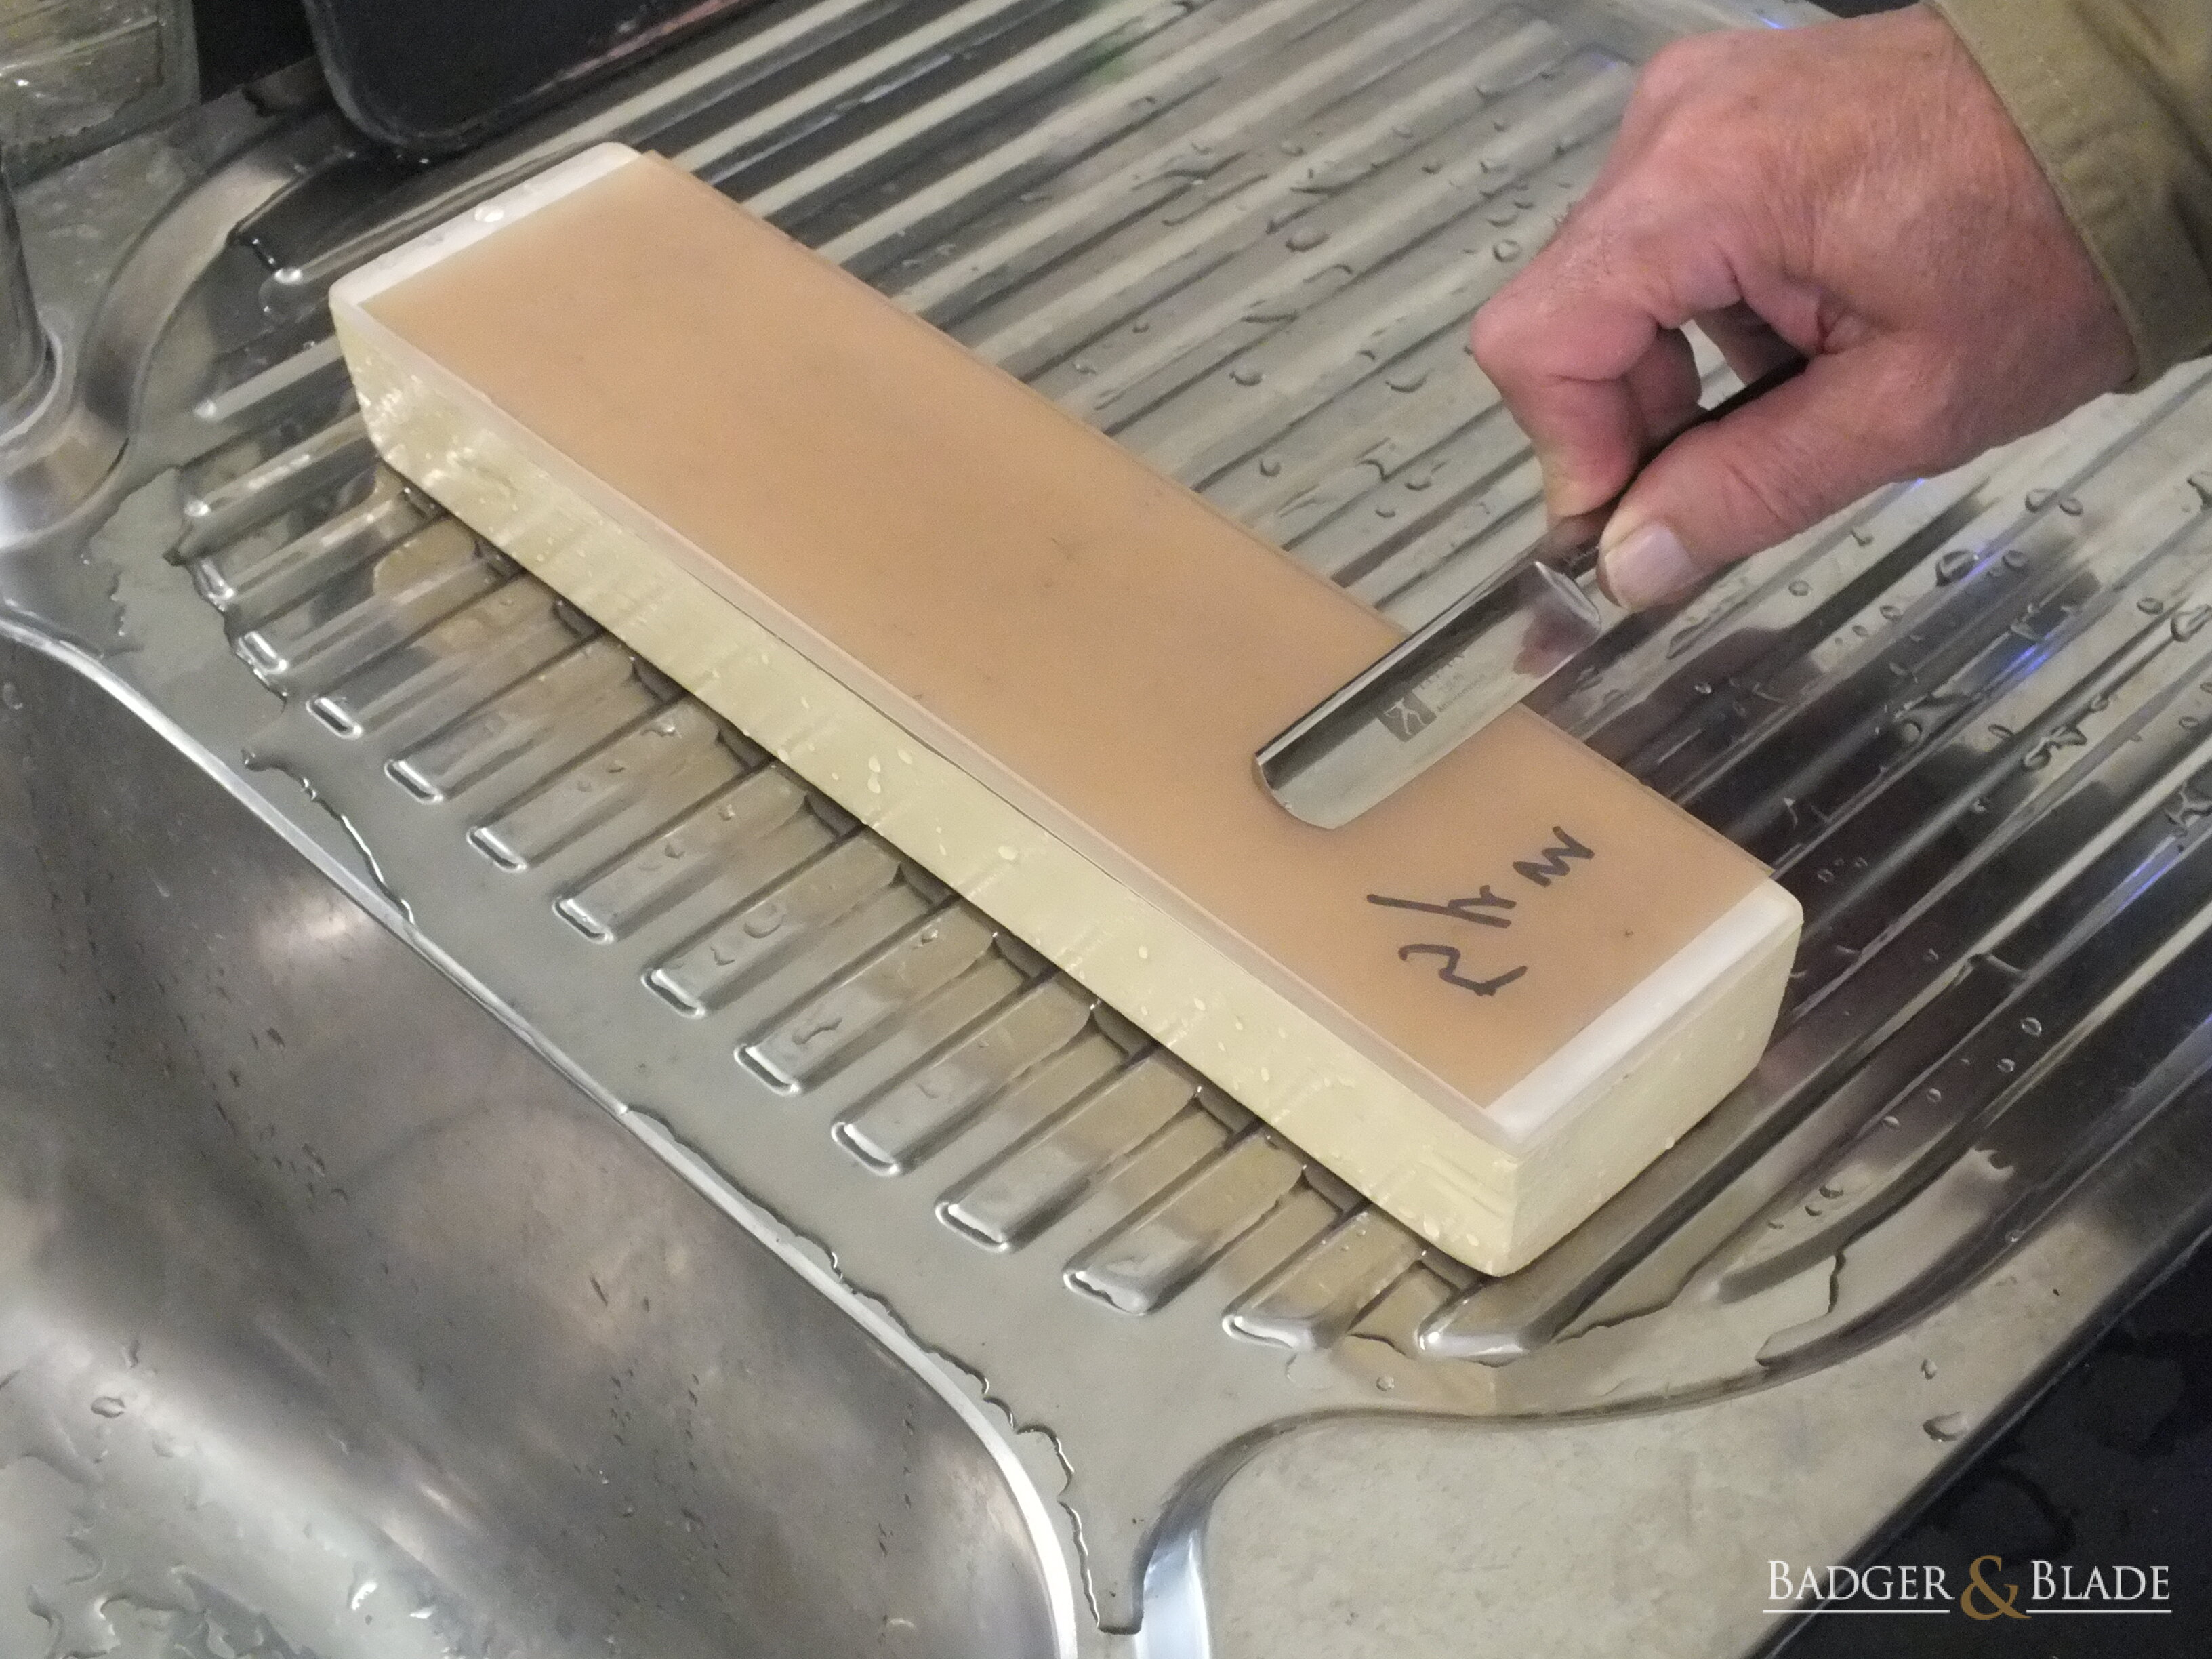
Slide heel end leading |
Slide point end leading | 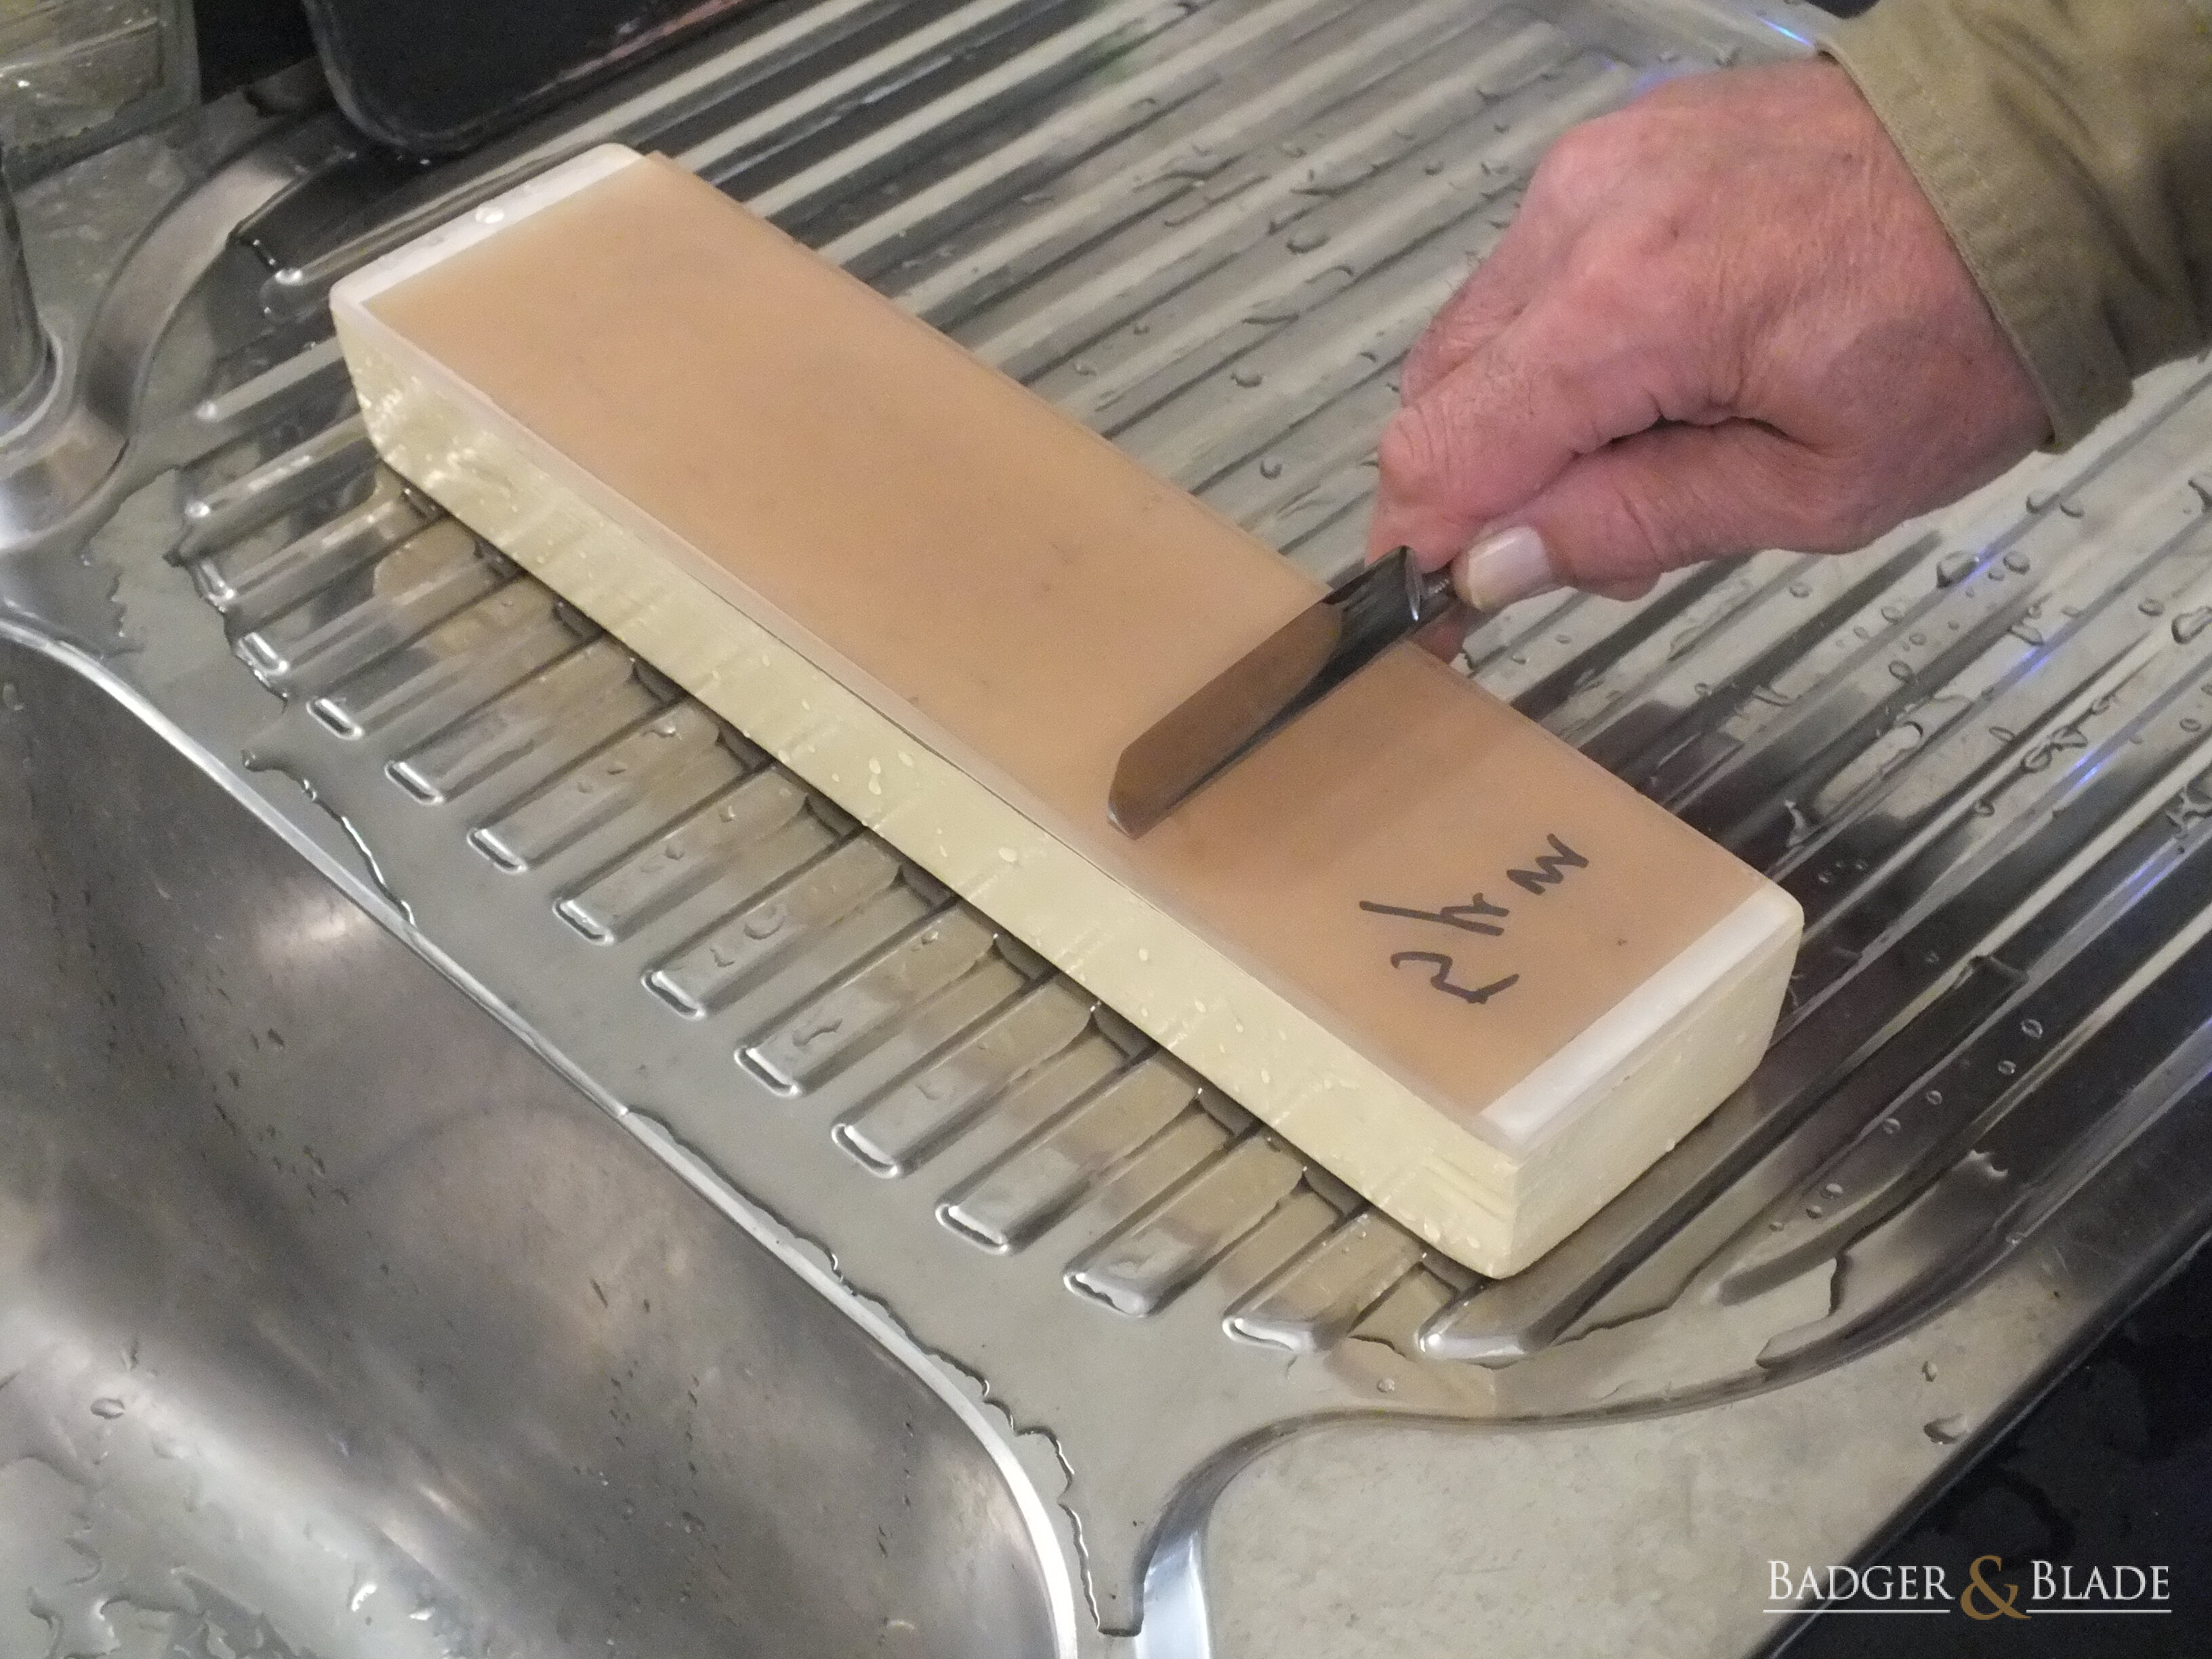
Turning over on spine |
Ready for slide on other side | 
Slide heel end leading |
Slide point end leading | 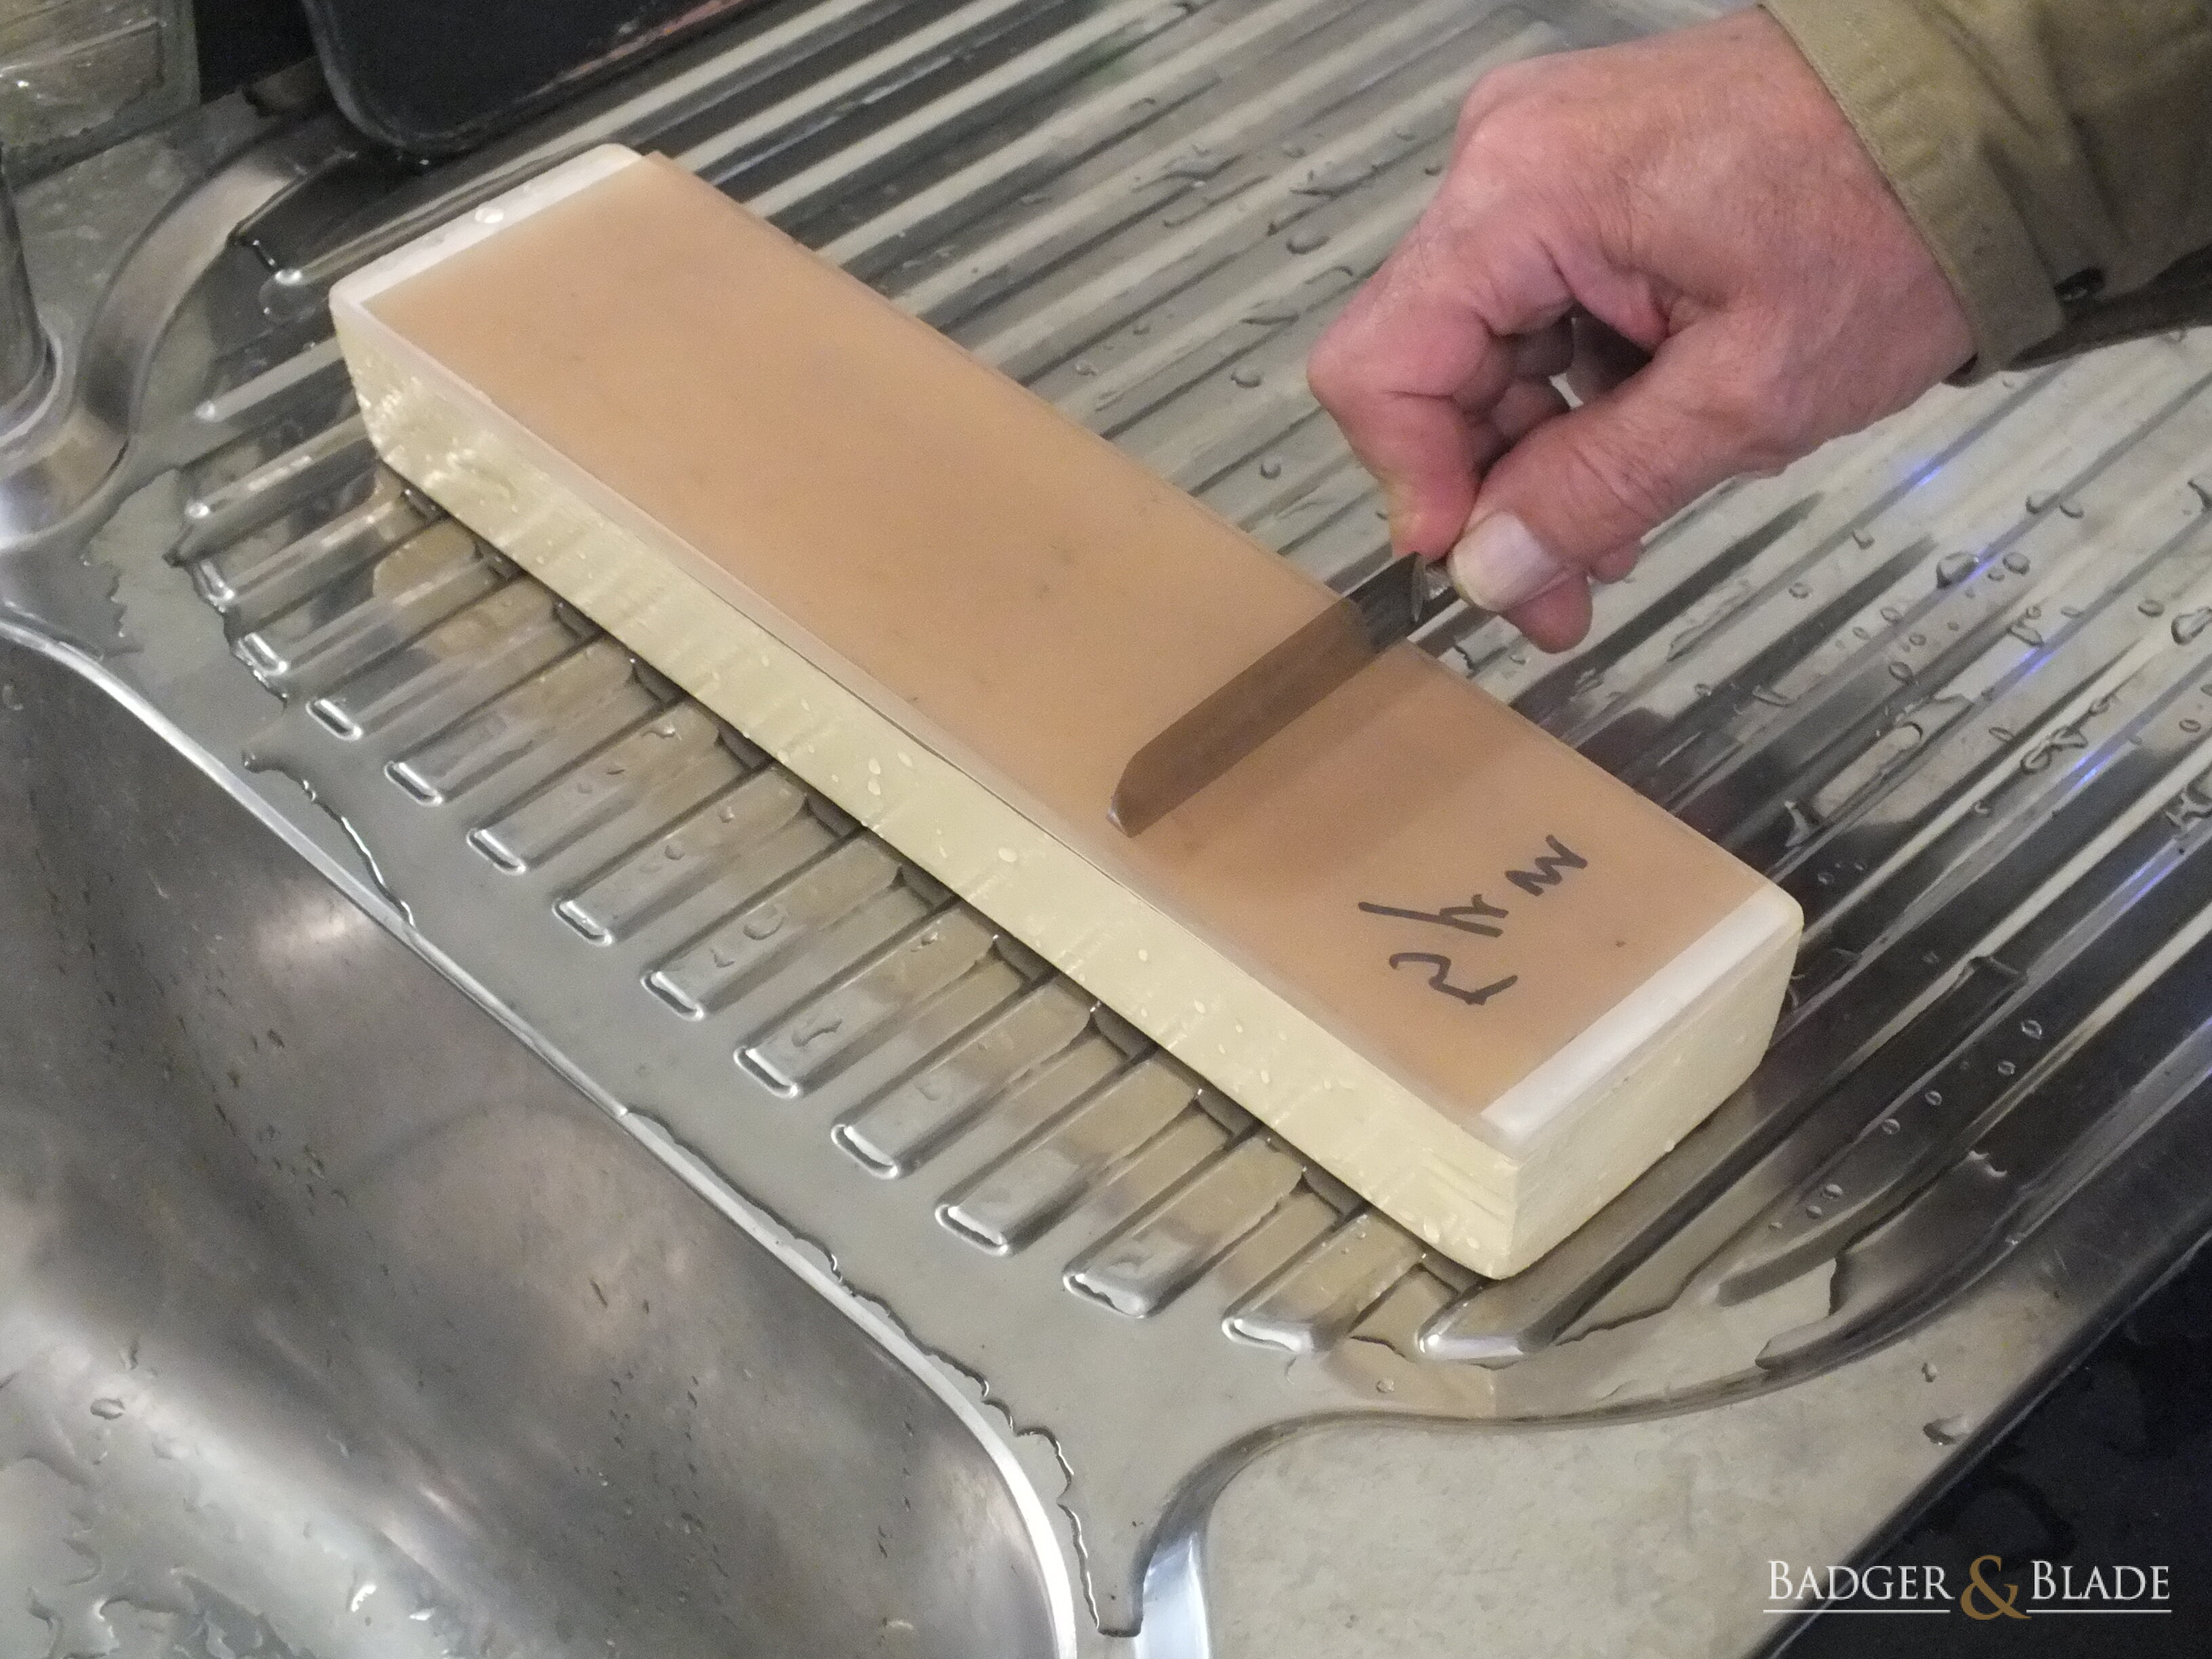
Turn over on spine |
Back at starting position |
Now end-for-end the substrate and add a few more drops of water. Then perform 10 more standard laps using just the weight of the blade as pressure pressure together with some more pull laps. Repeat this until you are not able to see any light reflected off the edge of the blade (and try really hard to get a reflection).
Once finished, wipe the blade dry with toilet paper being careful not to let the toilet paper touch the edge.
If 30µm lapping film was used in the rough bevel set, there should be by now no visible signs of scratches from that 30µm film. You can check this under a strong light with a loupé. If they are, repeat the Finishing Bevel Set process until they are no longer visible.
You should now have a well set bevel on your SR. Mine now looks like this when examined under a good light while trying my best to get a reflection off the edge.
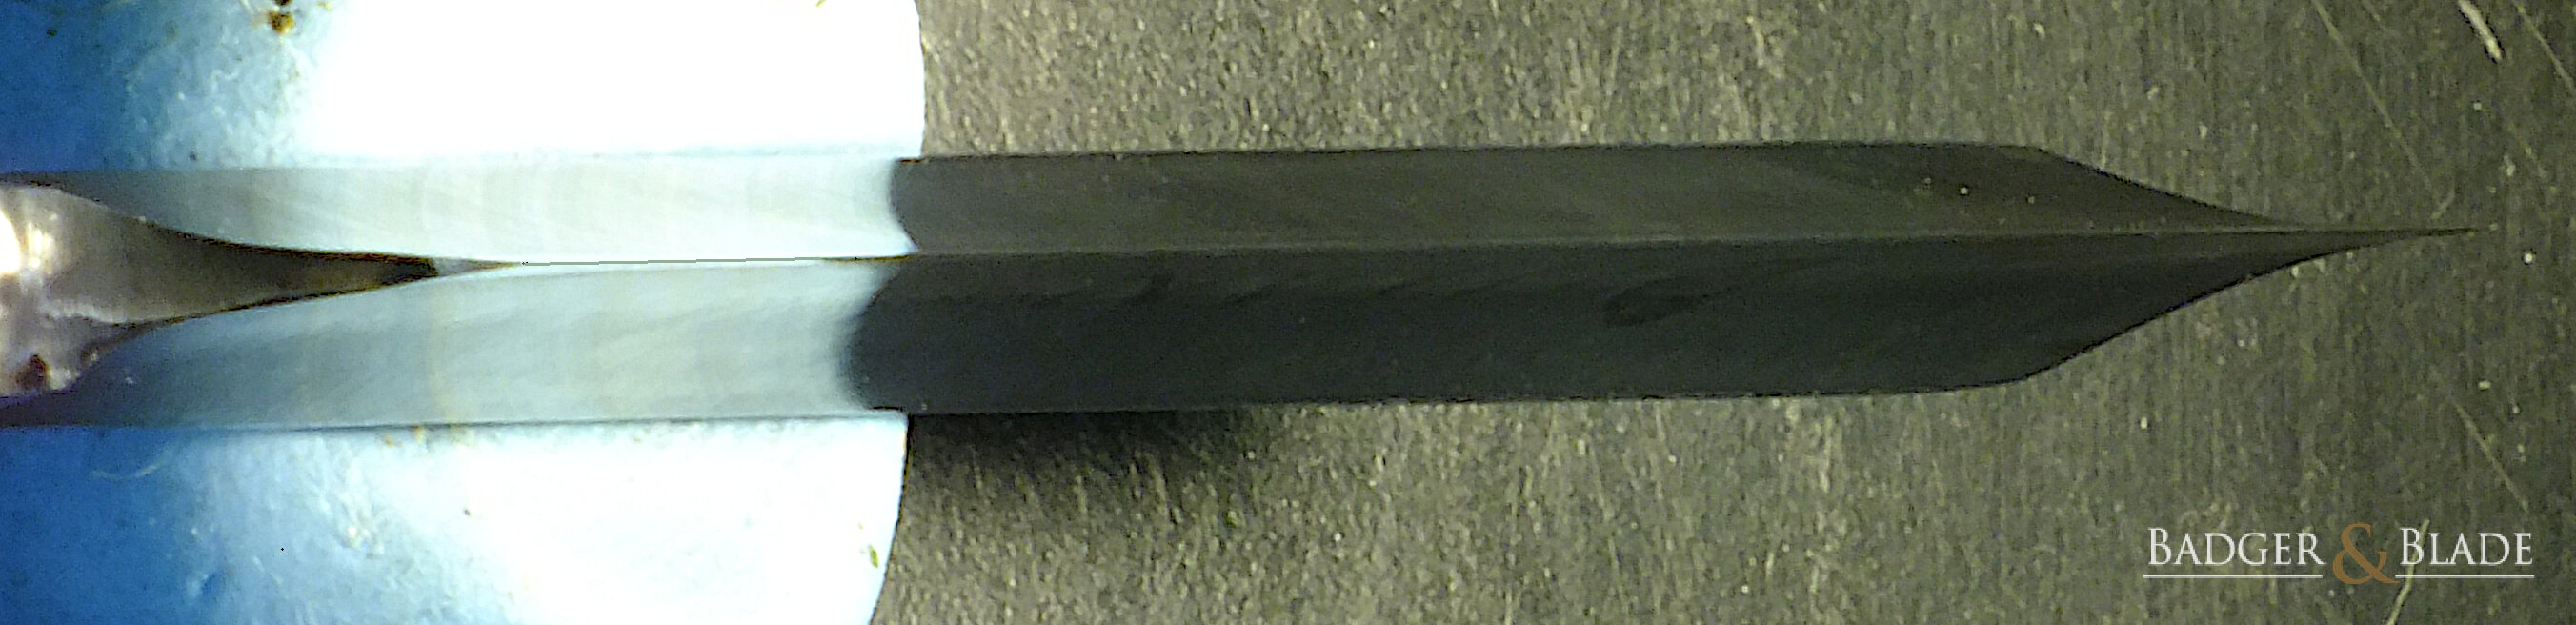
If you are finding it impossible to get no light reflected off the edge of the blade, your bevel is not properly set. Return to section 5 (Refining The Bevel Set) and work your way through that section and section 6 (Finishing The Bevel Set) again. Keep on repeating until you have no light reflection off the blade’s edge, no matter how hard you try to get a refection.
THE SHAVE TEST
With a properly set bevel off 12µm lapping film, you should be able to shave – just. Strop your SR on clean leather and give it a try. Remember when stropping to hold the strop taut and use just the weight of the blade as pressure. There should be no noticeable deflection in the strop when stropping. If there is noticeable deflection, you are using too much pressure or not holding the strop taut enough.
Your shave will not be the most comfortable shave but that edge still should shave. If not, your bevel was not properly set. Go back to Section III 7.1.3 [Refining The Bevel Set] and work your way through that and Section III 7.1.4 [Finishing The Bevel Set] again. You will succeed!
REFINING THE EDGE
The bevel-set of your SR should have given you an edge that is shave-able but not the best of edges. The purpose of refining the blade’s edge from bevel-set is to give you a very good comfortable truly shave-ready edge on your SR. This is done by honing the blade on progressively finer lapping films, down to 1µm (inclusive).
You should have finished your bevel setting on 12µm lapping film. This would have left striations on the bevel and they they should be about horizontal (parallel to the edge) due to your final pull laps.
When refining the blade’s edge, you will be honing the same way as you did when finishing the bevel-set, that is:
- Holding the substrate in-hand.
- Honing with weight of blade only as pressure.
- Sliding the blade over the lapping film edge leading (spine trailing).
- Turning the blade over on its spine at the end of each stroke.
- Adding a few drops of water after about each 10 laps.
9µm Honing
Mount the 9µm lapping film onto your substrate, then perform:
- 10 x standard honing laps
- End-for-end the substrate
- 10 x standard honing laps.
- Wipe the blade dry with toilet paper and inspect the bevel under a good light to see if you have removed all of the horizontal striations from the previous 12µm honing when finishing the bevel-set.
- If the horizontal striations from the 12µm are still visible, repeat steps (a) to (d) above.
(It took me about a total of 40 standard honing laps before I had no visible horizontal striations from the 12µm. It may take you less or even a lot more. Keep at it until it is done.) - 3 to 5 pull laps.
5µm Honing (Optional But Recommended)
Mount the 5µm lapping film onto your substrate, then perform:
- 10 x standard honing laps
- End-for-end the substrate
- 10 x standard honing laps.
- Wipe the blade dry with toilet paper and inspect the bevel under a good light to see if you have removed all of the horizontal striations from the previous 9µm honing.
- If any horizontal striations from the 9µm are still visible, repeat steps (a) to (d) above.
(It took me about a total of 40 standard honing laps before I had no visible horizontal striations from the 9µm. It may take you less or even a lot more. Keep at it until it is done.) - 3 to 5 pull laps.
3µm Honing
Mount the 3µm lapping film onto your substrate, then perform:
- 10 x standard honing laps
- End-for-end the substrate
- 10 x standard honing laps.
- 6 short X laps (see below). This is to put a cross-hatch striation on the bevel and to a lesser extent remove any micro- burr.
- Wipe the blade dry with toilet paper and inspect the bevel under a good light to see if you have removed all of the horizontal striations from the previous 5µm (or 9µm) honing. This striation may be very hard to see as it will be very fine.
- If any horizontal striations from the 5µm (or 9µm) are still visible, repeat steps (a) to (d) above. It may take a few repeats before you have no visible horizontal striations from the 5µm (or 9µm). This is particularly so if you omitted the 5µm honing. Keep at it until it is done.
- 6 short X laps.
Using just the weight of the blade as pressure, slide the blade across the lapping film at about a 45° angle to the substrate’s longitudinal axis, spine/heel leading (edge/point trailing). Then lift the blade from the lapping film and move it horizontally (perpendicular to the substrate’s longitudinal axis), point leading, to where the blade’s heel is just over the lapping film. Turn the blade over (spine down – edge up) and lay the blade back down on the lapping film. Again slide the blade across the lapping film at about a 45° angle to the substrate’s longitudinal axis, spine/heel leading (edge/point trailing).
Turn the blade over again (spine down – edge up) and lay the blade back down on the lapping film with just the point on the lapping film. Now slide the blade across the lapping film at about a 45° angle to the substrate’s longitudinal axis, spine/point leading (edge/heel trailing). Then lift the blade from the lapping film and move it horizontally (perpendicular to the substrate’s longitudinal axis), heel leading, to where the blade’s point is just over the lapping film. Turn the blade over (spine down – edge up) and lay the blade’s point back down on the lapping film. Again slide the blade across the lapping film at about a 45° angle to the substrate’s longitudinal axis, spine/point leading (edge/heel trailing). Turn the blade over again (spine down – edge up) and lay the blade back down on the lapping film with the whole edge/spine on the lapping film.
You have now complete one short X lap.
Fig. III 34 to III 46 is a photo sequence of one (1) complete short X lap. You of course will be holding your substrate in-hand and using 3µm or 1µm lapping film.
Start position 1st stroke | 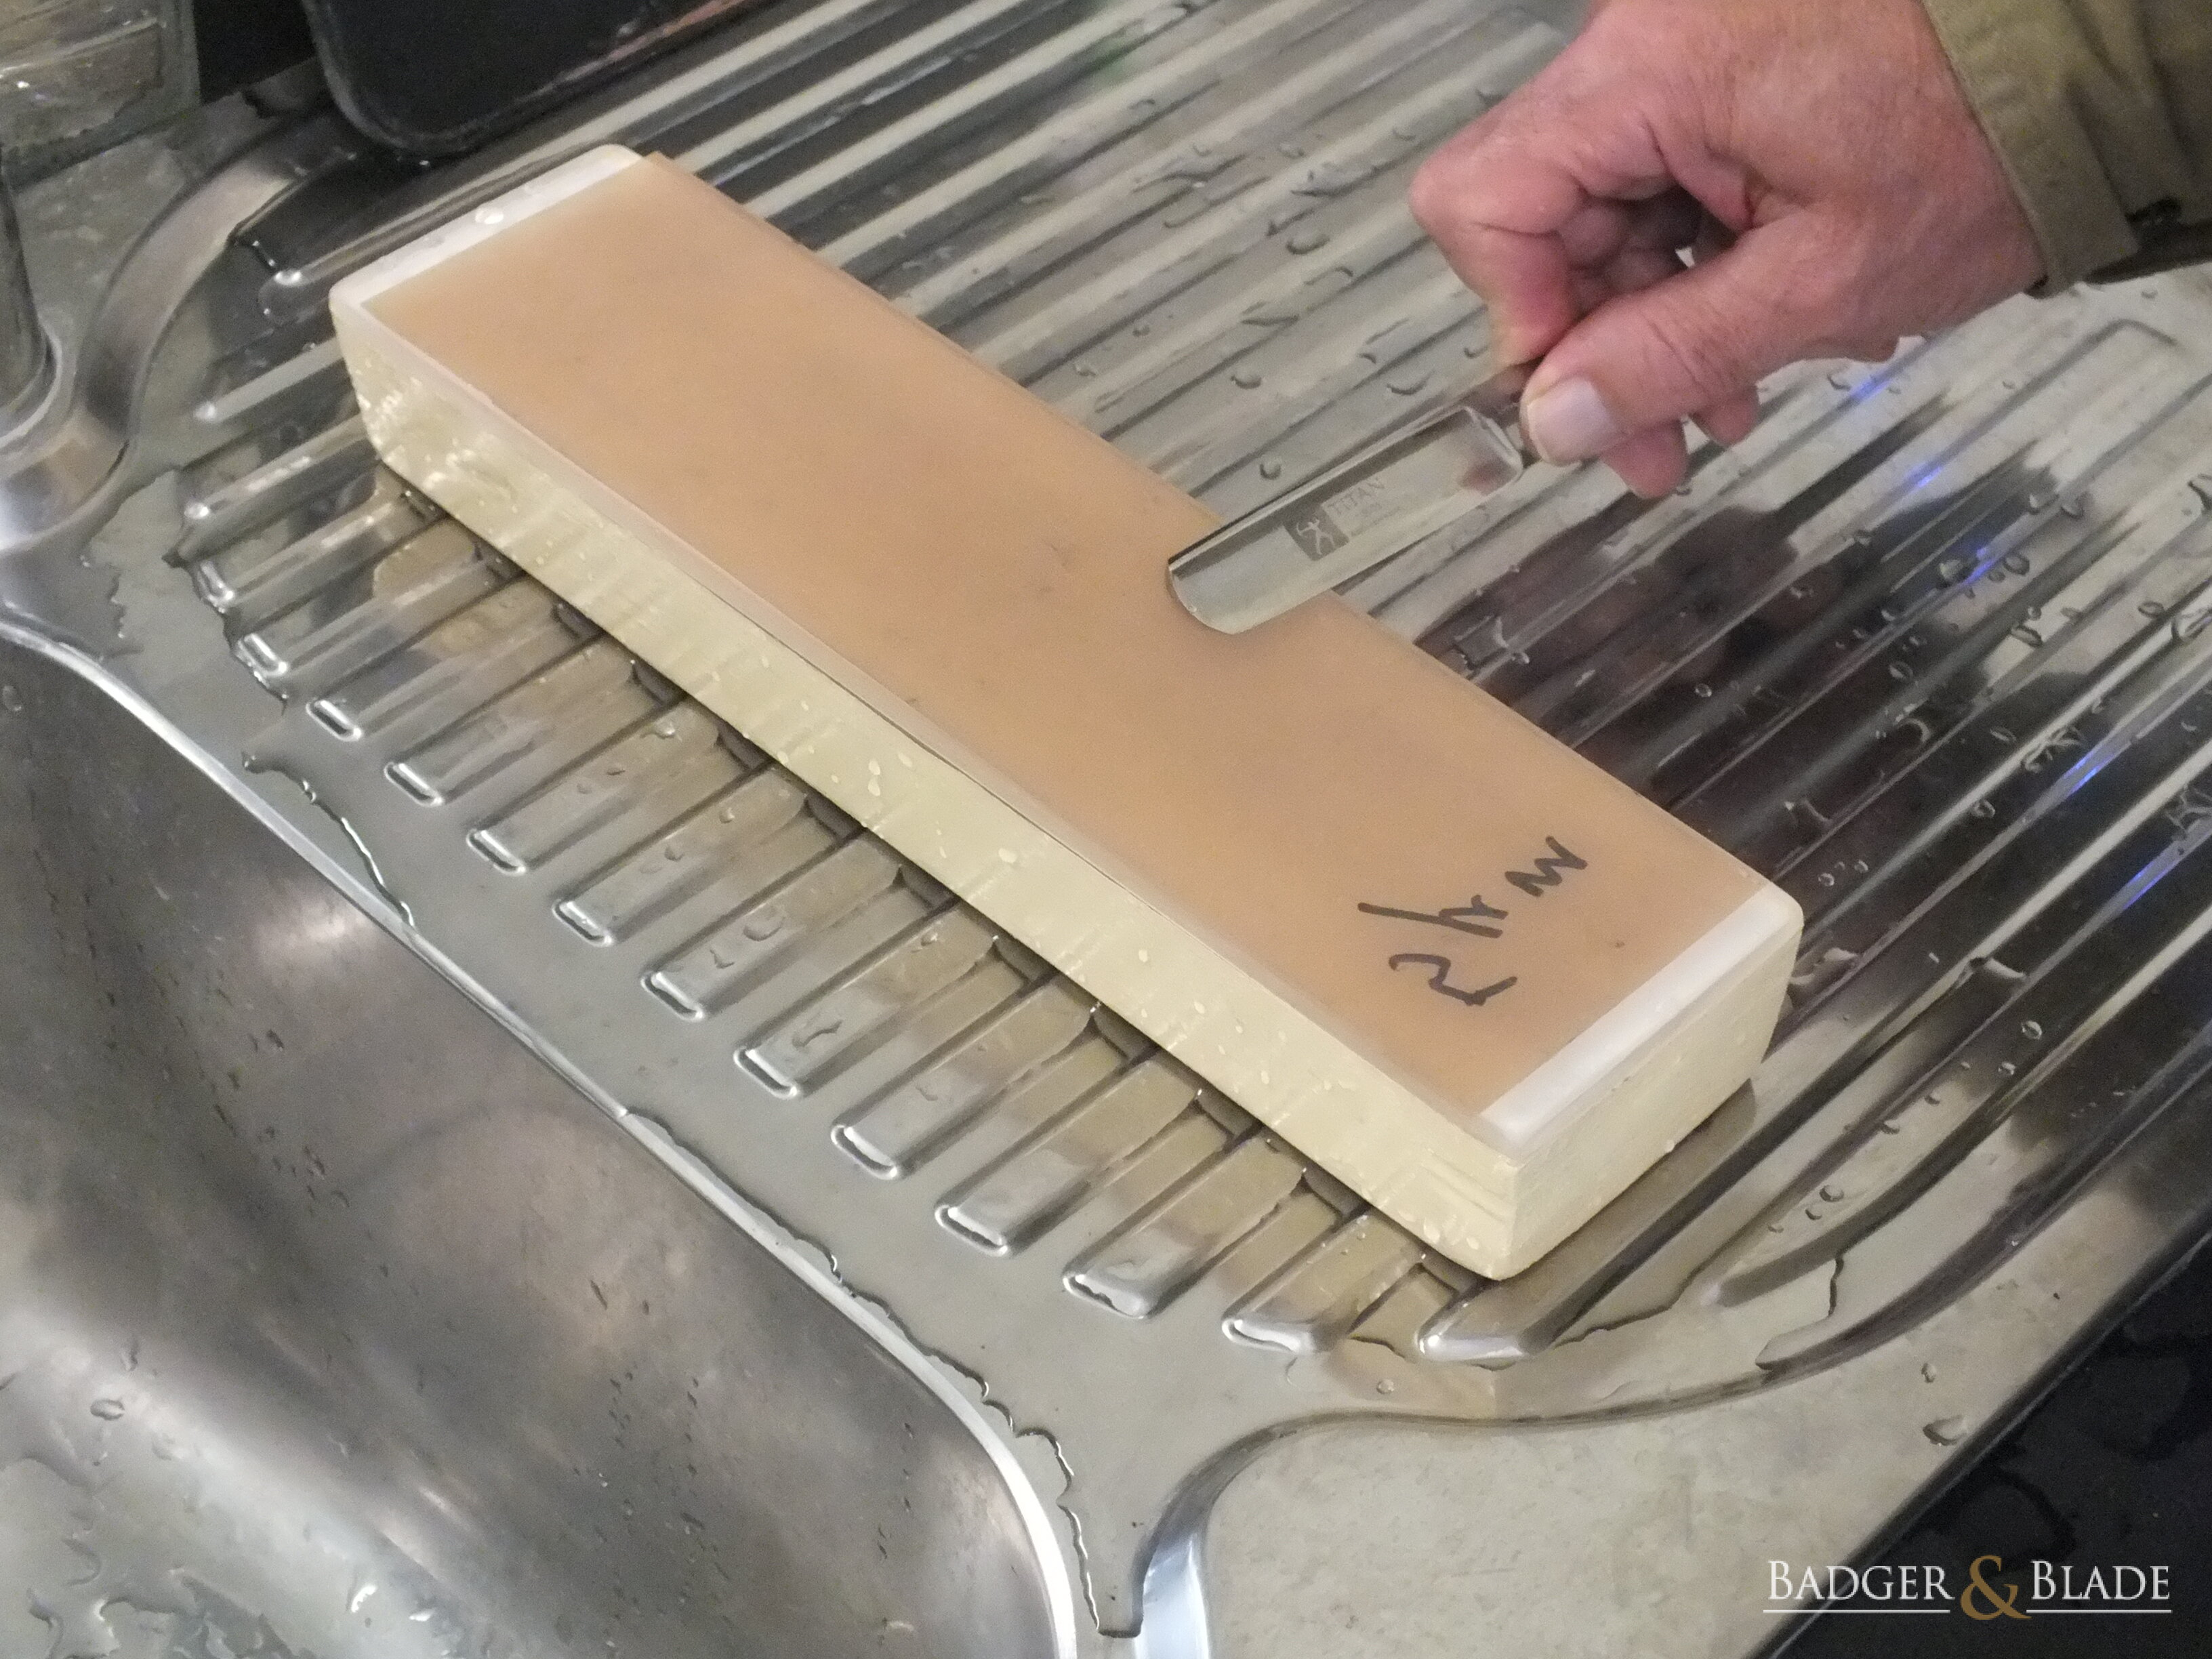
1st stroke moving 45° slide spine/heel leading |
Moving horizontally & turning | 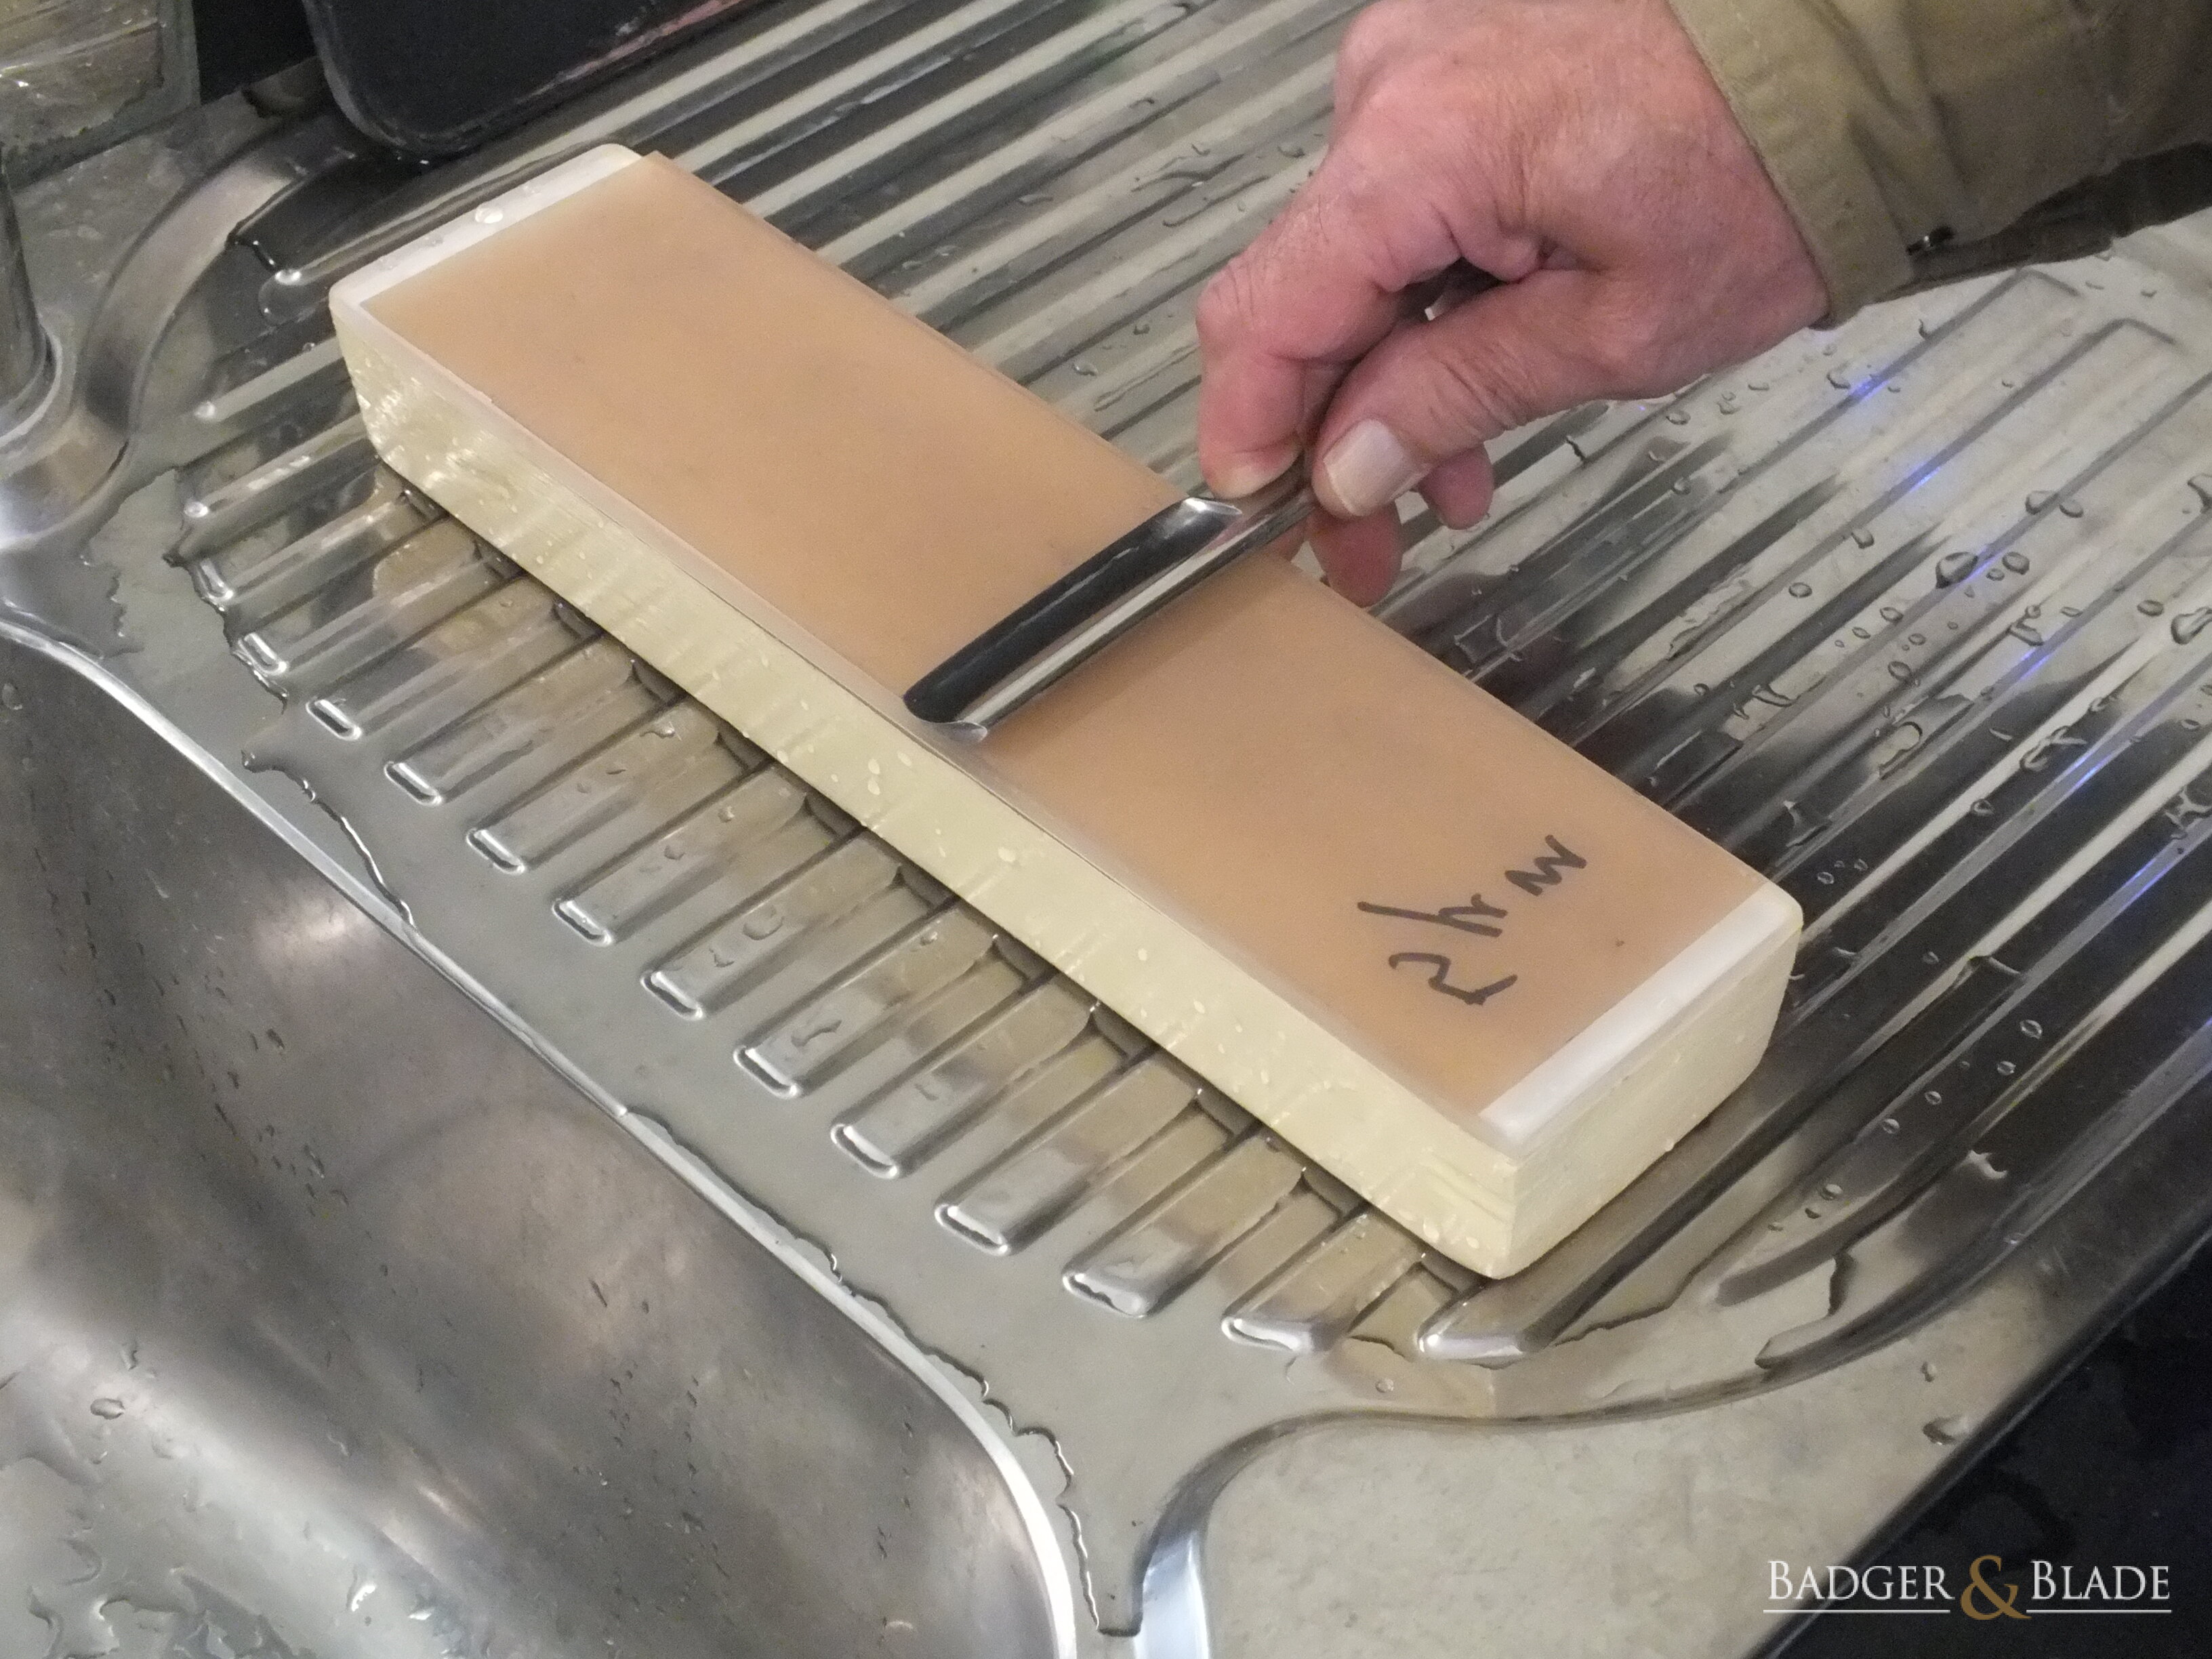
Starting 2nd stroke spine leading |
2nd stroke moving 45° slide | 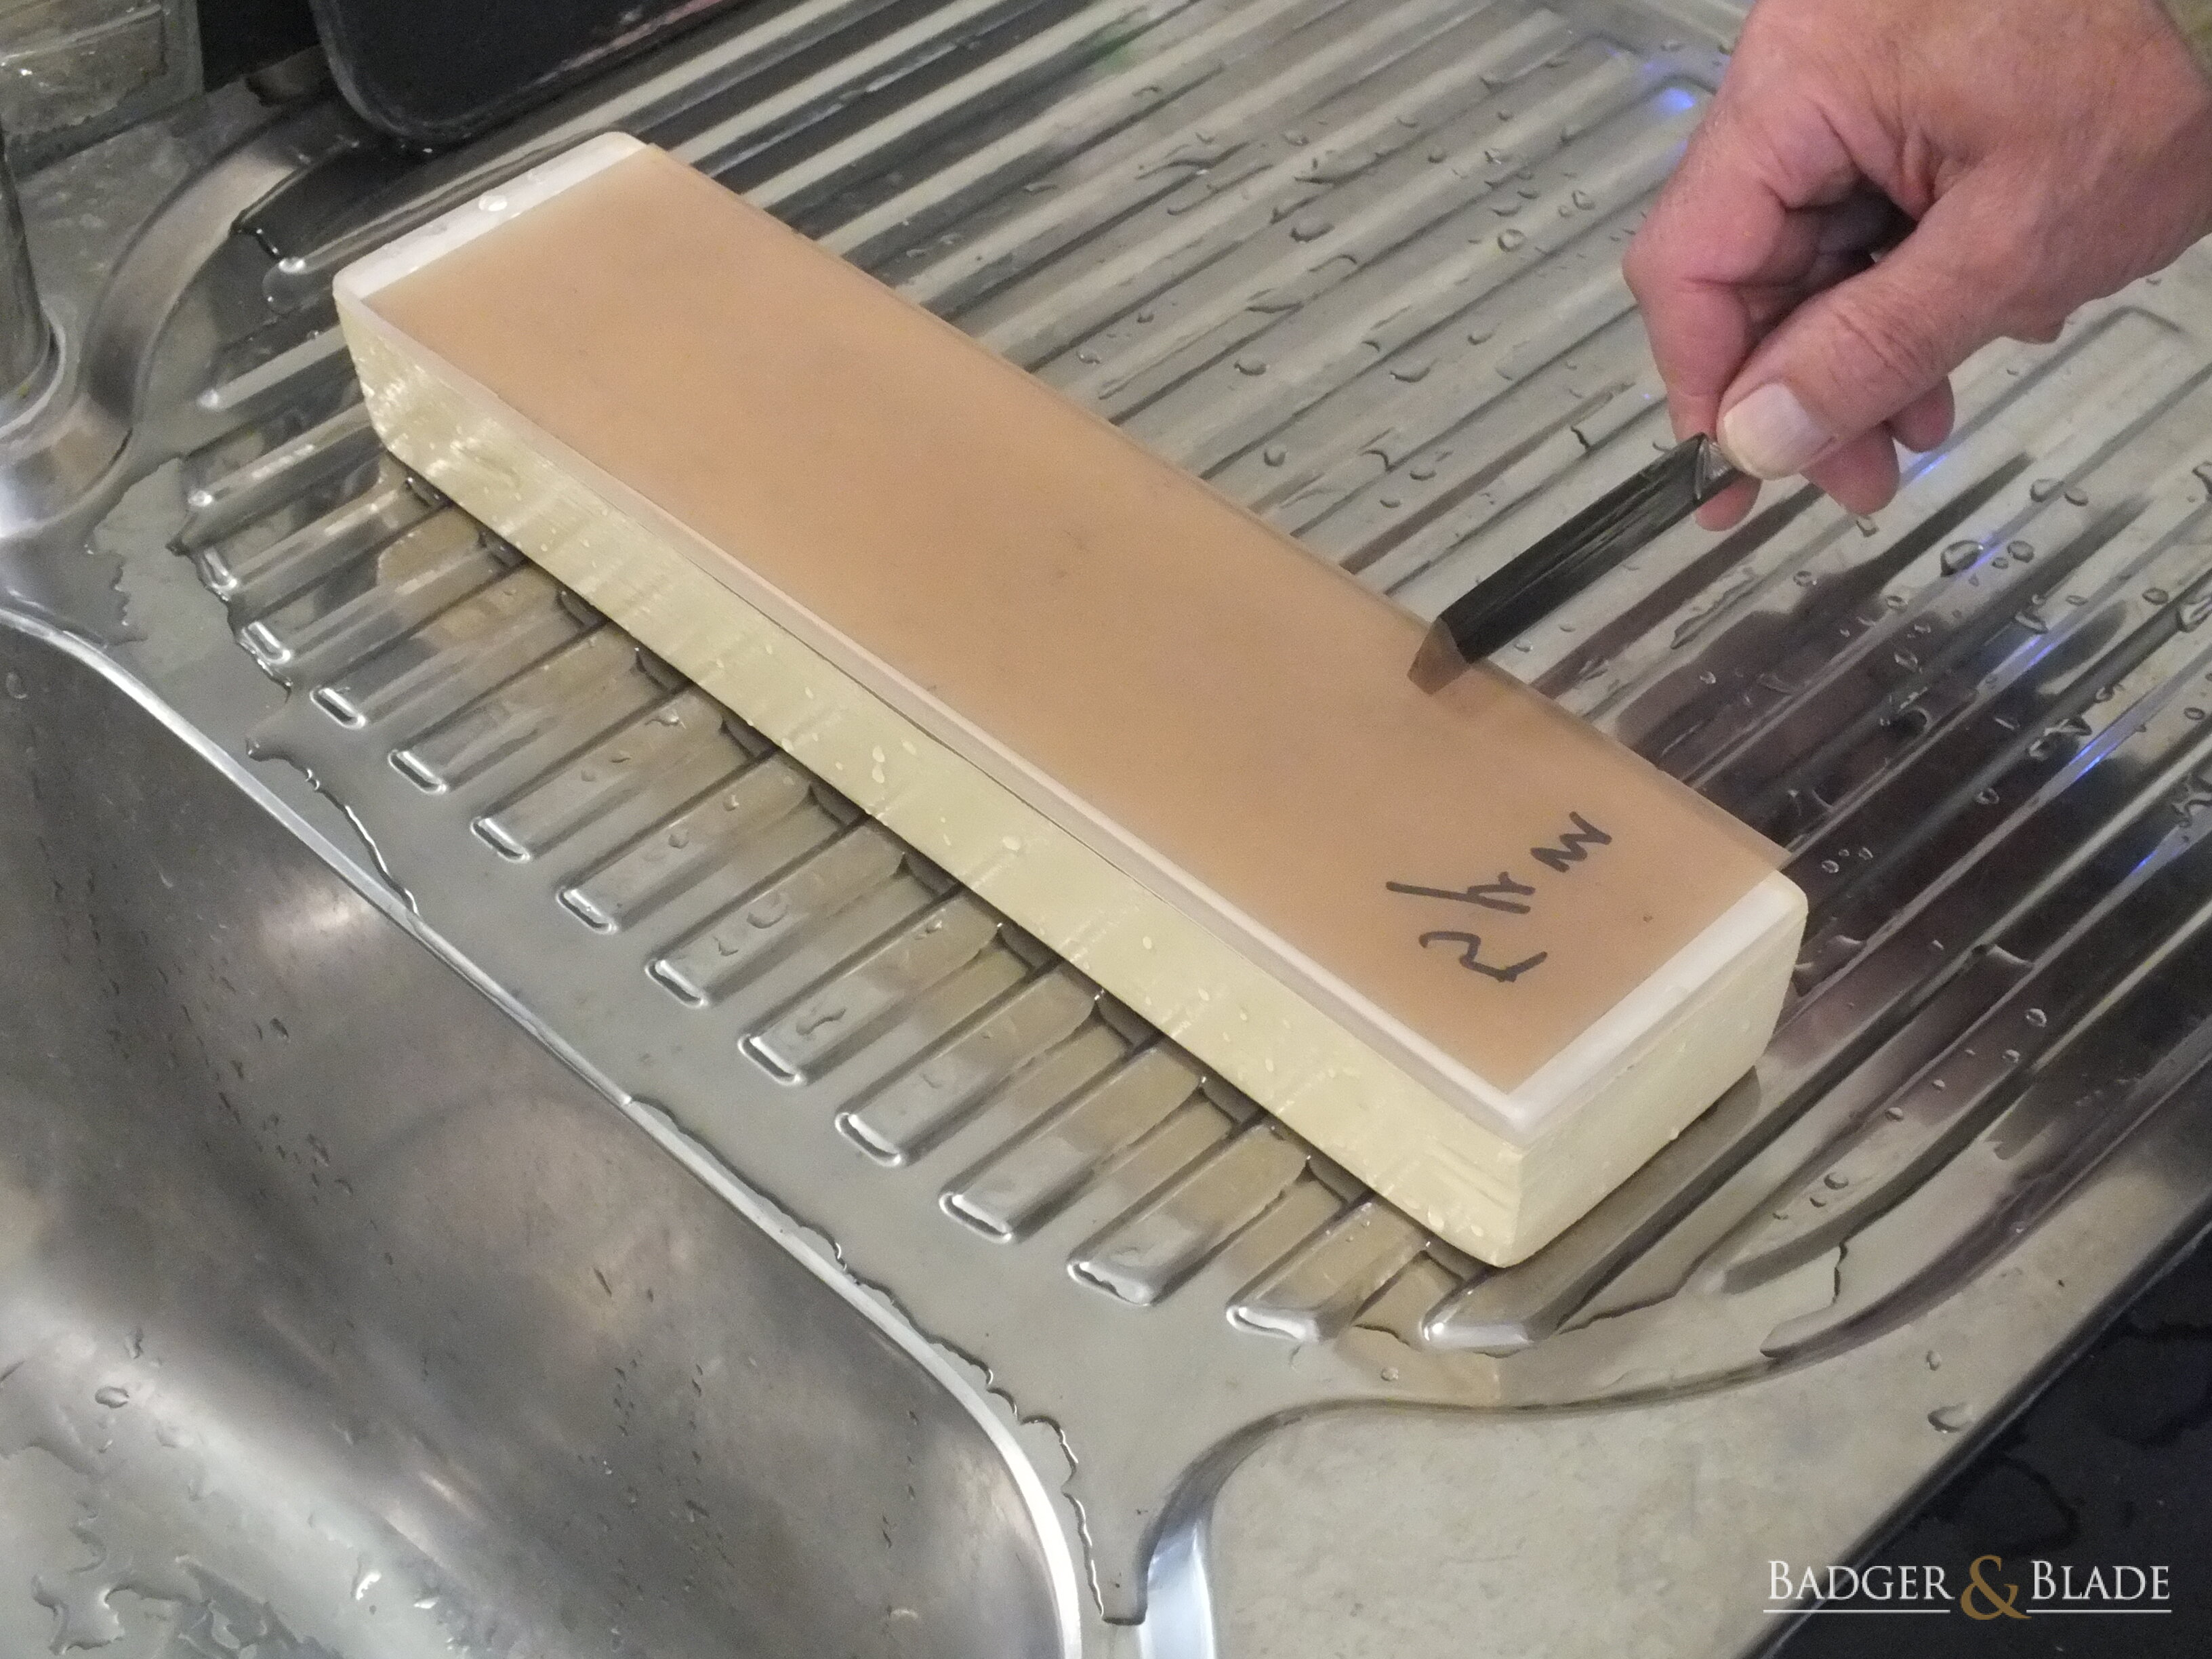
Turning blade for start of 3rd stroke spine/heel leading |
3rd stroke moving 45° slide spine/point leading | 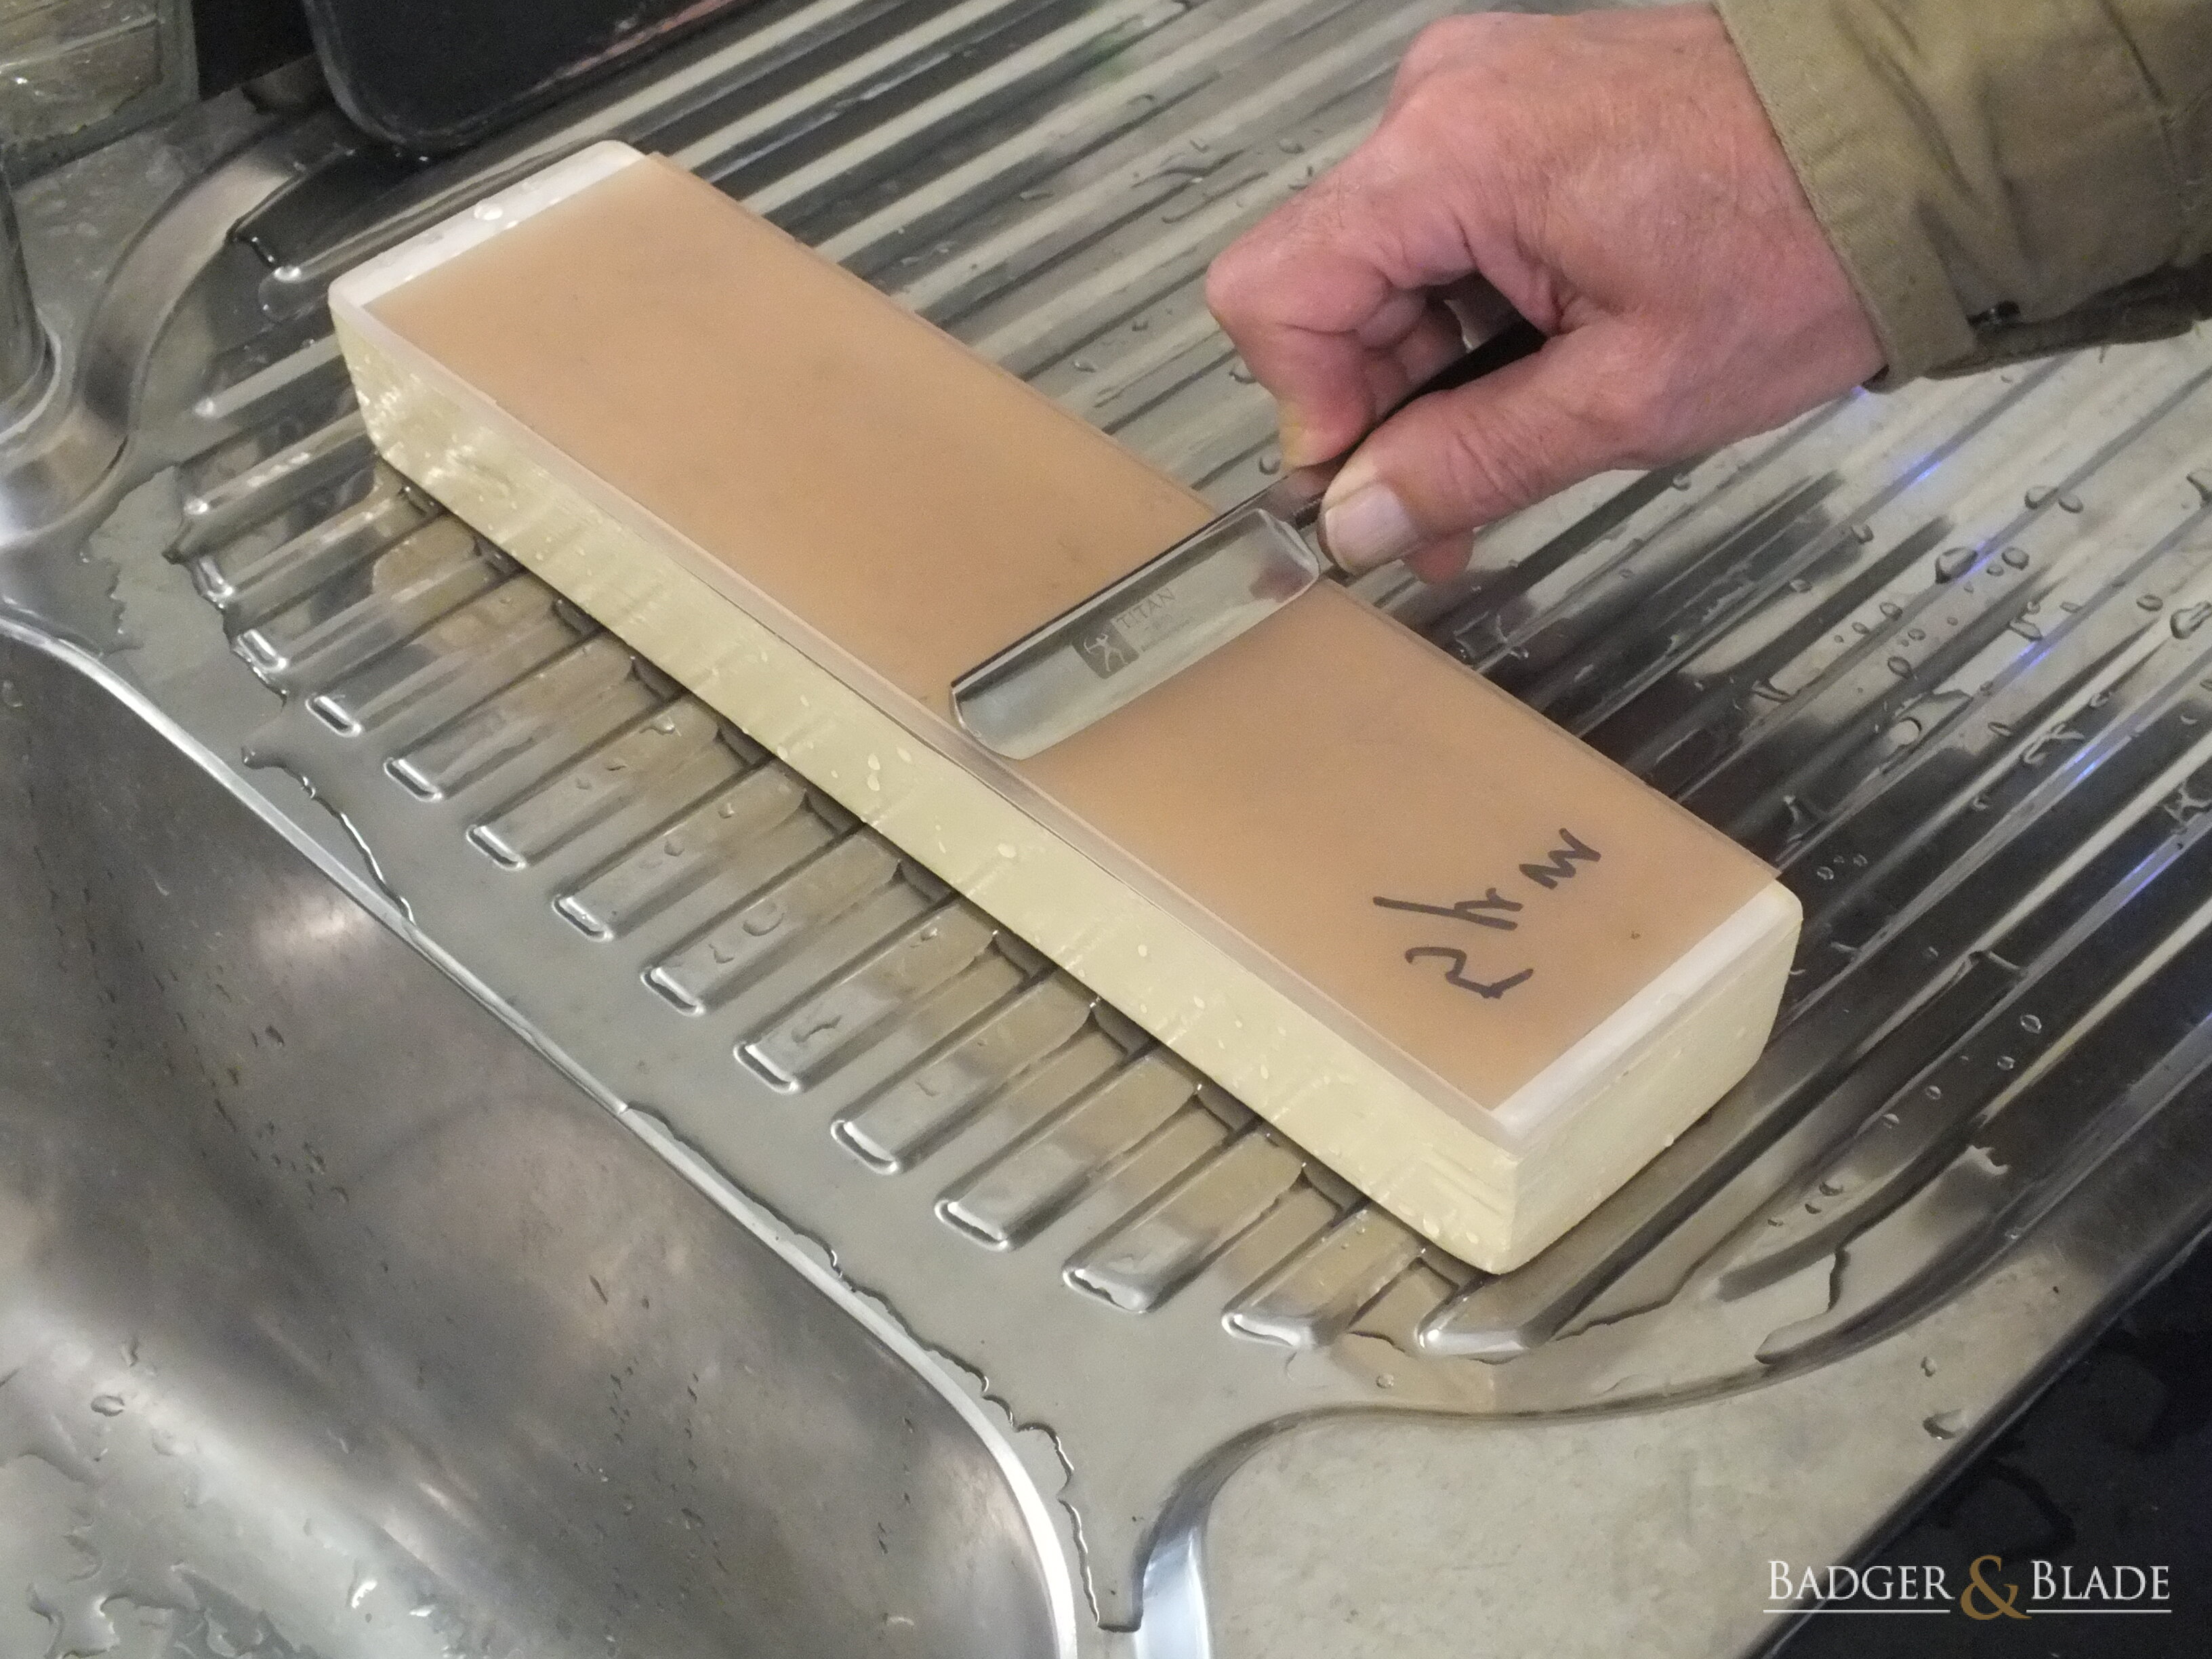
Finishing 3rd stroke |
Turning blade for start of 4th stroke | 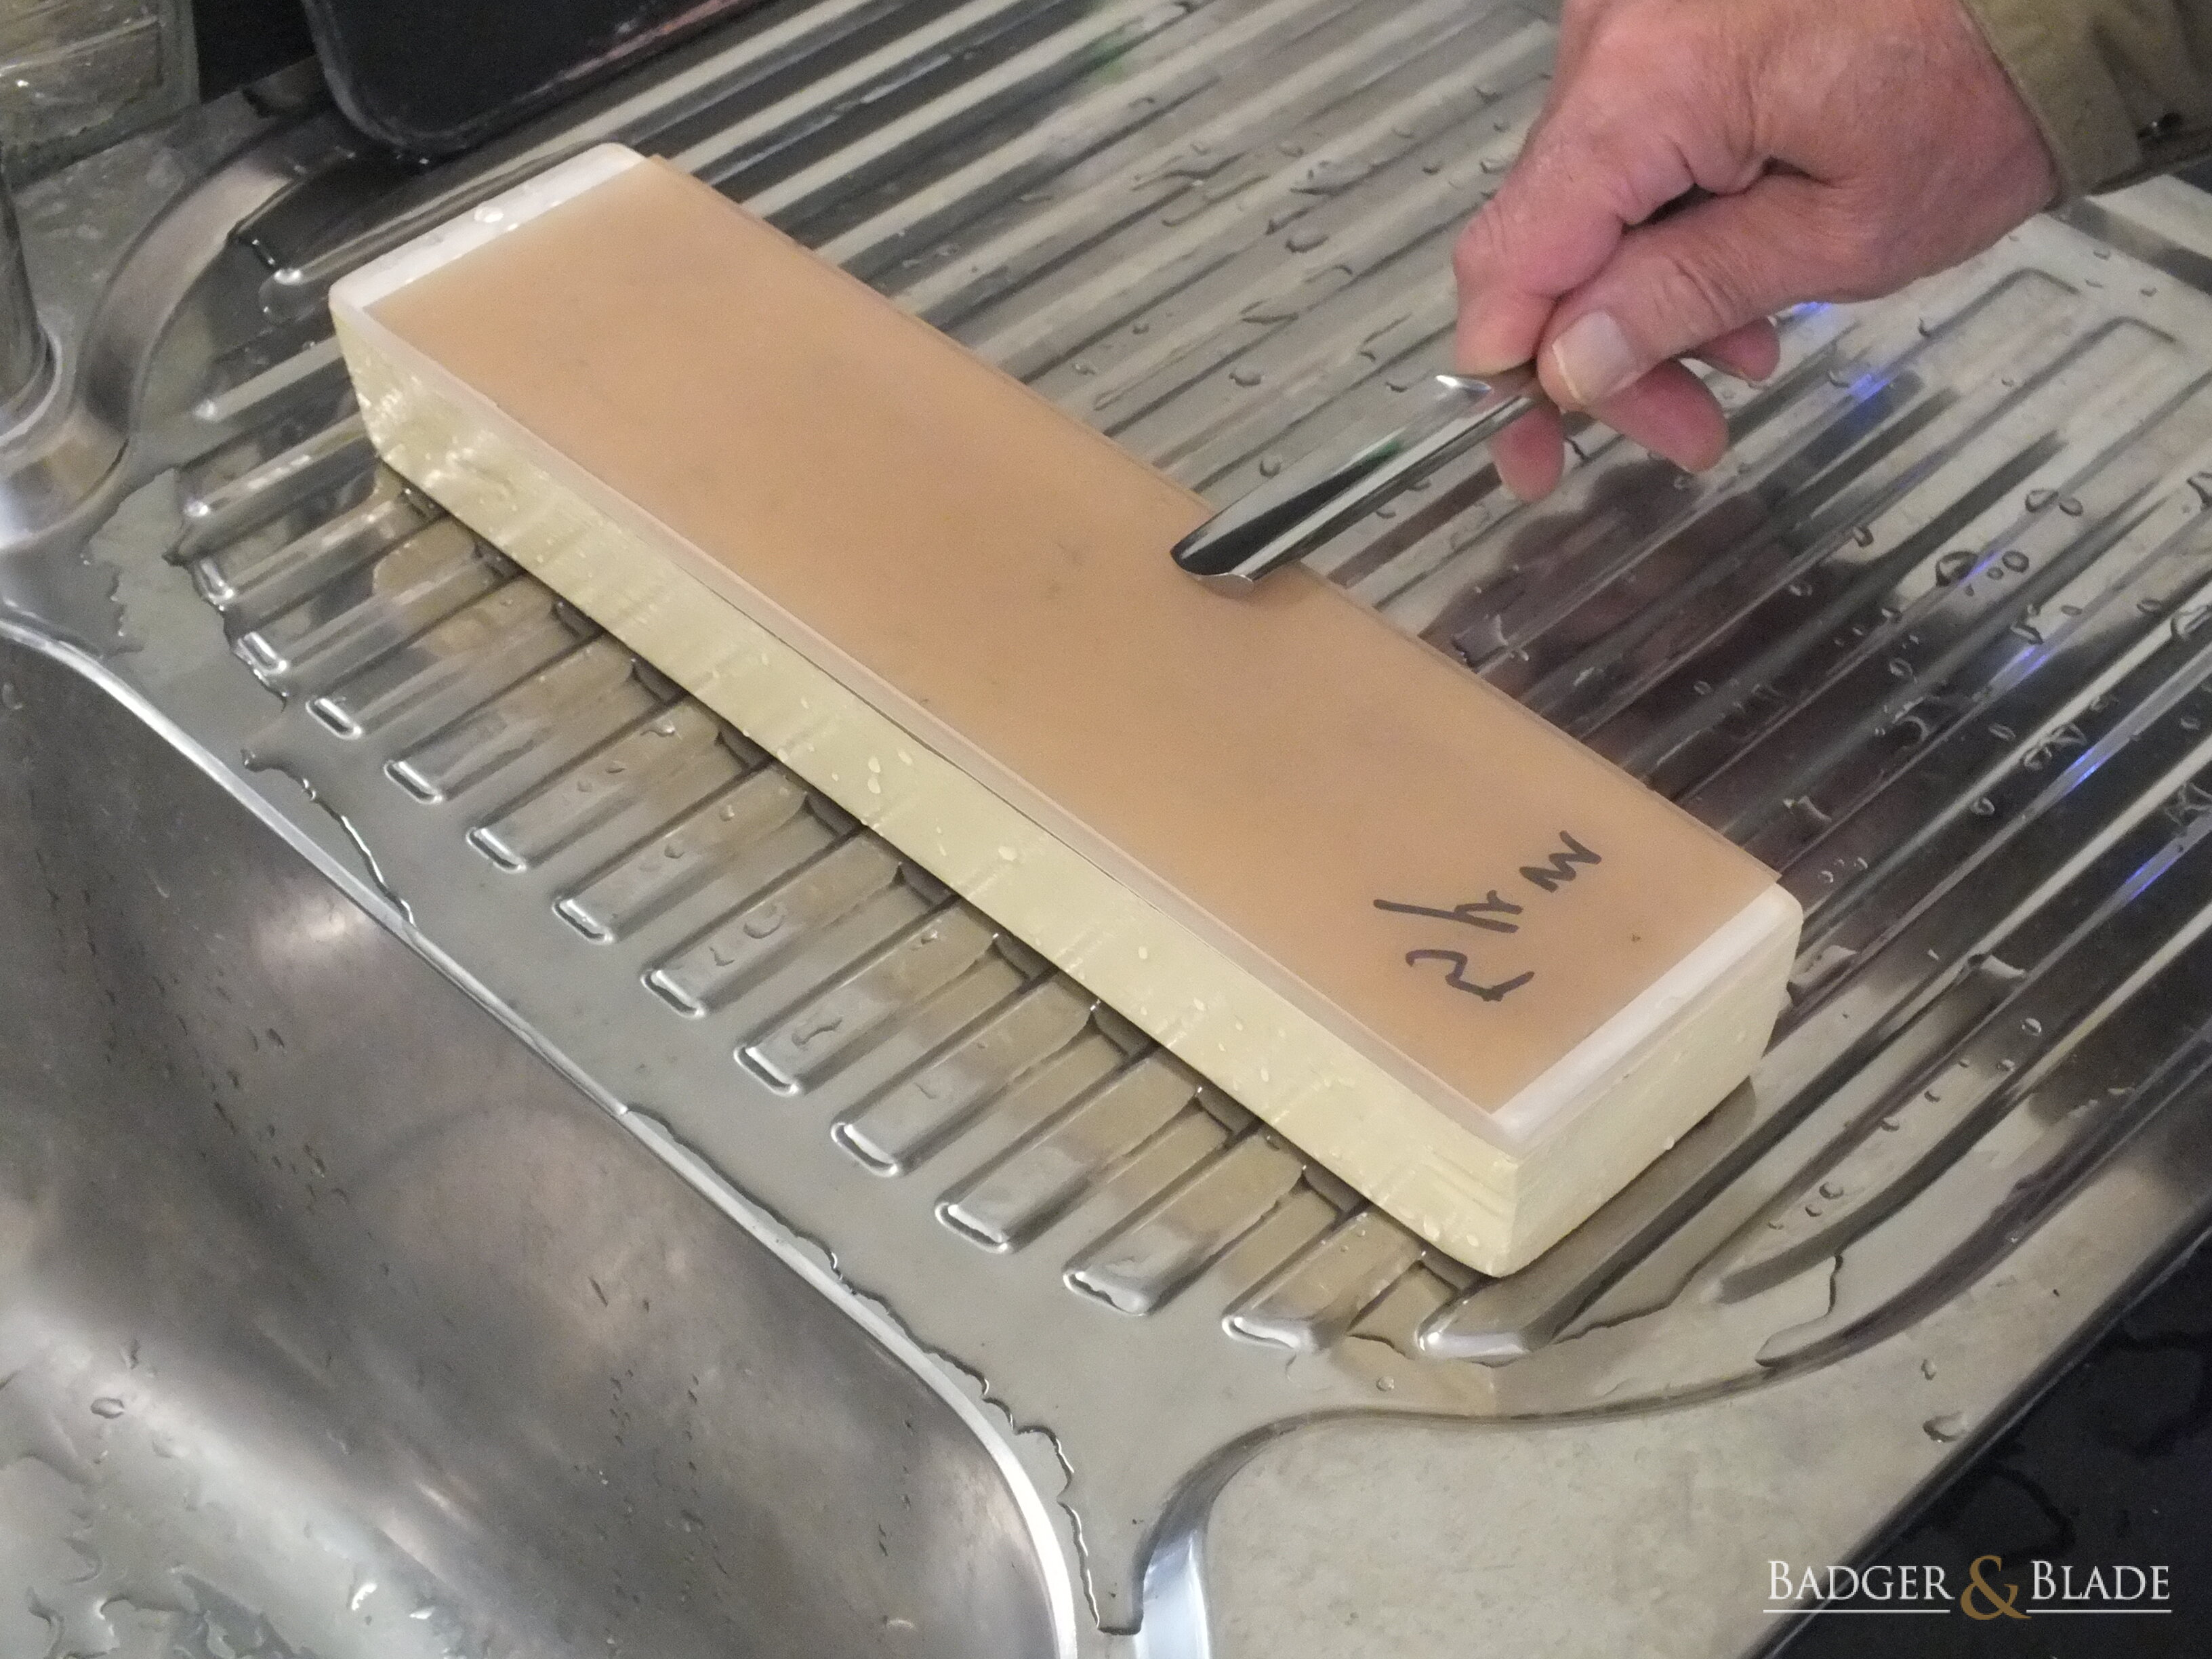
4th stroke moving 45° slide spine/point leading |
Finishing 4th stroke | 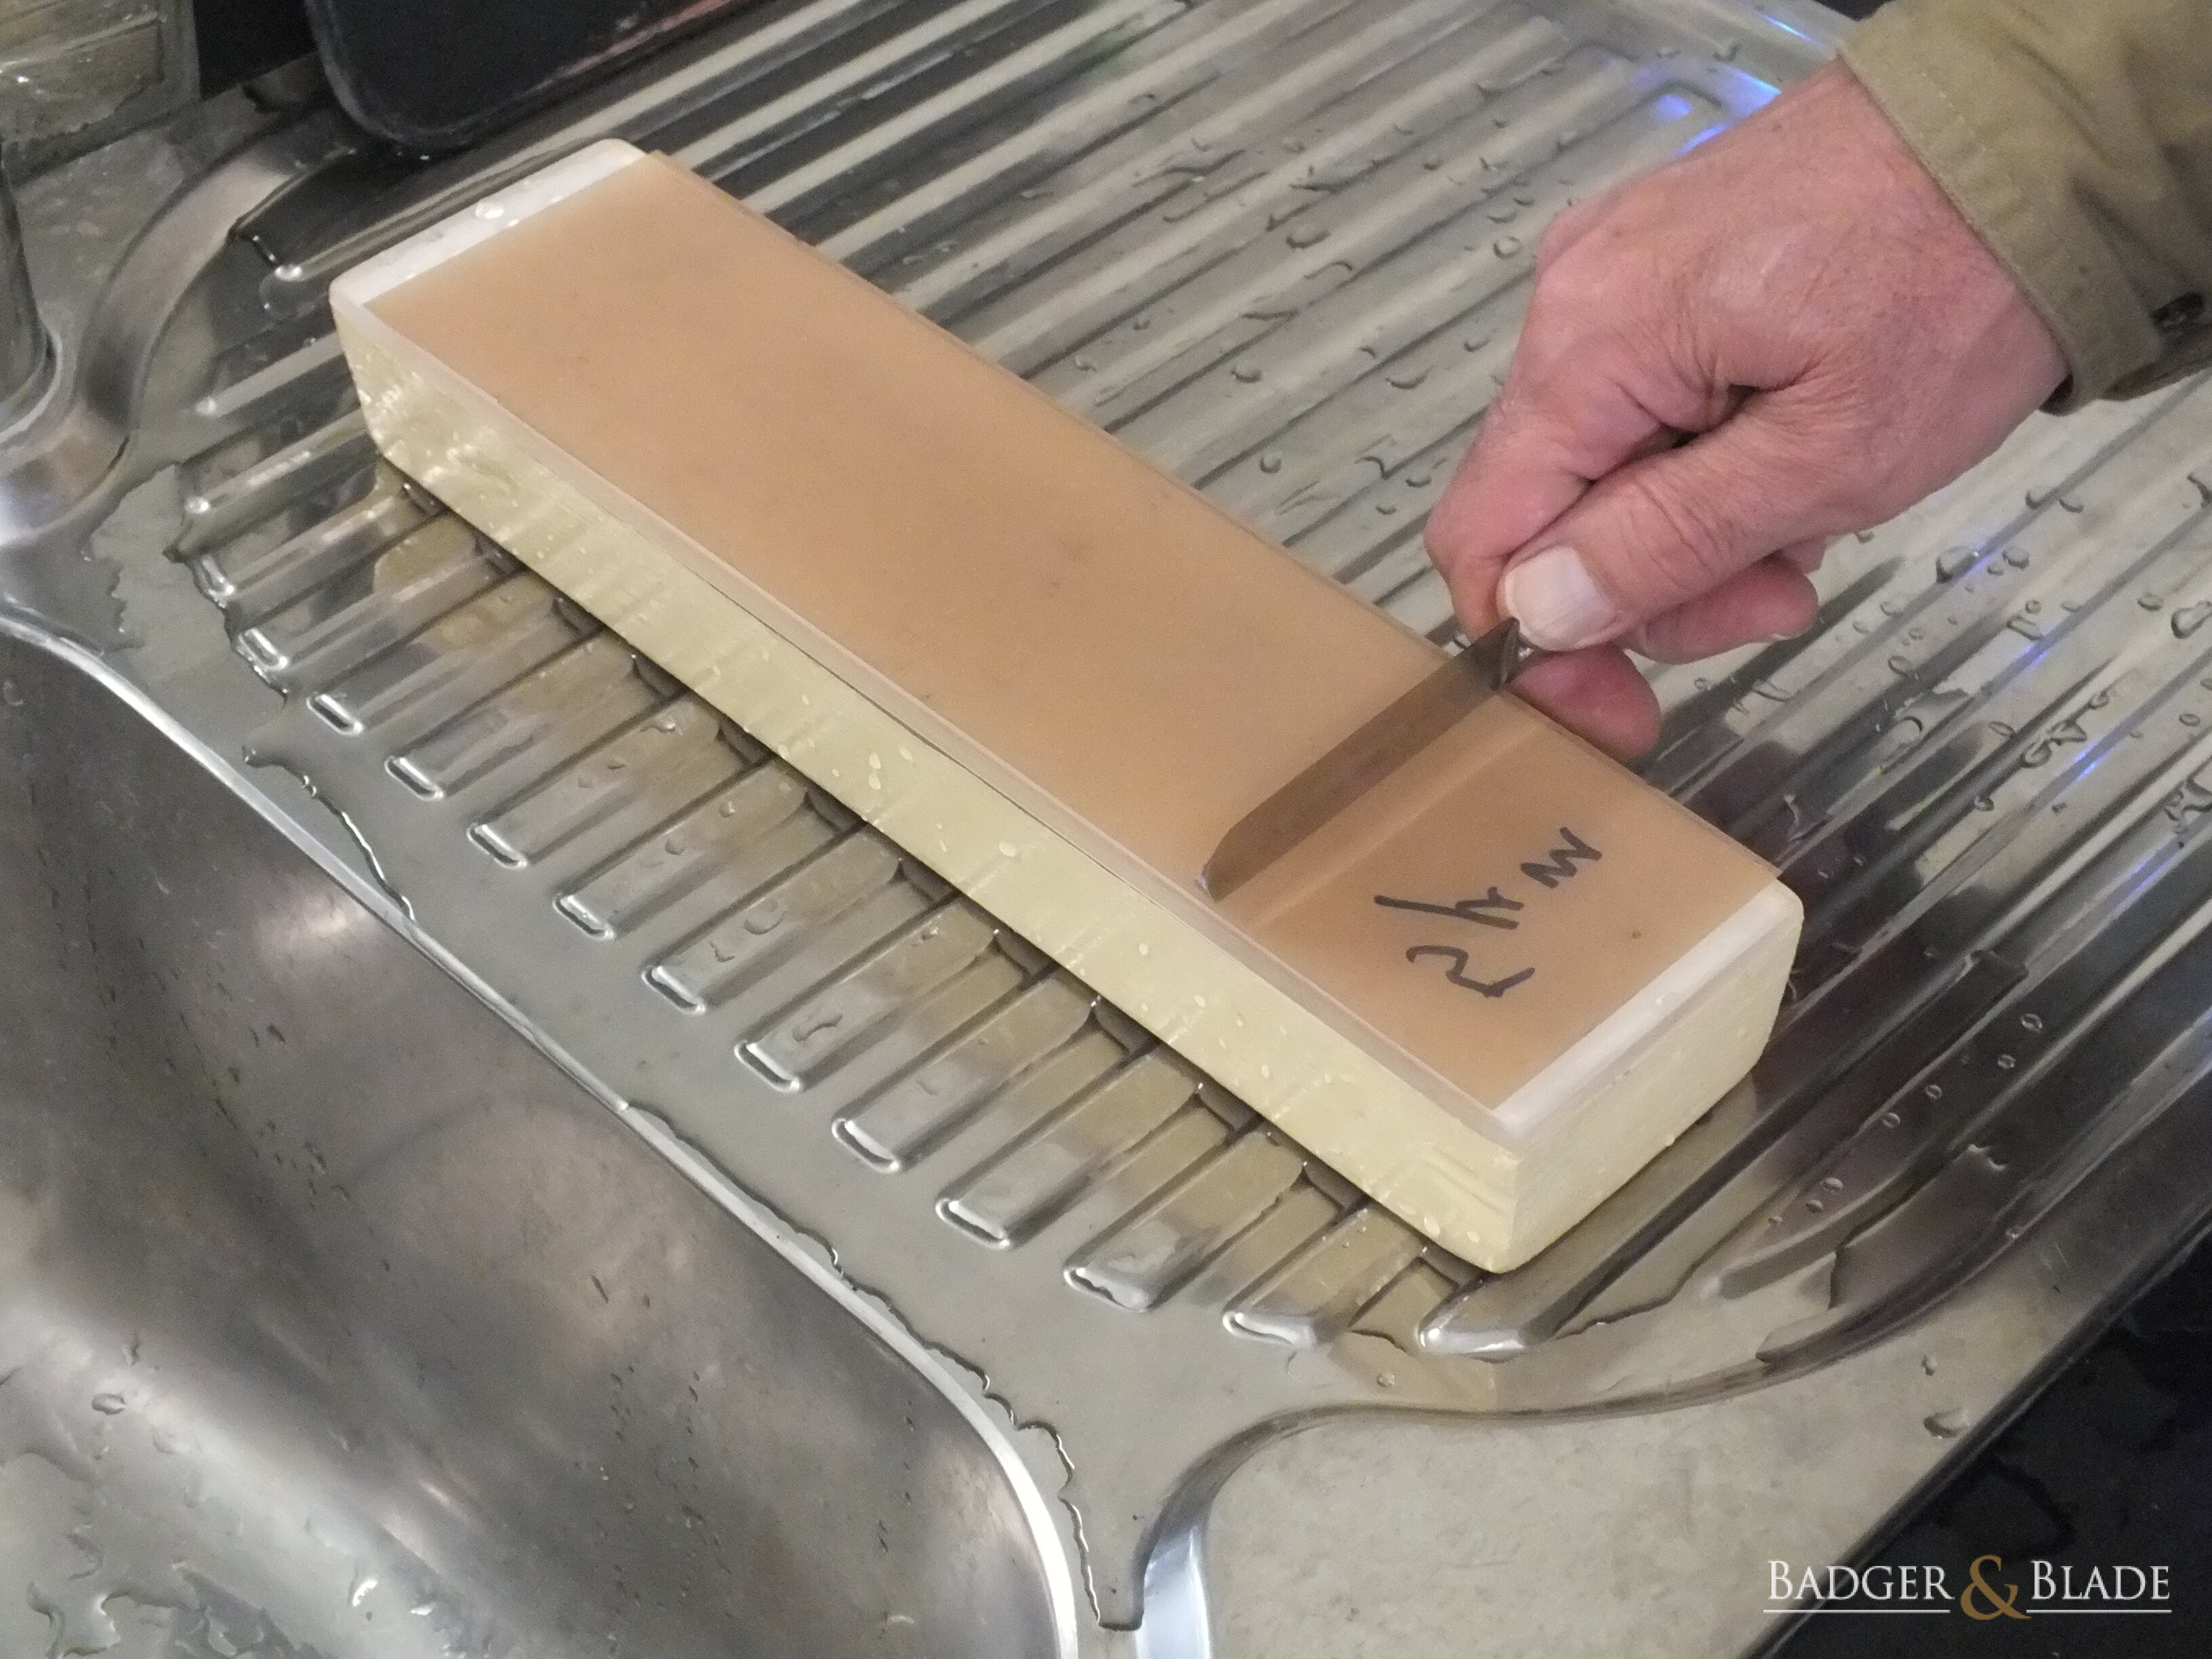
Turning blade for start of next lap |
Ready to start next short X lap |
1µm Honing
Mount the 1µm lapping film onto your substrate, then perform:
- 10 x standard honing laps
- 6 short X laps.
- End-for-end the substrate
- 10 x standard honing laps.
- 6 short X laps.
1µm Honing With Paper Underlay
Note: Do not perform these steps if you are going to finish your edge on 0.5µm, 0.25µm and 0.1µm pasted balsa strops.
Remove the 1µm lapping film from the substrate. Cut a sheet of copy paper to at least the same size as your 1µm lapping film. Wet the paper and lay it on the upper acrylic surface of your substrate. Like you do when mounting the lapping film, ensure that there are no air bubbles or foreign matter between the acrylic surface and the paper. Now remount the 1µm lapping film onto the upper surface of the wet copy paper on the substrate. Then perform:
- 10 x standard honing laps but with spine leading (edge trailing).
- End-for-end the substrate.
- 6 short X laps.
- 10 x standard honing laps, spine leading (edge trailing).
- 6 short X laps.
FINISH
You should now have a very good shave-ready edge for shaving. Strop the blade on clean leather and shave with it. Remember to hold the strop reasonably taut and strop with just the weight of the blade as pressure. You should see no noticeable deflection in the strop while stropping. If you do see deflection, you are not holding the strop taut enough, or you are using too much pressure, or both. About 50 laps (up and down is one lap) should be sufficient.
If you believe that your edge could then be improved upon, go back to Sections III 7.3.3 to III 7.3.5 and repeat the process until you notice no further improvement in your edge quality.
This page has been seen 2,911 times.
-
-
Created by onLast updated by on
-