What's new

Finally! My AoS Fine Badger brush mod

This one has been a long time coming. I tried and tried to get the knot out of this brush so I could reset it with a lower loft. But I couldn't get it to budge. Finally after tonight's shave with it I decided to give it another tug. I heard a crack so I tugged again, and again. And then it was out! Full story here.

For the back story see here, and then here.

Before the shave it looked like this:
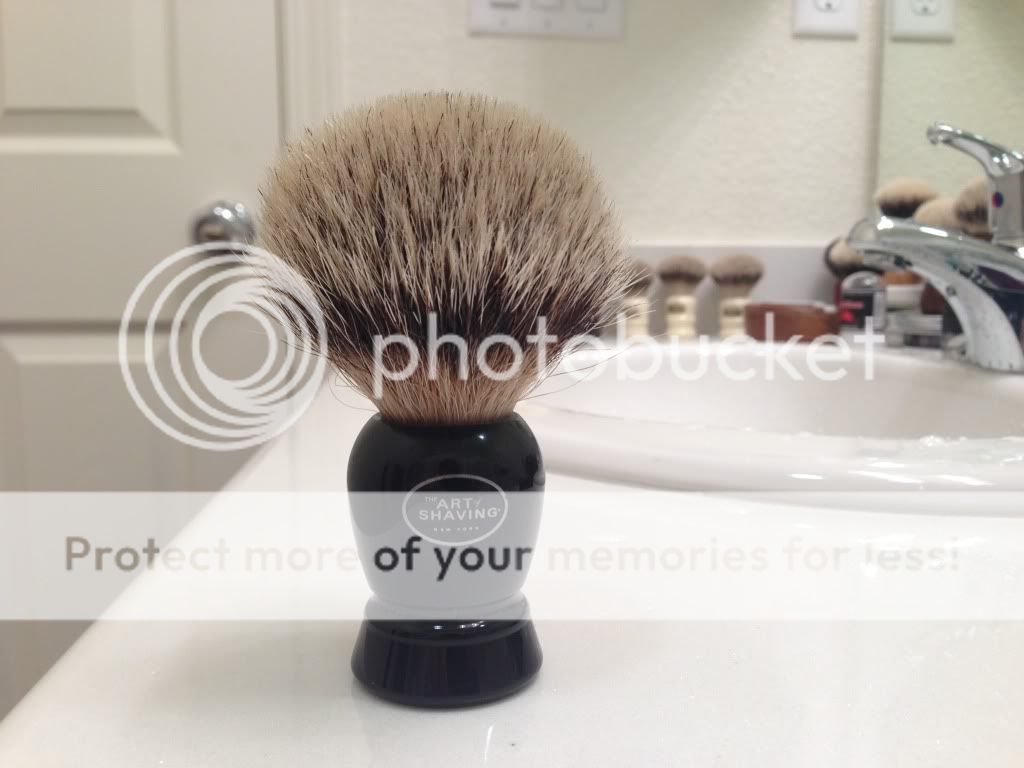
proxy.php


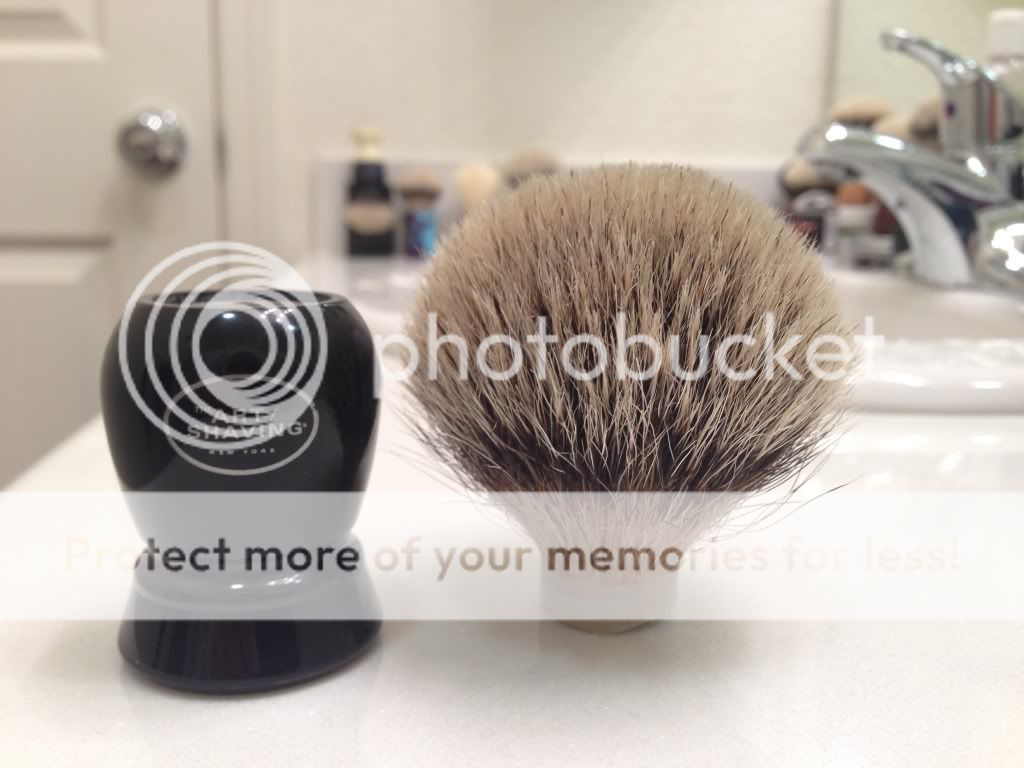
And now it looks like this:
proxy.php

proxy.php


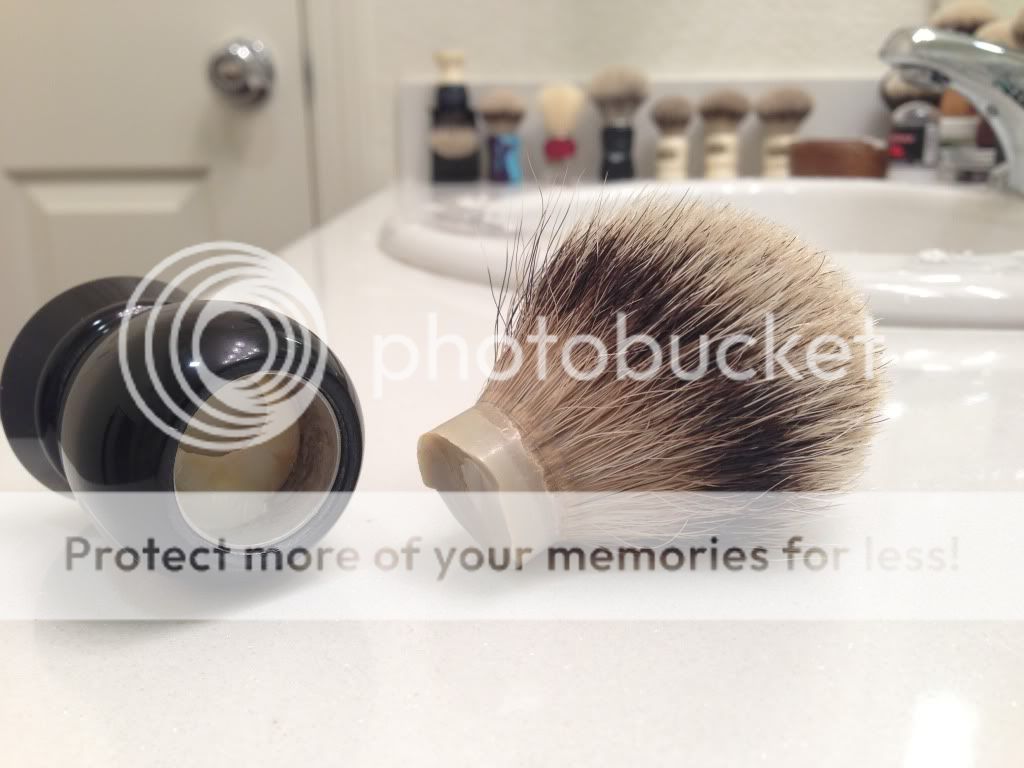
You see that air bubble in the adhesive in the handle? That was my saving grace and that, my friends, is where it failed:
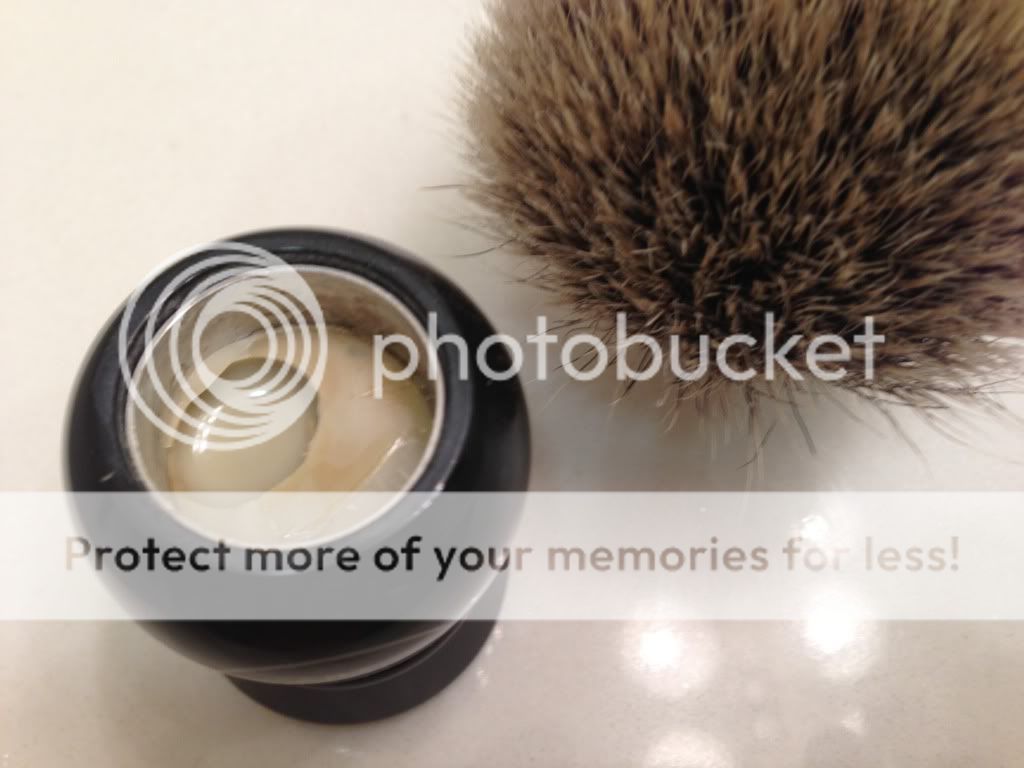
proxy.php


So now I have some work to do. First I'll need to flatten and level the knot plug. Then bore out the handle and reset the knot bed after a little cleanup inside the handle. Depending on what's inside of there I may need to refill and if so I will also add a little more weight to hopefully make it bottom heavy, which is my preference. Then I'll reset the knot. It had a 56mm loft before if I recall and I'll likely set it at 48-50. I'll have to play around with that a bit before I decide. I'll post as the work progresses. I'm hoping to begin tomorrow after I'm done restoring a FP.
 
Congratulations on your perseverance, Tyler. Good luck with whipping that brush into shape. I'm sure it's going to end up as a gem! :thumbup:
 
Alright, lets get to it then. Finished a nice little Shaeffer FP tonight and its writing great. Once I had the sac adhered to the section it was time to work on my brush. First off I needed to level out the plug on the knot. Simple stuff really. Grabbed the 60 grit sandpaper and did some circles. Yes, 60 grit. It's a little much but it did the job very quickly. Got rid of the jagged edges and leveled it out quite nicely. Set it on the counter and spun it while at eye level to ensure it was level. Spin spin spin, perfect.

And now my favorite part. It's time for the Dremel-fu.

I need to make more room in this darn handle. And I need to get this metal ring out of the inside of the handle. I need just a bit wider knot bed and that ring had gotta go. Well... it went. Apparently it was simply buried in the giant pool of glue inside this thing and it popped off and then spun around at an incredibly high speed on the tip of my Dremel. Freaked me out quite a bit but I turned off the Dremel carefully and all was well.
proxy.php


More Dremel. More Dremel. More Dremel. Test fit the knot and measure the loft. Dremel some more. Here's what it looked like once I had made some room.
proxy.php

proxy.php


Now for a little cleanup inside the handle. Easy peesy. And set the knot. 5 minute Devcon. Squeeze, mix, apply, shazam, etc. And she's done.
proxy.php


Shes set at precisely 50 mm. Looks a bit pointy but I'm totally cool with that. I provided about 1.8mm of additional wiggle room inside the knot hole for the knot to breathe a bit. It will still likely act denser with the shorter loft. Playing with the dry knot it definitely has some more backbone and I think its gonna be real nice. I'm incredibly excited to have this sucker done at long last. It'll get its maiden voyage in 24 hours.
 
I like that split screen before & after shot! It really shows how big a change you've done to the brush. I'm sure you're going to enjoy it much better than the original configuration.
 
Excellent work and great trick there with the split screen showing the bloom! Looks like a fine brush, I can't wait to hear how the test run goes.
 
Thanks for all the kind words guys! I used an app called "Diptic" on my iPhone to create the split screen shots. I wanted to see visually how much different it is. I'm very interested to see if the knot will bloom some more in its new position or not. It should be ready to go for a shave tonight.
 
Nice! I wondered how much of a fight the ring was going to put up! Love the outcome!
Thanks mate! I was quite worried about it myself as it seemed to be adhered to the walls of the handle. Ends up the bottom of it was simply glued in with all the rest of the glue. Good thing, that extra room for the knot was vital IMO. Amazing what a little wiggle room can do for a knot and that ring was taking up far too much room, especially with this knot set as low as it is.
 
Got a chance after work to test lather the brush. Much smaller feel and a good amount of backbone now. And it even blooms a little bit. Here's a wet bloom:
proxy.php


And after a couple hours of drying, here's a SOTD before tonight's shave:
proxy.php


The brush is no longer giant and floppy. It's got enough backbone to keep me happy and feels more like a 20 mm knot than it did before. I beleive its actually a 21mm knot. It's got just a little bit of scritch but otherwise exhibits plenty of 3-band softness. From the pics I'm sure you can tell its a bit pointy as far as brushes go but using the tips and not using too much pressure it performs quite nicely.

All and all I am very pleased with the outcome of my mod on this brush. Kept the AoS label and handle while improving an otherwise awful loft. Quite good. :thumbup1:
 
Nice job:

Did you do all the photography with your phone?
Yes sir. My iPhone 5 is used for every photo I post here. I'd love to get a nice DSLR but I've been informed numerous times by SWMBO that I will not be spending that kind of money so that I can take more pictures of my shaving gear.
That turned out great! I think it look much better with a slightly shorter loft.
Thanks gig! I really like that it ended up re-blooming after it was reset. If it hasn't I wouldn't have liked the look but I'm thinking it looks pretty good. And it performs so much better than before.
 
I'd love to get a nice DSLR but I've been informed numerous times by SWMBO that I will not be spending that kind of money so that I can take more pictures of my shaving gear.

Yep, I can see where that might be a pretty tough sell, Tyler! :biggrin1: Nice work on the brush-- looks great! :thumbup:
 
Yes sir. My iPhone 5 is used for every photo I post here. I'd love to get a nice DSLR but I've been informed numerous times by SWMBO that I will not be spending that kind of money so that I can take more pictures of my shaving gear.
I think I can help you build a case for getting a DSLR. Do you have any kids, pets, anything that could benefit from better photography? Luckily my wife is an amateur photographer, so we have 2 DSLRs and she's asking for a 3rd one plus a SLT (Think Sony NEX-5n). We also have two film SLRs and one Medium Format Camera. At any rate, here's how you convince her you need one, "Honey I think we need to brighten up the room and I was talking with some of the guys on B&B and they had the best idea. We get a DSLR and take pictures of some of our favorite places, like where we had our first date, or that special place we went for a romantic walk. I also think some pictures of flowers would be great so let's get a macro lens as well." (Hint the macro lens is great for taking pictures of shaving gear in a soft box). See if that works on her, I'm lucky and if I mention new camera my wife gets all giddy with excitement. I still take pictures with my iPhone because it's convenient but I could certainly use the DSLR for shaving pictures even though she might think that's weird.
 
Top Bottom