If I start with tape I would have to take it all the way through with tape. Cant startvwith it for bevel and then carry on without.
Sent from my LG-H873 using Tapatalk
Sent from my LG-H873 using Tapatalk
I've done this with a small chip and it has worked out ok. Hone the chip out, then re-set the bevel without tape and go.Yes I would tape the spine till you got it down. Once you got it there then remove the tape and hone as normal bevel set upwards. that's if I'm right in my thinking, but if not I'm sure Slash or others will correct me to the right path.
I am in the dont use tape camp as well. I have used it on big ol wedges before and likely will again (just to save time), but its rare for me to bust out tape.I've done this with a small chip and it has worked out ok. Hone the chip out, then re-set the bevel without tape and go.
But with such a large amount of material needing removed in this case, the angle would get way out of wack.
You would be drastically thinning your blade width, but not thinning your spine to compensate resulting in a much steeper angle of your bevel.
If I start with tape I would have to take it all the way through with tape. Cant startvwith it for bevel and then carry on without.
Sent from my LG-H873 using Tapatalk
Actually your original post made me think about calculating the potential bevel angle, with and without tape. The grinding session on the direct edge is a wild card in this project. I have no idea how wide the blade was when it was made or more importantly when it was grinded. Tape may actually be a better option when the bevel angle is considered, good call. Ill have to find that spreadsheet from that old coticle forum to help me calcilate the bevel angle.No I mean to get it down so its not thinning the spine to much, then remove the tape and set the bevel.
But as Shawn pointed out how much metal have they removed to start with, you might be better getting the measurements of the blade and seeing what the bevel would be as is now.
Actually your original post made me think about calculating the potential bevel angle, with and without tape. The grinding session on the direct edge is a wild card in this project. I have no idea how wide the blade was when it was made or more importantly when it was grinded. Tape may actually be a better option when the bevel angle is considered, good call. Ill have to find that spreadsheet from that old coticle forum to help me calcilate the bevel angle.
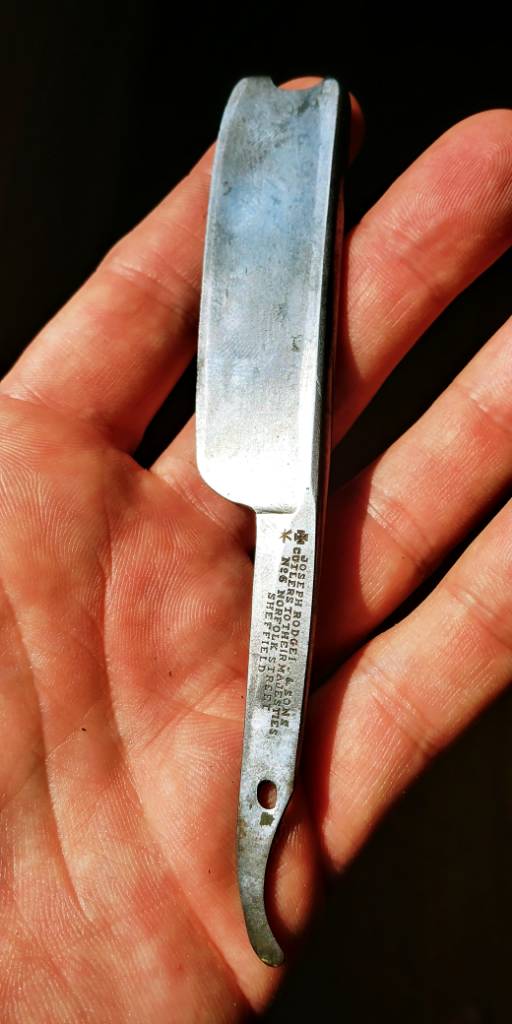
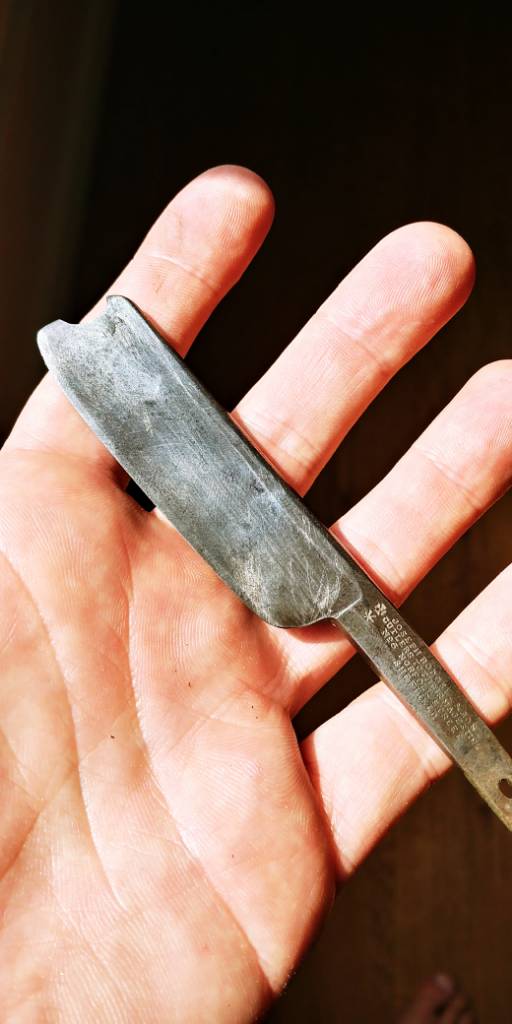
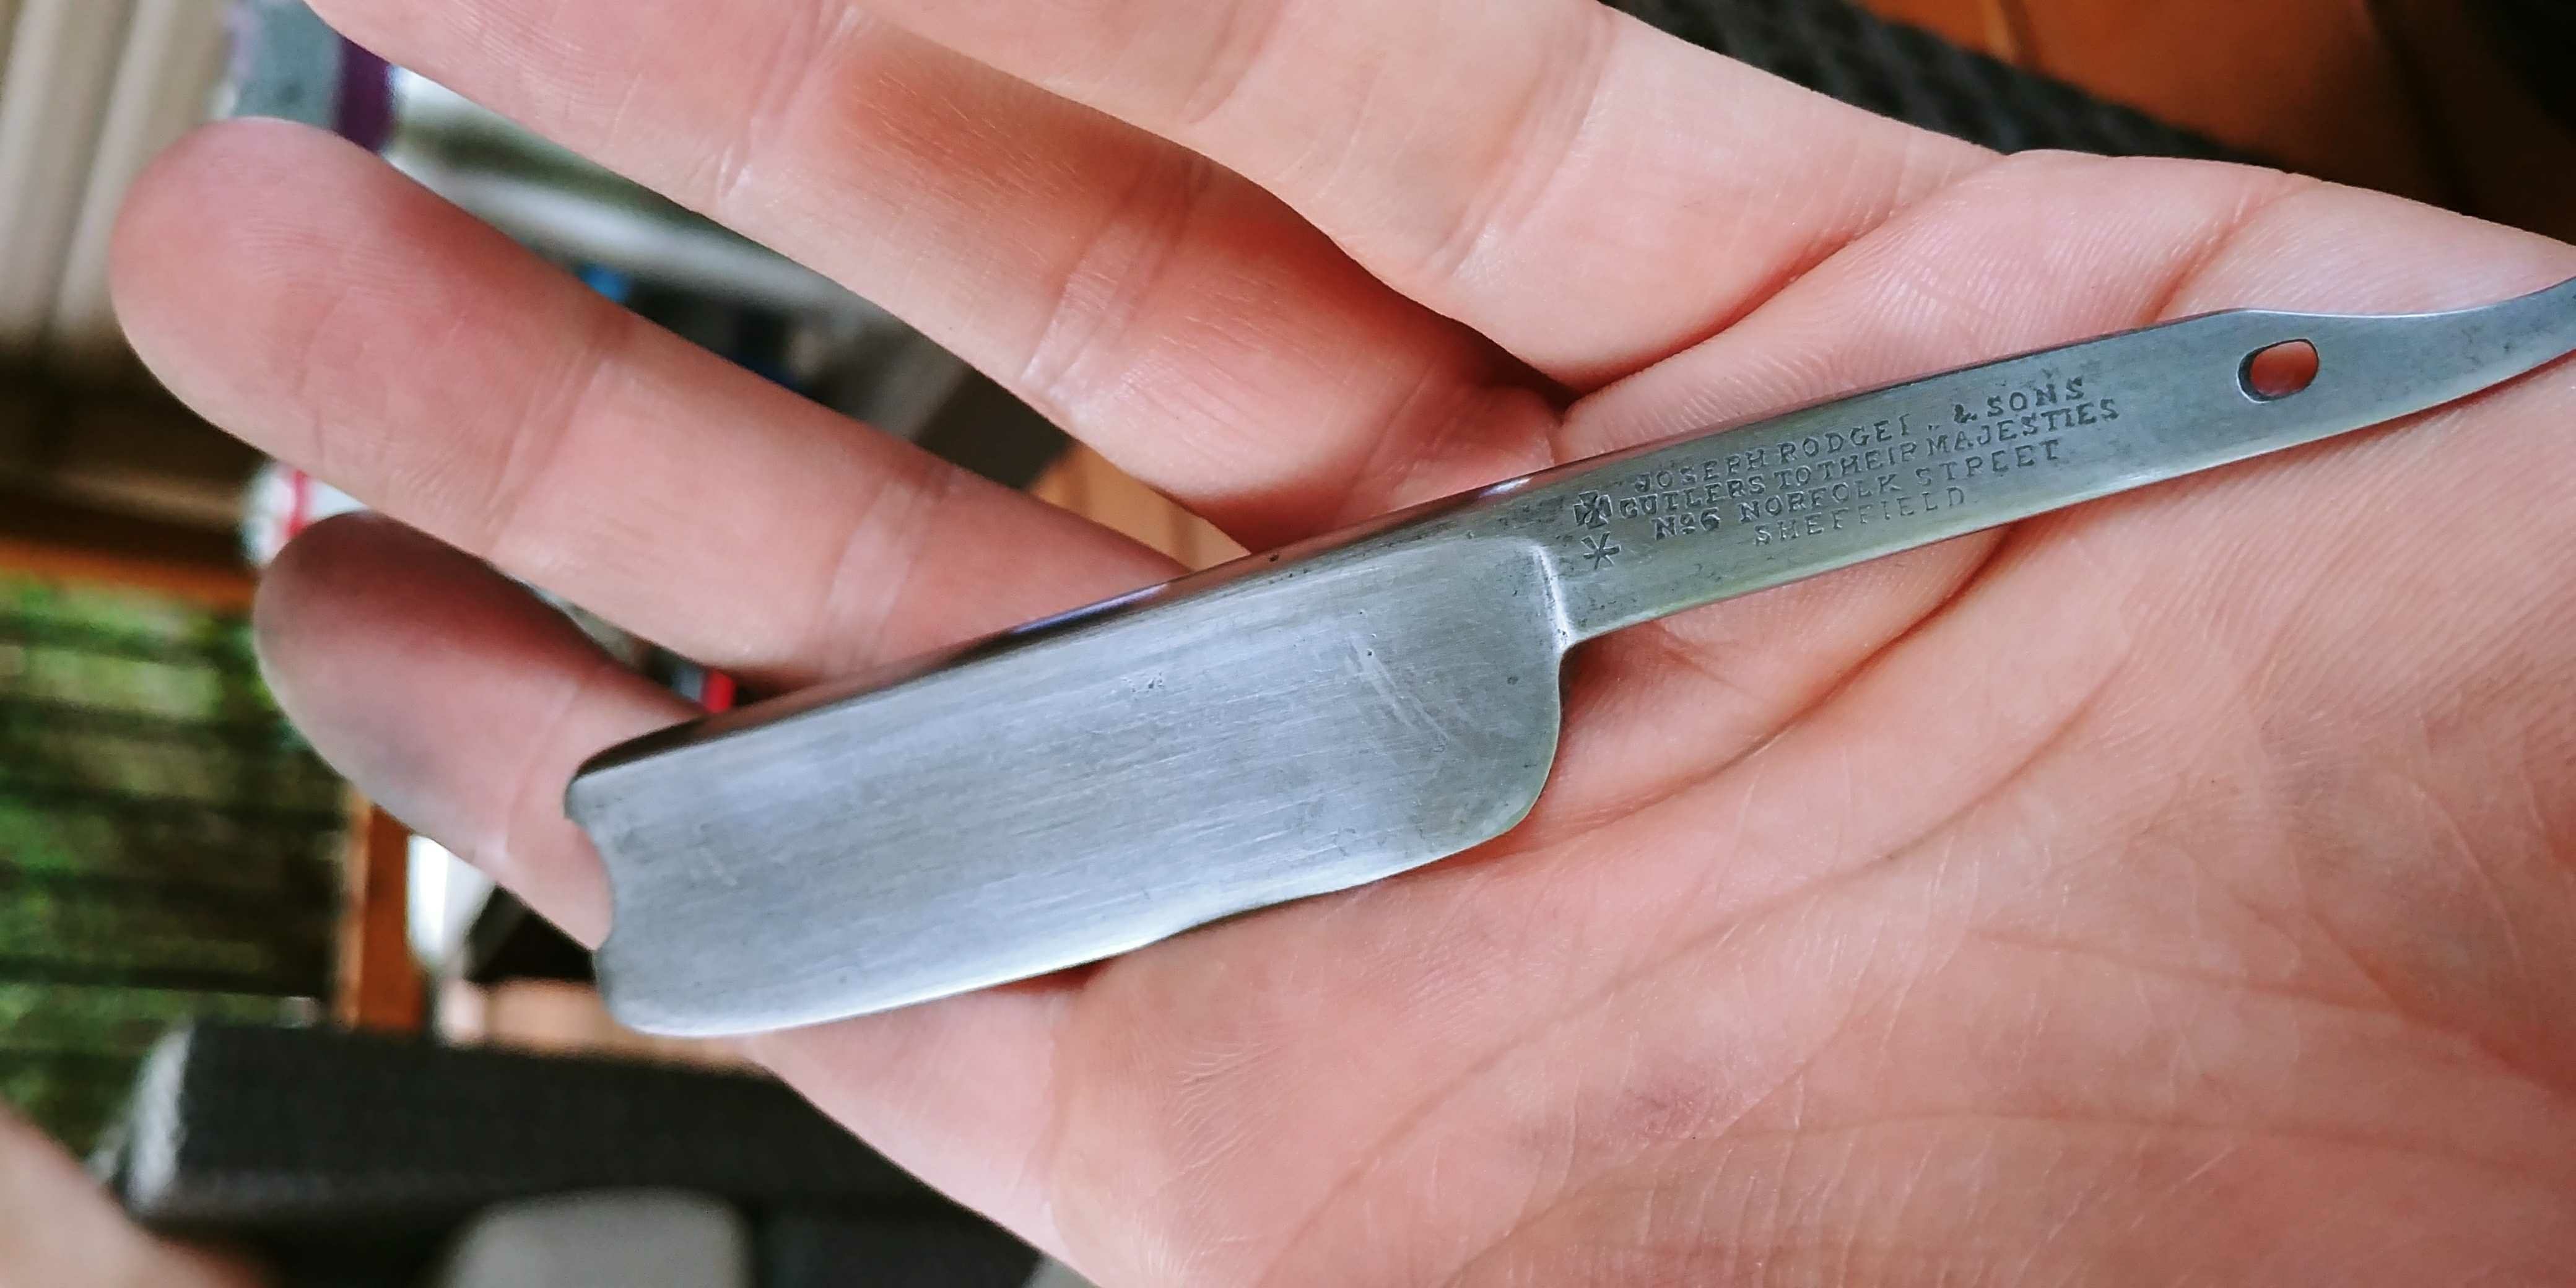
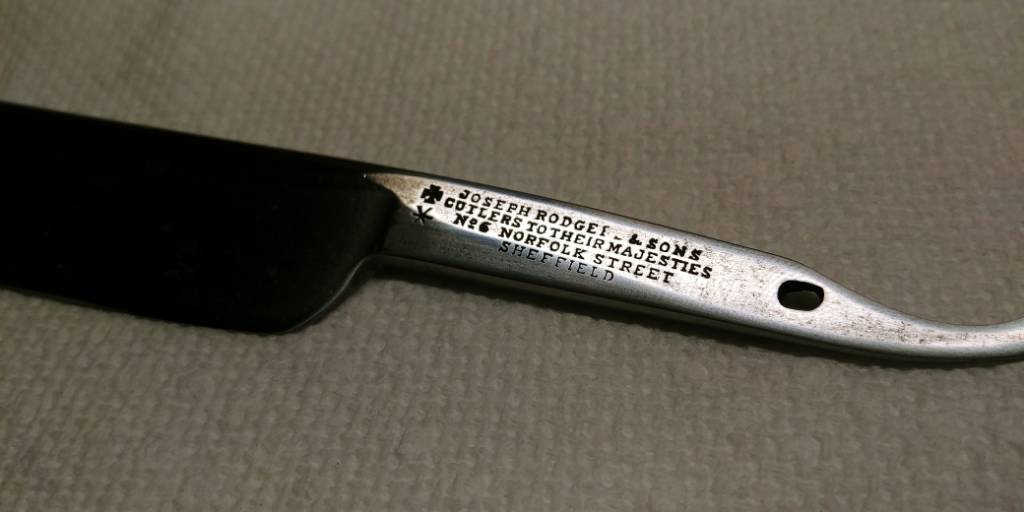
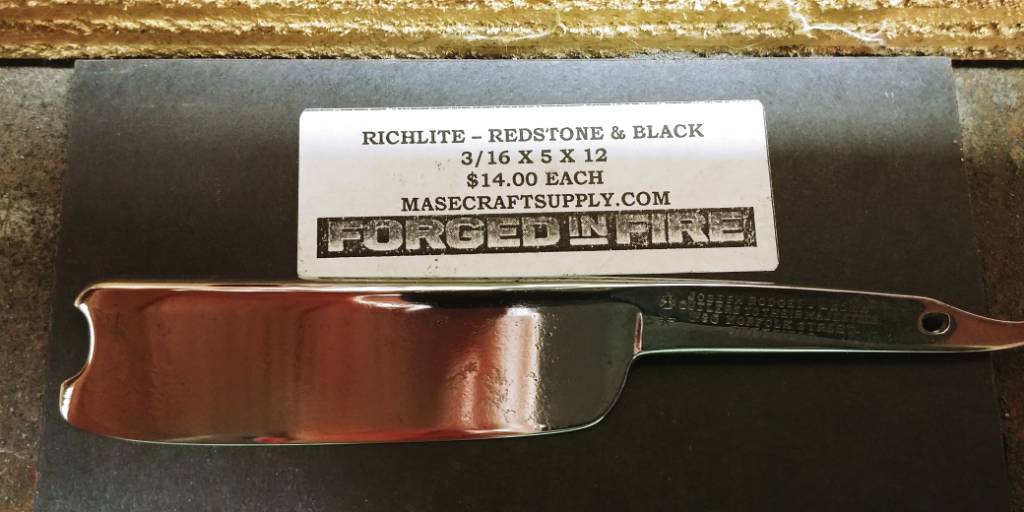
Meanwhile ive been hand sanding this R Joesph this afternoon while drinking cider, smoking my pipe and watching the ball game. Im at the 400 grit mark.
Sent from my LG-H873 using Tapatalk


I have been busy as well 2 of 3 blades the pin hole is huge, I had some tubes to the size of the pin so I had to clean the holes with a drill press, just to clean out they have been set in epoxy. got the scales marked up ready for cutting, all so Making a stand out of clear Acrylic to show them on once finished. But its now 1:30am here and I don't think the wife would be happy if I started sawing so that's for morning.
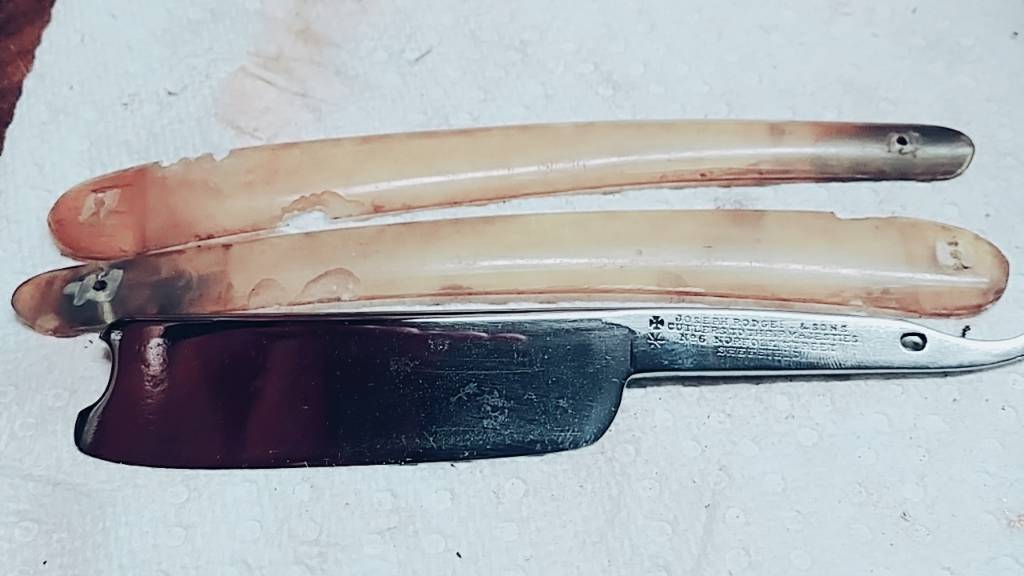
Here is a close up picture of how both are now.
View attachment 823323
I could go with black or honey horn for mine, but I want to see what they would be like in colour. Hence I went with these
View attachment 823400
But I'm starting to doubt the yellow.
I've never had an issue with big pivot holes in the razor. Do get 'play' with the pivot pins/razor?
I like the yellow. Are they all translucent?
Looking forward to see how it turns out.Yes they was miles to big for the pins hence the tubes, so you can see how much the rust ate out. Now there should be no movement or should I say slop on the pin.
Yes they are all translucent, but the red an yellow seems to really catch the light and glow. But I will try them if not I can do the horn so not a problem.
A small anvil.
Because why not?
View attachment 823431
For re-pinning purposes ofcourse.
And occasionally whacking your toes on when temporary placed on the lab floor.
For little cast iron ones like that, Grizzly Tools has some of the best prices. I've spent the last 3 months anvil hunting, so I've probably seen almost every site on the web haha.Nice! I'll looking for one myself! Where'd you snag that?
Sent from my iPhone using Tapatalk


")