- Thread starter
- #41
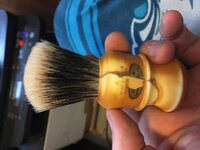
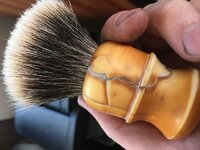
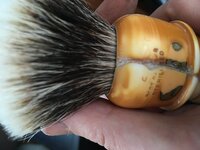
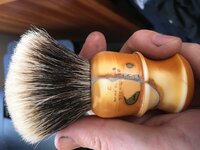
Patched sanded cleaned out and reknotted.
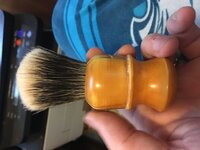
Just Silicone, Relatively easy to remove.
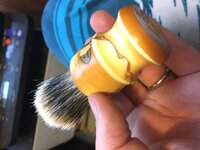
The rebuild was crazy glue and just cleaned joints to prep. They were rougher naturally than I'd have been able to get them sanding.
Very old cheaper brushes often had a metal band around the knot for this exact reason... the plastic handle wasn't tough enough to not be ripped apart by the wet/swollen hair. The question would become what would work best in that role... doing the filled/well would certainly work with a water-tight and inflexible epoxy... but the extra room I'd need to properly do that would be significant. Superglue I don't think is viable... it is quite brittle when dried. I'd need something that dries to a more dense material, like a filling epoxy... maybe that "steel-weld" stuff loctite makes would work. I could work it till it's nice and warm and basically create a liner inside the handle and then put a touch of glue on the base of the knot and set it in place... so the epoxy could harden (it supposedly hardens to being very nearly like steel in physical properties), and create a band around the whole knot within the handle.
Just broke it apart, took out the silicone, reglued it. Letting it cure and adjusting the cavity then I'll put the knot back.
Edit: Back together... She's quite the looker, no... Them's scars add character!
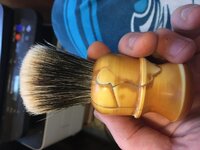
Cracks are filled with Superglue & Washita Dust mix. Wish I still had a buffing wheel. Hitting it with a really high grit to polish and blend the butterscotch patterning it's got now would really improve the looks I think.
About 5 shaves into the latest repair and it seems to be holding... but time will tell.
Not much of a tutorial, Glue, sand, after it cracks, glue again + pack some washita dust I've got on my sink from lapping a washita into the crack to prevent the glue shrinking as it sets... seems to be holding, but it's far from a developed technique.
I will be taking more pictures if it holds a few more weeks though.