What's new

Tutorial: Repair cracked handles/shafts in Gillette Old Types etc.

I was wondering if anyone has done that? I'd like to leave it in original condition but it's going to crack one day. I'd like to save it from happening.

View attachment 860410
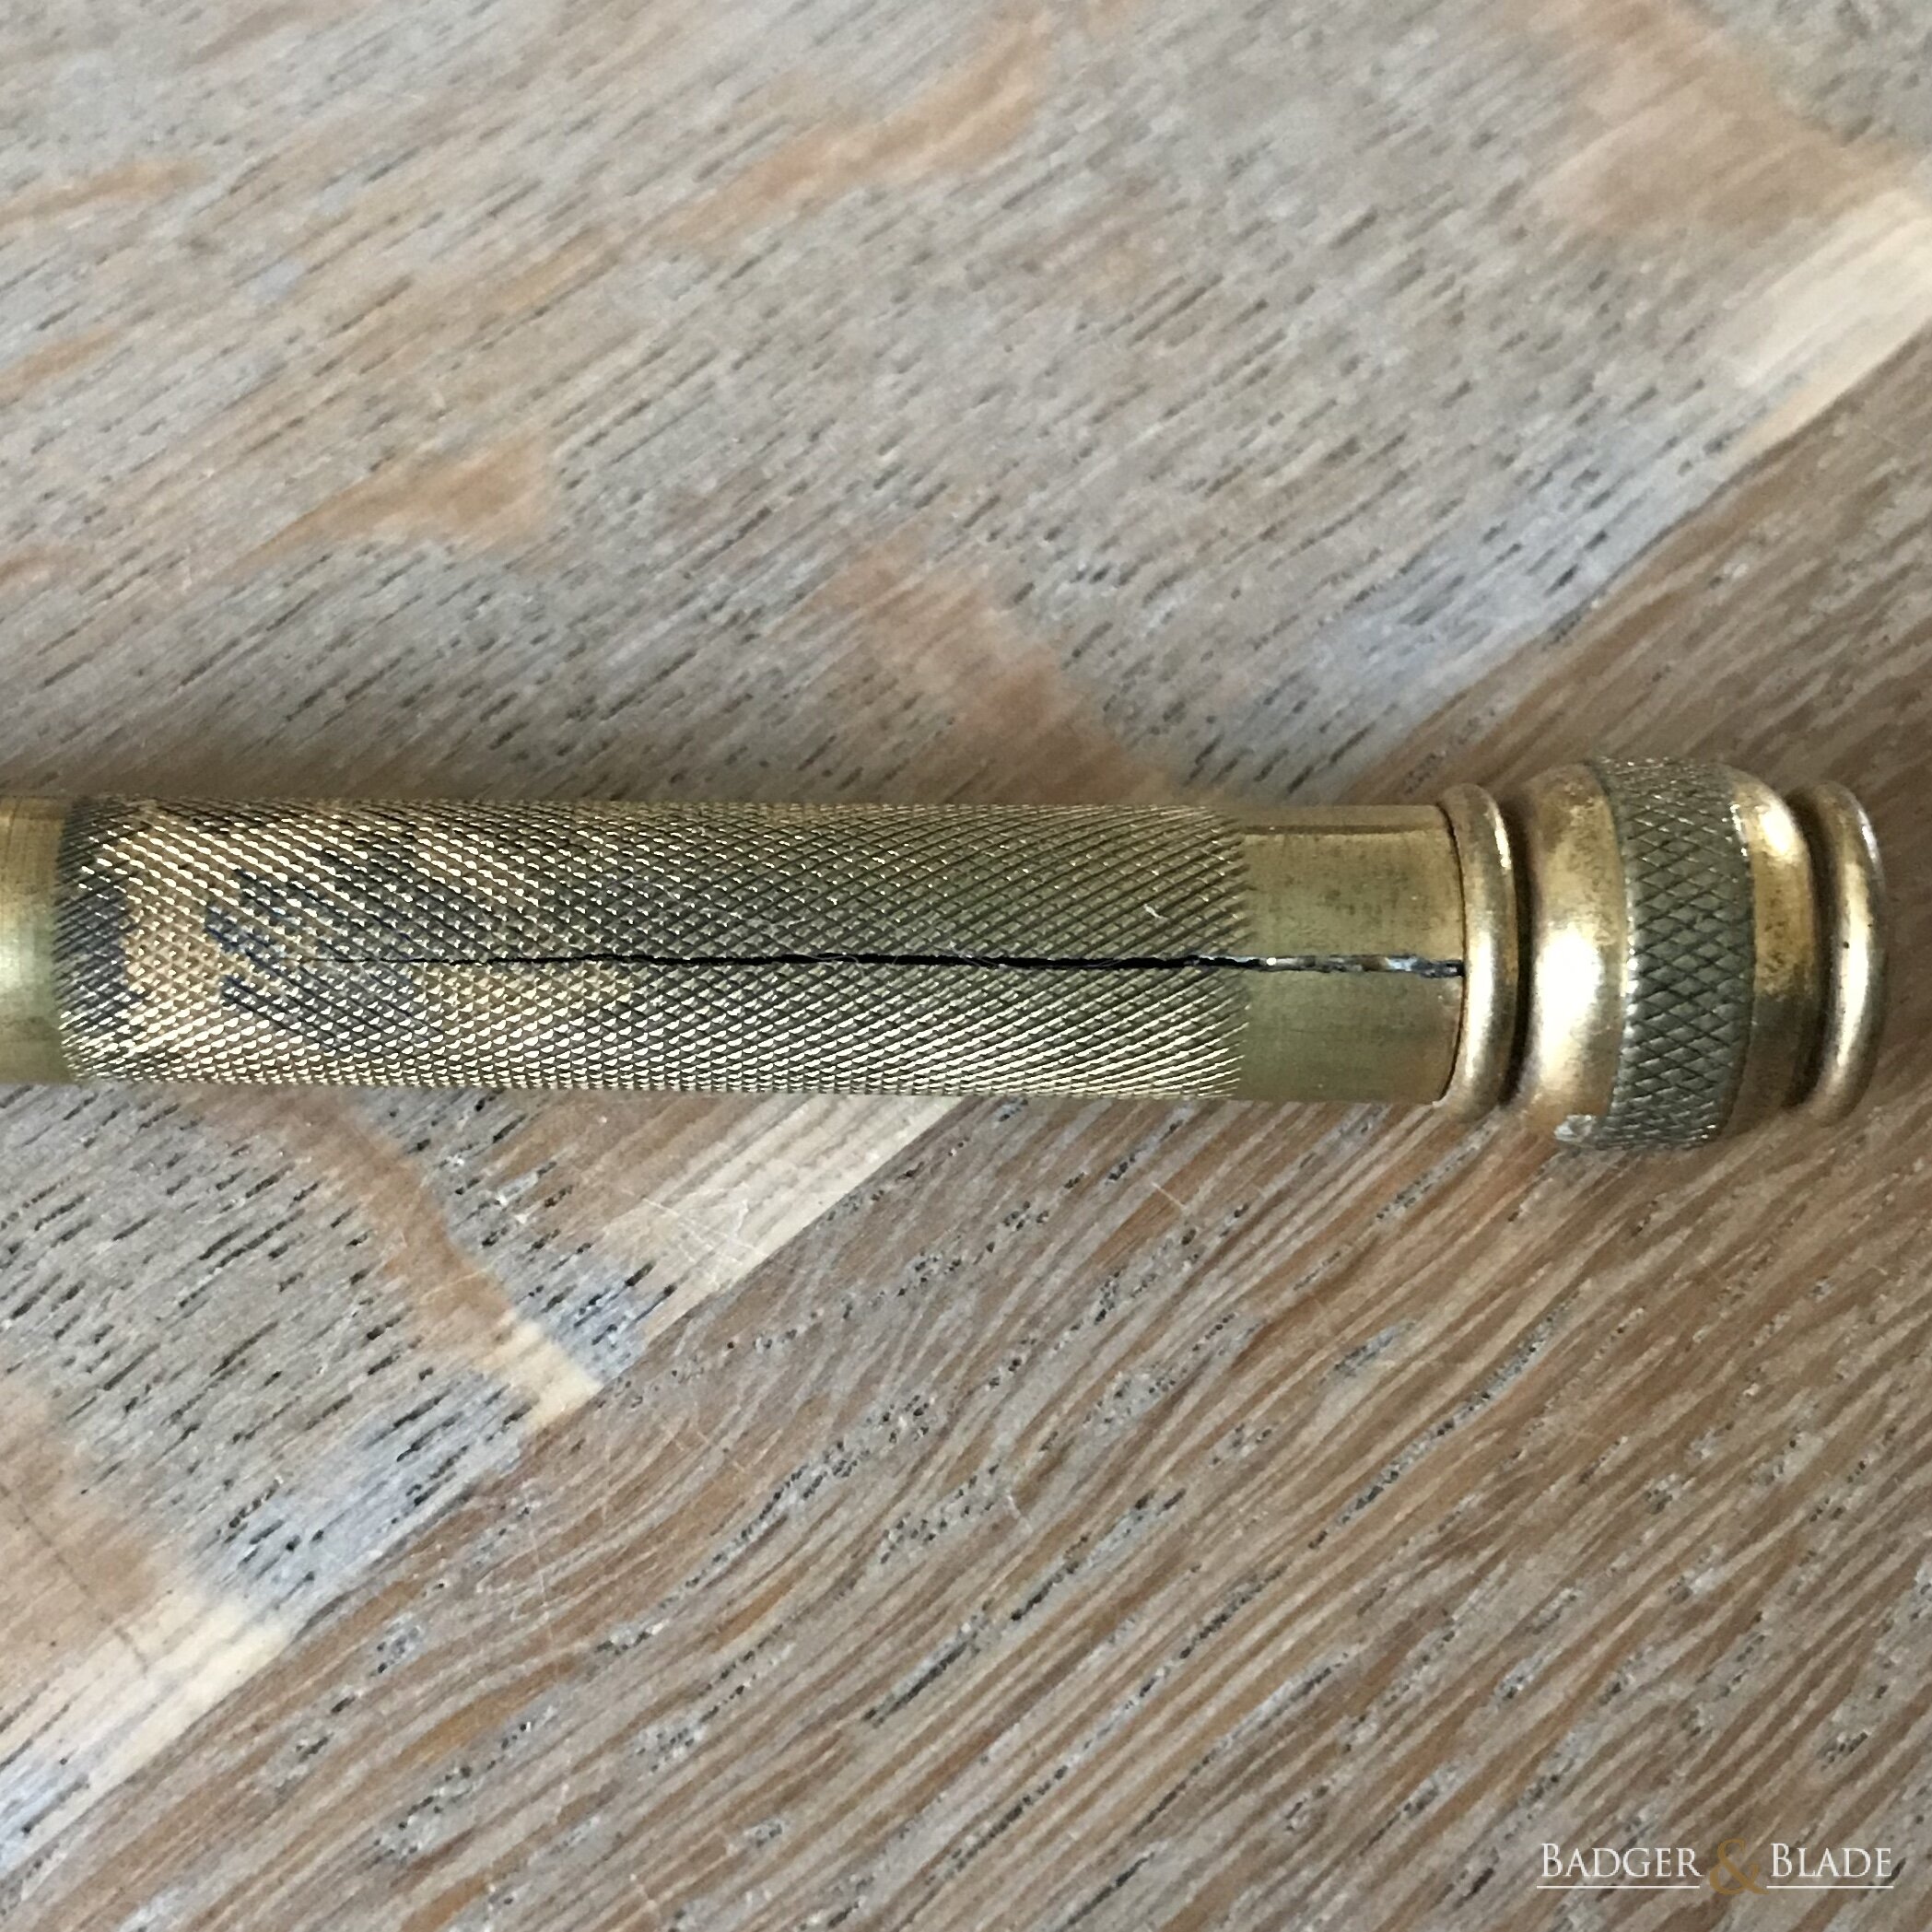
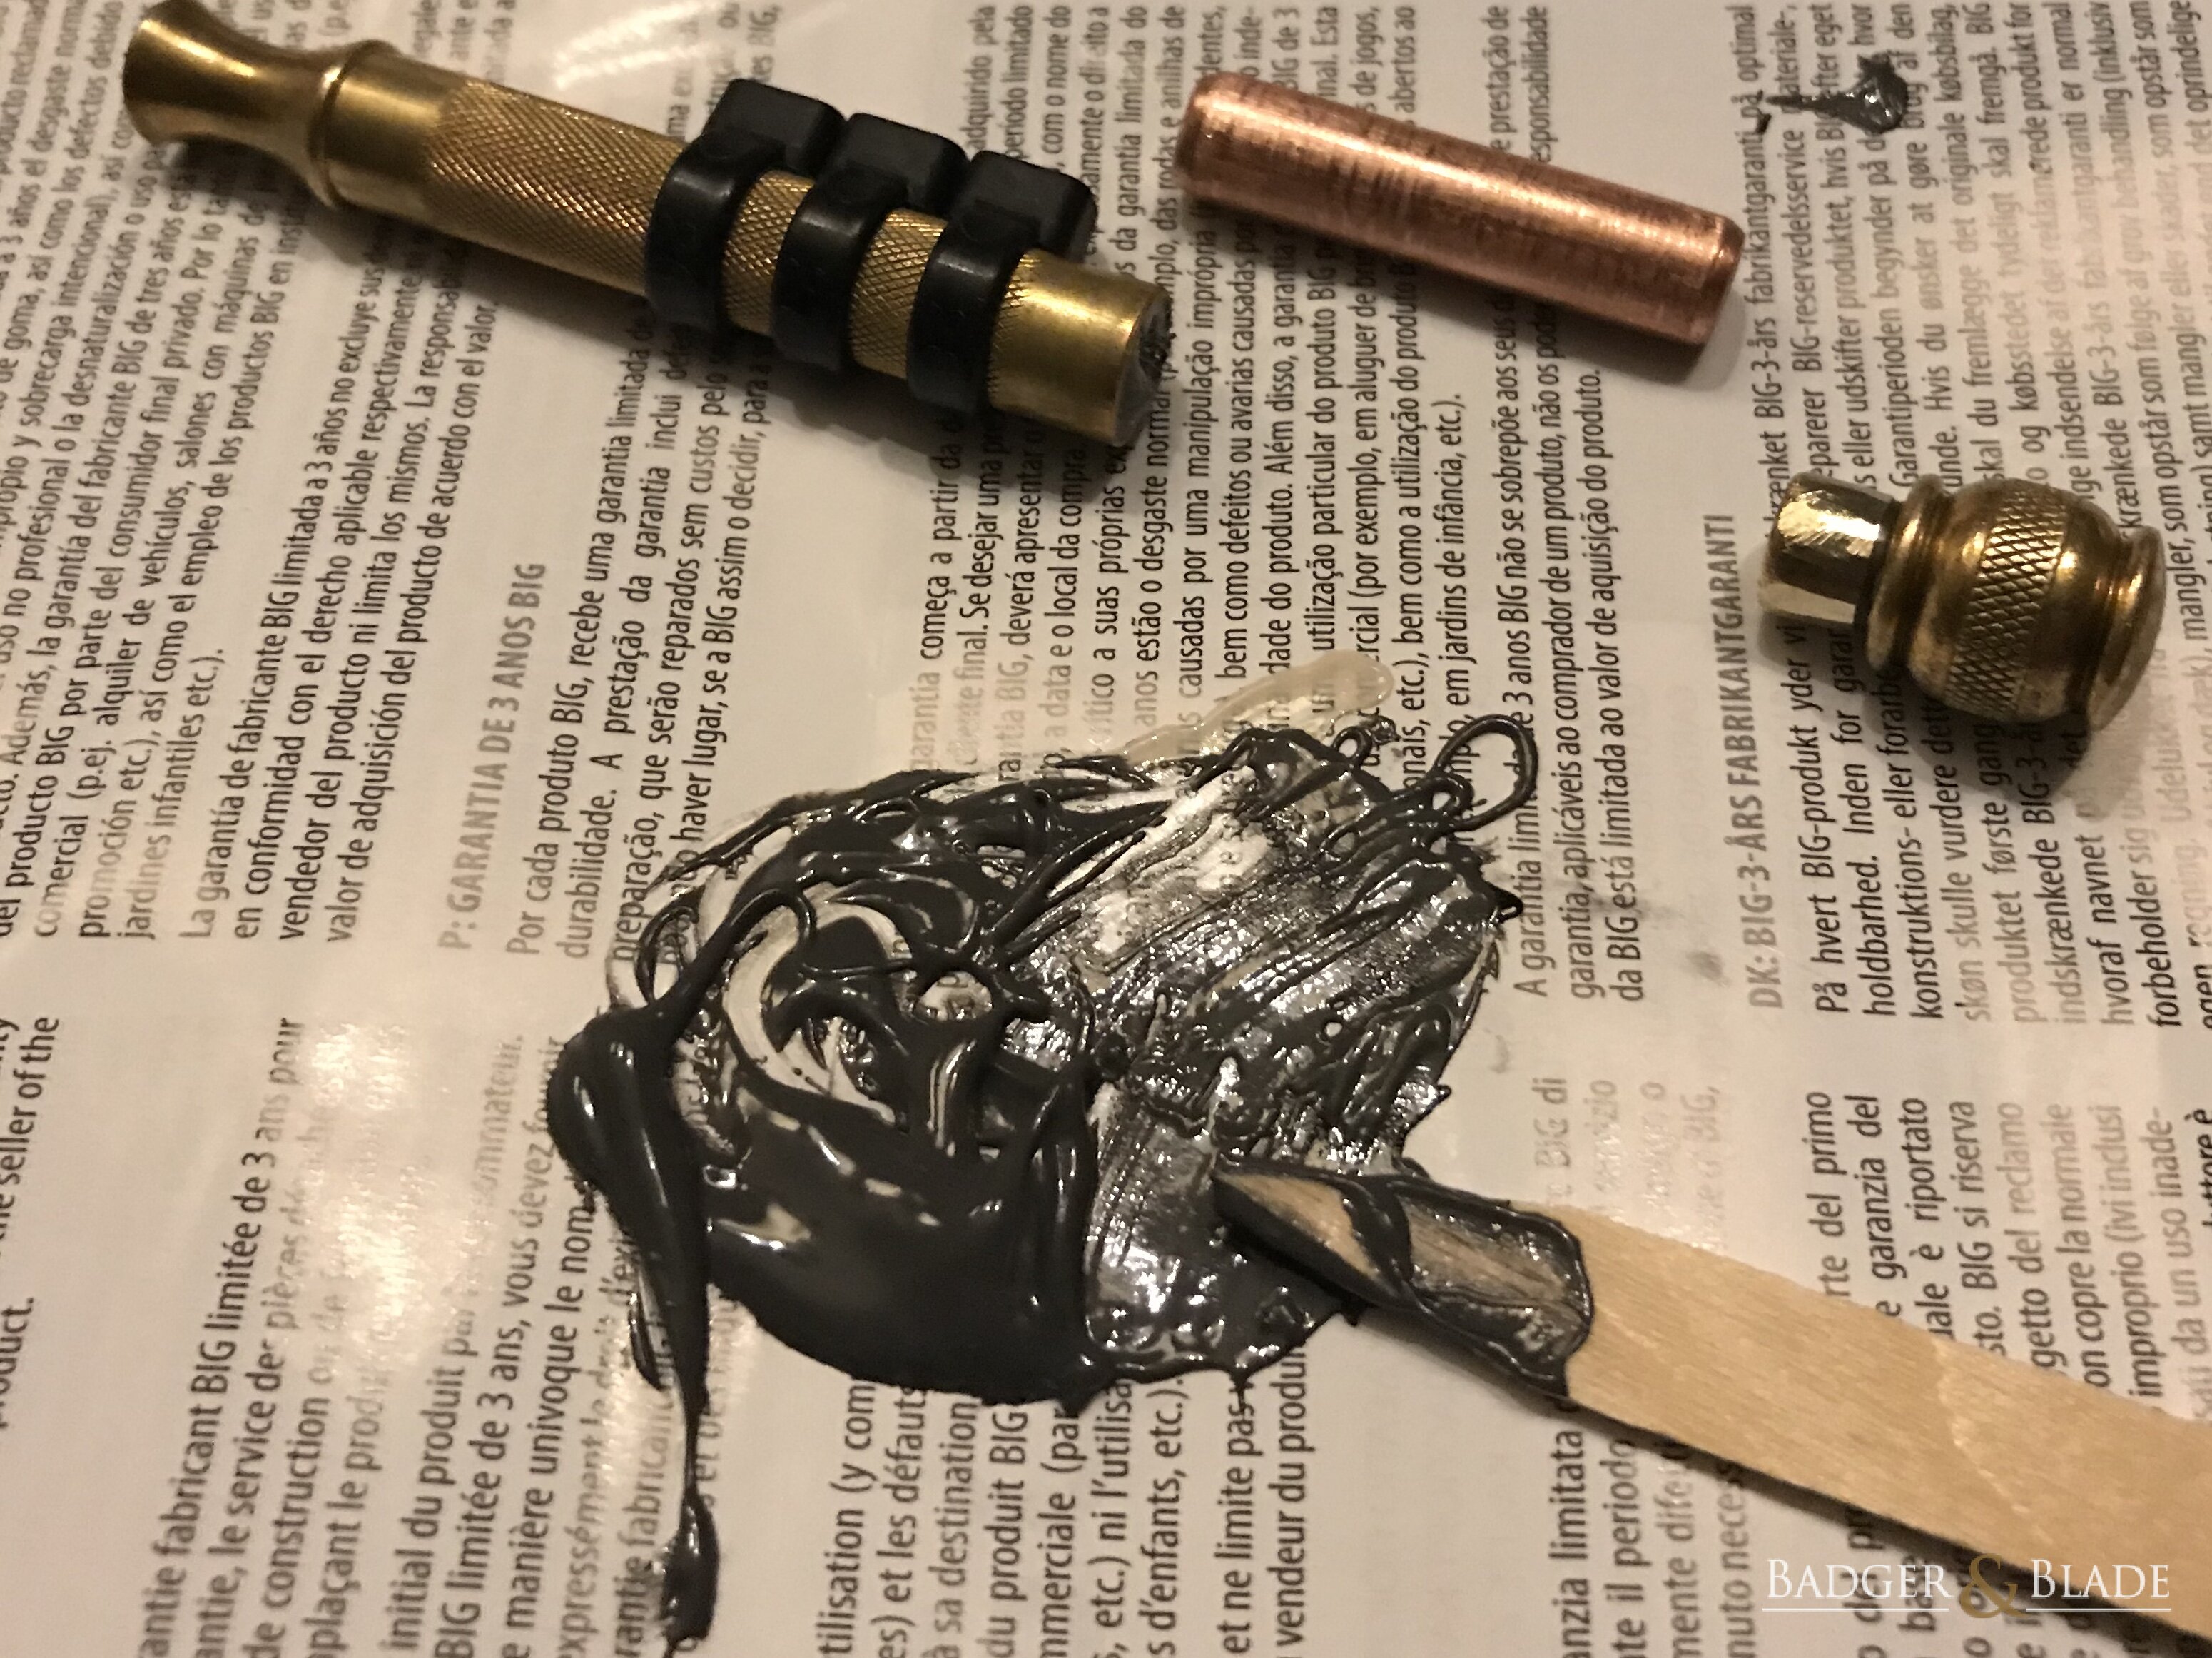
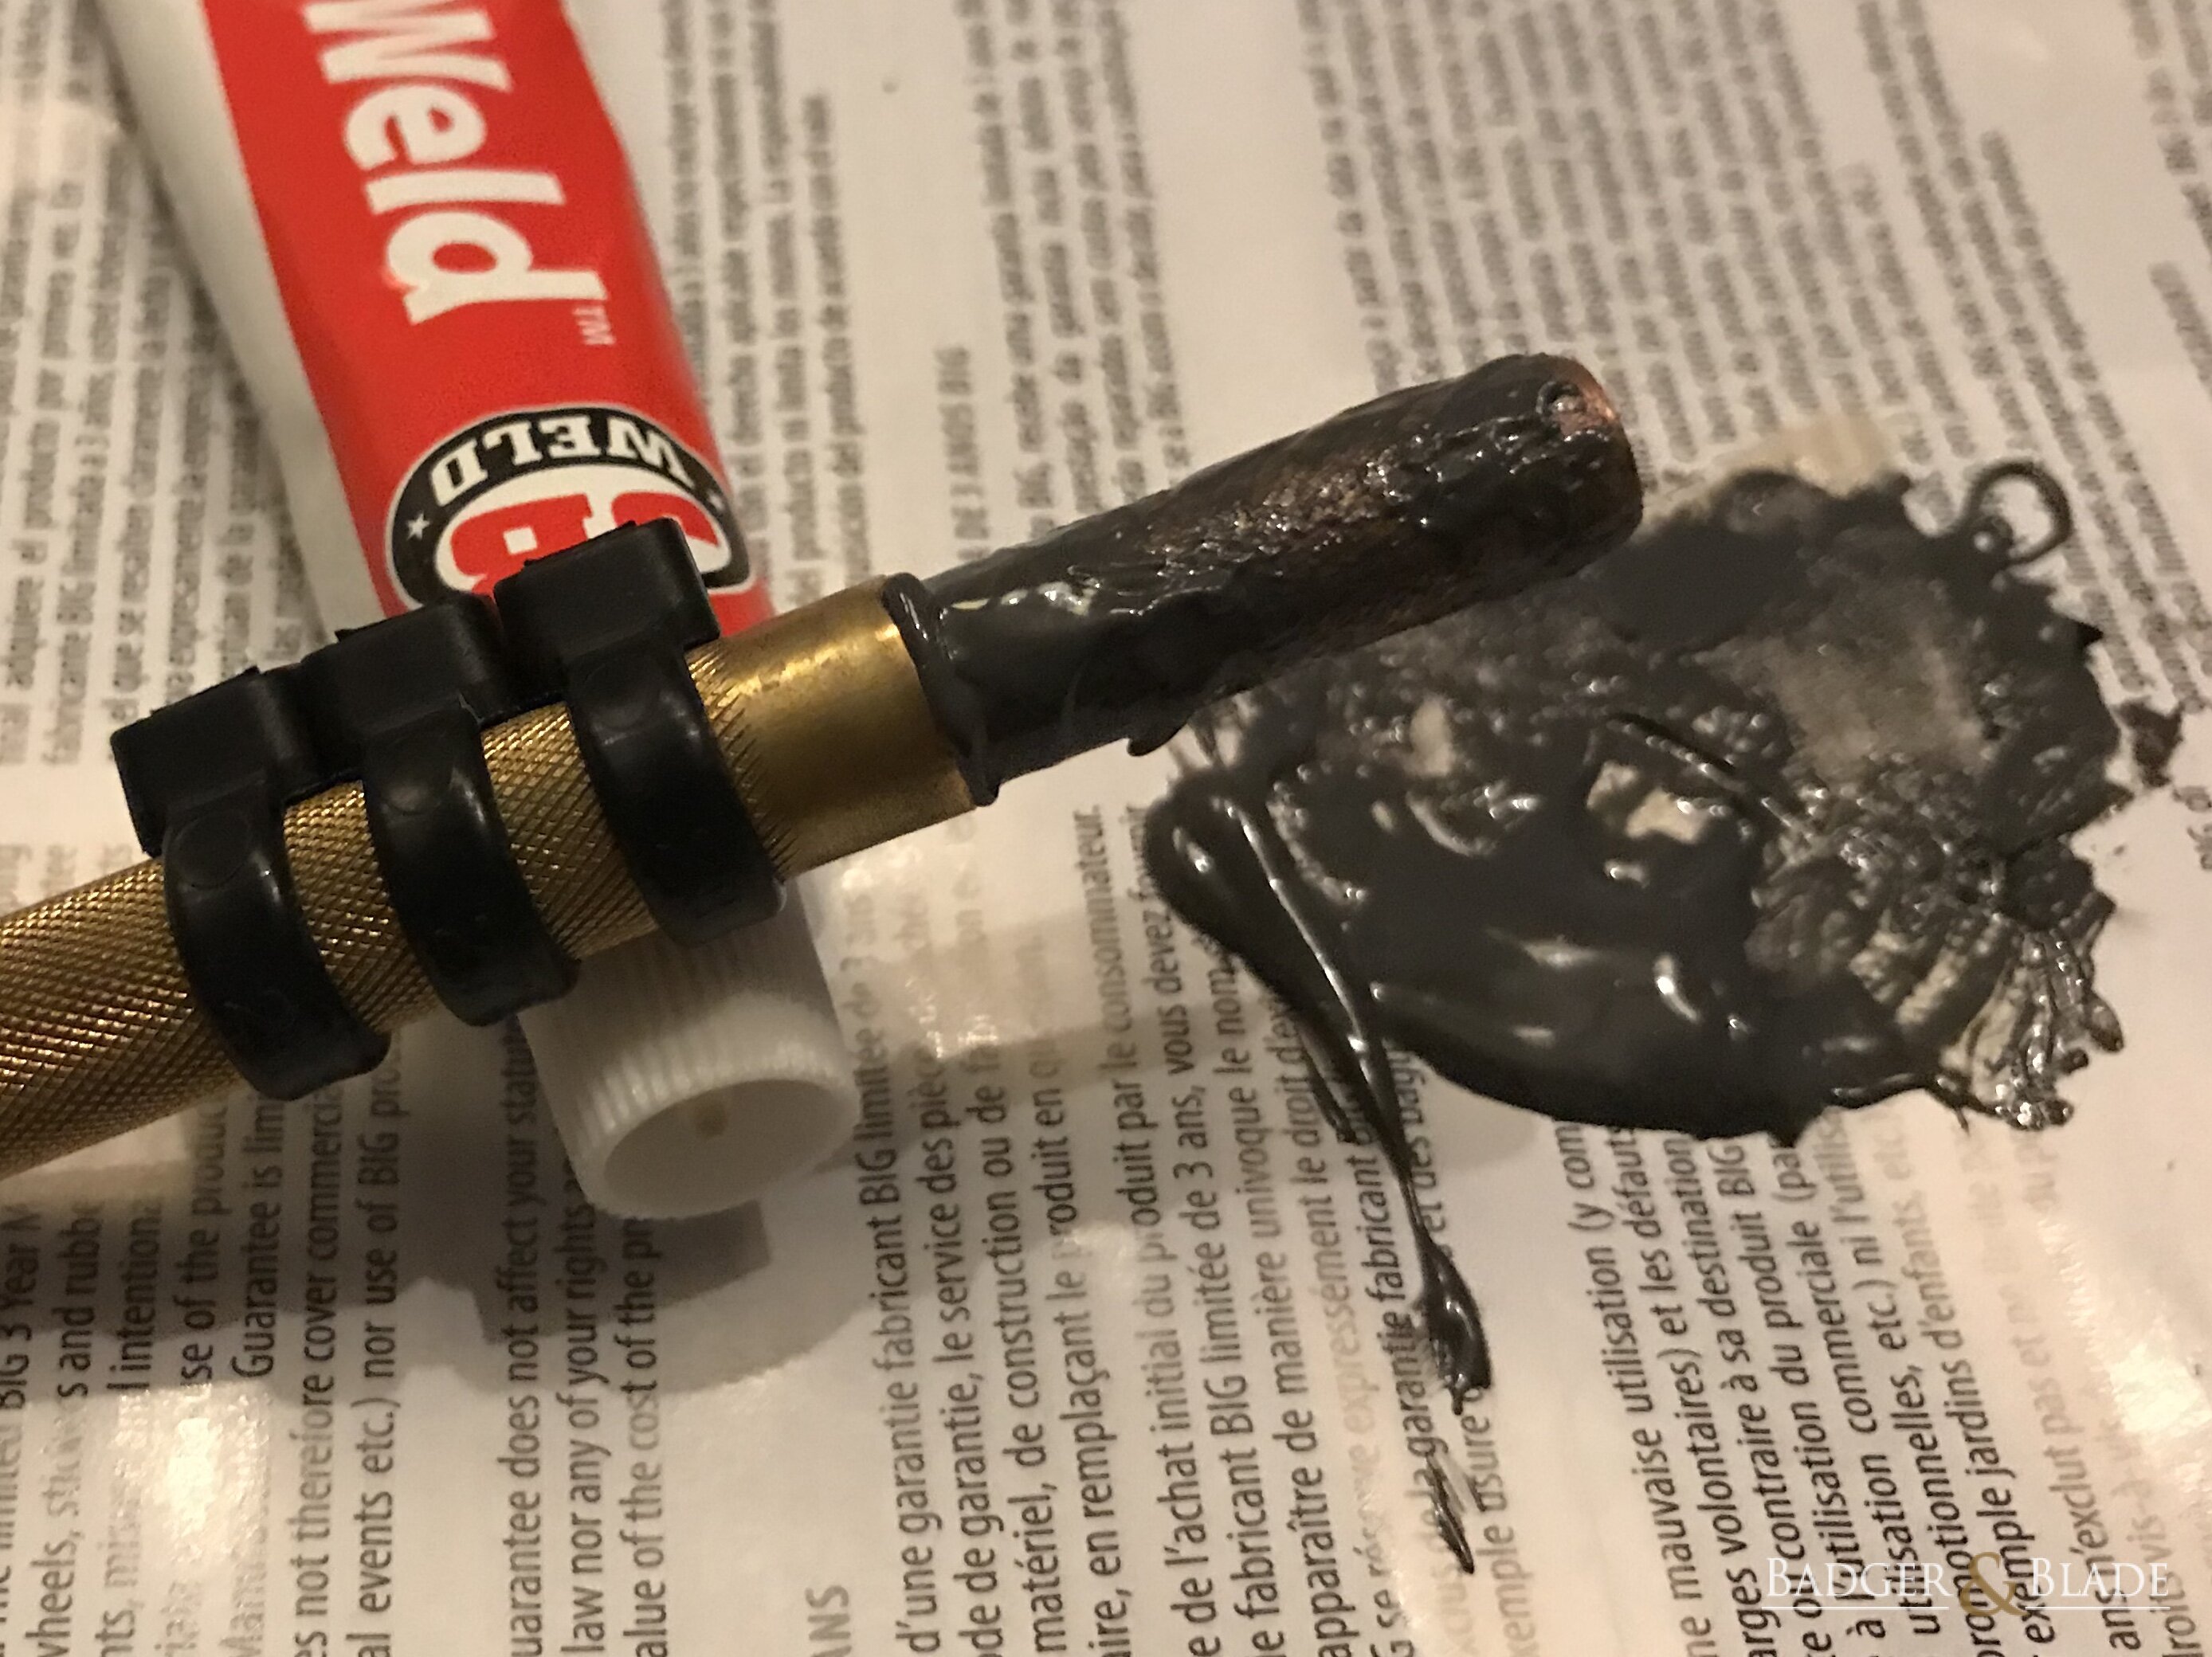
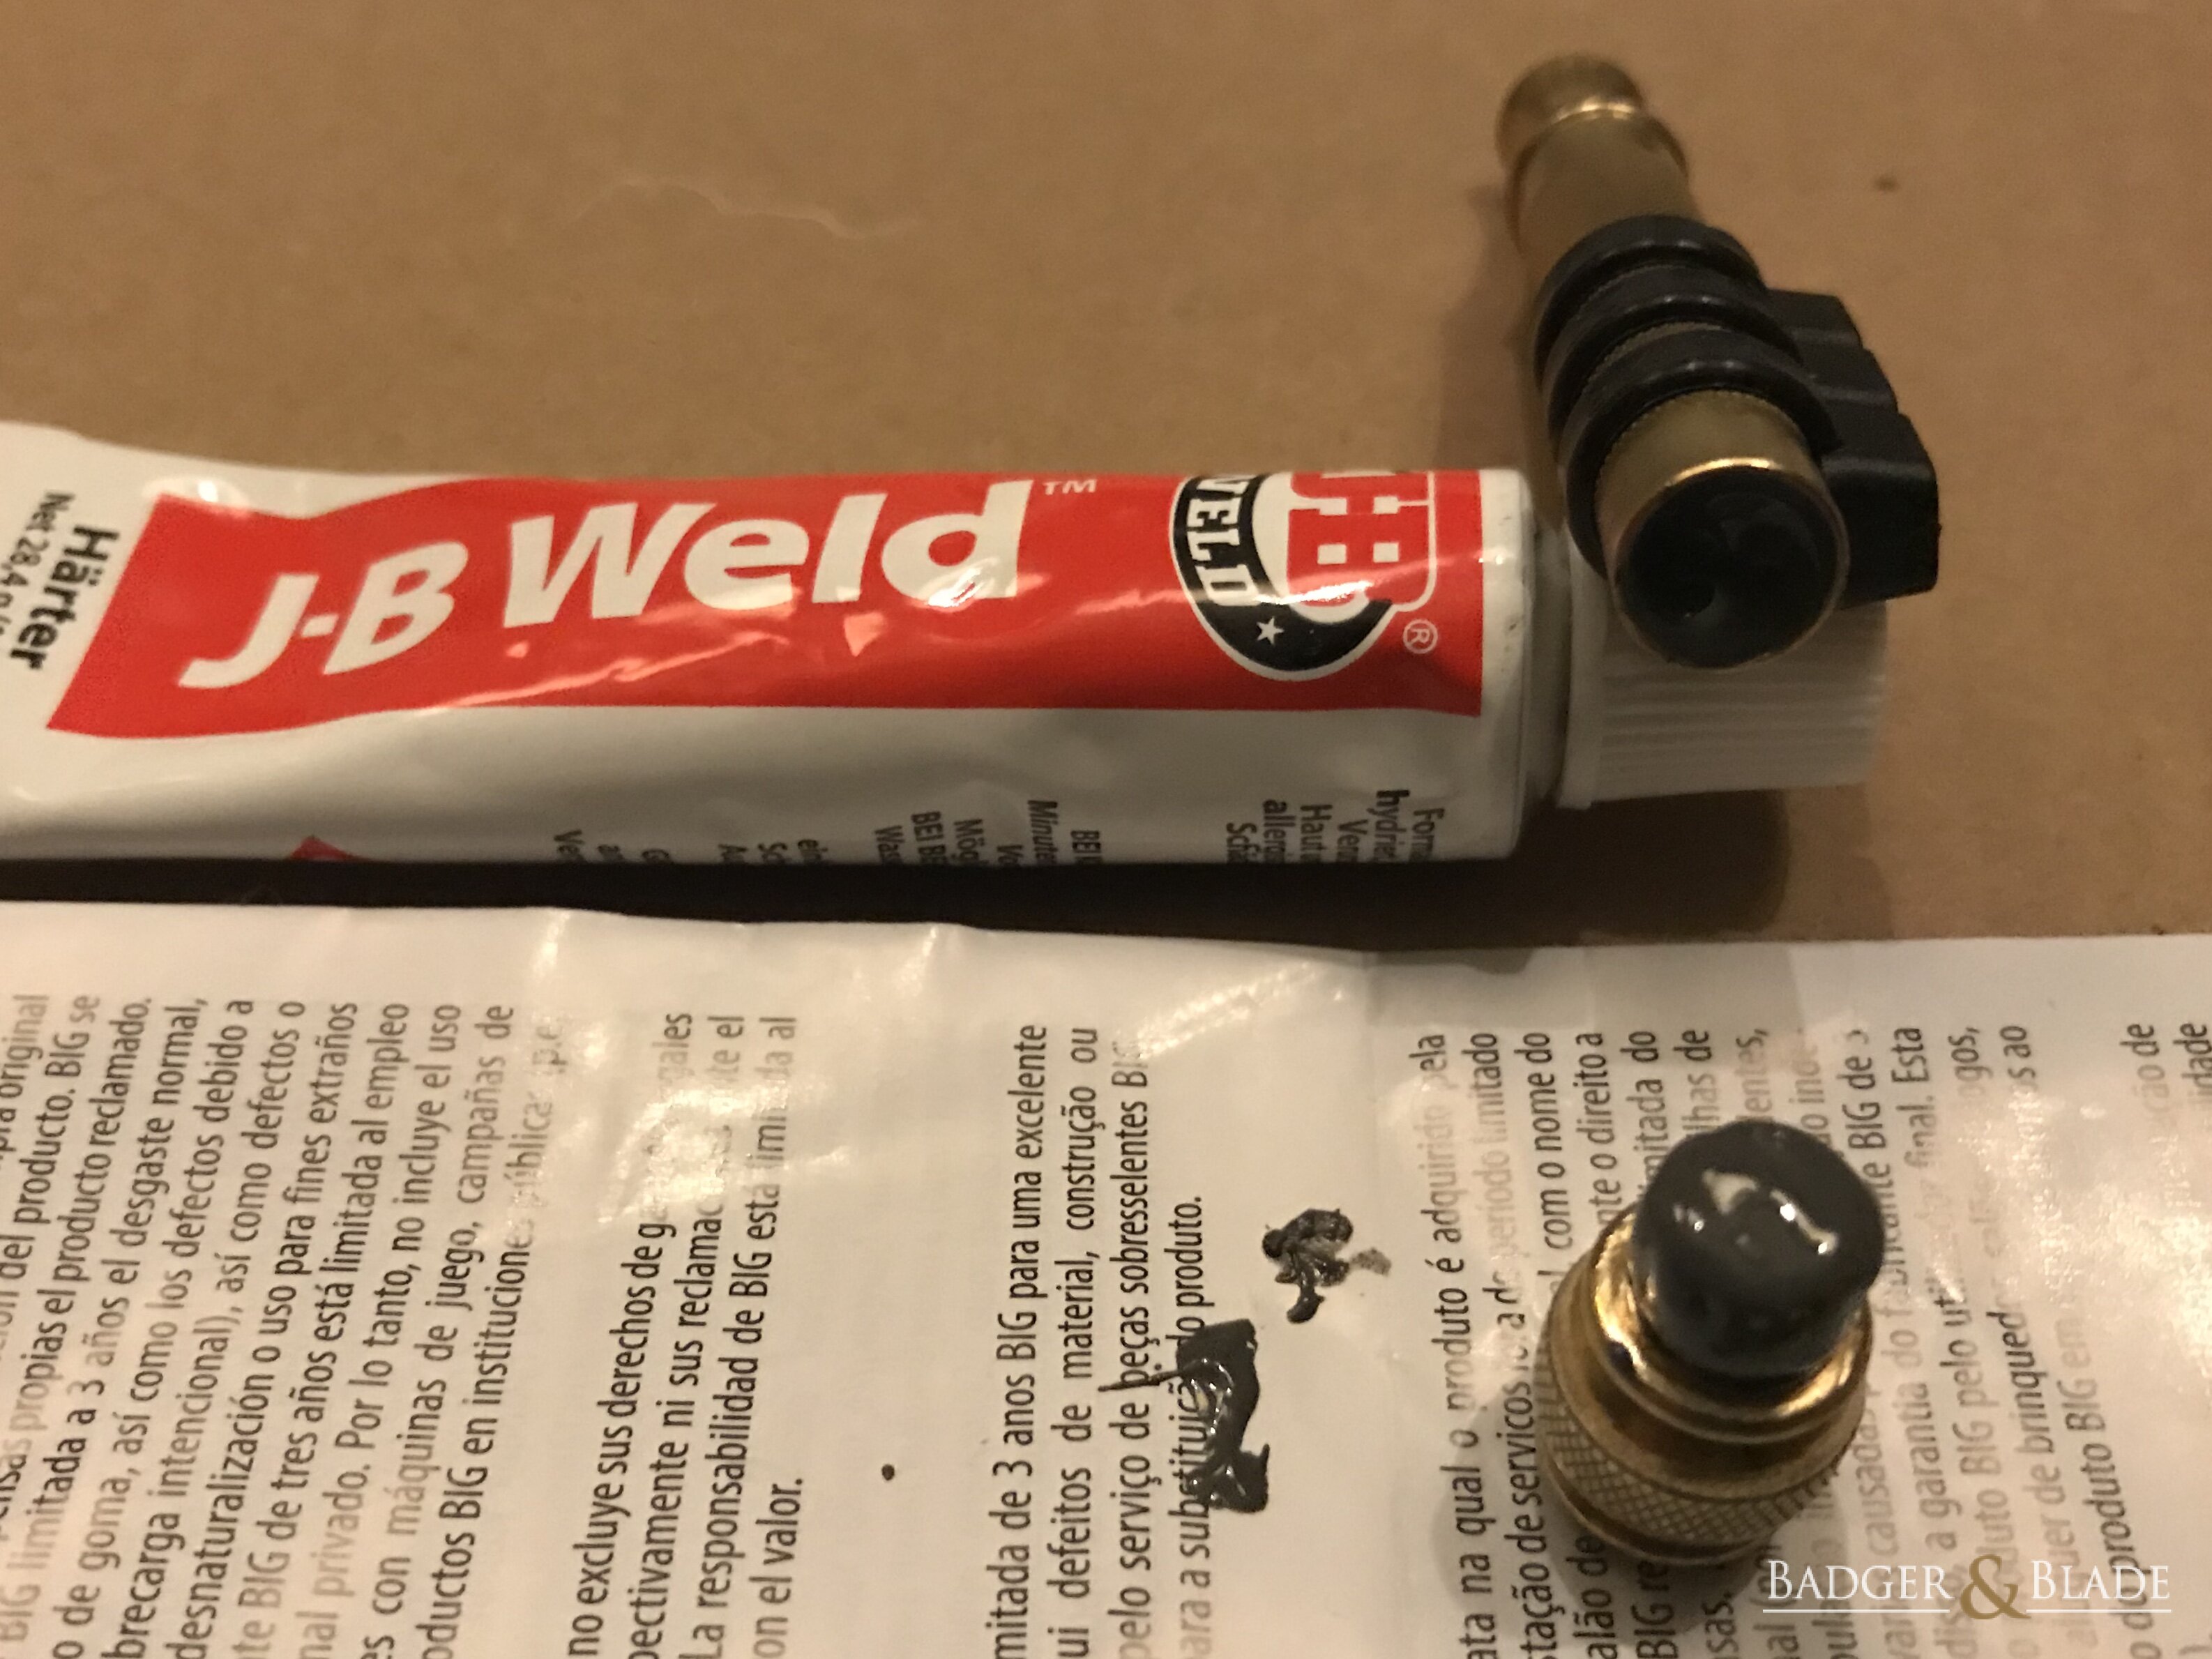
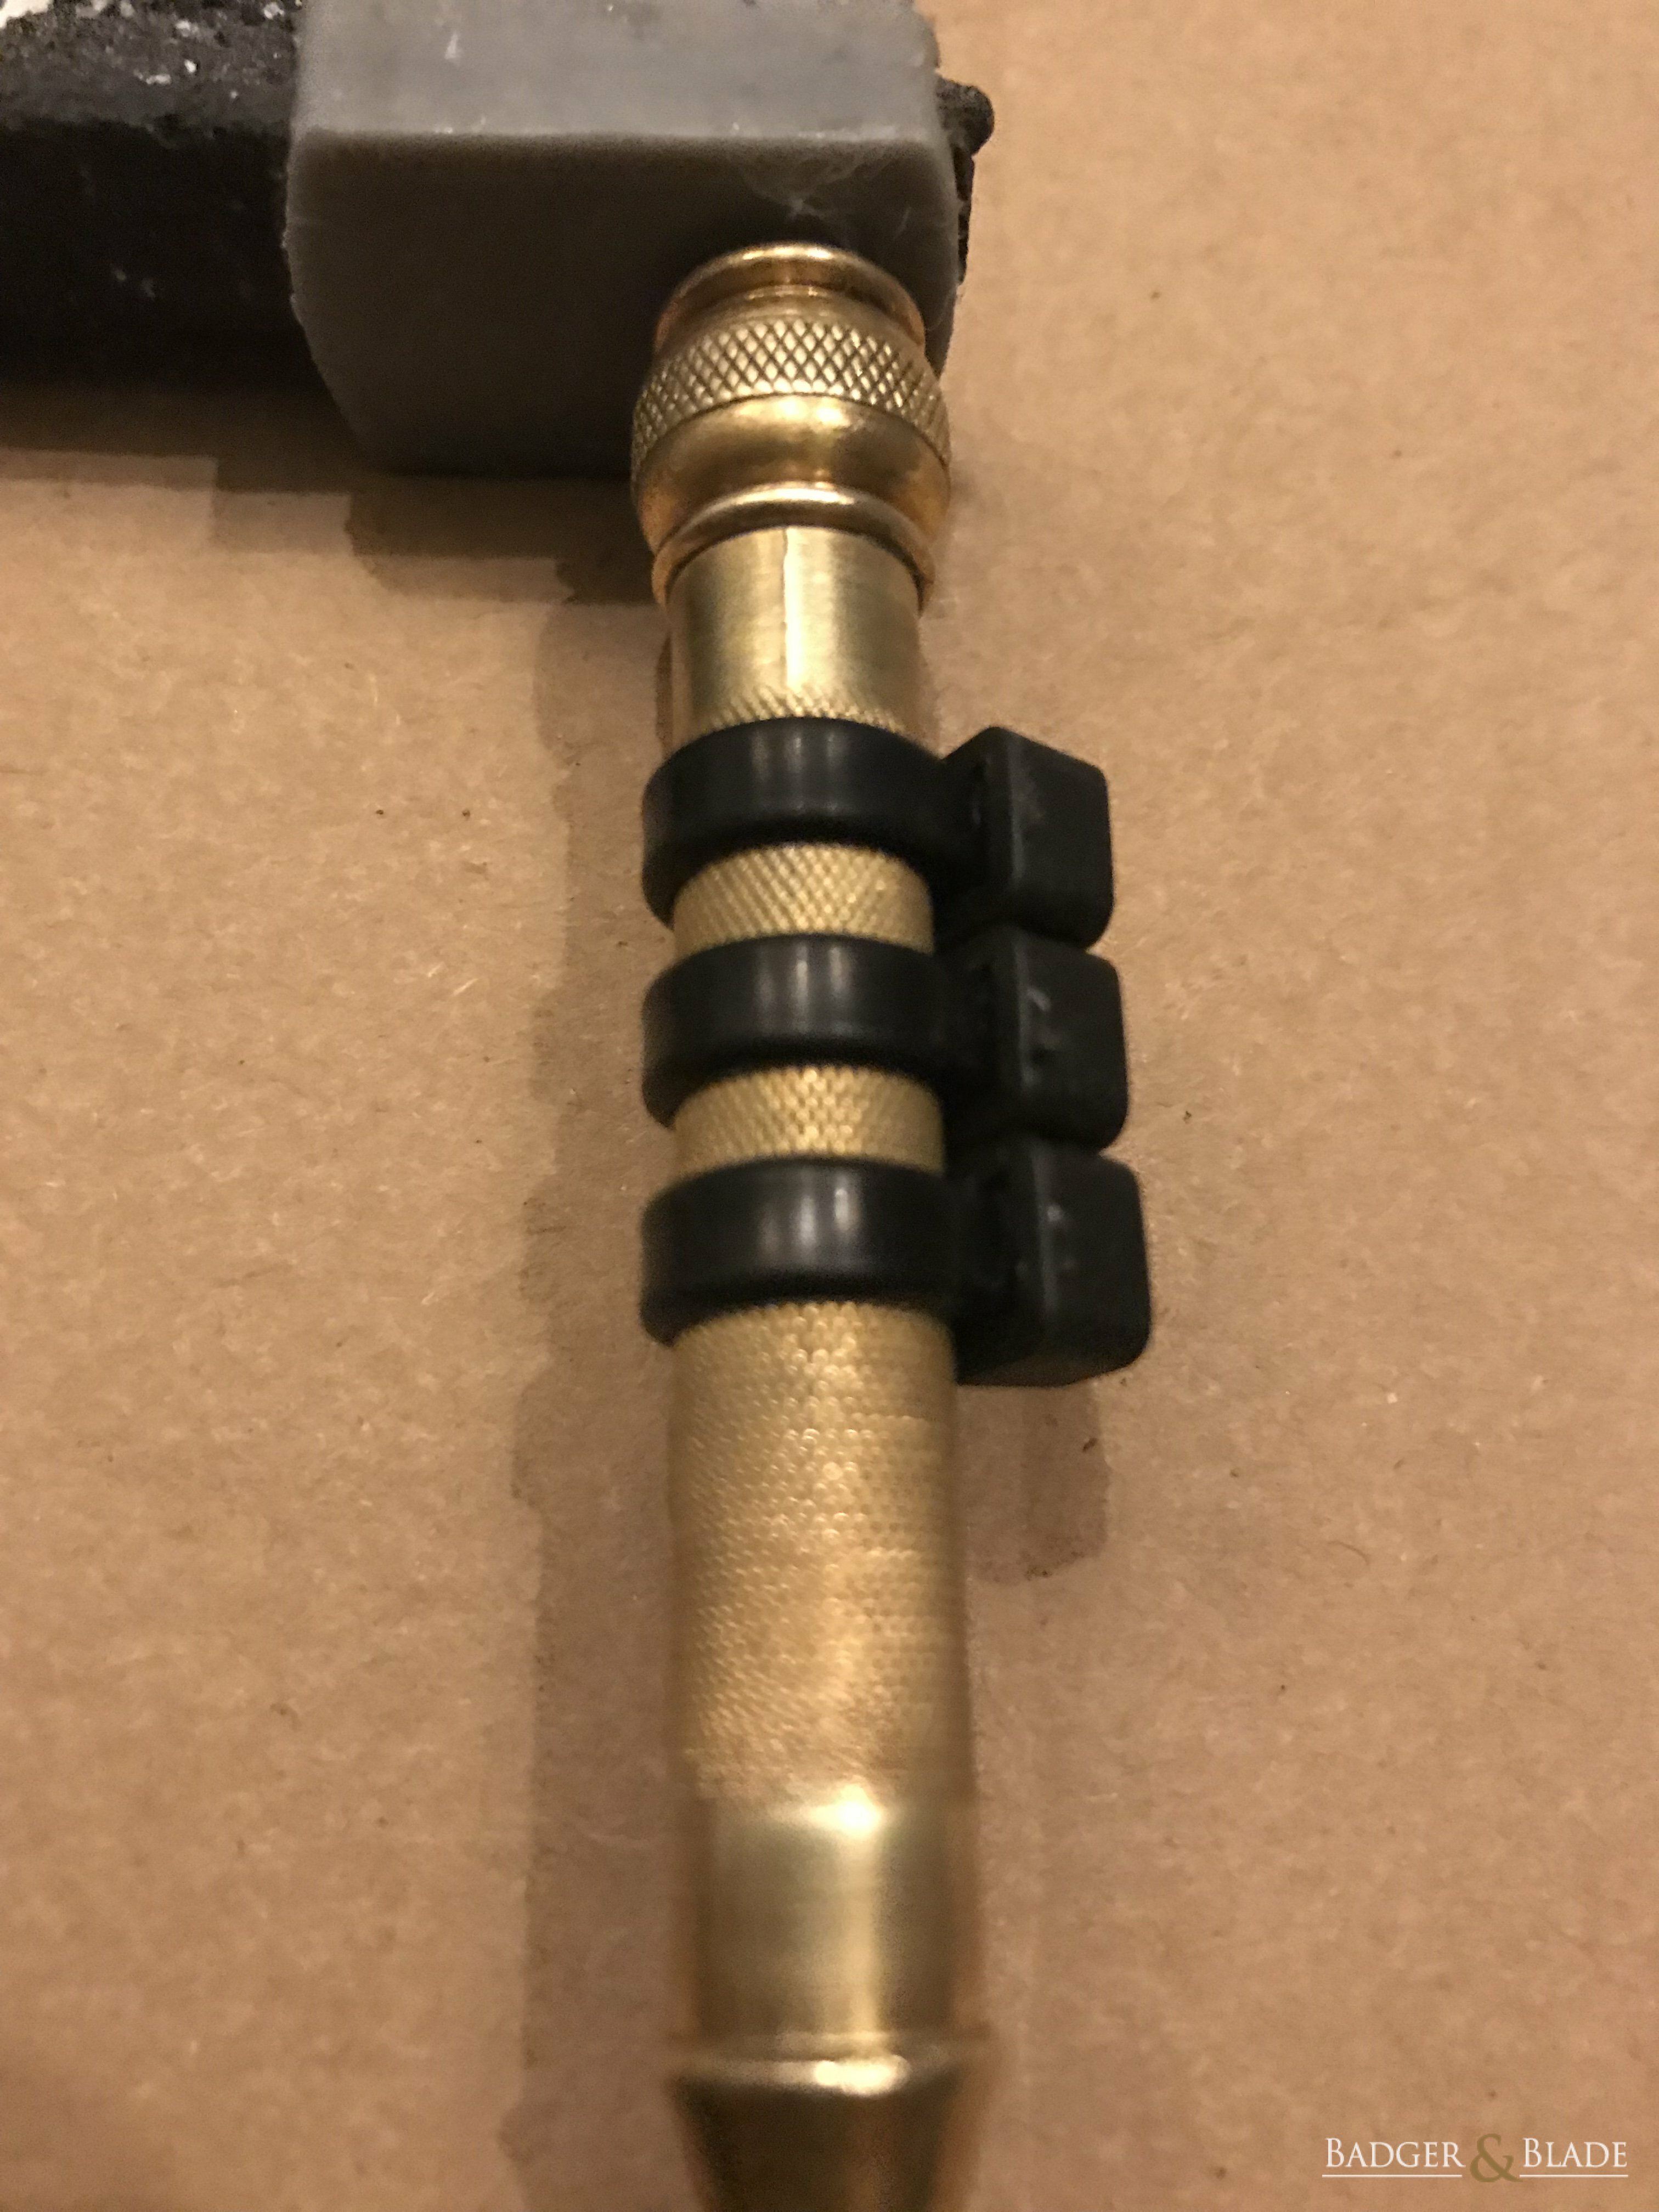
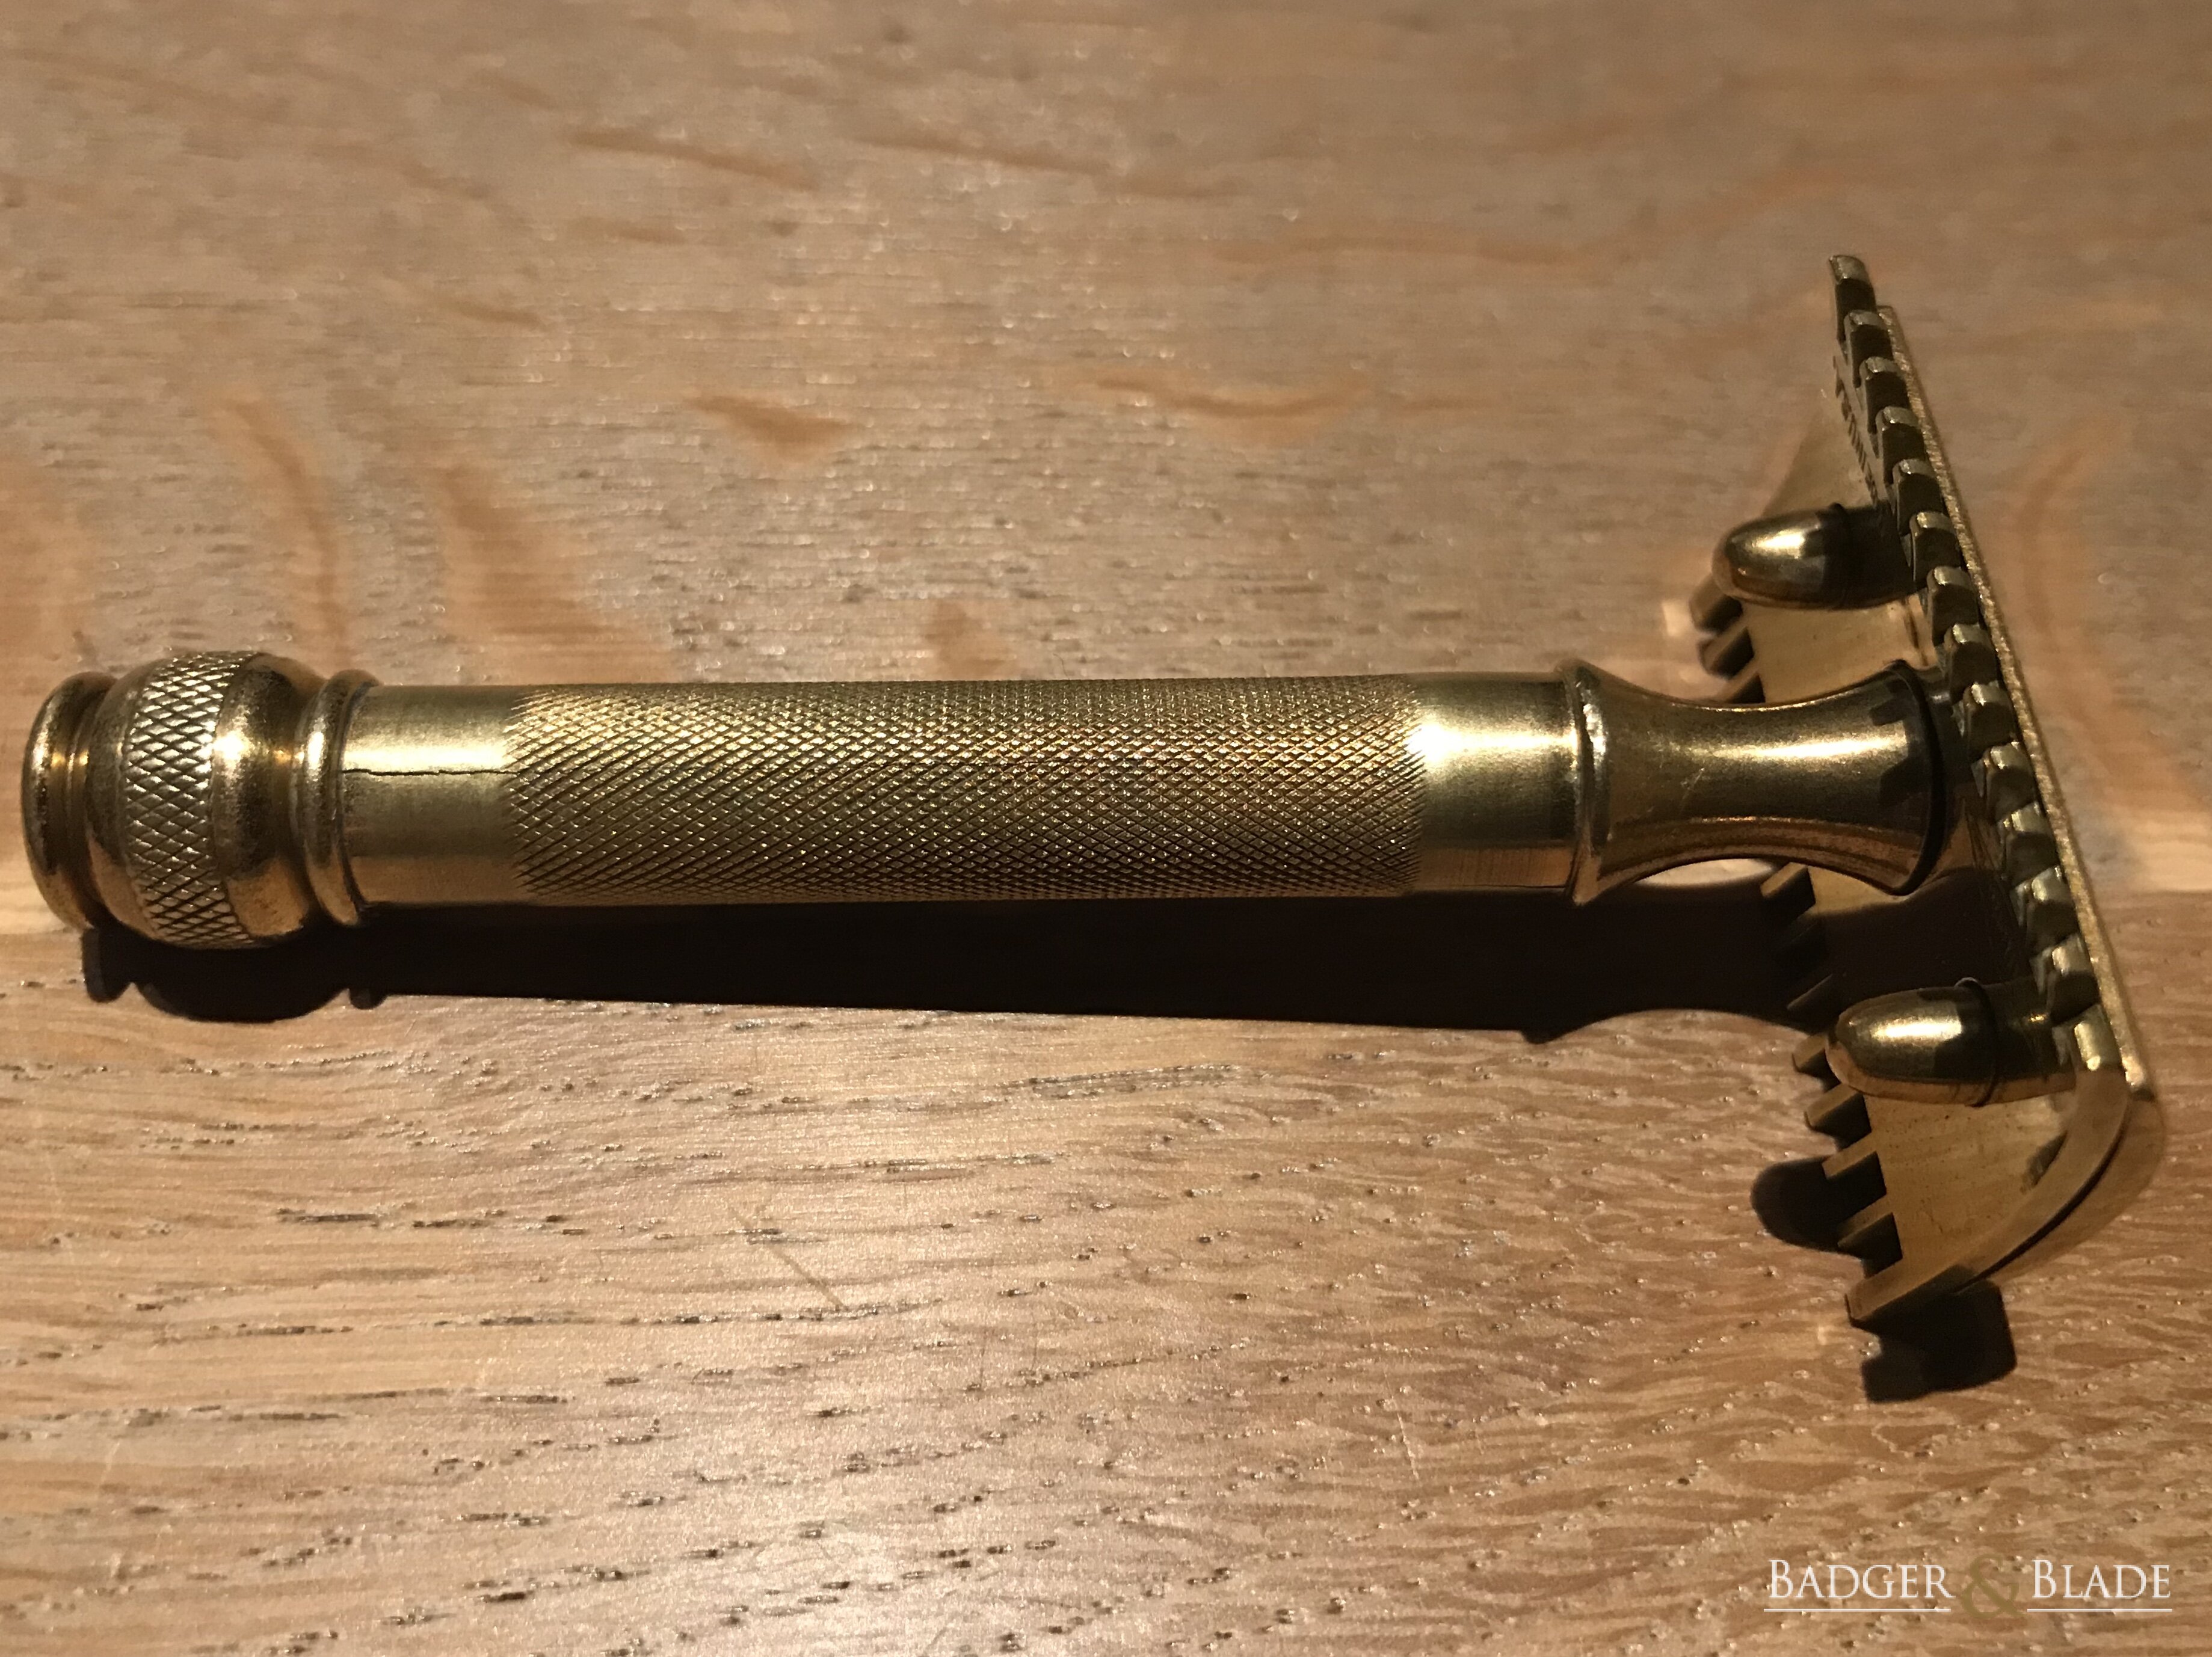
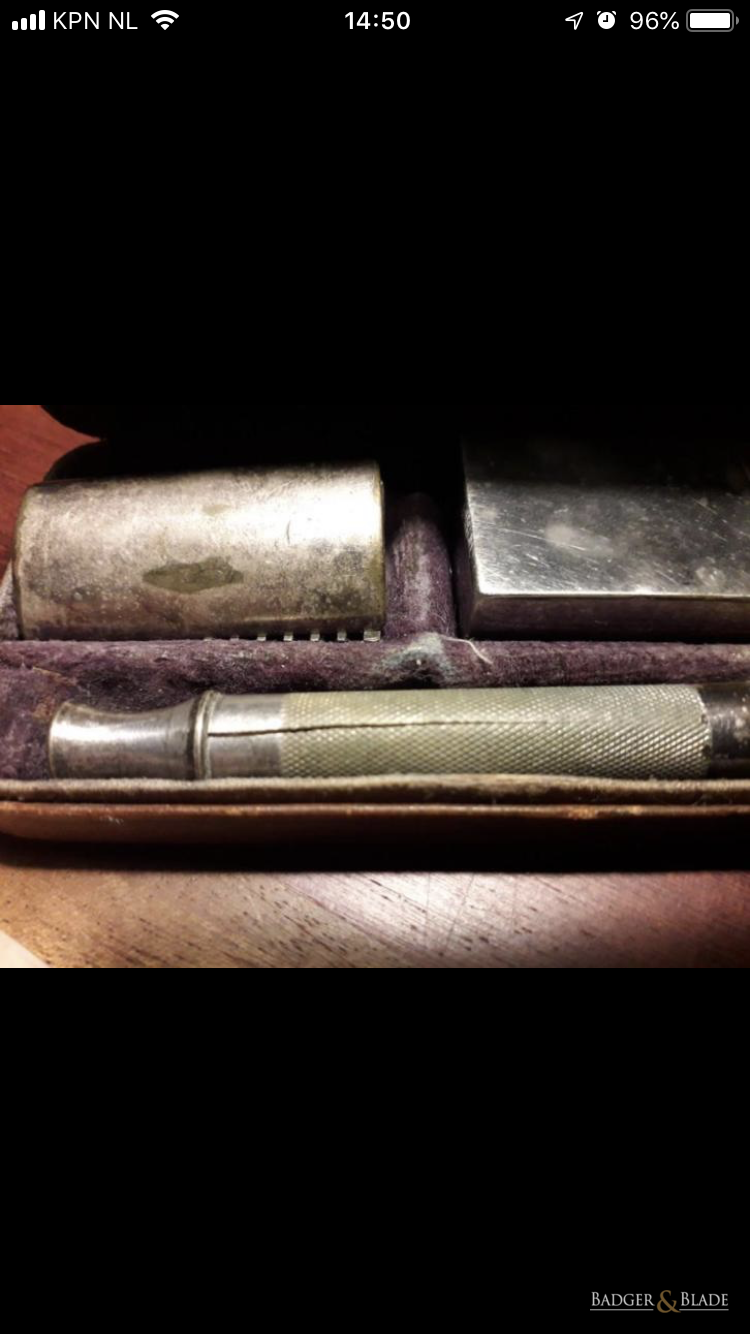
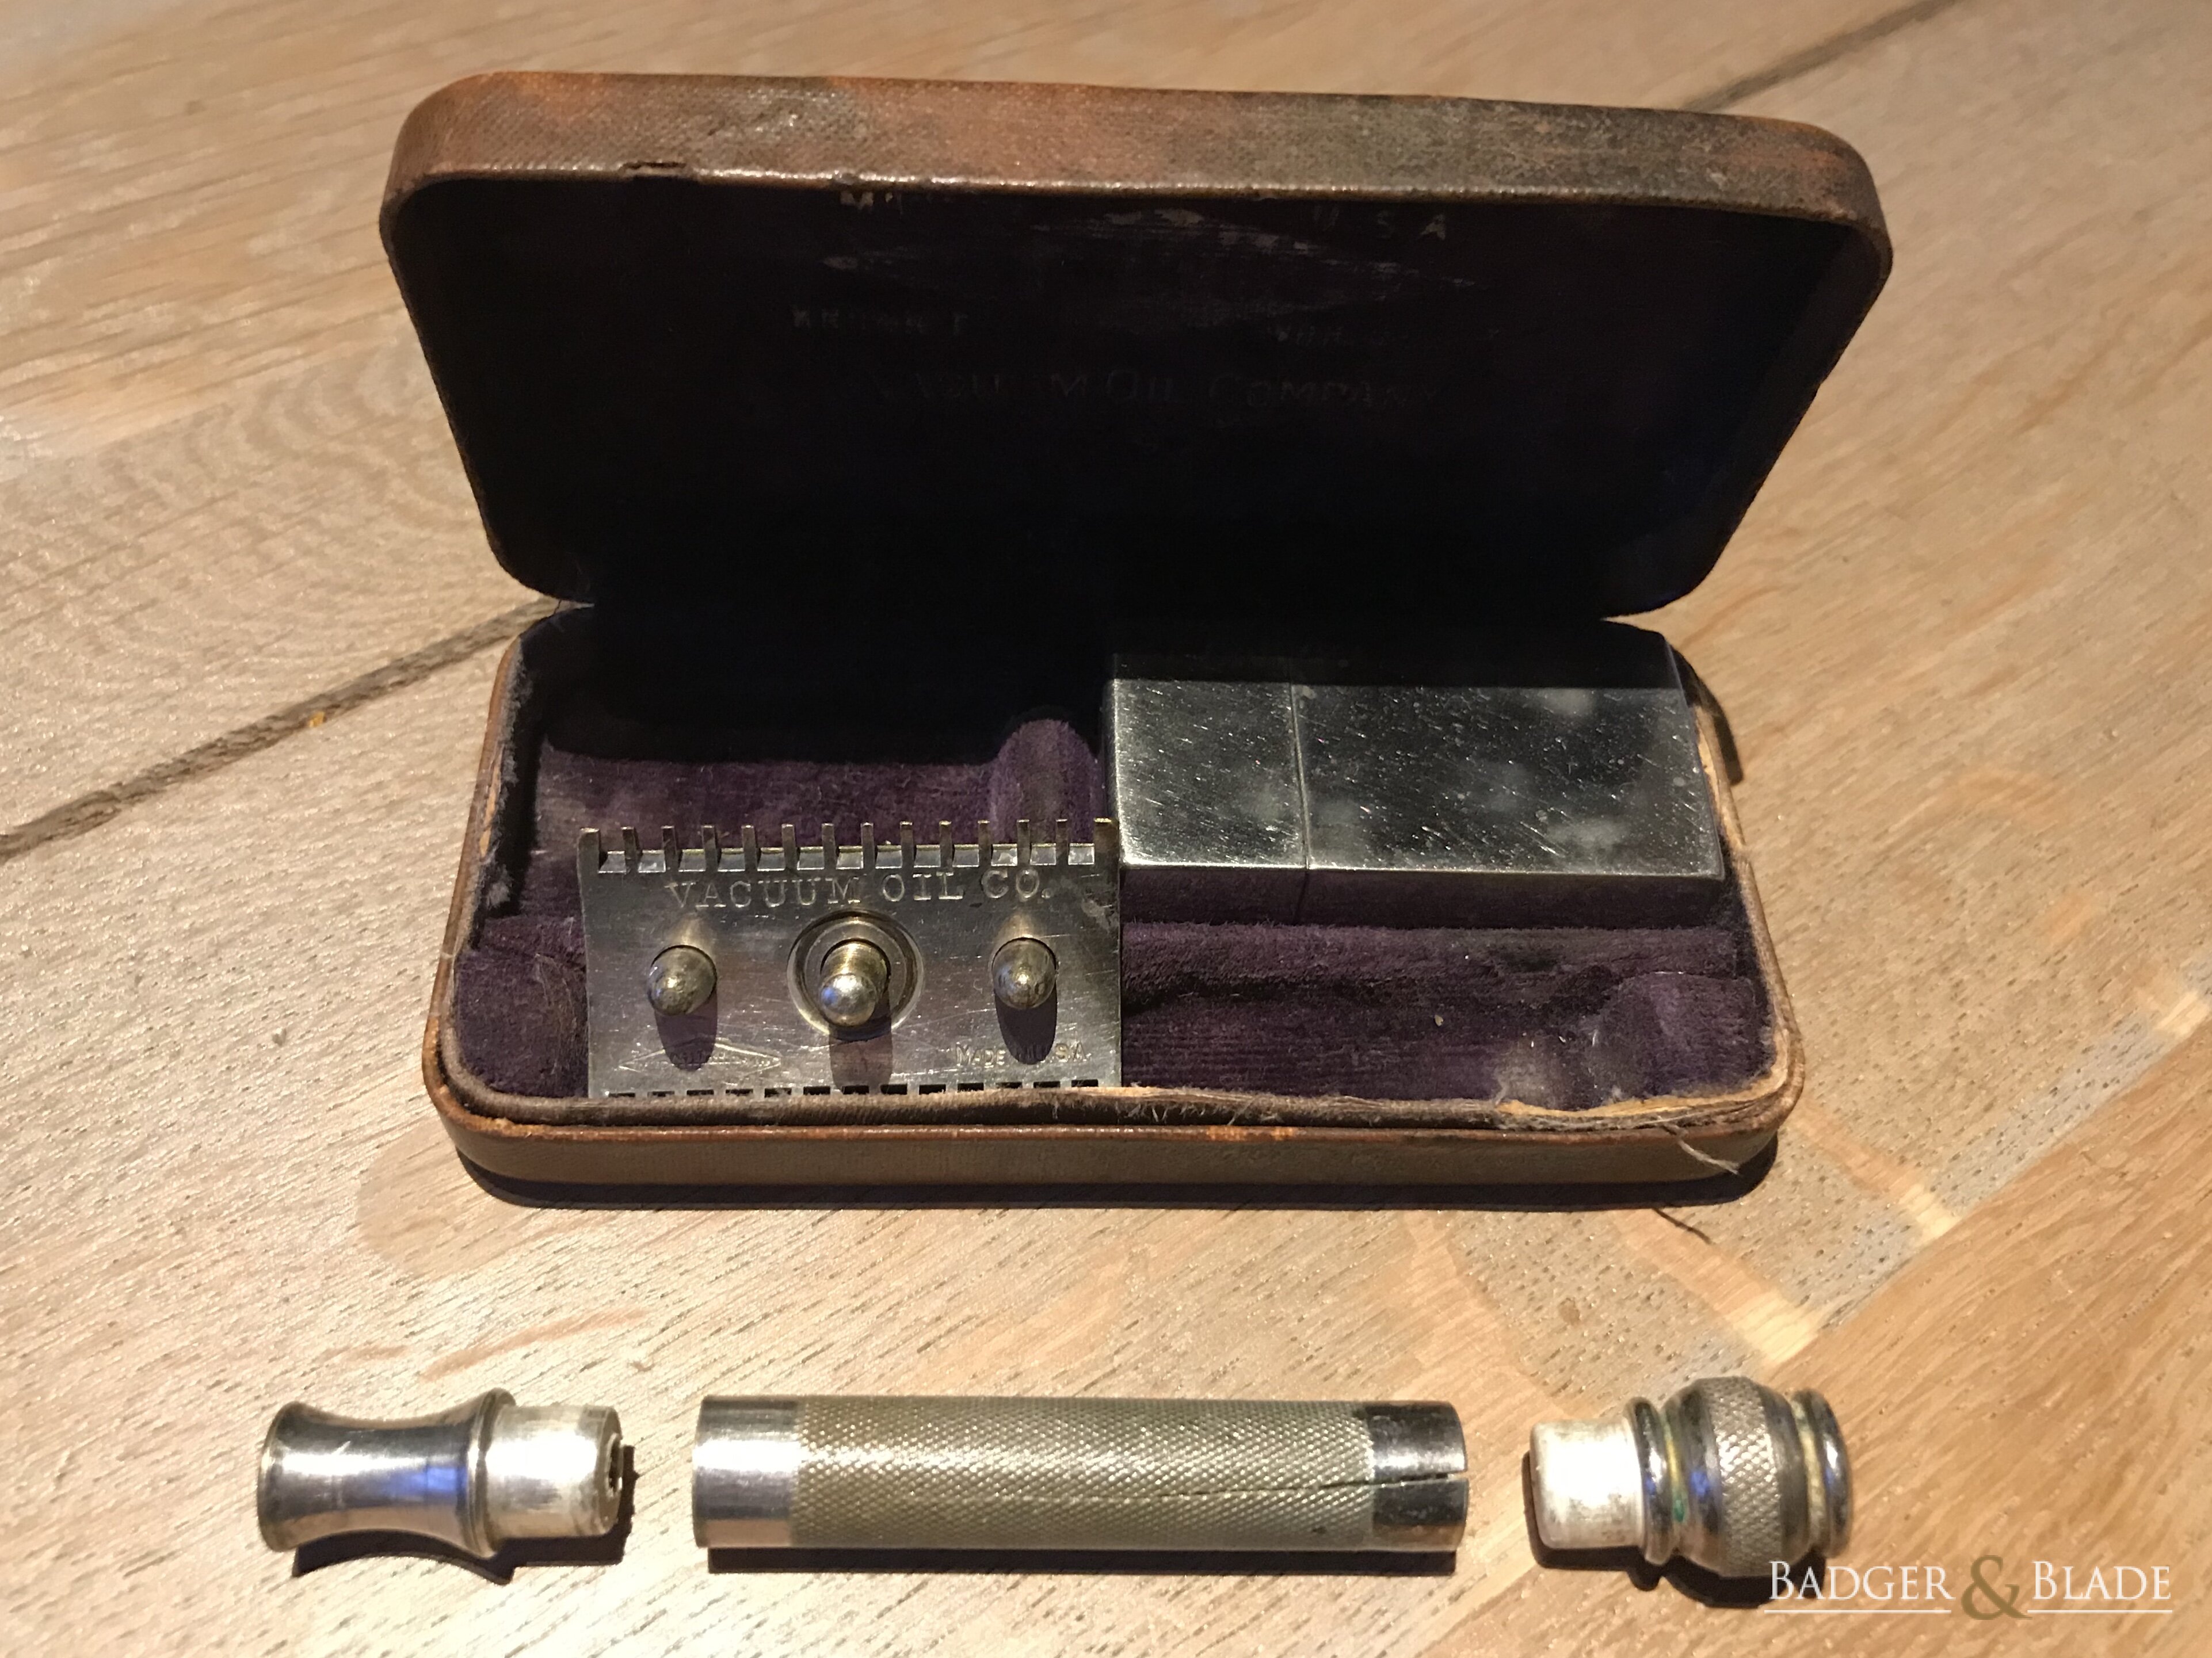
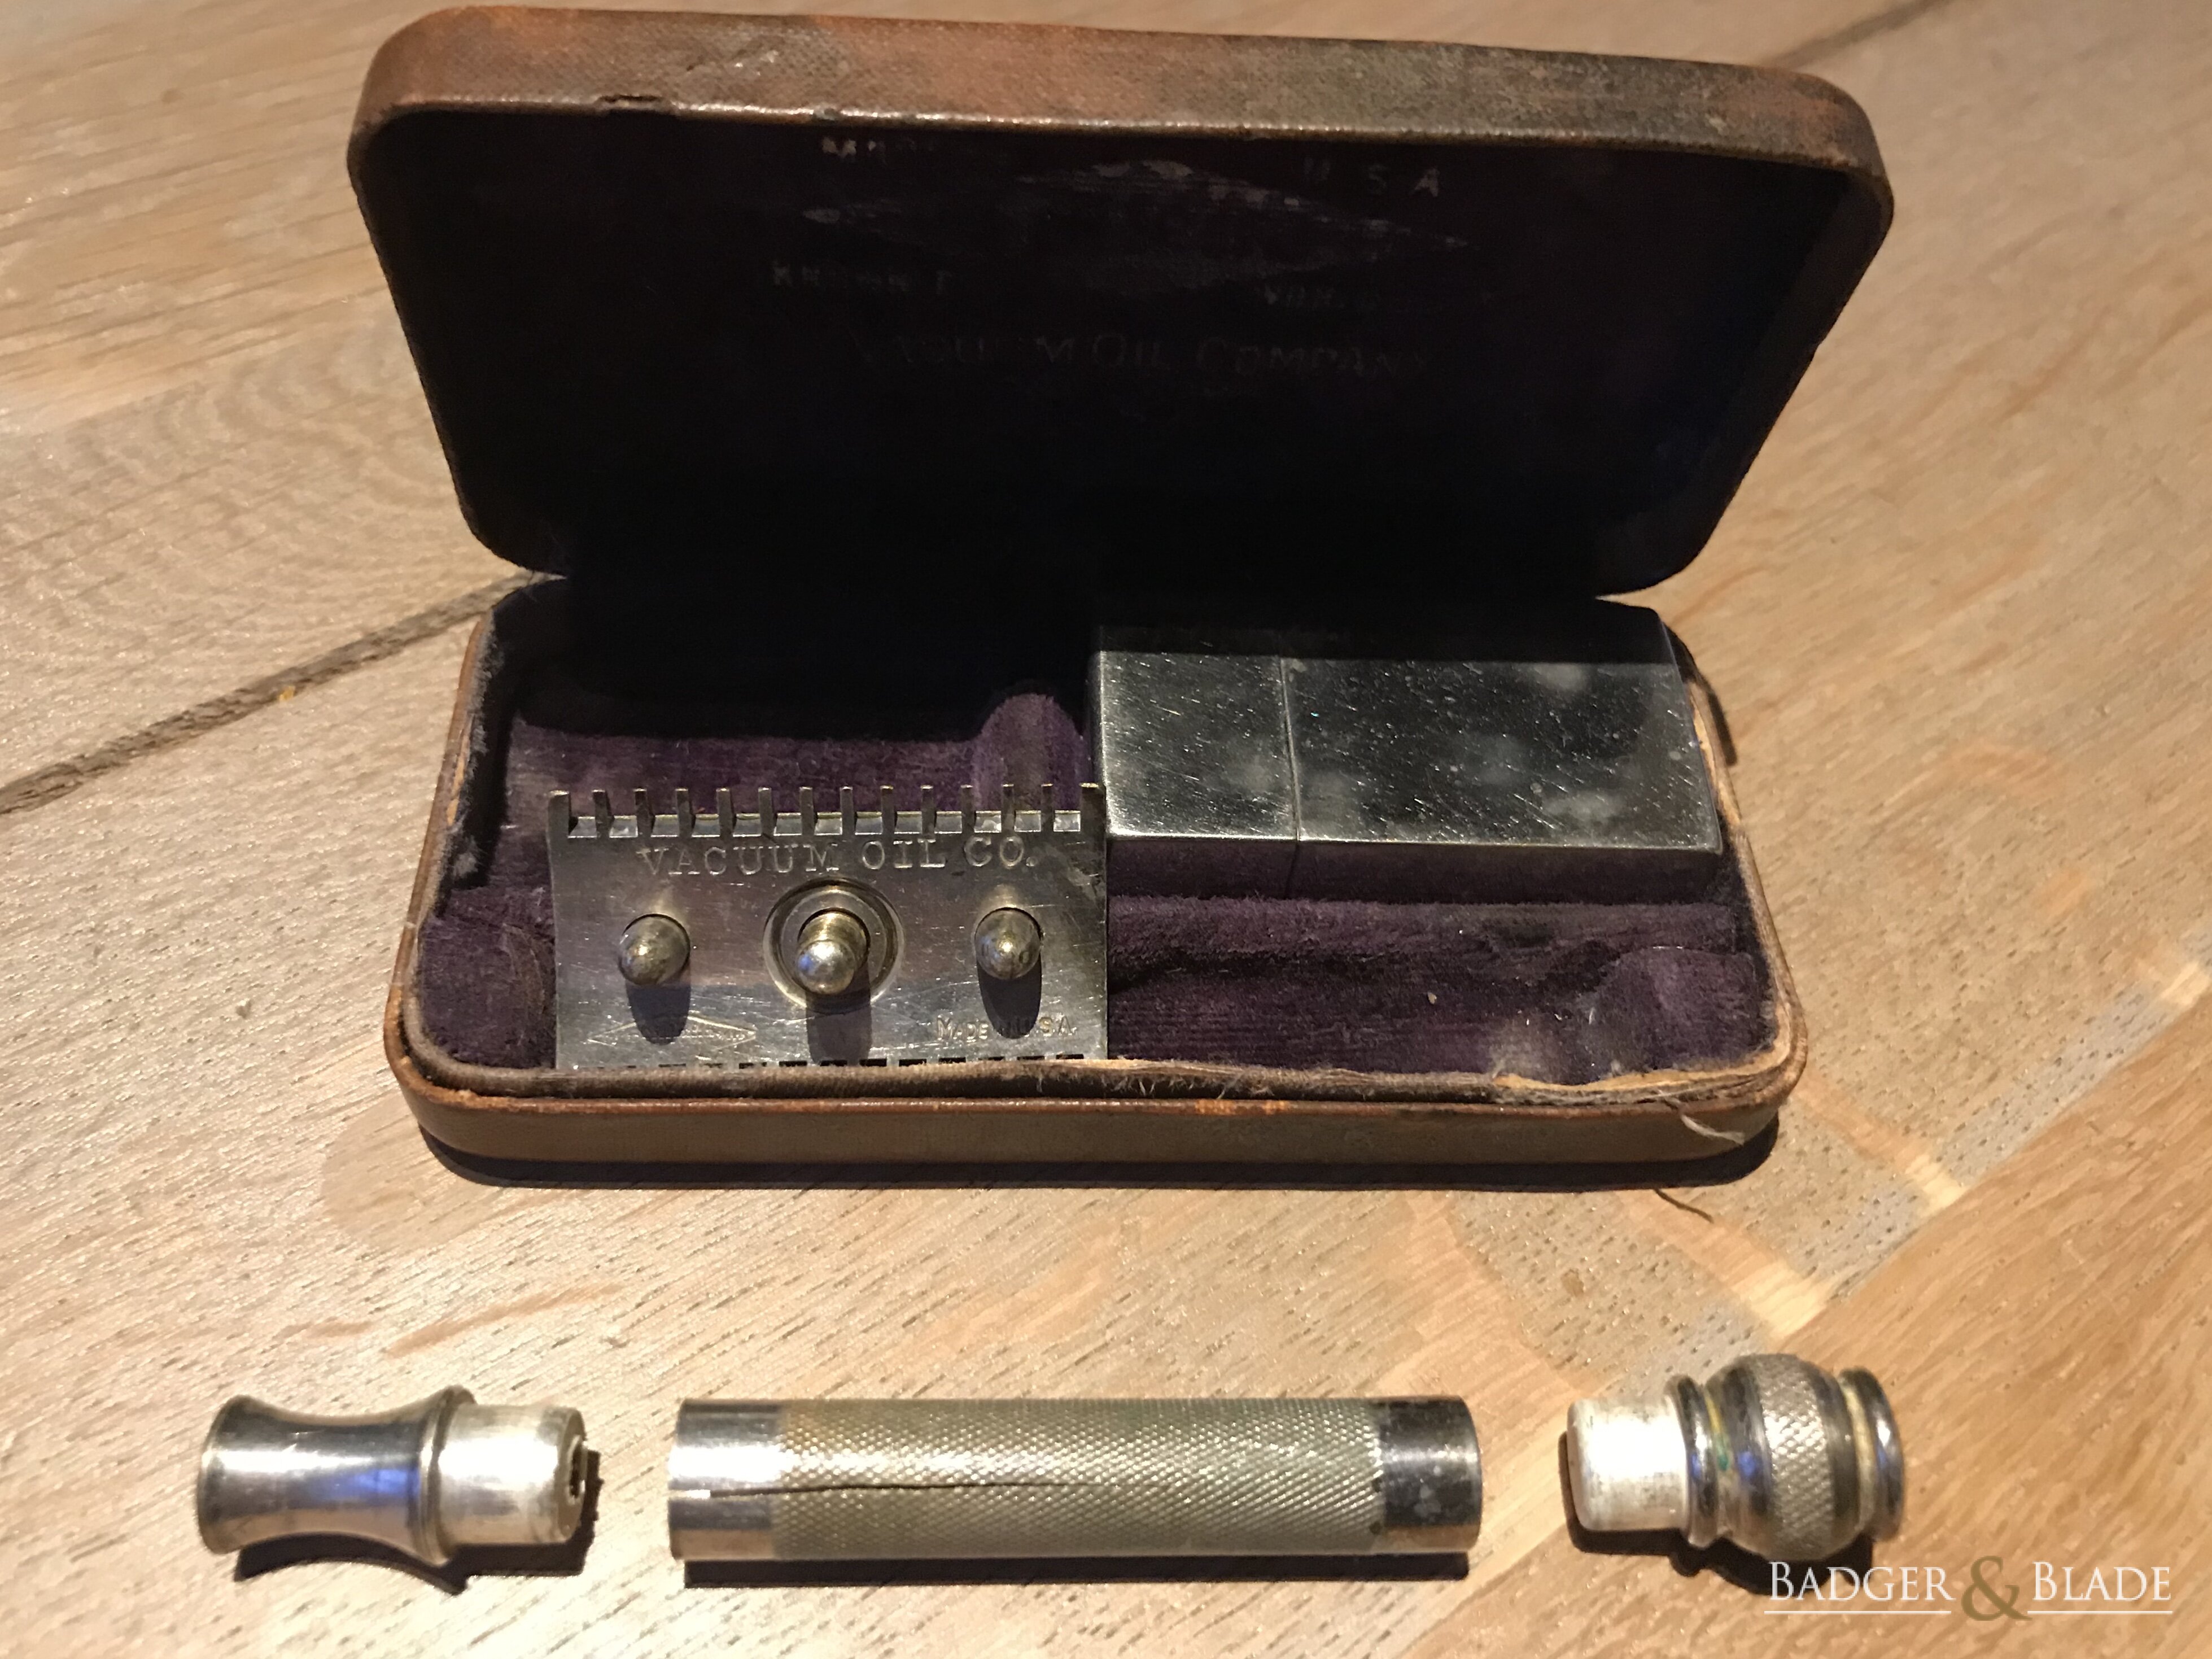
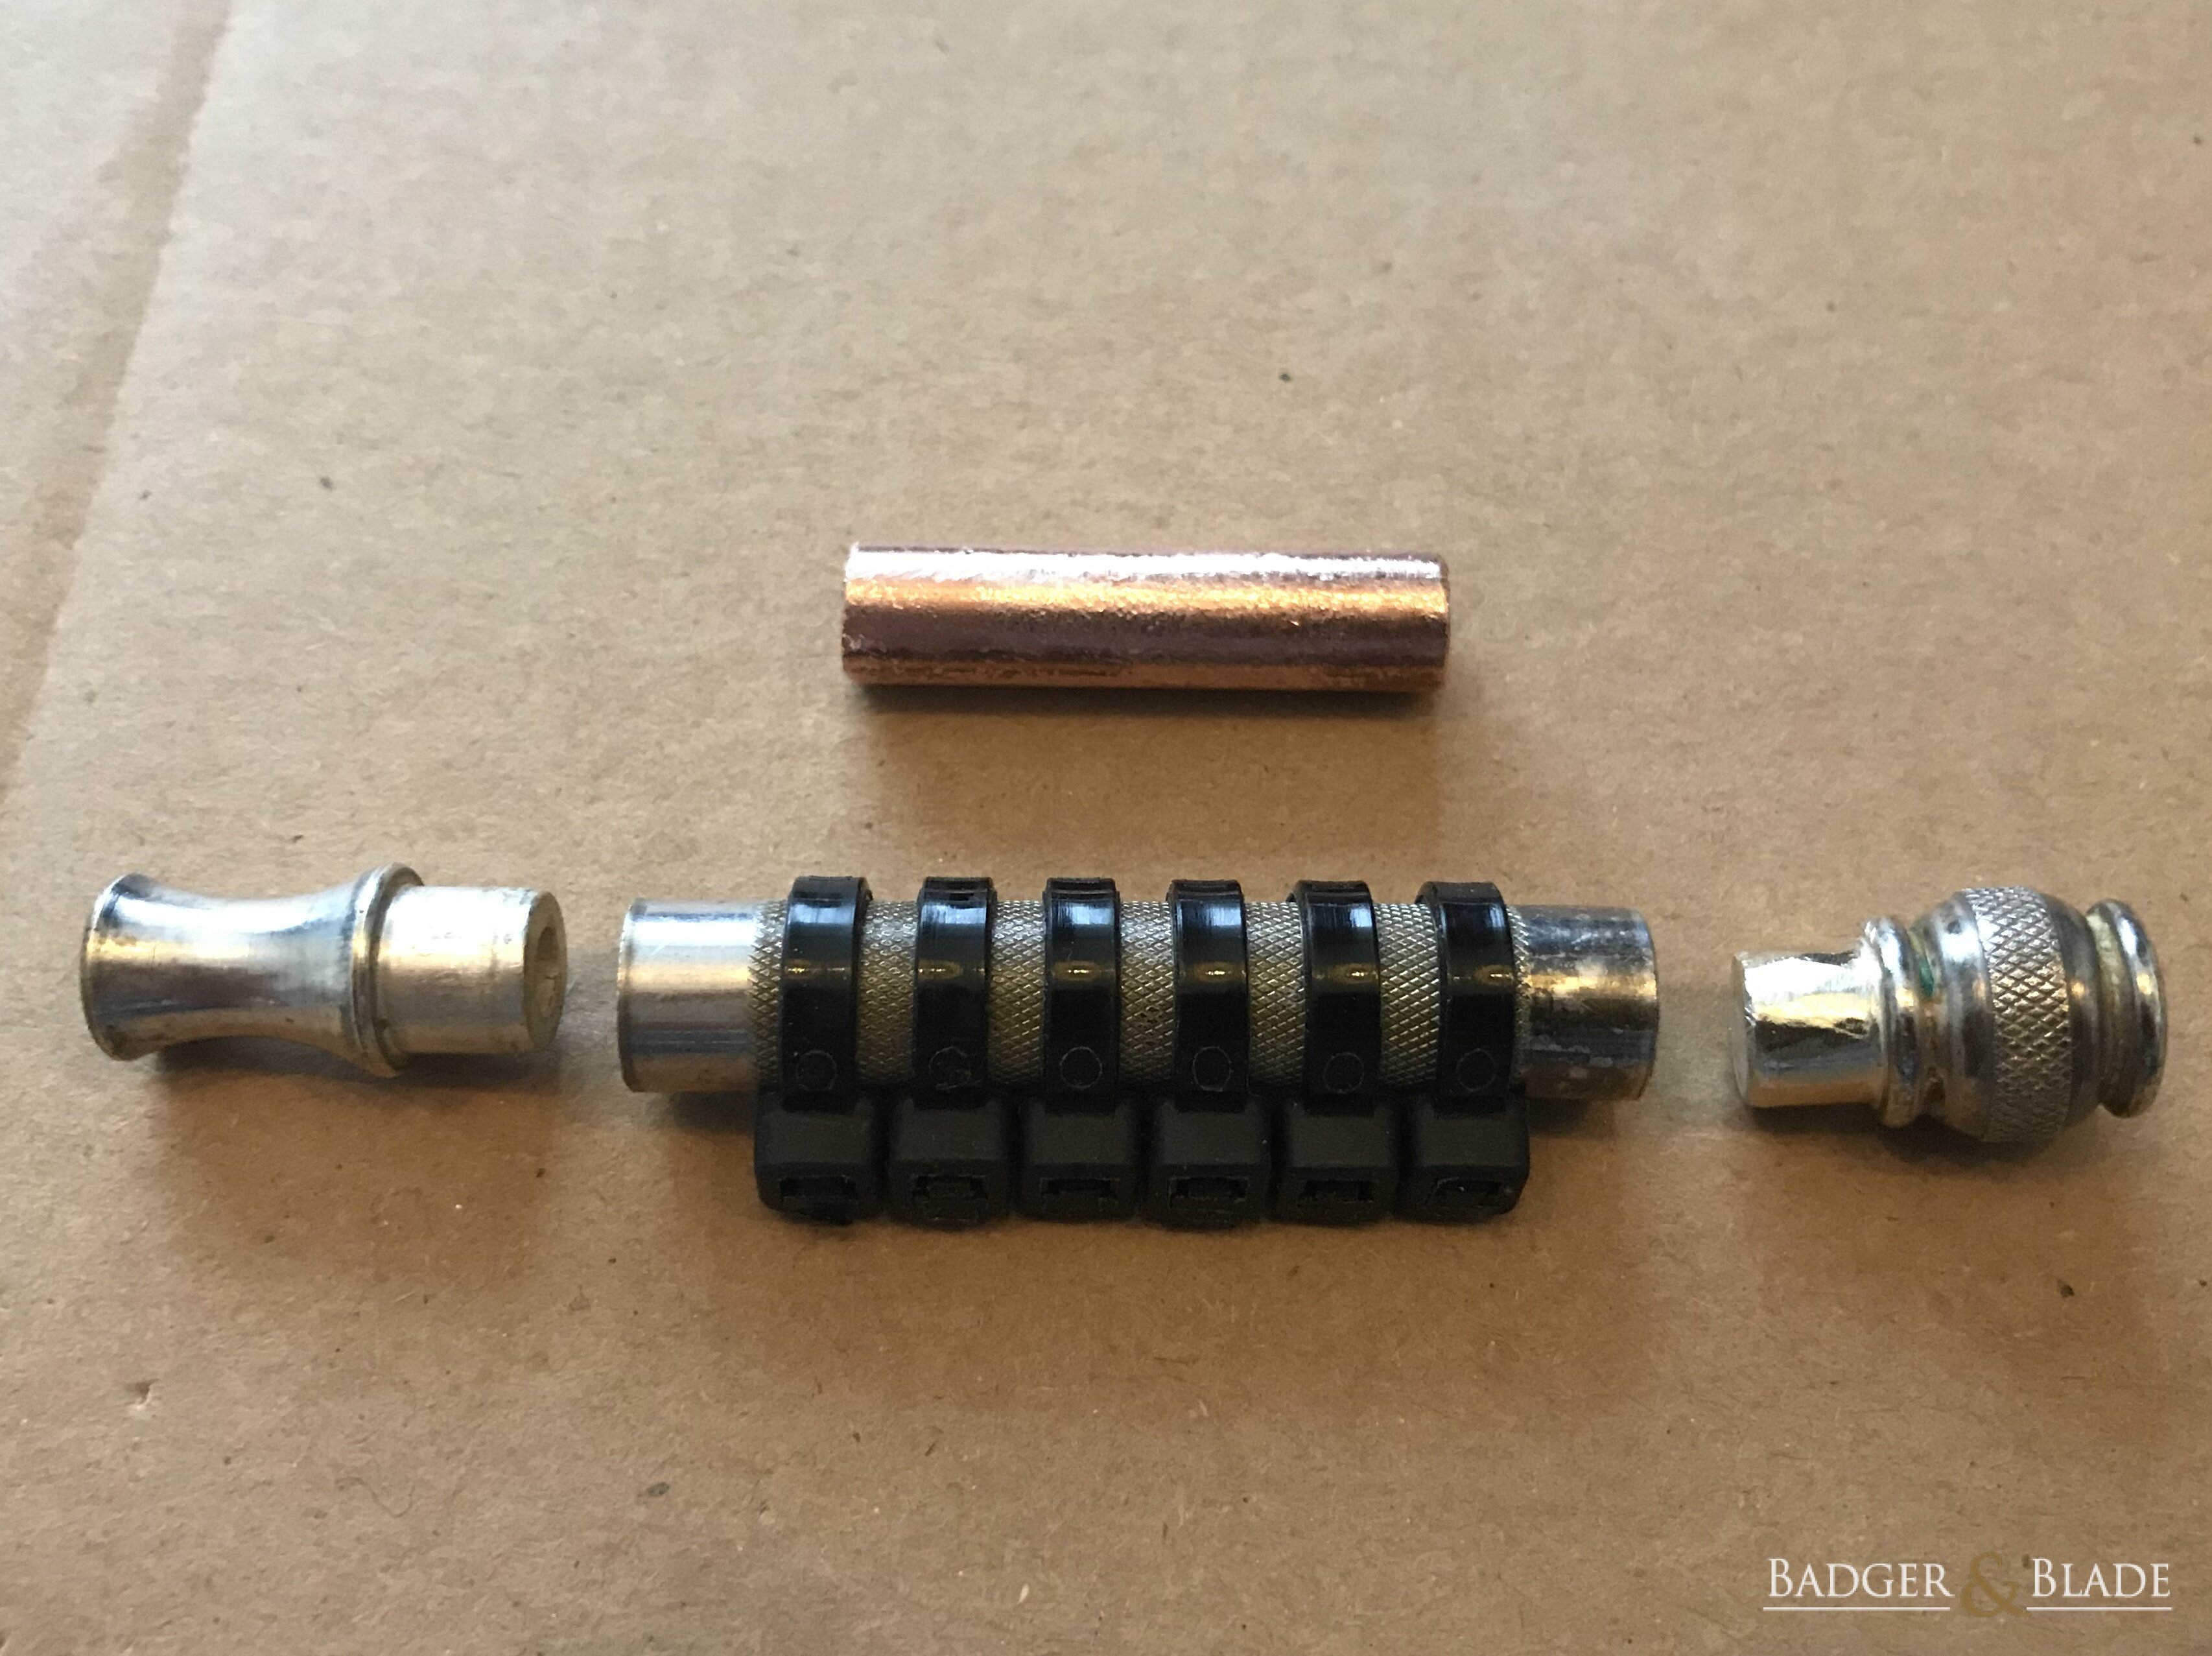
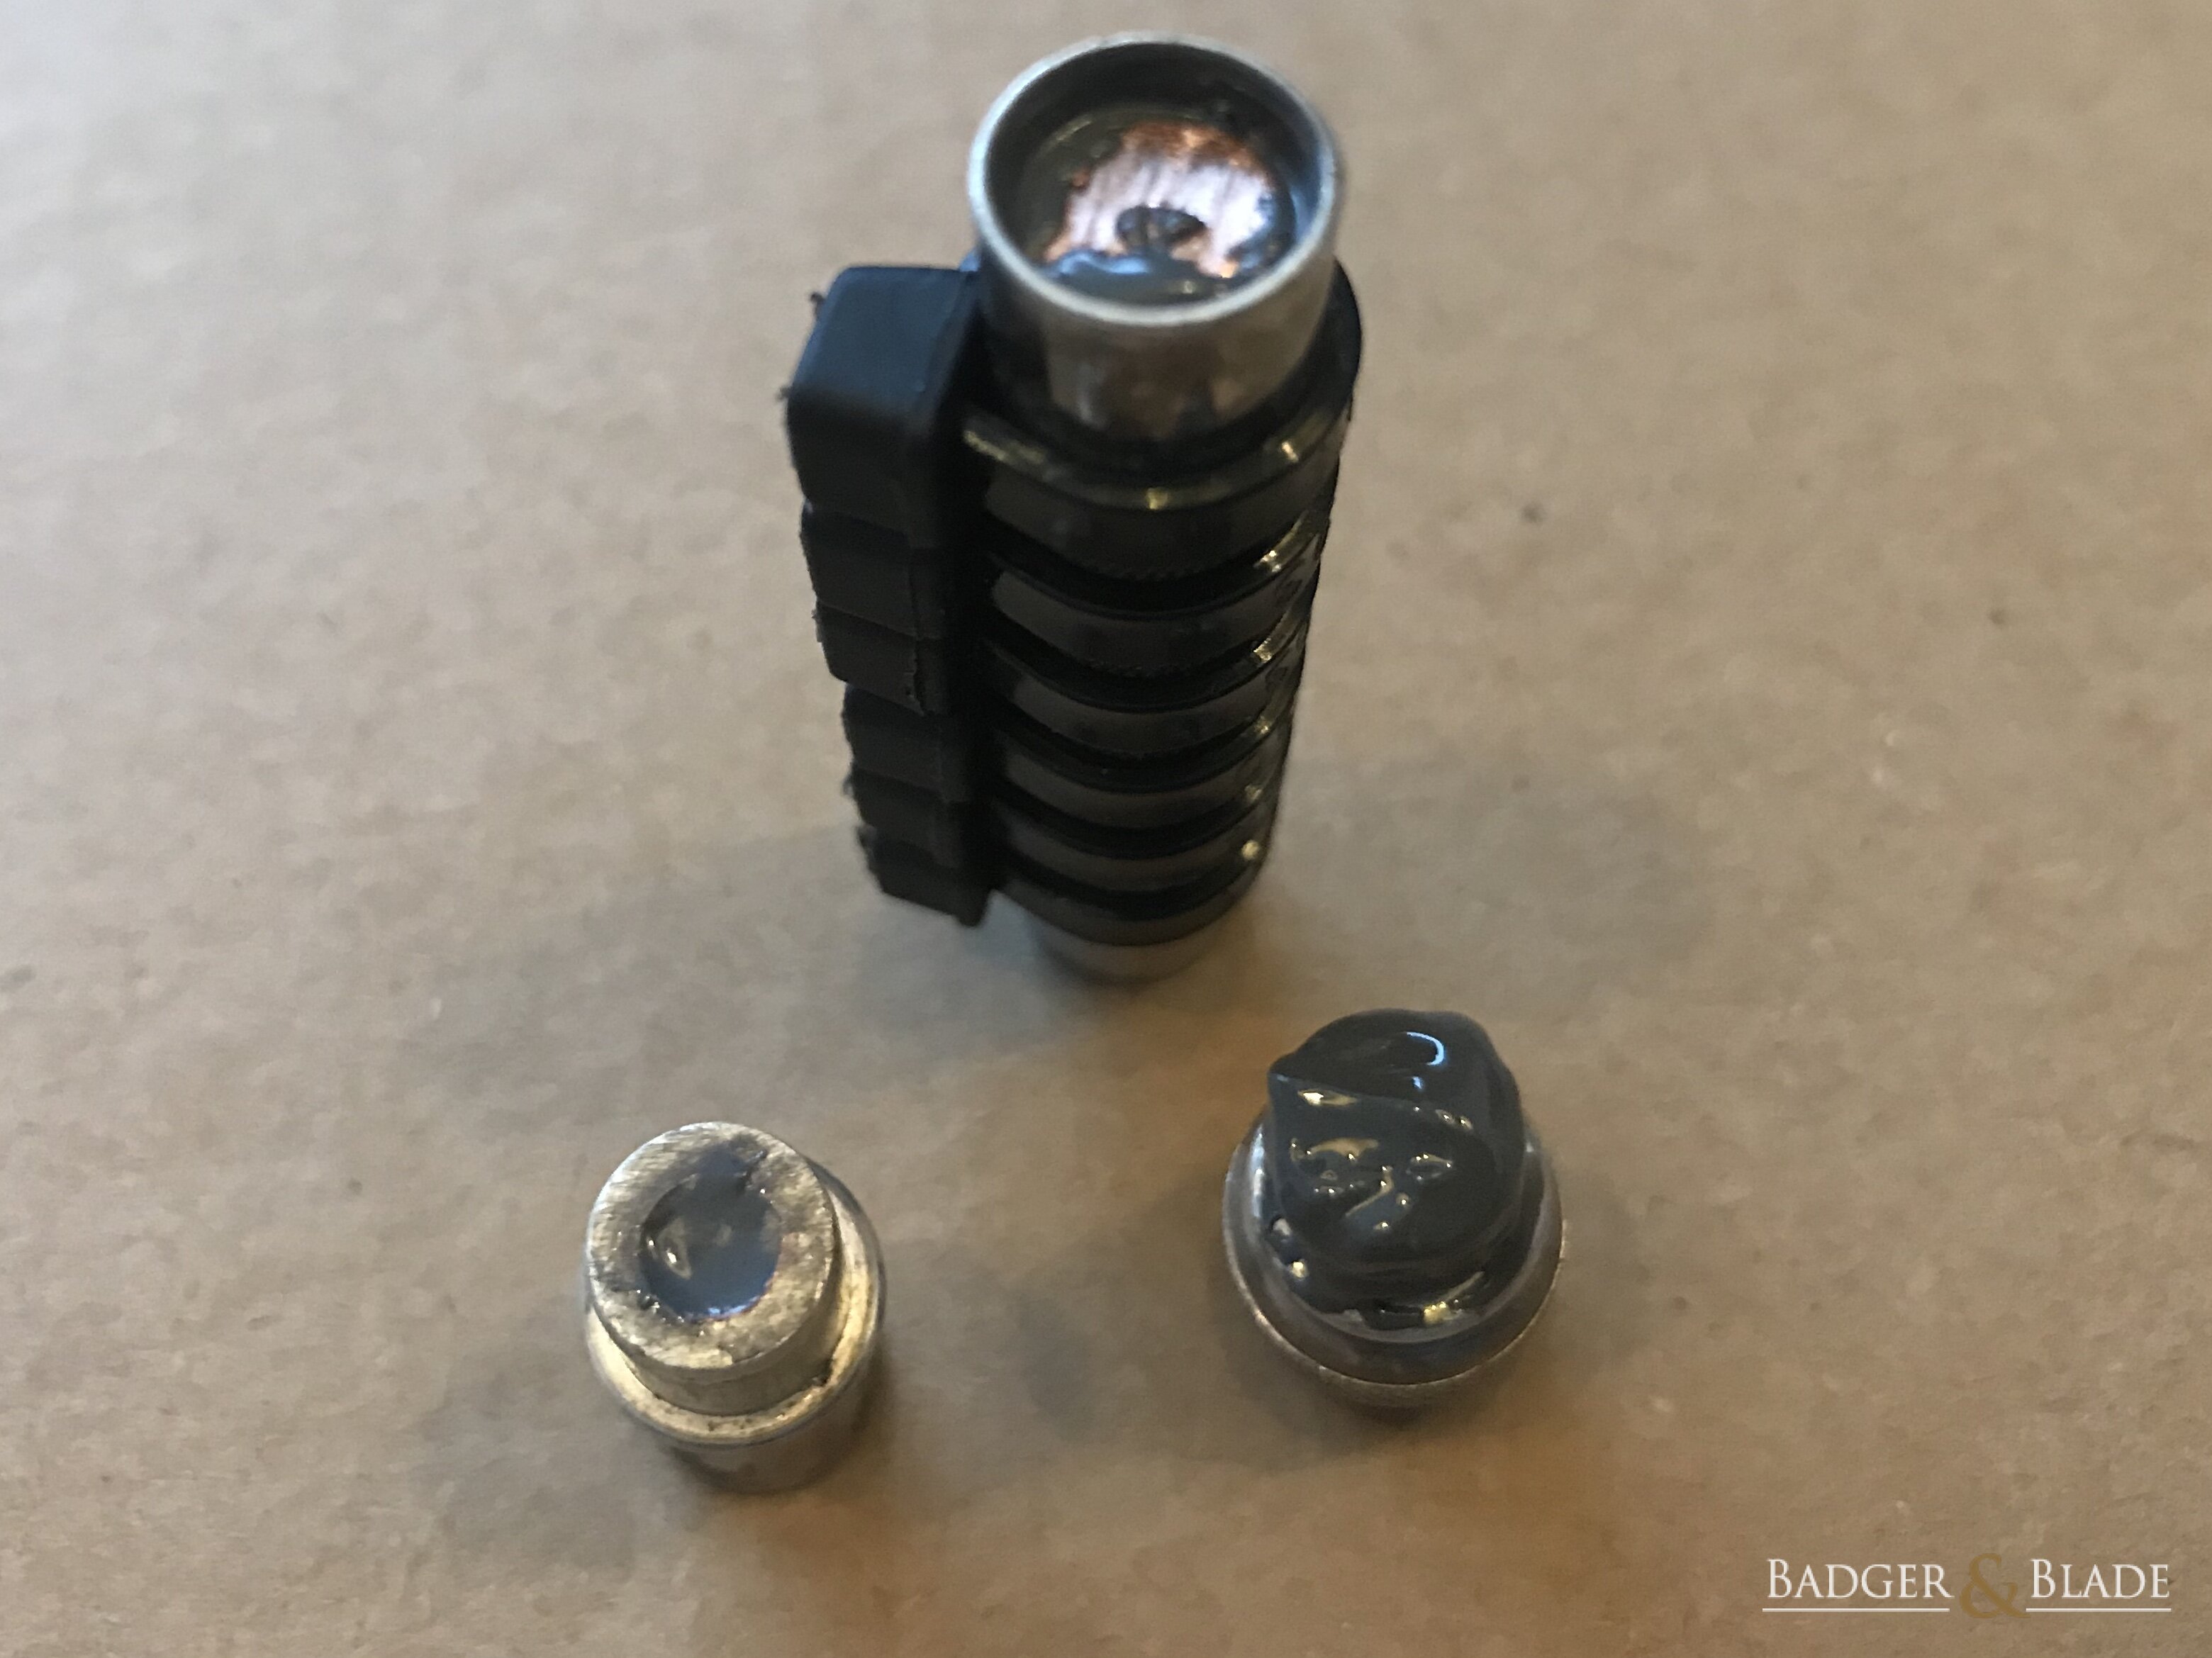
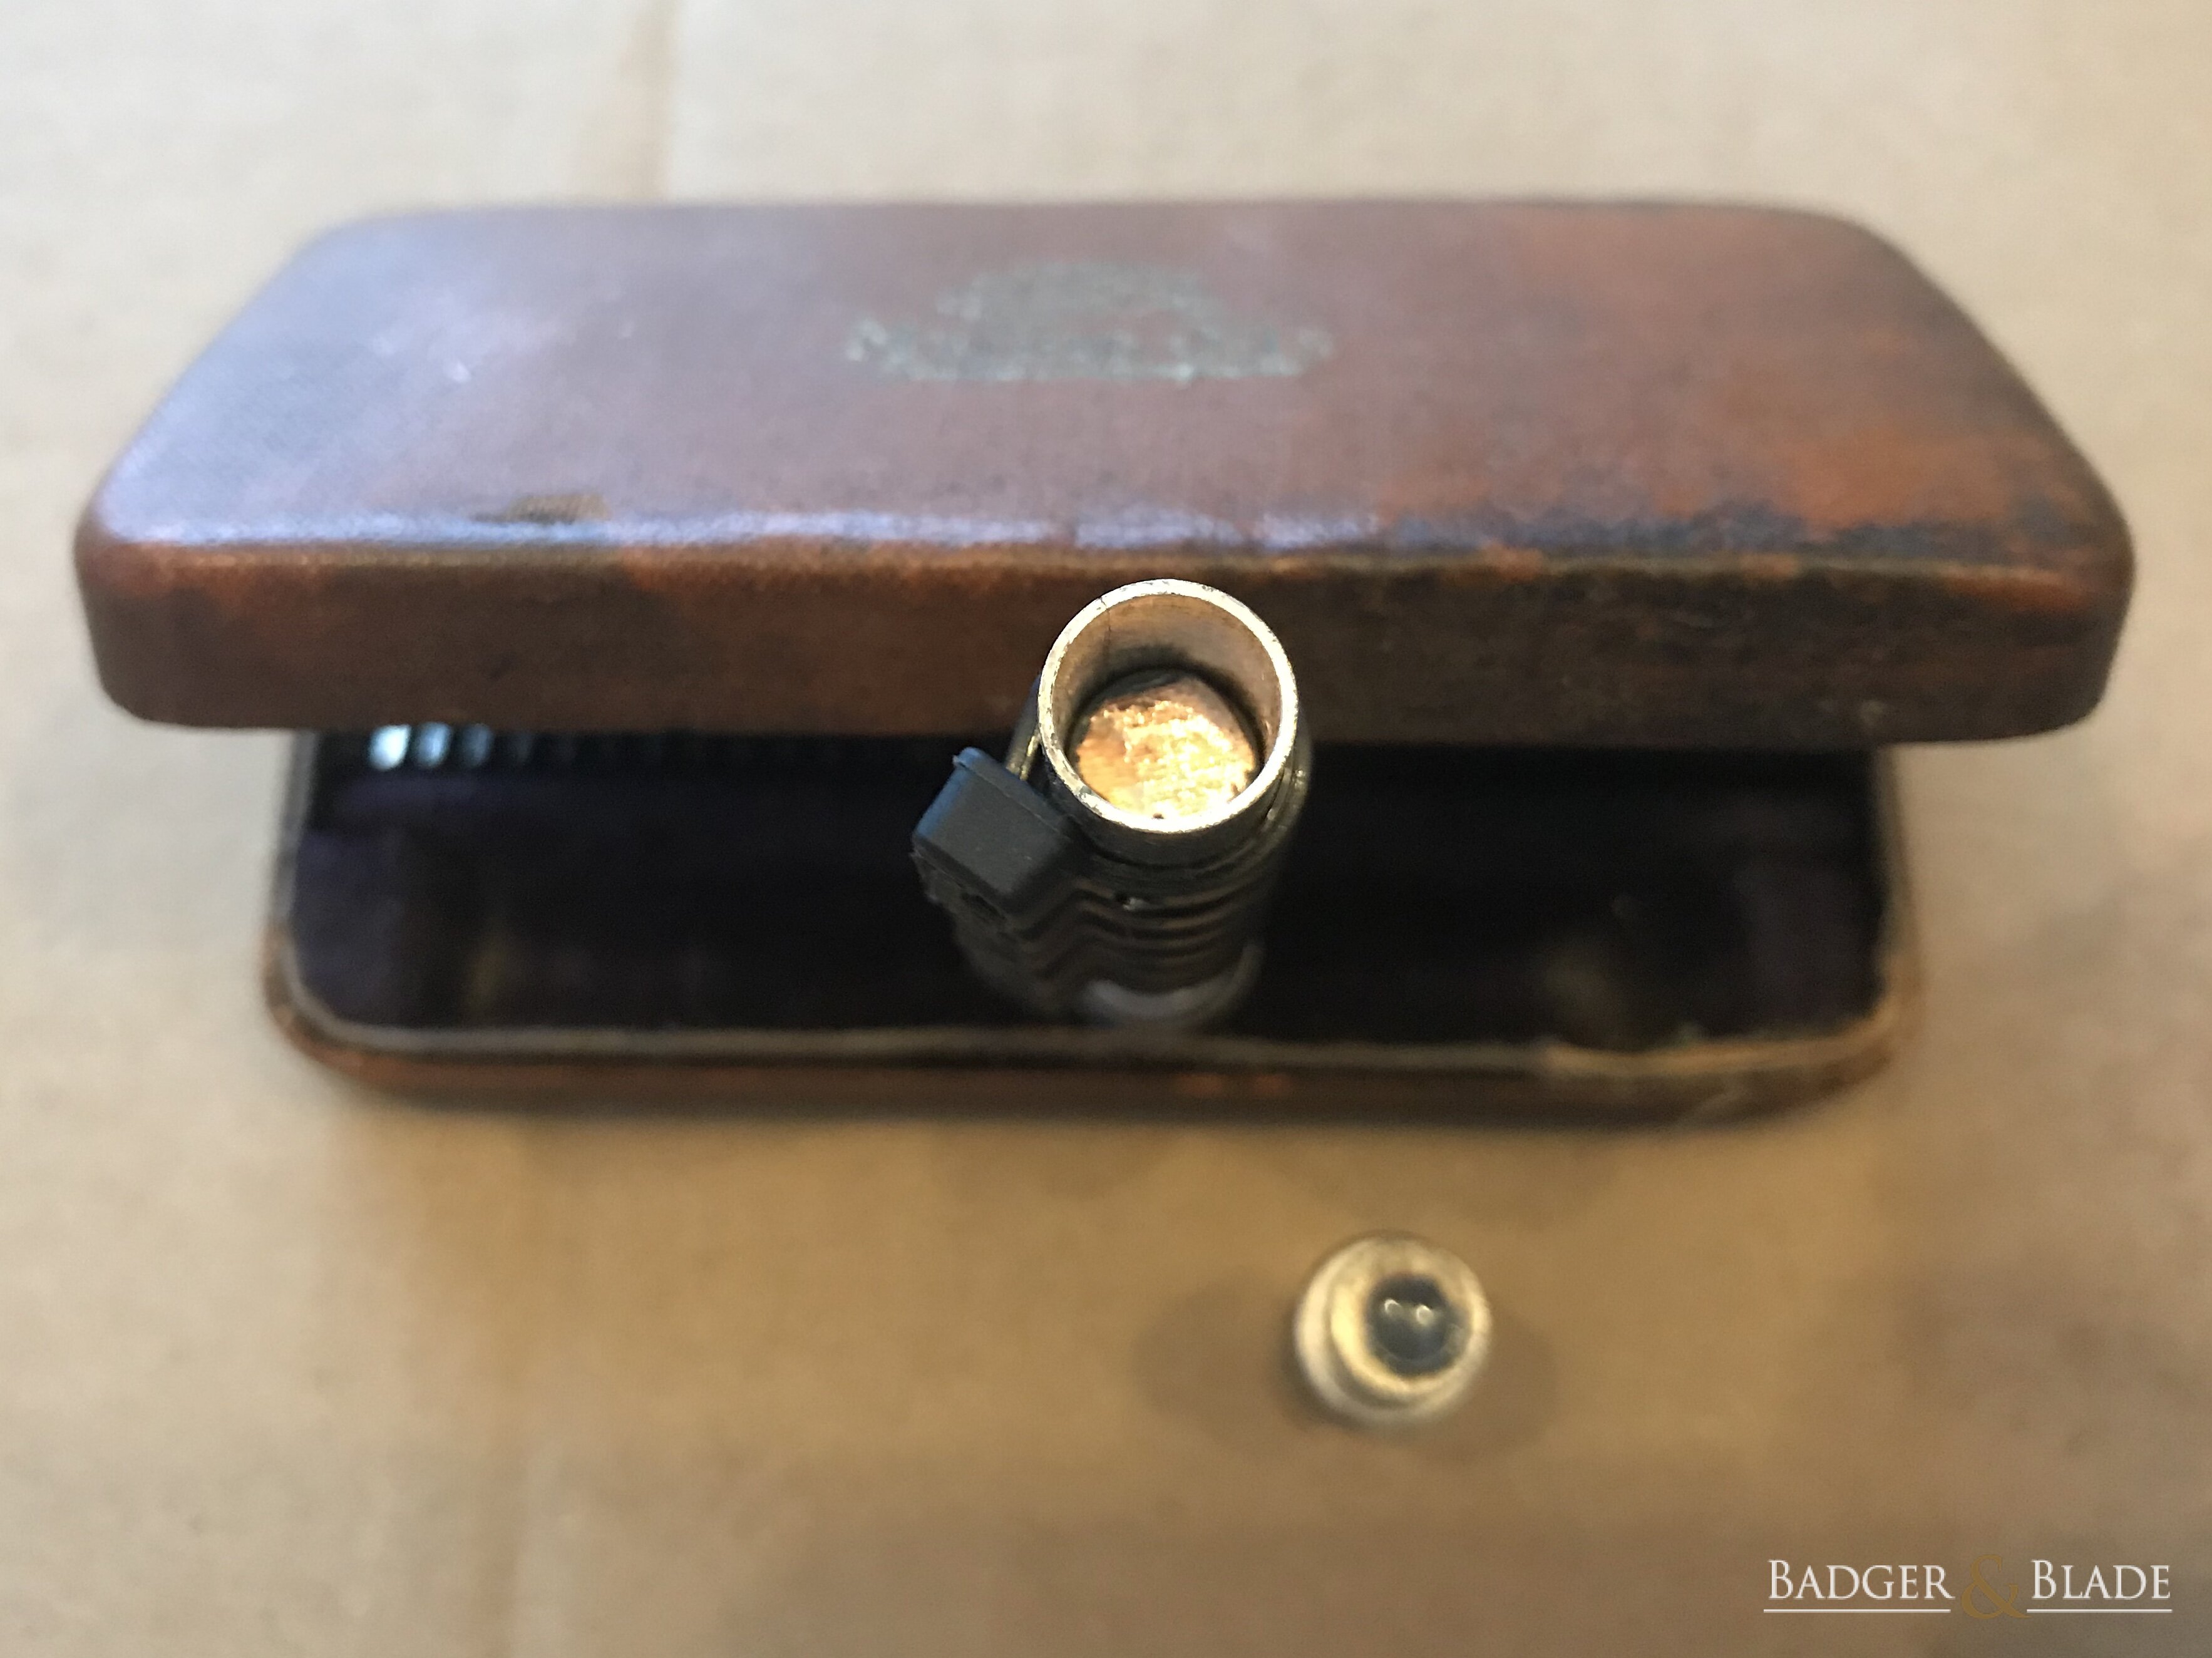
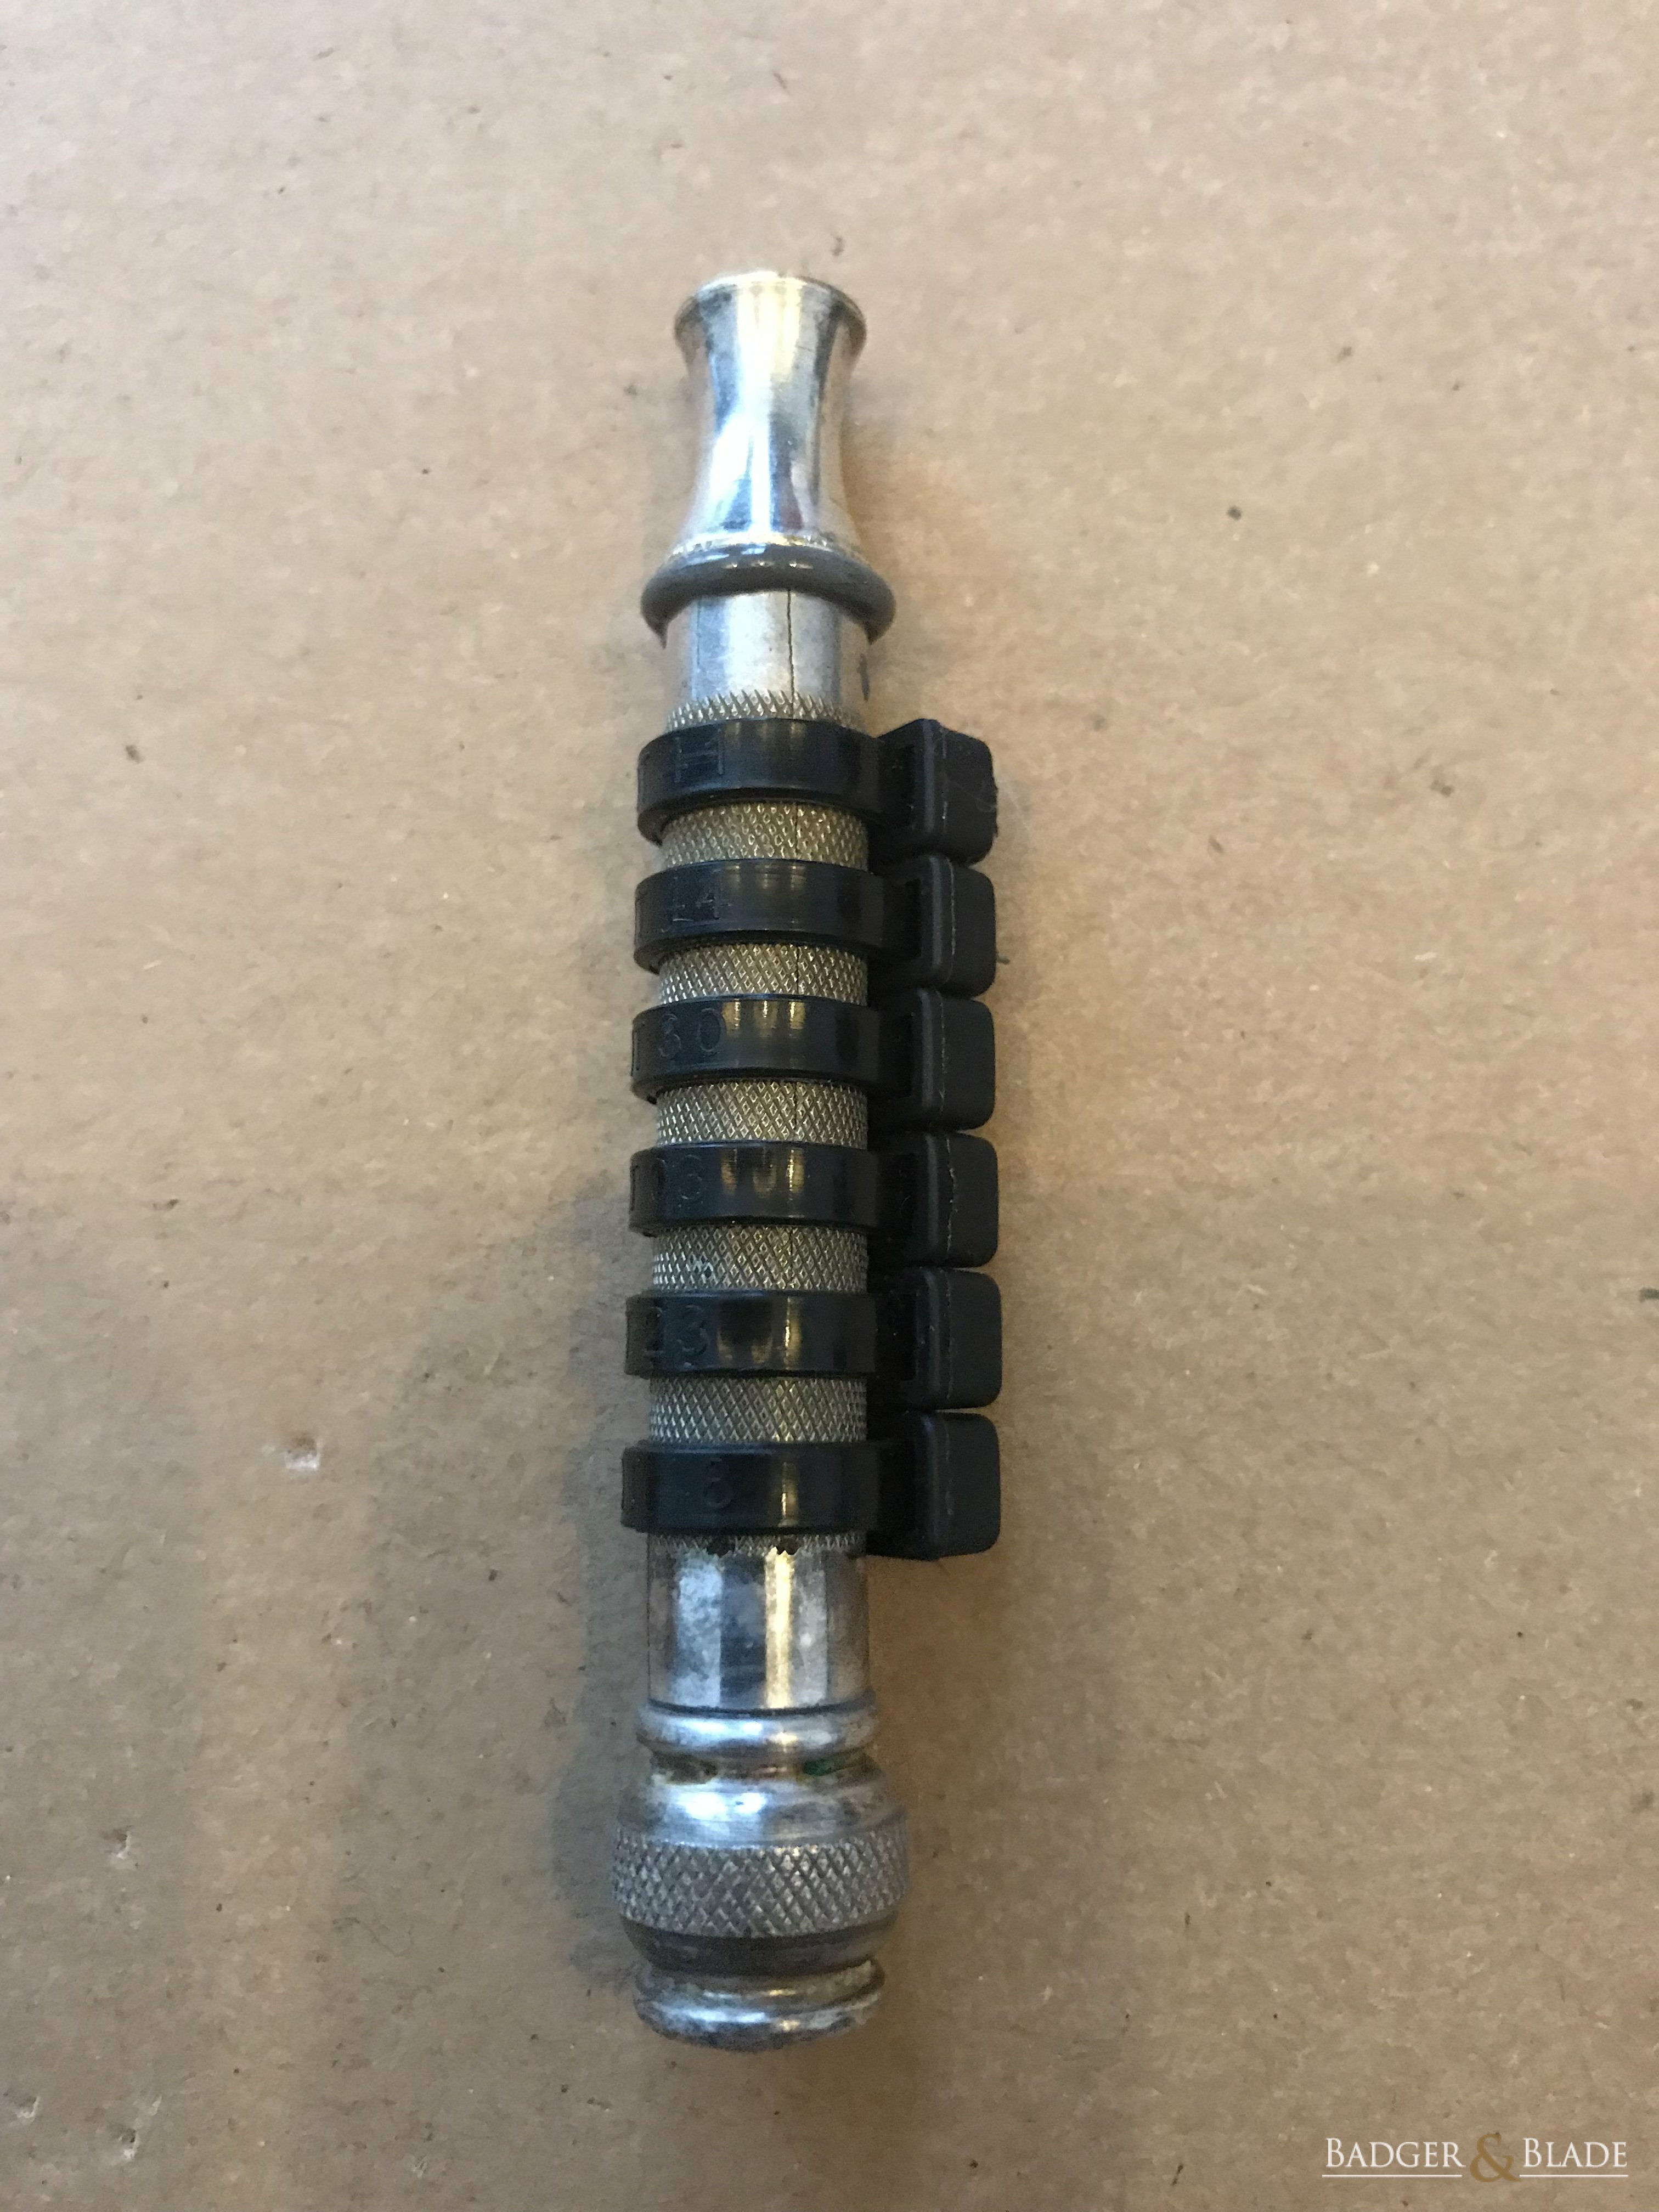
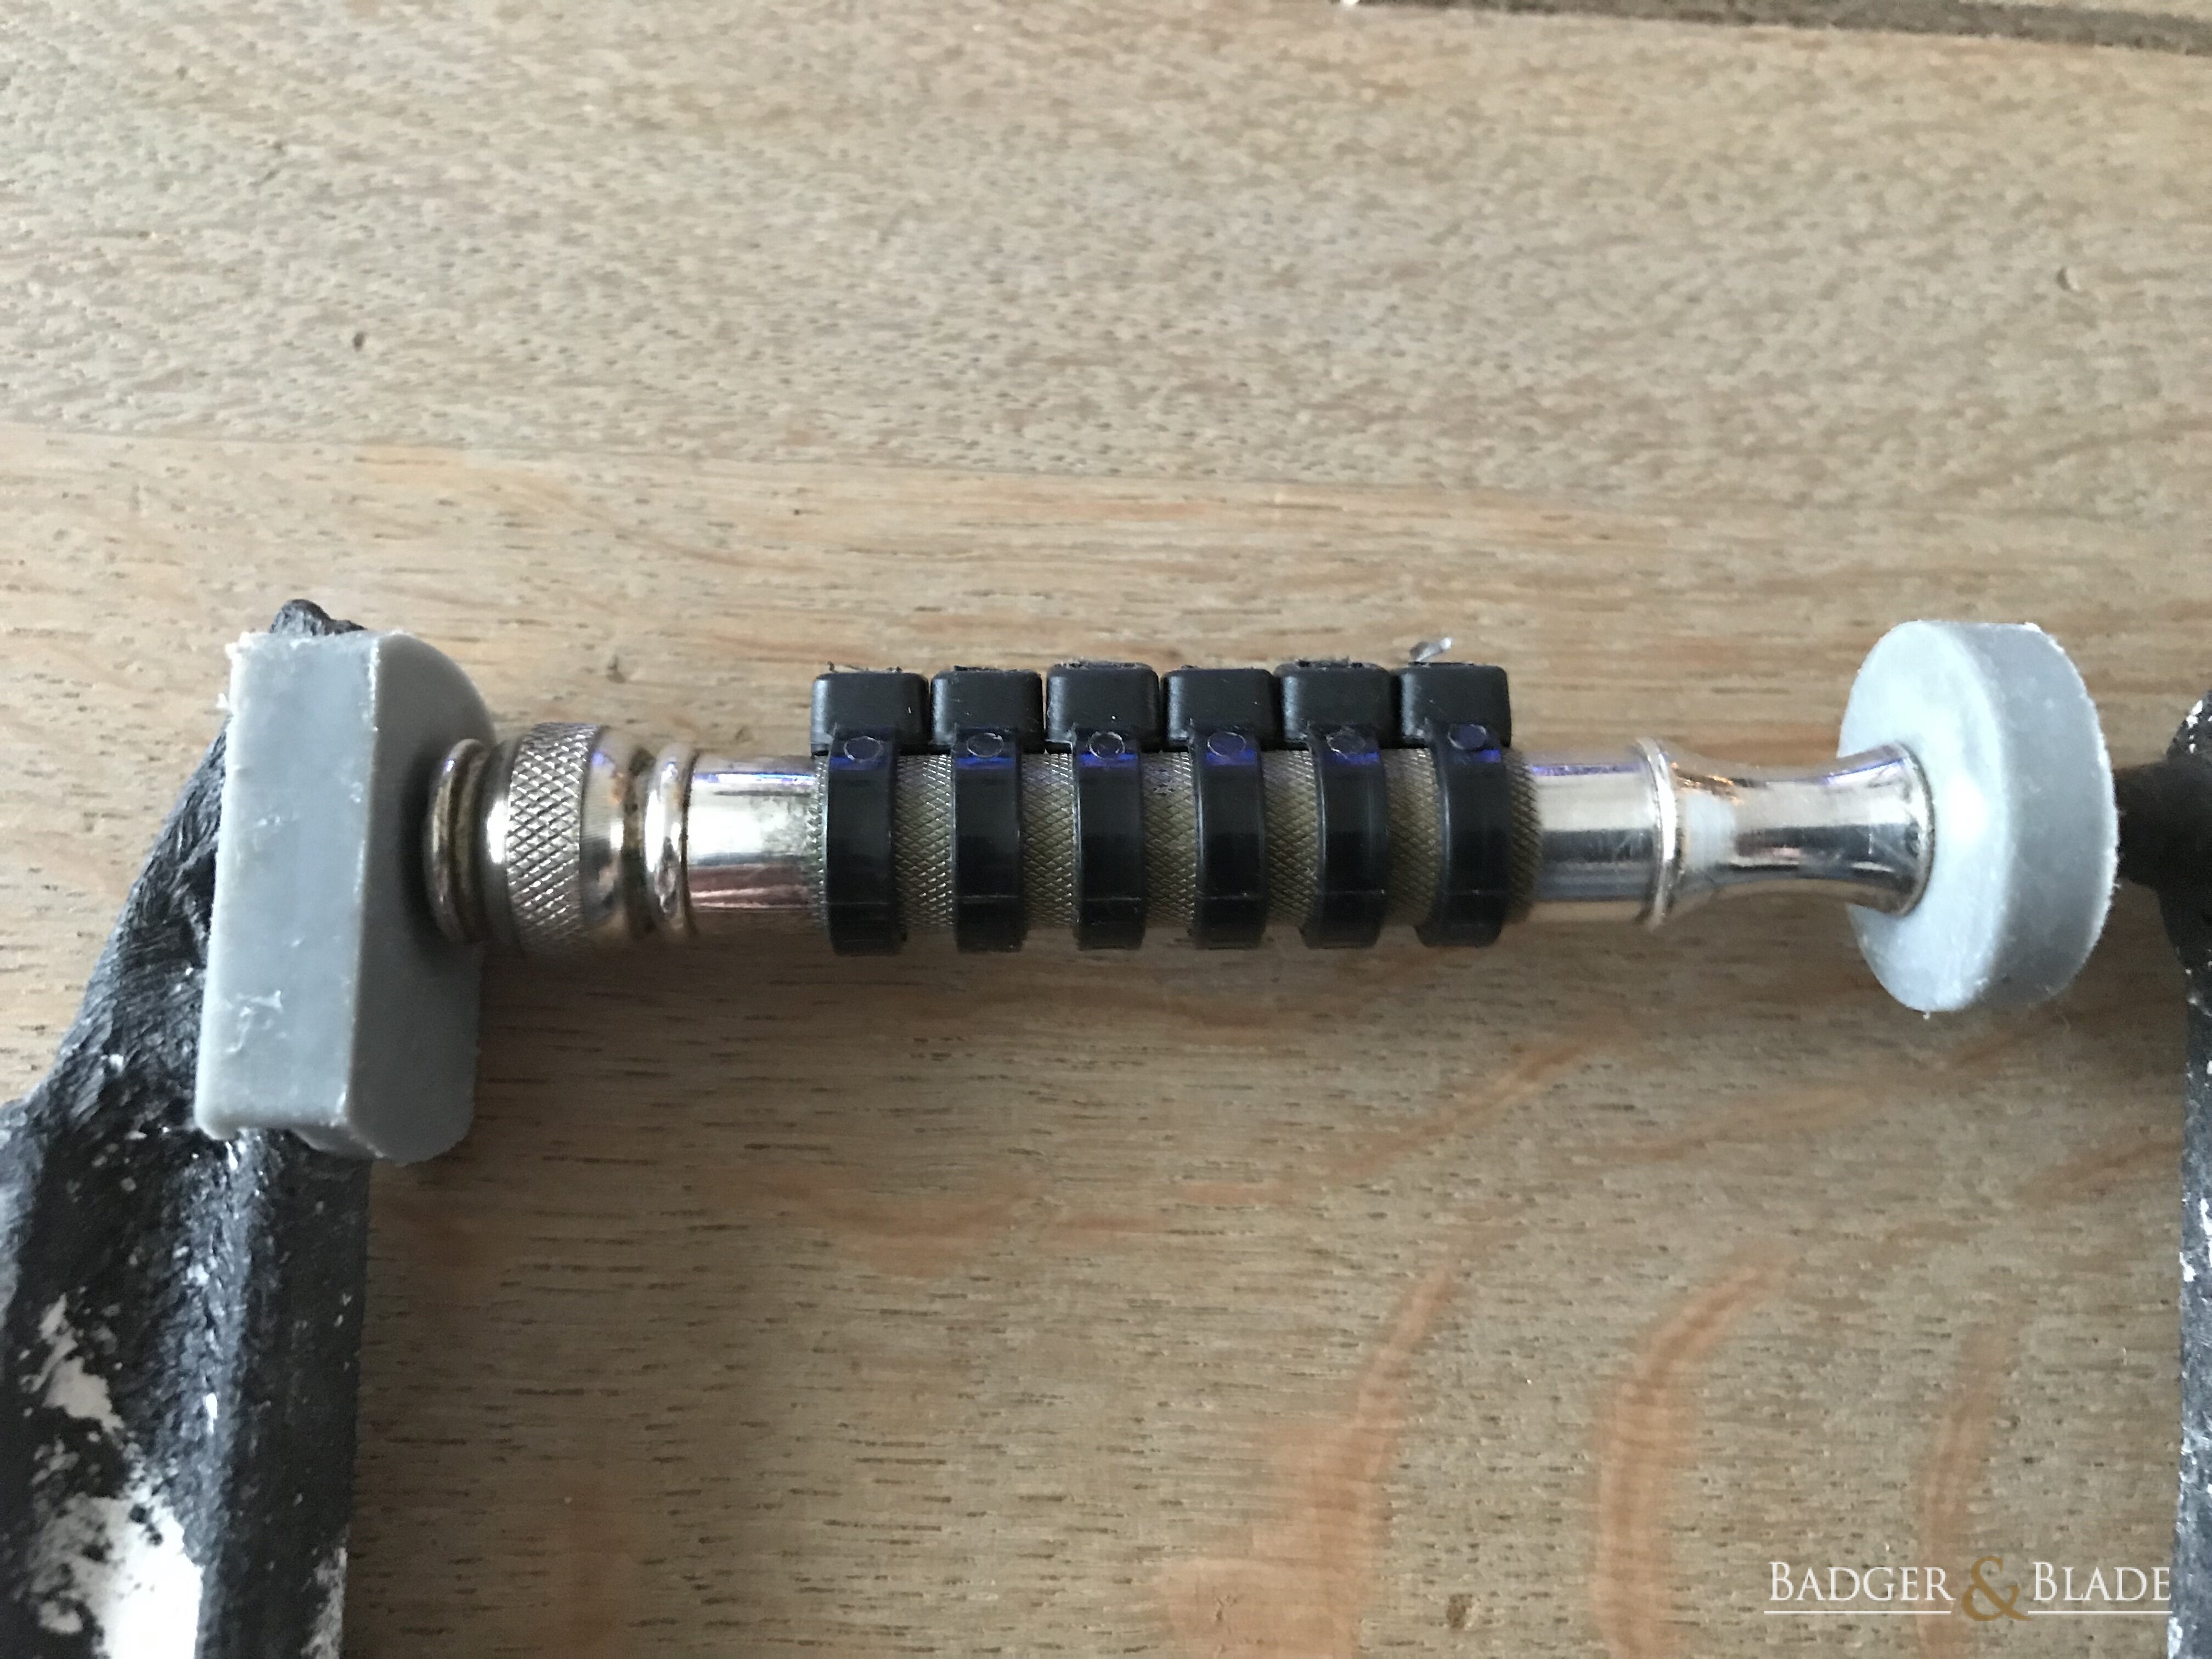
I've done it several times (if they were already loose). No problem.

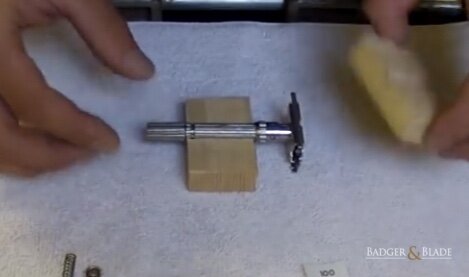
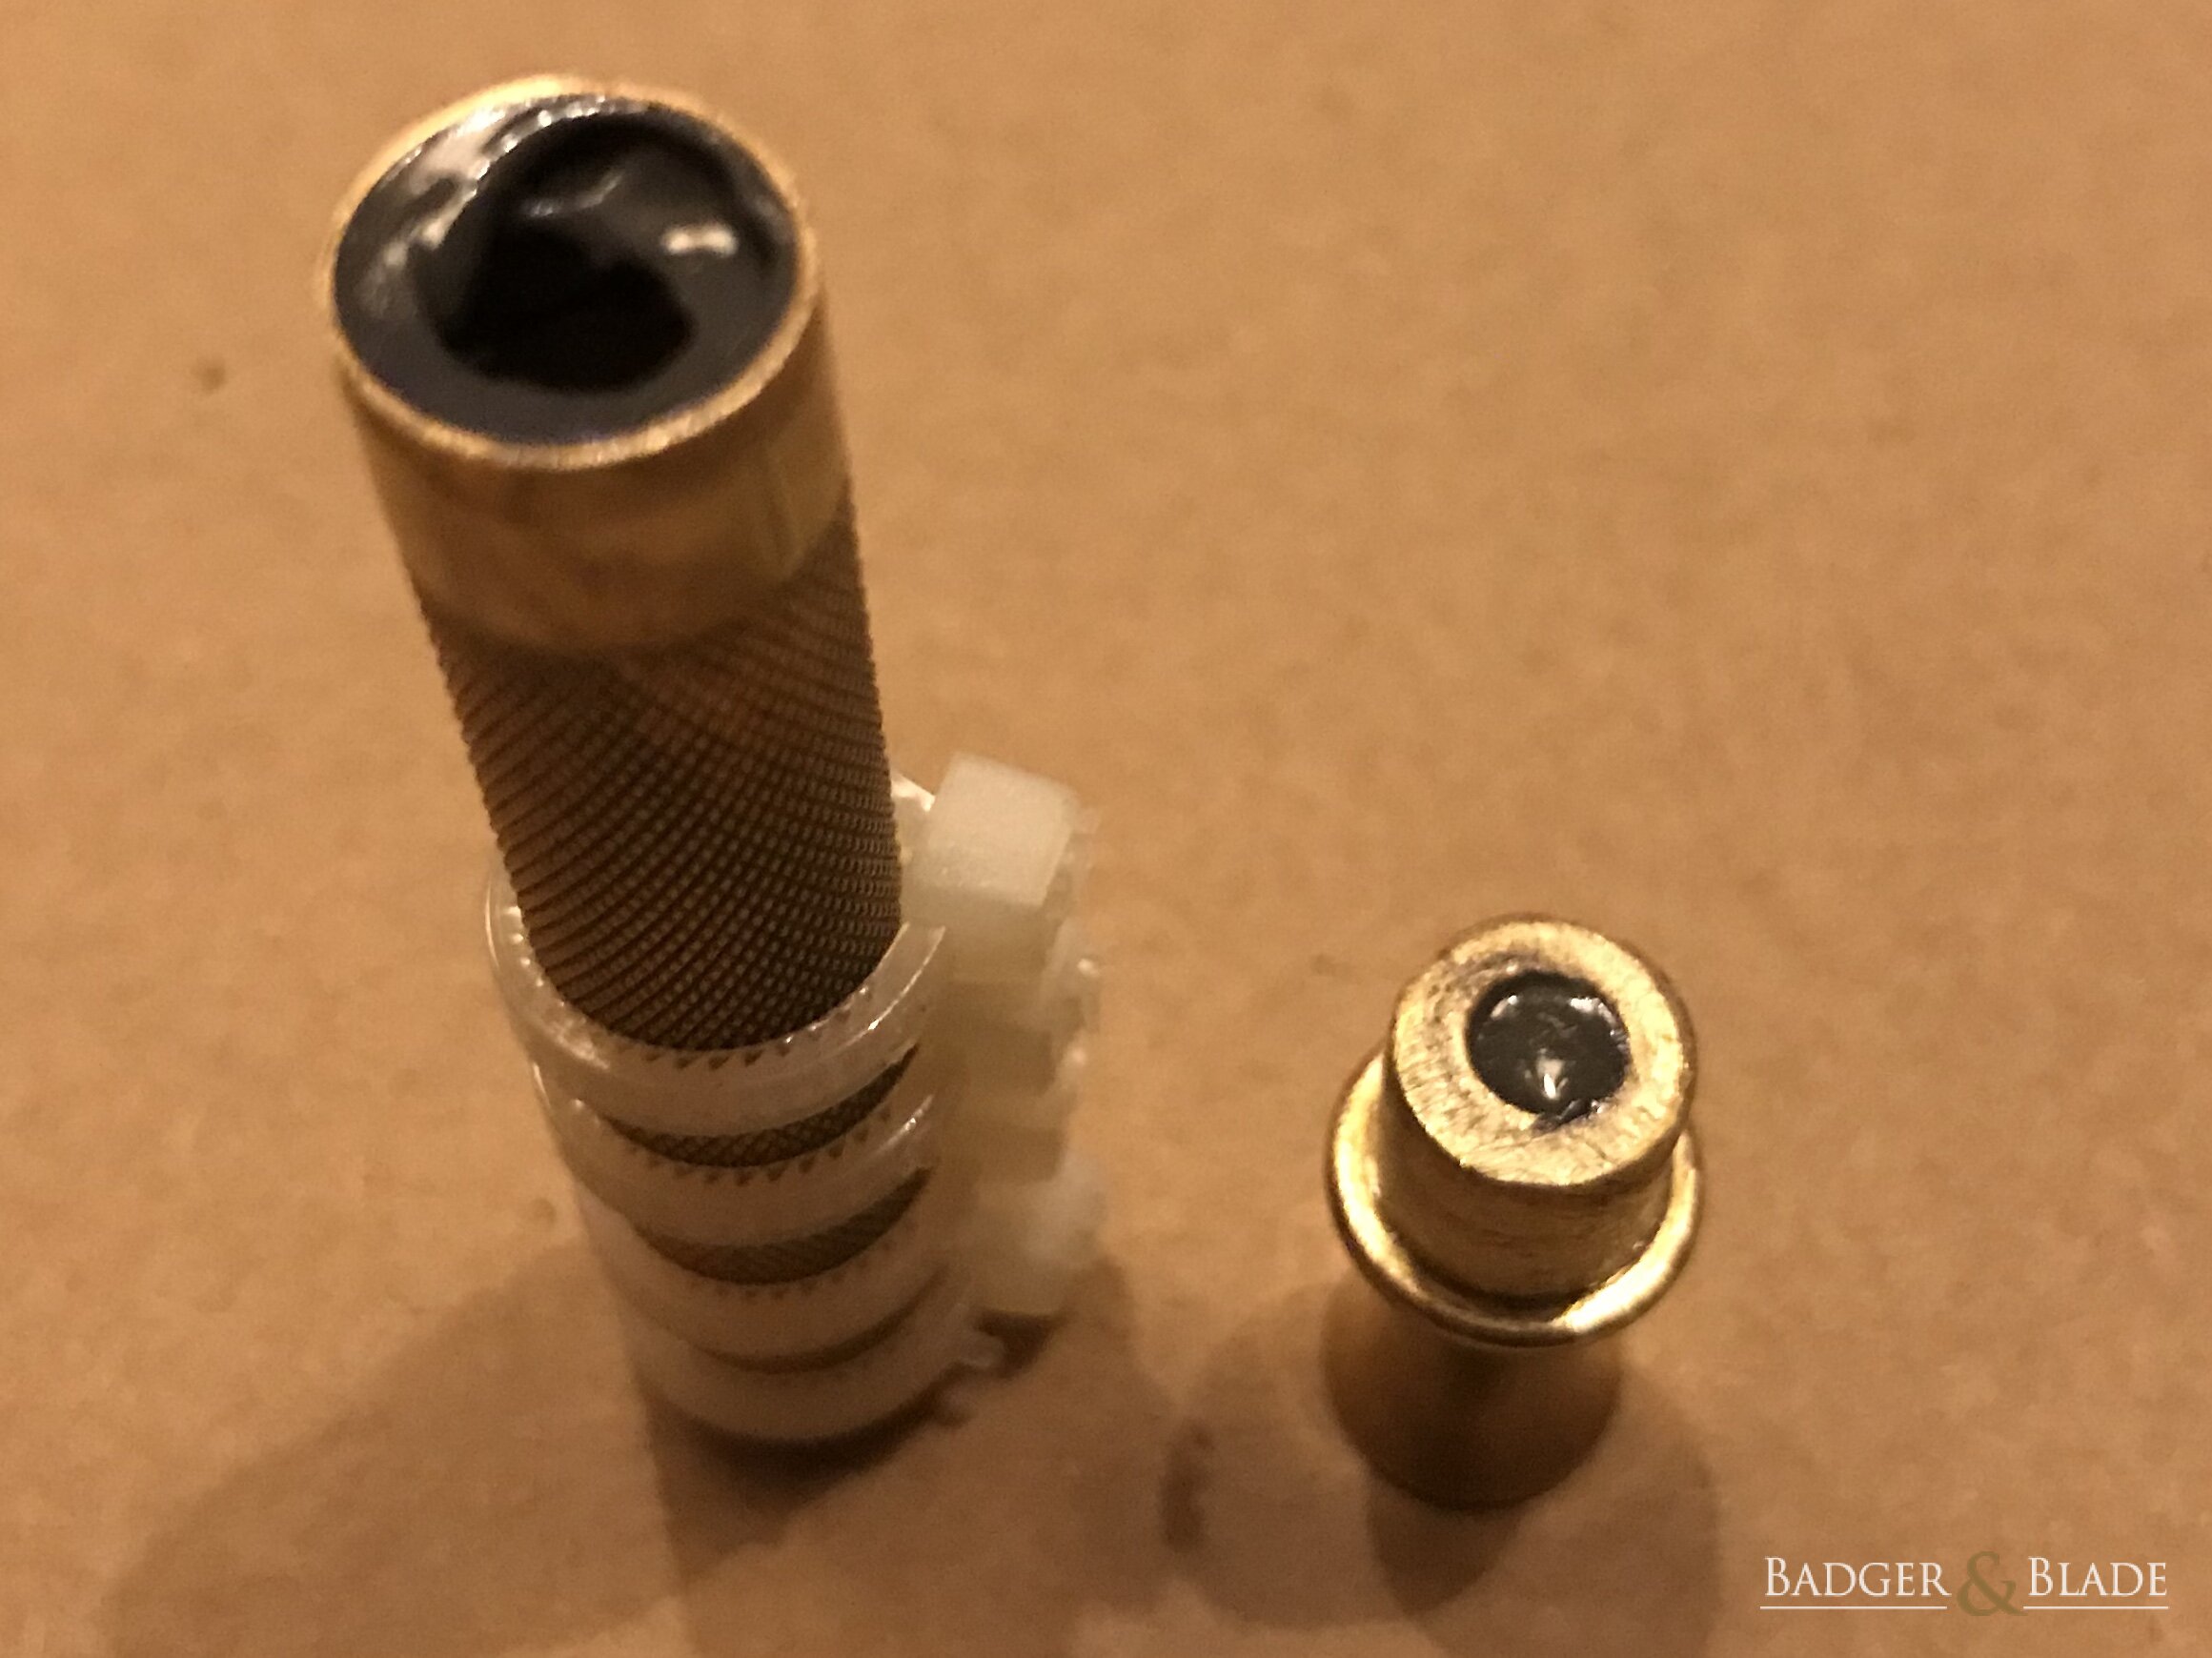
As to the marine epoxy residue; did you follow up with Q-Tips and alcohol before it dried? I always do and never have residue worth mentioning.....and I'm very picky.
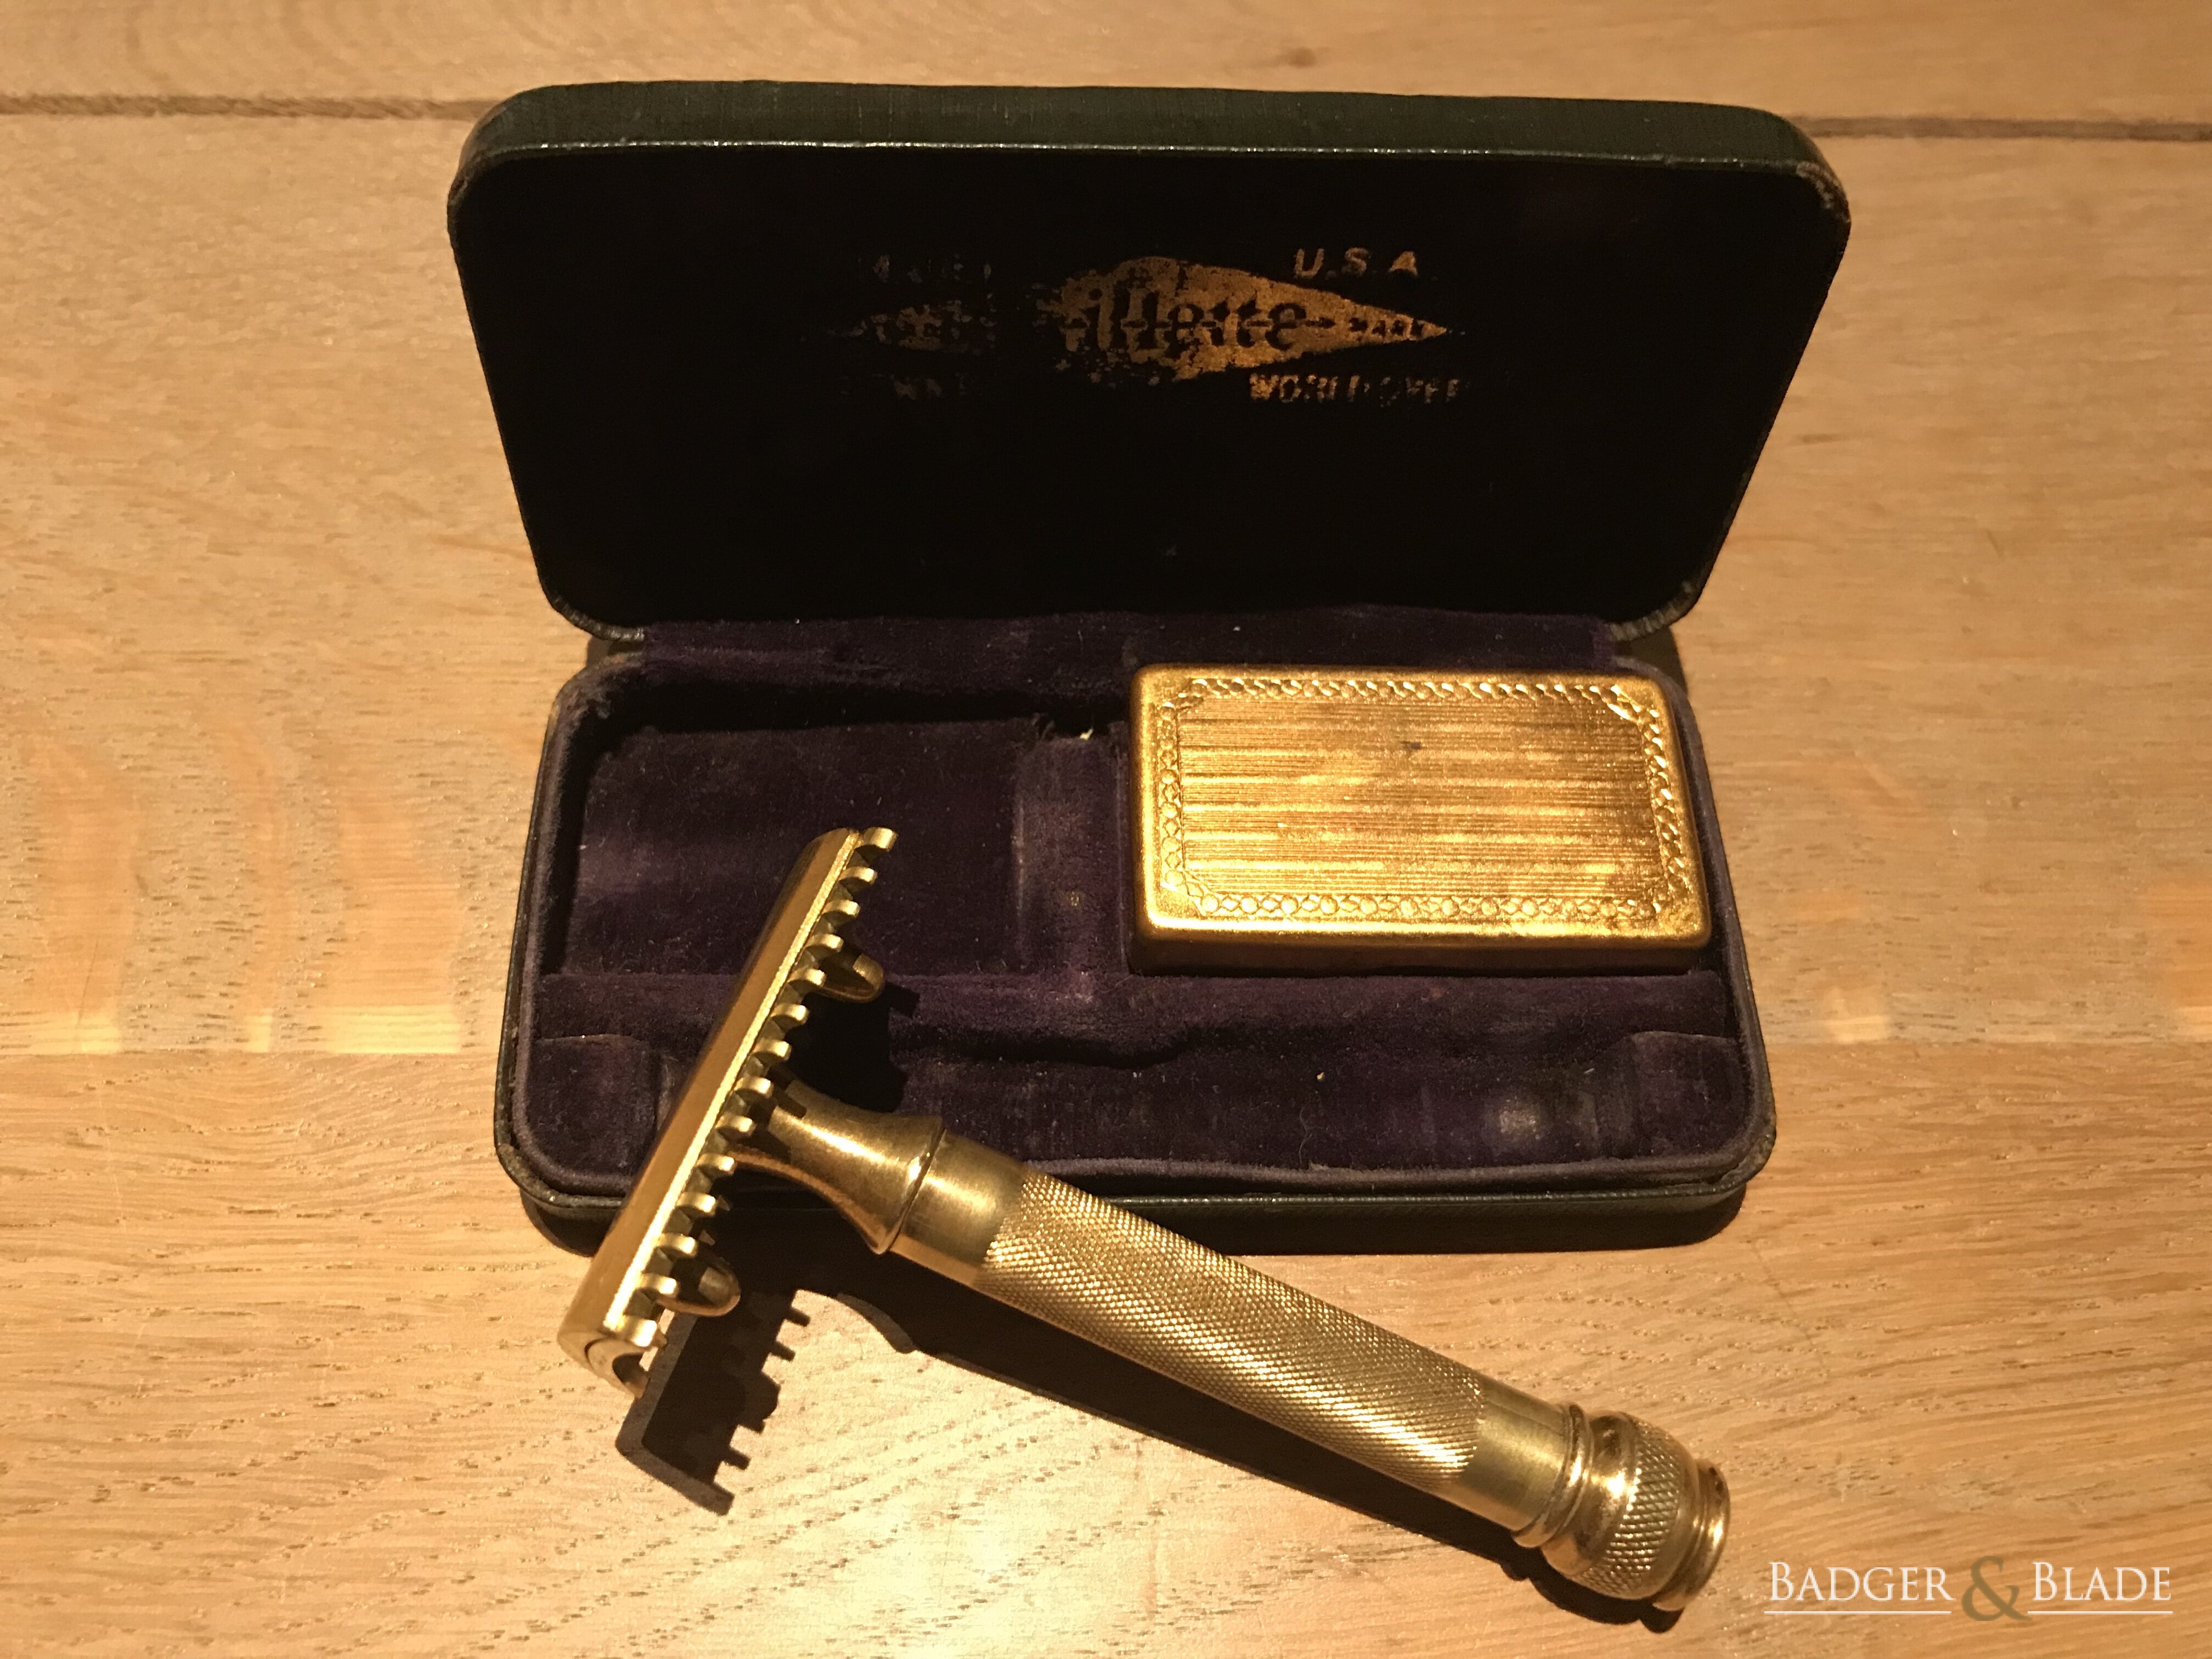
Great job btw.
 
Thanks. And thank you again for this thread.

I did use q-tip and alcohol but it didn't get all of it. I may use clear epoxy next
 
Nice crack. Very doable repair. Post an "after" pic.

I will do that.

Currently waiting on the jb weld and copperbar to arrive.

Please your thoughts on the following:

To apply sufficient pressure in all directions I'm planning of making a clamp similar to the one Captain Murphy uses in one of his YouTube videos.

Downside could be that there is no way of telling if epoxy comes out of the crack itself. The copperbar will be reduced in diameter so there won't be any pressure from within.

I've used zip ties with success.
 
Please your thoughts on the following:

To apply sufficient pressure in all directions I'm planning of making a clamp similar to the one Captain Murphy uses in one of his YouTube videos.

Downside could be that there is no way of telling if epoxy comes out of the crack itself.
I am dubious as to it's results. I'd recommend using the clamps I posted in the OP. I've never had a problem, and they always come out tight and clean.
 
So mine will be a two part special.
I plugged the top knob with a little bit of epoxy to prevent epoxy from protruding to the treads when I insert the copperrod with epoxy from the rear. Filed the knob down a little to fit without pressure.
Top of the barrel isn't cracked but I already put tywraps in to place to give the barrel it's optimal shape.
Clamp is somewhat oversized but it's not putting any pressure on the barrel. It's just holding everything in place.

To be continued...


View media item 62134
 
So after more than 3 weeks the solid copper rod arrived. Cut to length, tapered the ends and reduced the diameter a bit. I don't think that an 8mm bar leaves enough room for epoxy. Should be able to finish the repair this next weekend.

P.s. This adds some nice weight to a hollow handle. I have put it on a scale before starting so I can compare in the end.

 
That's gonna be a solid razor after this! Should be with you for the rest of this lifetime, at least!

I have several handles to tackle after the holiday hubbub, so I am following with interest!
 
So, all is well that ends well. But things didn't go as planned.

First off all don't use oversized clamps with a swivelpoint. To get a firm grip on the tube I had to use to much force. Being afraid of flattening the tube a went with zip ties again.
Loaded the tube with more than enough epoxy and inserted the copper rod. I already reduced it in diameter from 8mm down but it still acted as a piston. Building up pressure behind the rod and it pushed itself right out again. JB Weld is quite a thick substance. Took the rod back out again and gave it some flat spots along the sides. After that the trapped air and access epoxy could run along the sides and it spilled the access epoxy out the rear. Took out some extra epoxy for the knob. Still it overflowed as planned when I inserted the knob. Make sure you have plenty of alcohol to whipe of your hands and razor. Pics look nice and clean but in reality it whas a bit of a mess.
I don't know of JB Weld is expanding or the tube still had some pressure inside but I whipped the razor down a view times. (top end barrel through the crack and along the edge of the knob)

As planned it gained some weight, in total 15 grams. The feel of this razor improved massively. Nice and solid. Having no shaving experience with this razor before this repair I can't comment on the shave being different and in what way.

Note: use clamp(s) instead of zip ties. Some epoxy came out of the top of the crack. Zip ties make it impossible to clean along the length of the crack if needed.

 
Last edited:
And look at what I just bought online...
This one would be a simple, tight repair, but the end is likely still tight. You should be able to twist it out though.

Your other handle came out very well. Good job. Yeah....they can be really messy. The things that viewers don't see. *chuckle*
 
And look at what I just bought online... It's not that I want to rescue or repair them all but there's more to it. But that will be subject of another topic after it arrived.

Old Type set Marine Oils / Vacuum Oil Company New York

So I knew before buying this set that the handle had a crack. A crack meaning one... not two. Although I stated not wanting to use zip ties I don't think there is a better way for this handle. I will change the the following:
Step 1
Bottem knob and copper insert + plug the threats on the top knob.
Step 2
Top knob

Repairing in this order wil assure that there won't be a pressure build up in the barrel. This would also prevent epoxy cumming out of the both cracks.

 
Top Bottom