Ok, this is my first brush restoration and I am assuming they aren't all as easy as this one so far. I'm ten minutes in and ready for a new knot.

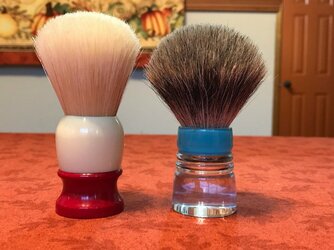
Here's the patient. A strong set from eBay. Cheap practice.

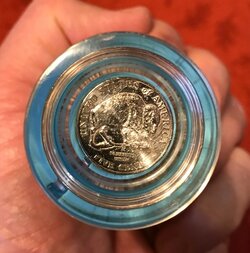
Used a knife to cut off most of the hair, and the rest literally pulled out with a pliers, glue and all. A little sandpaper cleaned up the inside edges and took a rough bump off the top.

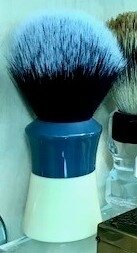
The handle had some grime? Soap scum? That easily cleaned up with sandpaper. A good rubbing of Howard's feed and wax brought the handle back to life. I realize that is not a waterproof finish, but it didn't have a film finish on it when I got it and it's easy to maintain in the future.
This was literally ten minutes of work. If epoxying the new knot takes ten minutes this is literally a 20 minute project.
Happy so far!
Here's the patient. A strong set from eBay. Cheap practice.
Used a knife to cut off most of the hair, and the rest literally pulled out with a pliers, glue and all. A little sandpaper cleaned up the inside edges and took a rough bump off the top.
The handle had some grime? Soap scum? That easily cleaned up with sandpaper. A good rubbing of Howard's feed and wax brought the handle back to life. I realize that is not a waterproof finish, but it didn't have a film finish on it when I got it and it's easy to maintain in the future.
This was literally ten minutes of work. If epoxying the new knot takes ten minutes this is literally a 20 minute project.
Happy so far!