I've been working on my own sourdough starter for about a week and today I made two loaves of bread with it. I used the recipe and techniques from Tartine Bakery.
This is about 258 grams of leaven. It's 100 grams of flour, 100 grams of water, and 58 grams of my starter.

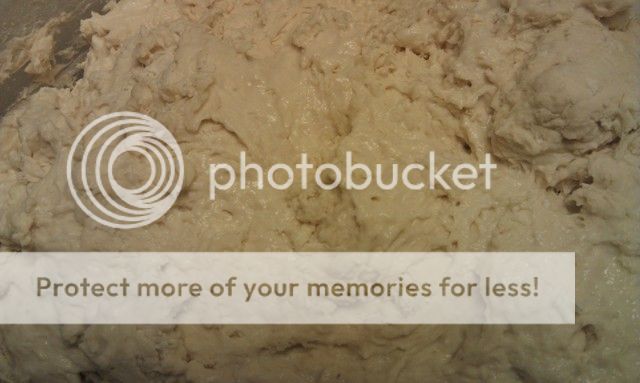
Here is the leaven mixed with 1000 grams of AP flour and 700 grams of water. It looks like it might need more water, trust me it doesn't. This is a very hydrated dough at 75% hydration, counting the leaven it's 77.27% hydration.
After you mix the flour, water, and leaven you let it rest for 20-40 minutes and then mix in 20 grams of salt and another 50 grams of water.
You don't knead this bread dough, you use a stretch and fold technique to develop gluten. Every half hour for the first three to four hours you reach under the dough and grab the bottom of the dough and stretch it out and then fold it over the top. You start with the side of the dough facing away from you and than work your way around the dough dividing it into quarters for the stretch and fold.
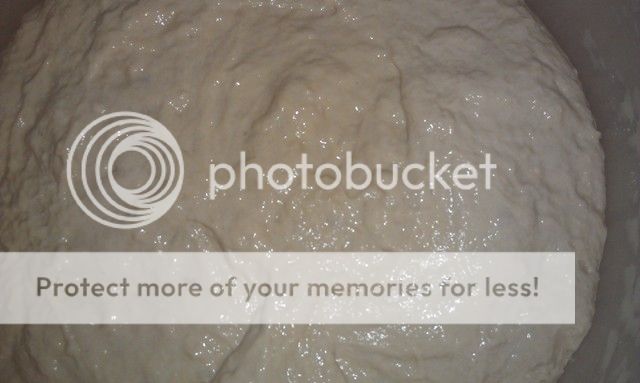
This is after the first stretch and fold.
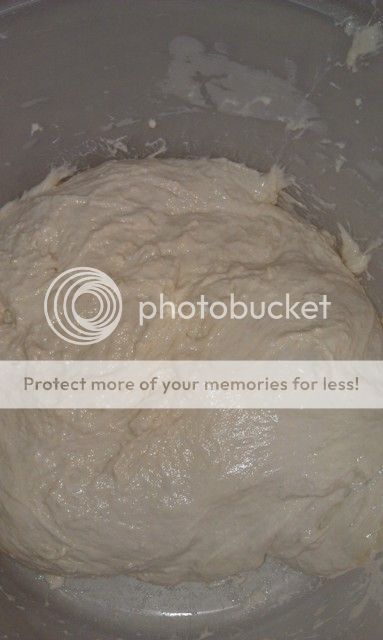
Second stretch and fold.
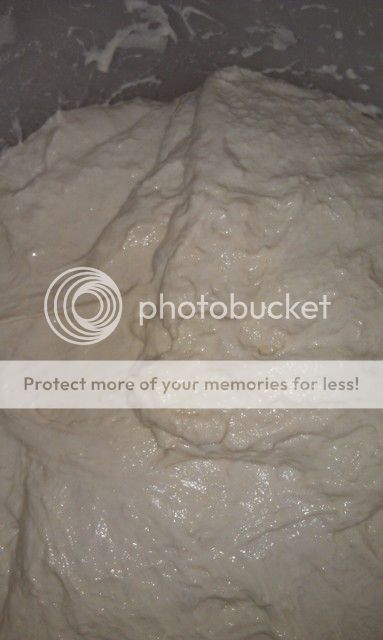
There are more cycles of stretching and folding and I could feel that the dough was strengthening from the stretching and folding.
Once the dough is done with the first rise you dump it out onto the counter and form it.

Getting the dough nice and taut is important because it gives the dough structure and stability. I'm not used to working with dough that has such a high hydration level, the dough was very sticky and I had to continually dip my hand and my bench scraper in flour to prevent sticking.

After the dough sits on the counter for 20-40 minutes you place it in a proofing container for two to four hours for the final rise.
The dough you are looking at is the dough that was in contact with the counter.

Preheat the oven and the Dutch oven to 500 F for 20 minutes. Be very careful when you transfer the dough to the hot Dutch oven, it would be very easy to burn yourself if you aren't careful. Once the dough is transferred to the Dutch oven, put the lid on the Dutch oven and put it back in the oven, turn the oven down to 450 F.
The dough gets transferred to a Dutch oven to bake. I had some issues with the dough sticking to the kitchen towel when I tried to transfer the dough to the dutch oven. Next time I'll either use a lot more flour or I'll use a lightly floured stainless steel bowl. The lid stays on the Dutch oven for the first 20 minutes then you take the lid off and let the bread finish cooking. This picture is right after I took the lid off my Dutch ovens. Cook for another 20 minutes or until the bread is done. The bread is done when it sounds hollow when you tap on the bottom of the loaf, it will also feel surprisingly light for it's size.
I read that while the bread is cooling you can hear the crust cracking. I've made a lot of bread and never herd any noises coming from the crust as it cooled. I was surprised to hear the occasional cracking noise coming from the bread as it cooled.


Ready to eat.
I didn't let the bread cool down for very long before we ate some sample slices. The crust was really good, hard, crunchy, and it had a ton of flavor. What really impressed me was the crumb, it had a great mouth feel, it was substantial and chewy. I was surprised at how strong the crumb was considering that I didn't do any kneading at all. The crumb on this bread was better than any bread I've made before. I would have liked to let the oval loaf bake for a little while longer but the bottom of the loaf was right on the edge of burning, so I took it out and let it cool.
This is about 258 grams of leaven. It's 100 grams of flour, 100 grams of water, and 58 grams of my starter.

Here is the leaven mixed with 1000 grams of AP flour and 700 grams of water. It looks like it might need more water, trust me it doesn't. This is a very hydrated dough at 75% hydration, counting the leaven it's 77.27% hydration.

After you mix the flour, water, and leaven you let it rest for 20-40 minutes and then mix in 20 grams of salt and another 50 grams of water.

You don't knead this bread dough, you use a stretch and fold technique to develop gluten. Every half hour for the first three to four hours you reach under the dough and grab the bottom of the dough and stretch it out and then fold it over the top. You start with the side of the dough facing away from you and than work your way around the dough dividing it into quarters for the stretch and fold.
This is after the first stretch and fold.

Second stretch and fold.

There are more cycles of stretching and folding and I could feel that the dough was strengthening from the stretching and folding.
Once the dough is done with the first rise you dump it out onto the counter and form it.

Getting the dough nice and taut is important because it gives the dough structure and stability. I'm not used to working with dough that has such a high hydration level, the dough was very sticky and I had to continually dip my hand and my bench scraper in flour to prevent sticking.

After the dough sits on the counter for 20-40 minutes you place it in a proofing container for two to four hours for the final rise.
The dough you are looking at is the dough that was in contact with the counter.

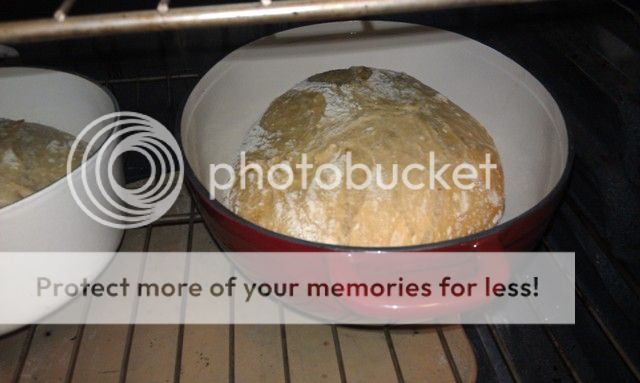
Preheat the oven and the Dutch oven to 500 F for 20 minutes. Be very careful when you transfer the dough to the hot Dutch oven, it would be very easy to burn yourself if you aren't careful. Once the dough is transferred to the Dutch oven, put the lid on the Dutch oven and put it back in the oven, turn the oven down to 450 F.
The dough gets transferred to a Dutch oven to bake. I had some issues with the dough sticking to the kitchen towel when I tried to transfer the dough to the dutch oven. Next time I'll either use a lot more flour or I'll use a lightly floured stainless steel bowl. The lid stays on the Dutch oven for the first 20 minutes then you take the lid off and let the bread finish cooking. This picture is right after I took the lid off my Dutch ovens. Cook for another 20 minutes or until the bread is done. The bread is done when it sounds hollow when you tap on the bottom of the loaf, it will also feel surprisingly light for it's size.

I read that while the bread is cooling you can hear the crust cracking. I've made a lot of bread and never herd any noises coming from the crust as it cooled. I was surprised to hear the occasional cracking noise coming from the bread as it cooled.


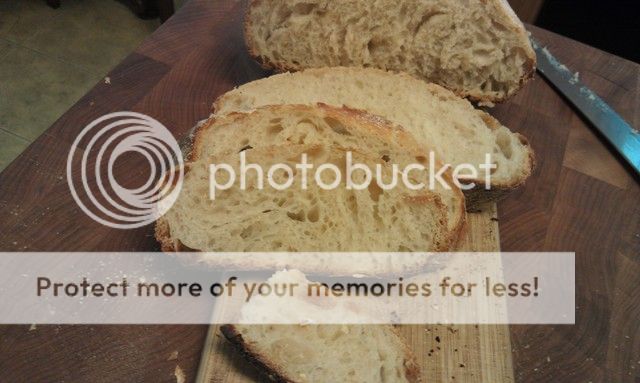
Ready to eat.

I didn't let the bread cool down for very long before we ate some sample slices. The crust was really good, hard, crunchy, and it had a ton of flavor. What really impressed me was the crumb, it had a great mouth feel, it was substantial and chewy. I was surprised at how strong the crumb was considering that I didn't do any kneading at all. The crumb on this bread was better than any bread I've made before. I would have liked to let the oval loaf bake for a little while longer but the bottom of the loaf was right on the edge of burning, so I took it out and let it cool.
Last edited:

 ) but he gets a huge oven spring that I don't seem to get out of whole wheat, so now I let the dough do it's final rise right in the covered CI, then pop it in the oven. It doesn't quite double, but it's close.

")
 ) I'll try adding gluten next loaf. Any thoughts on how much? Right now I'm running 820g loaves at 75% hydration.