Earlier this fall @Buflow posted how he successfully re-knotted his PAA Peregrino with a new AP Shave Co. knot. This inspired me to re-knot a Stirling brush I have with a synthetic fan knot. The result wasn't that great. My prep work was rushed; the knot was set too high. And it splayed even more than the depth would determine due to my shoddy prep. I still like the brush and will continue to use it, but it takes a little more effort to load with soap. Plus it looks like it was hacked together. For further inspiration Buflow also posted a new brush he put together that also came out pretty nice. And when, in another thread, @Chan-Eil-Whiskers asked for suggestions for the best un-knotted handles available, I narrowed in on this handle and bought an AP Shave Co.'s 26mm G5C knot to pair with it.
Below is a quick run down of how I attached the knot to the handle. Weigh in the fact that I'm a novice and my first attempt went awful. Most people use either a five-minute epoxy or a silicone caulk adhesive. I used a surfboard ding repair epoxy. It's less viscous and can be poured easily.
The Players
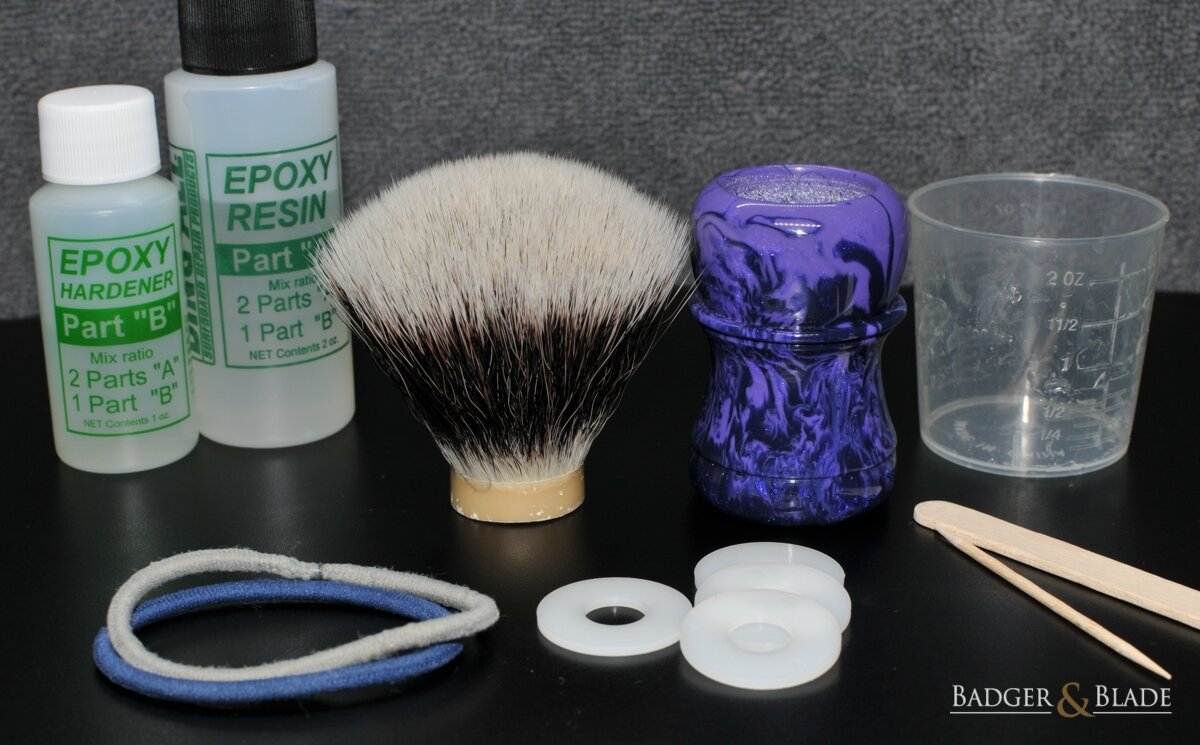
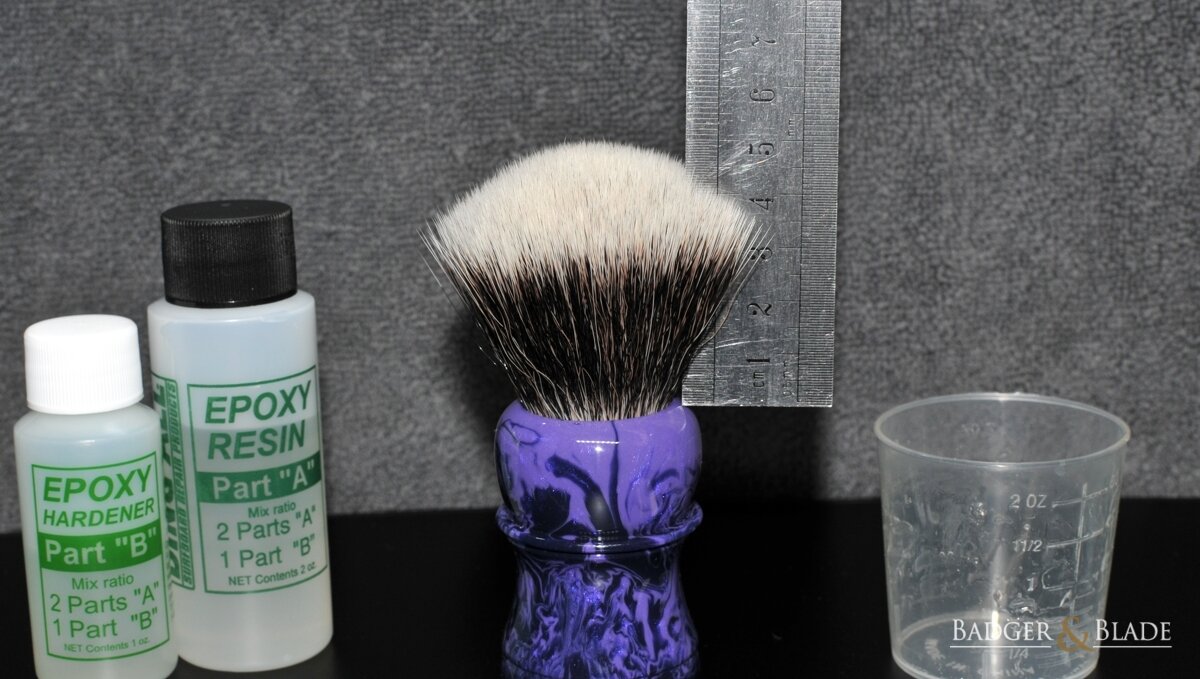
With the nylon washers in the handle I determined the loft height of the knot at approximately 50mm. That's where I wanted it.
I then tied the knot with hair ties and place it back in the handle to make sure it wouldn't climb out while the epoxy cured.

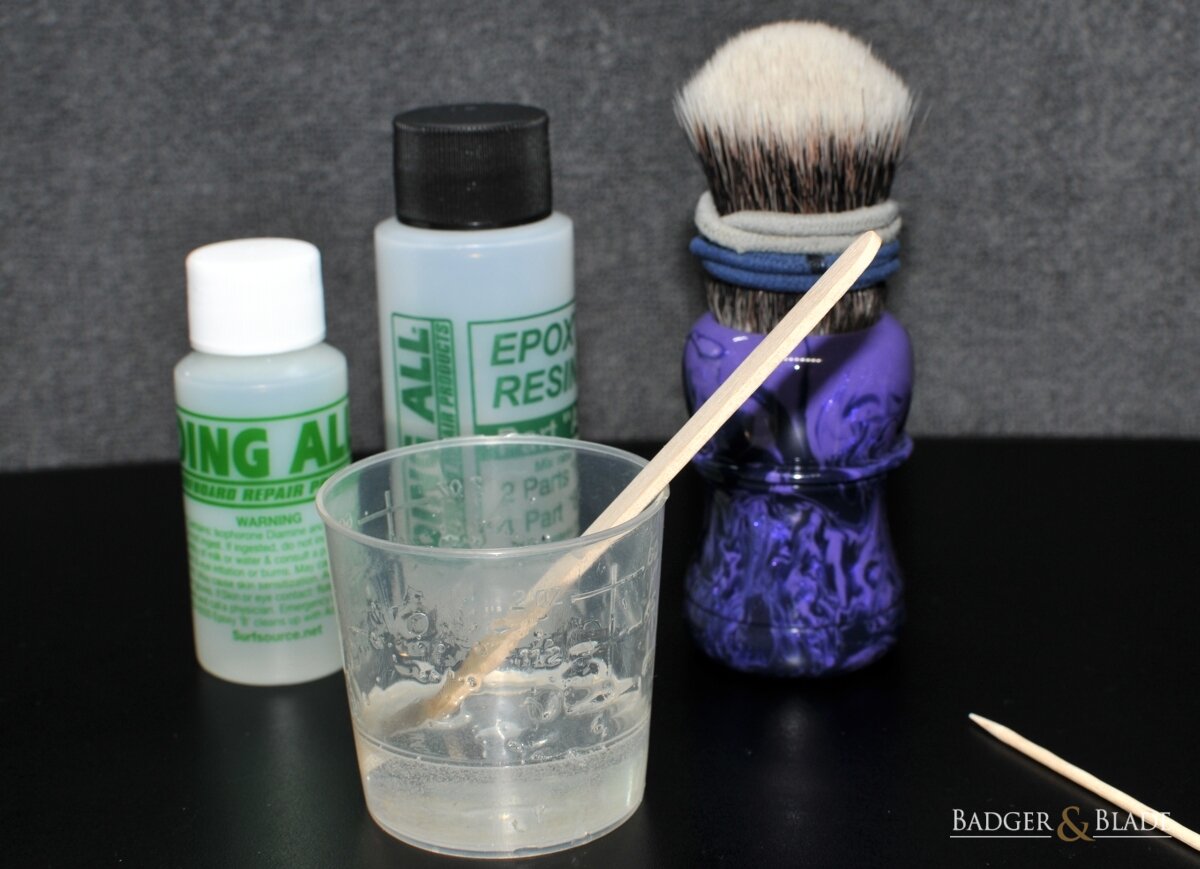
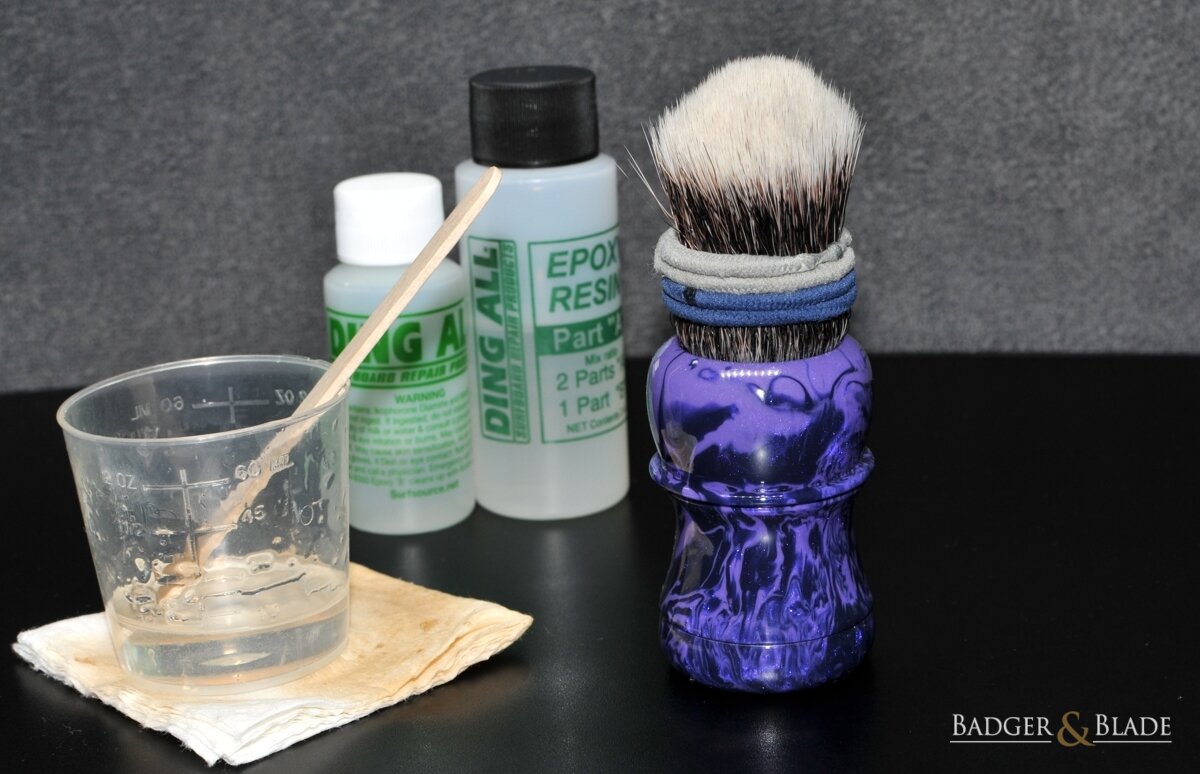
At this point I turned to the epoxy and added it to the mixing cup. This epoxy mixes at a two to one ratio (2:1). I used more than I needed. But I wanted to visually get the ratio right. Epoxy requires a lot of mixing. Once you think you mixed it properly, keep mixing. Then mix some more.
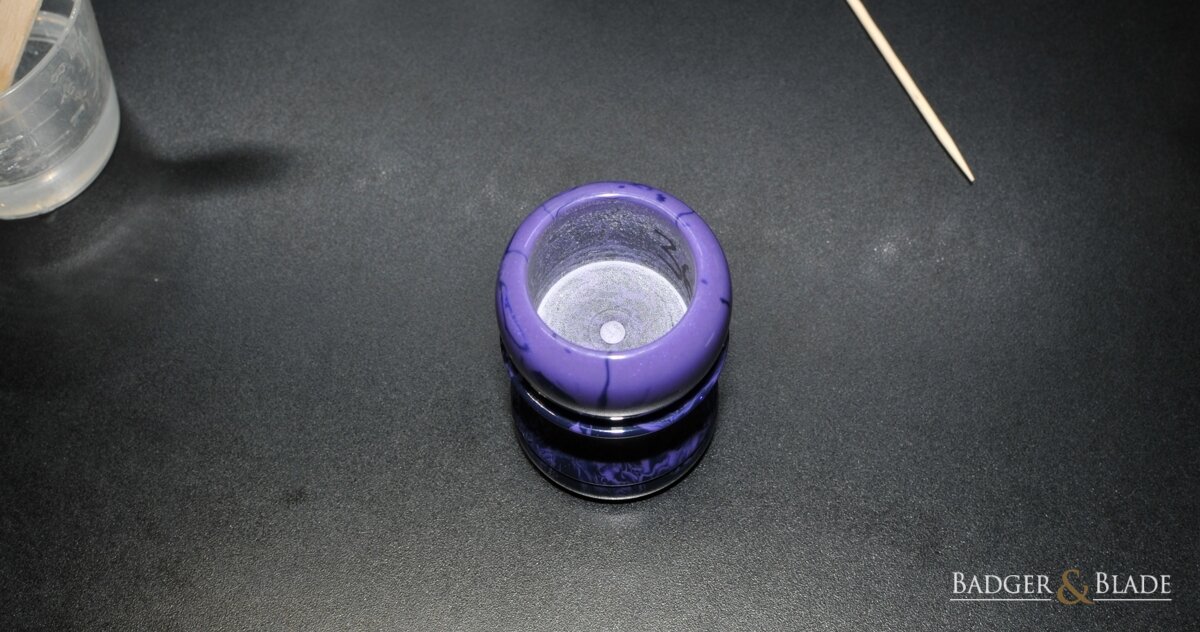
Time to focus on the handle. The bore depth measured approximately 23mm (for those who were wondering).
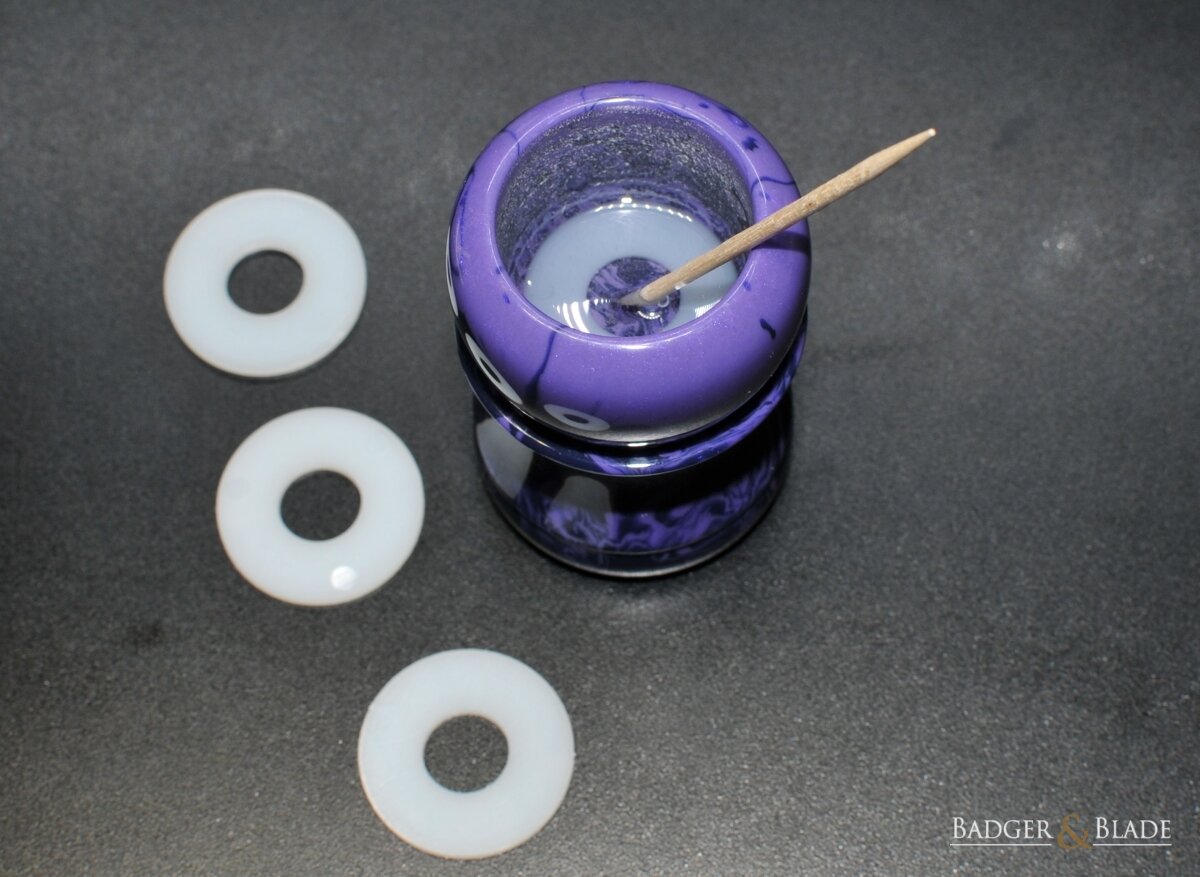
I poured a little bit of resin into the handle and added the nylon washers. Using the toothpick to move each washer around to make sure each were completely covered with the resin.

I then poured a little more resin into the handle to adhere to the knot. Less resin is better than too much. If you put too much and it spills over, just wipe it off with a rag. The great thing about surfboard epoxy is it polishes up nicely. If you wipe it off using acetone, it could damage the handle. I also added a dollop of resin to the base of the knot to help avoid any air pockets when the knot is placed into the handle. I did not rough up the surface of the glue nub on the knot. Epoxy adheres very well and I don't think it's necessary. But YMMV.
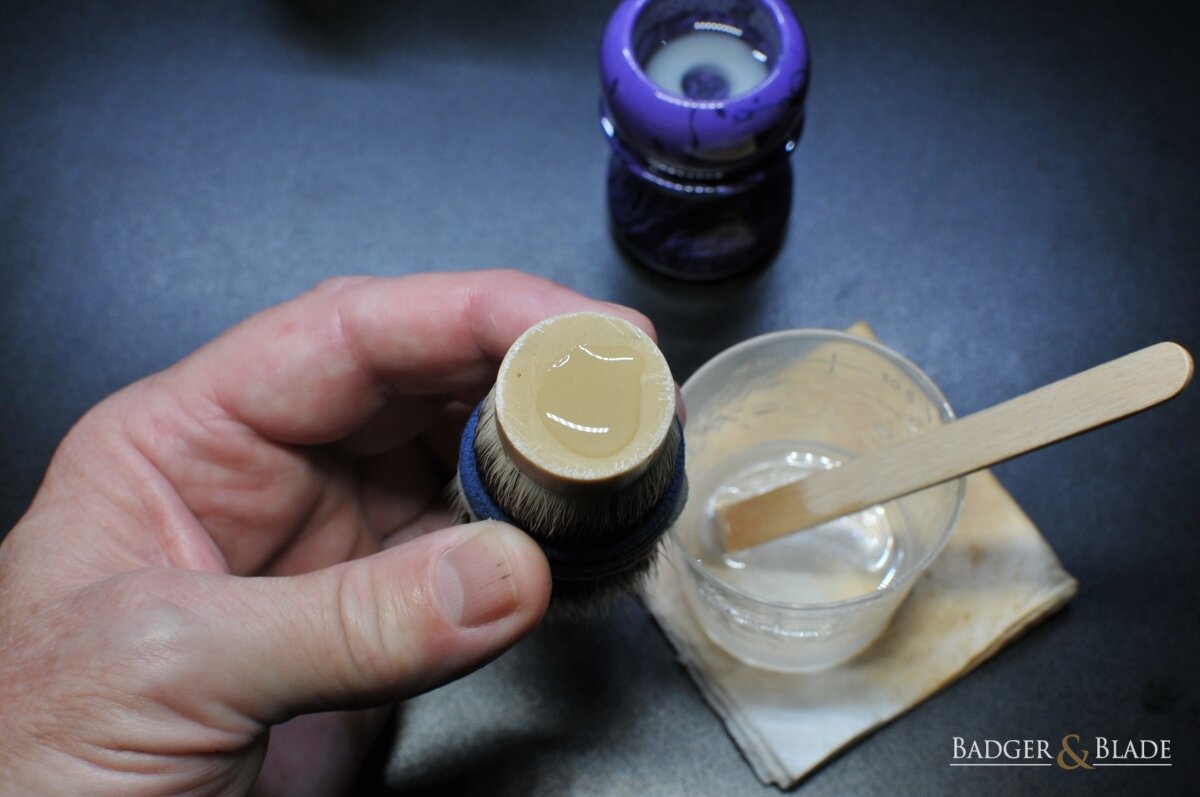
I then carefully inserted the knot into the handle and twisted it carefully back and forth to make sure the resin was evenly distributed in the handle hole and around the glue nub of the knot.
I set the handle and the mixing cup with the popsicle stick aside on a level surface to cure. The resin in the mixing cup is a great gauge to see how well the resin is curing. I carefully took off the hair bands once the popsicle stick was stuck in the mixing cup (an hour or so later). The surfboard epoxy can take longer to completely cure than other methods. I used the brush after 24 hours. But to fully cure, it could take more than a few days. The longer you wait the better.
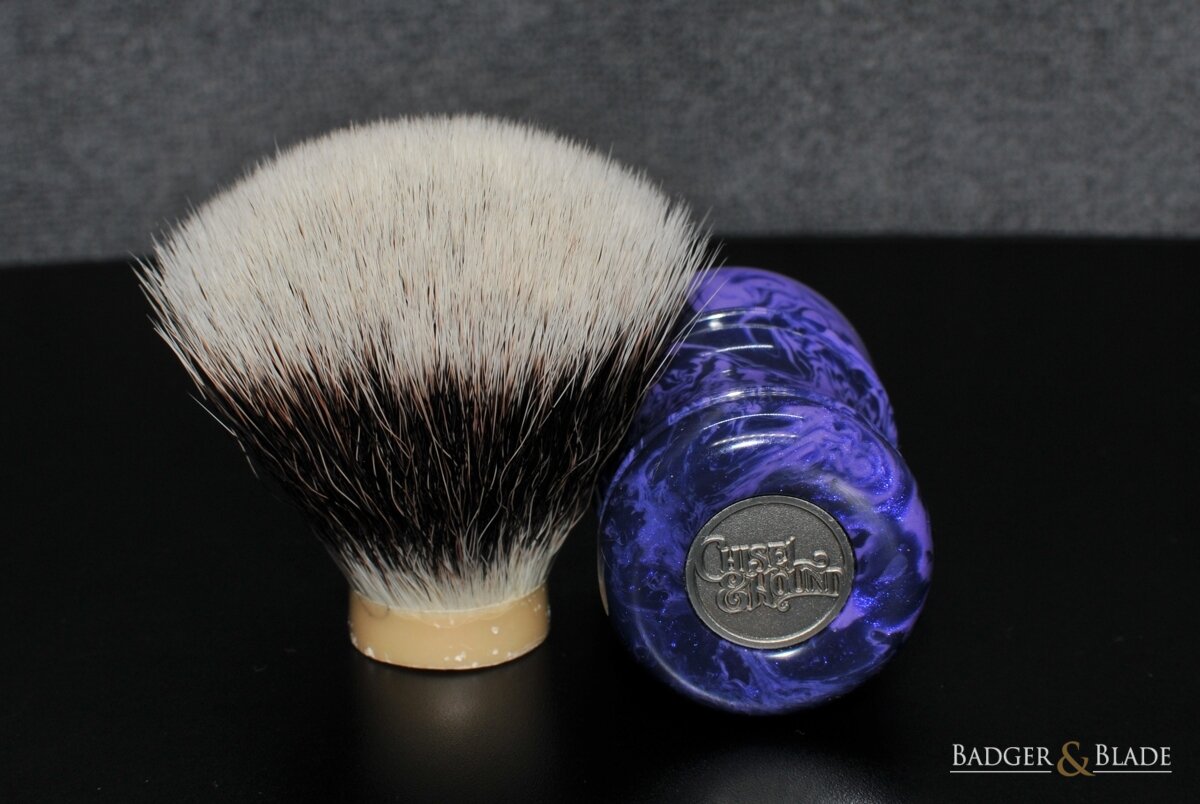
Here is the result.
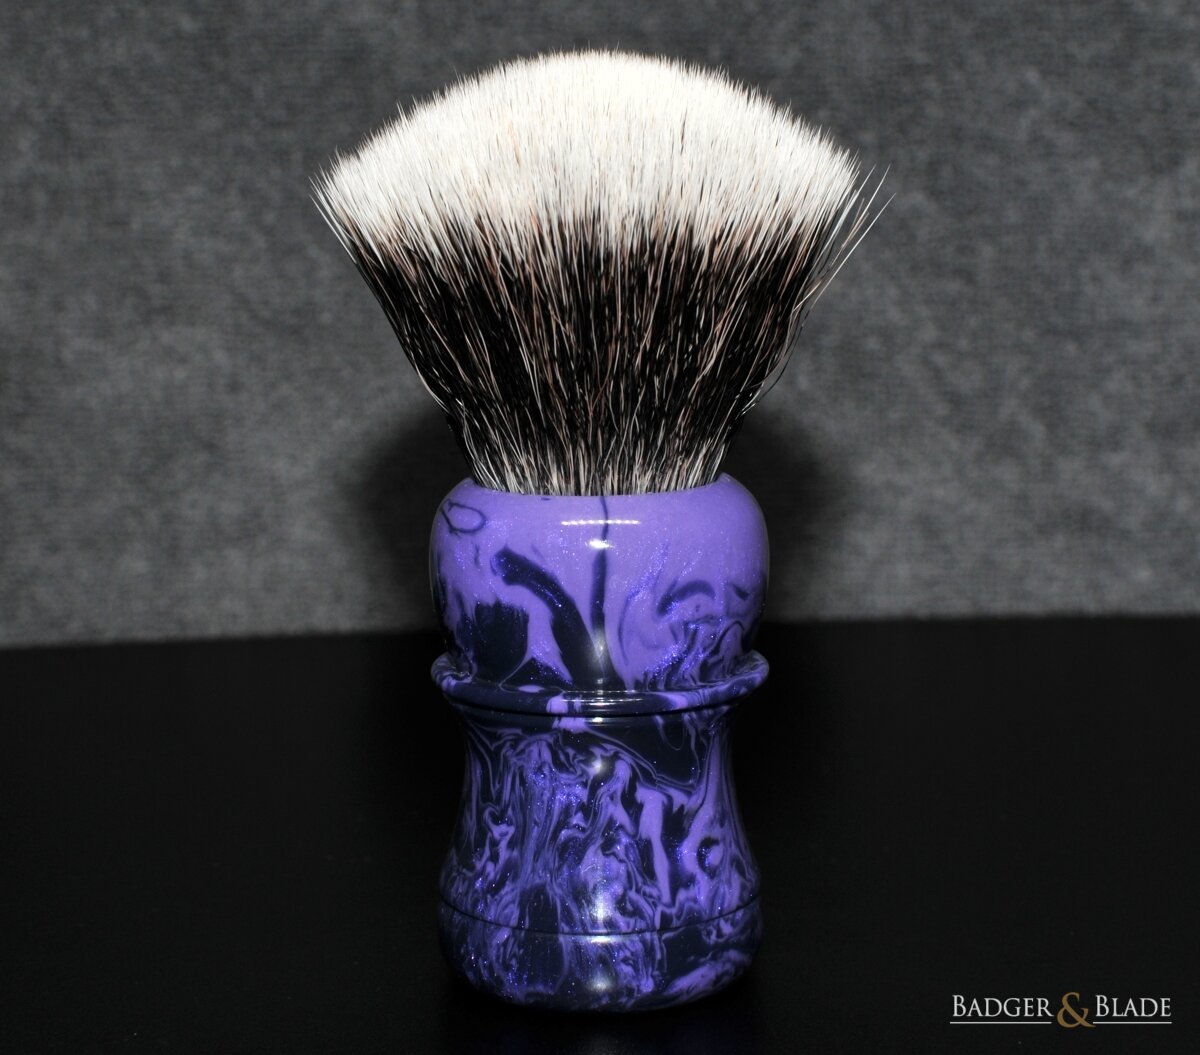

The brush seems to work fine. Loads soap quickly. Paints perfectly. And has a lot of backbone and splays fine the more I use it. I'm glad to add it to my shaving tool box.