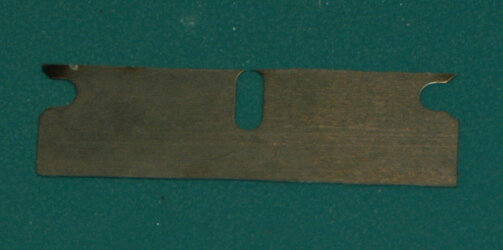
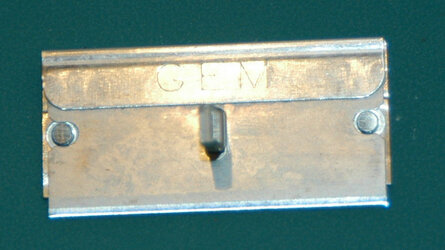
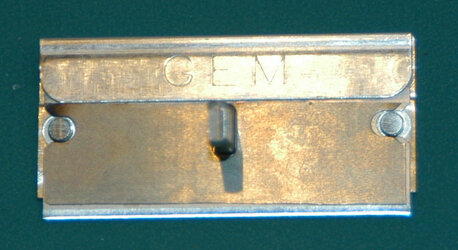
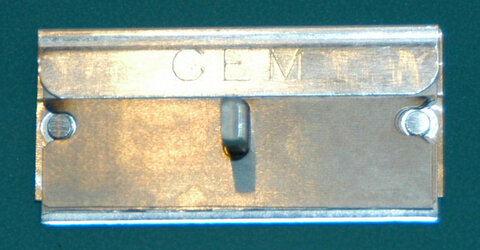
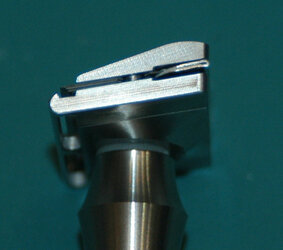
I have a Blackland Sabre razor and wanted to see if I could get more efficiency out of the L2 plate.
I had seen a video where someone mentioned shimming the Sabre but didn't find any details on shimming a GEM style blade.
I decided to experiment and see if I could make usable shims for the Sabre.
Since the Sabre clamps the blade down well including the spine, I knew I wanted a shim that did not require me to use pliers on every new GEM shaving blade so I decided to that I would cut off the spine area of the blade so that the spines would not stack up and change the blade angle. Next, I would cut off the cutting edge of the shim and then try it out.
I made the shims and made a post about the shave. People expressed interest in seeing how I did it, so below is a mock up of the steps I took.
Disclaimer: I take no responsibility for any harm to yourself/family/pets or damage to your home or items if you decide to make GEM blade shims. Do so at your own risk.
This process generated a lot of sparks so you want to wear eye protection and work gloves to protect yourself from the sparks.
You also want a work surface that will not catch fire or be damaged by hot sparks of steel.
At the end of the process there will be steel dust/soot to clean up so consider how you would contain all that mess.
By all means if you find better ways of doing this, please post here. I just had time on my hands and used what I had lying around the house.
I did not have a vise to use but if you have one, please use that instead of what I did.
The more secure the setup, the safer it will be to make the shims.
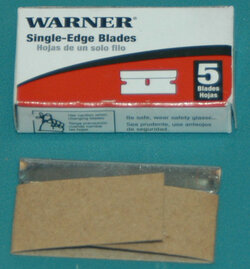
Since I didn't have any used GEM blades and I was not about to destroy any brand new GEM blades, I took three new box cutter blades to make the shims. These appear to be carbon steel blades from my Internet search.
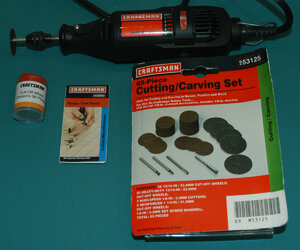
I used a Craftsman rotary tool (Sear's version of a Dremmel) and a cutting wheel to cut off the spine and cutting edge of the shim blades.
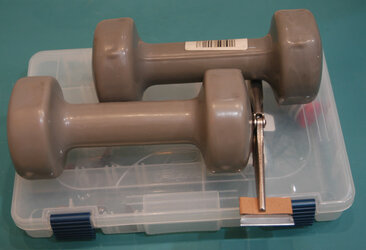
I held the shim blade in place using a pair of vise grips.

I used a pair of dumbbells on top of a plastic case to hold the vise grips and give some height to work.
One dumbbell was placed on top of the vise grip to keep it vertical and one dumbbell was placed to the side to keep the vise grip from shifting while I was cutting.
With this setup, I had to cut only in one direction, right to left, as that was the direction of the supporting dumbbell.
With the protective paper wrapped around the blade, I clamped the blade in the vise grips so I had enough room to cut off the spine.
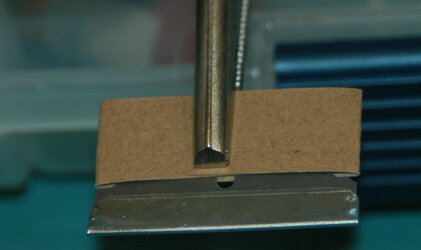
Next, I used a cutting wheel with the rotary tool and cut right along spine section of the blade preserving as much of the blade as possible.
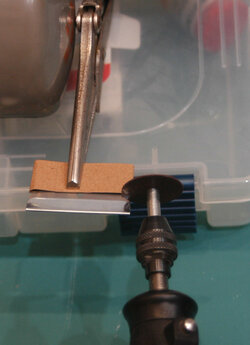
This is what it looks like after cutting off the spine section of the blade.
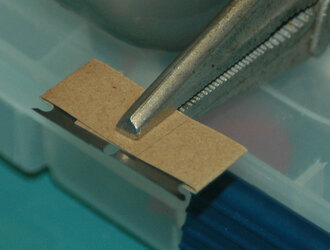
Then I flipped the blade around so that the cutting edge was exposed but still kept the protective paper wrapped around the rest of the blade to get a good grip and protect the blade from the vise grips. I clamped the blade securely in the vise grips.
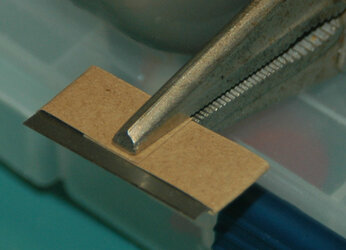
I then ran the cutting wheel across the cutting edge of the blade to remove the edge. This was easier than cutting off the spine as the steel is thinner here at the blade edge.
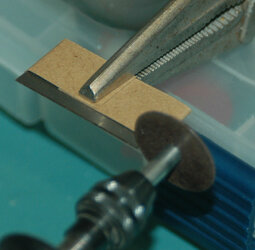
This is what it looks like after cutting off the cutting edge of the blade.
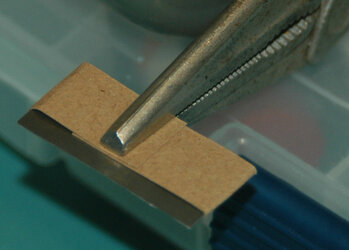
Continued on next post ...
I had seen a video where someone mentioned shimming the Sabre but didn't find any details on shimming a GEM style blade.
I decided to experiment and see if I could make usable shims for the Sabre.
Since the Sabre clamps the blade down well including the spine, I knew I wanted a shim that did not require me to use pliers on every new GEM shaving blade so I decided to that I would cut off the spine area of the blade so that the spines would not stack up and change the blade angle. Next, I would cut off the cutting edge of the shim and then try it out.
I made the shims and made a post about the shave. People expressed interest in seeing how I did it, so below is a mock up of the steps I took.
Disclaimer: I take no responsibility for any harm to yourself/family/pets or damage to your home or items if you decide to make GEM blade shims. Do so at your own risk.
This process generated a lot of sparks so you want to wear eye protection and work gloves to protect yourself from the sparks.
You also want a work surface that will not catch fire or be damaged by hot sparks of steel.
At the end of the process there will be steel dust/soot to clean up so consider how you would contain all that mess.
By all means if you find better ways of doing this, please post here. I just had time on my hands and used what I had lying around the house.
I did not have a vise to use but if you have one, please use that instead of what I did.
The more secure the setup, the safer it will be to make the shims.
Since I didn't have any used GEM blades and I was not about to destroy any brand new GEM blades, I took three new box cutter blades to make the shims. These appear to be carbon steel blades from my Internet search.

I used a Craftsman rotary tool (Sear's version of a Dremmel) and a cutting wheel to cut off the spine and cutting edge of the shim blades.

I held the shim blade in place using a pair of vise grips.

I used a pair of dumbbells on top of a plastic case to hold the vise grips and give some height to work.
One dumbbell was placed on top of the vise grip to keep it vertical and one dumbbell was placed to the side to keep the vise grip from shifting while I was cutting.
With this setup, I had to cut only in one direction, right to left, as that was the direction of the supporting dumbbell.

With the protective paper wrapped around the blade, I clamped the blade in the vise grips so I had enough room to cut off the spine.

Next, I used a cutting wheel with the rotary tool and cut right along spine section of the blade preserving as much of the blade as possible.

This is what it looks like after cutting off the spine section of the blade.

Then I flipped the blade around so that the cutting edge was exposed but still kept the protective paper wrapped around the rest of the blade to get a good grip and protect the blade from the vise grips. I clamped the blade securely in the vise grips.

I then ran the cutting wheel across the cutting edge of the blade to remove the edge. This was easier than cutting off the spine as the steel is thinner here at the blade edge.

This is what it looks like after cutting off the cutting edge of the blade.

Continued on next post ...
