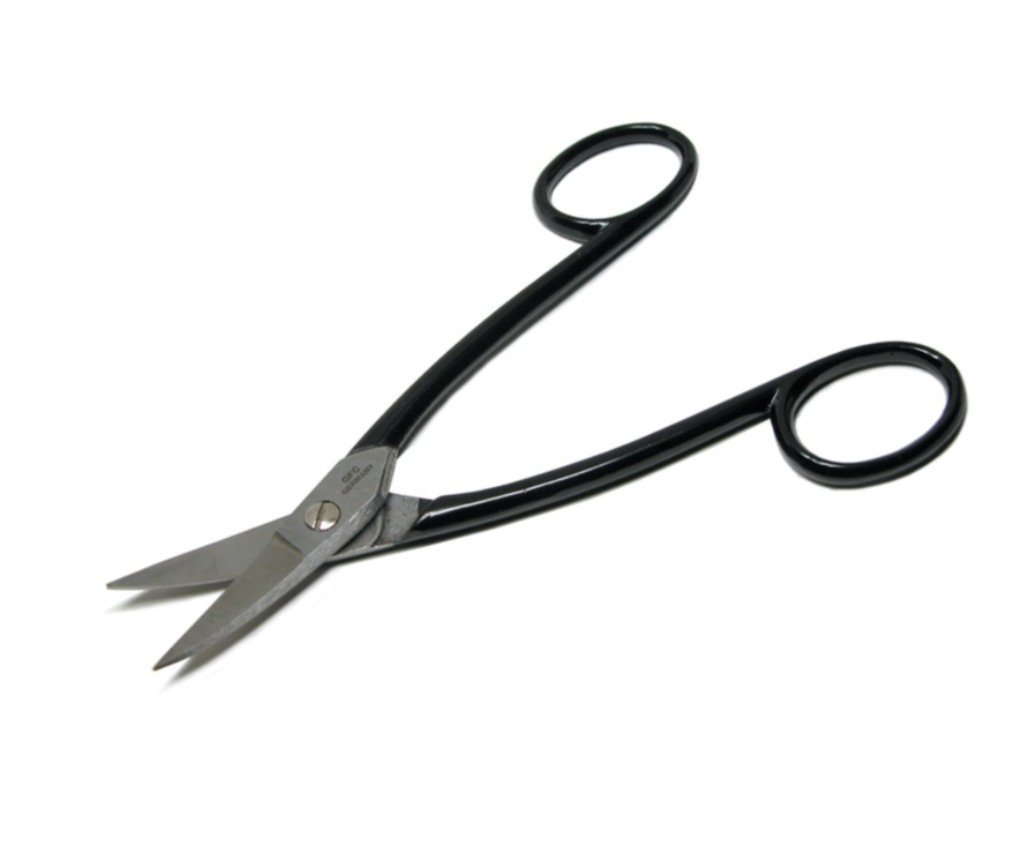
They are jeweler's scissors. These are ACE brand from Amazon, I paid $13, but they are temporarily out of stock now. There are a few that will work, just make sure they can cut medium hard metal at about 20 gauge.What are those called and where'd you get them?
Thanks,
Jim
Sent from my SM-N900V using Tapatalk
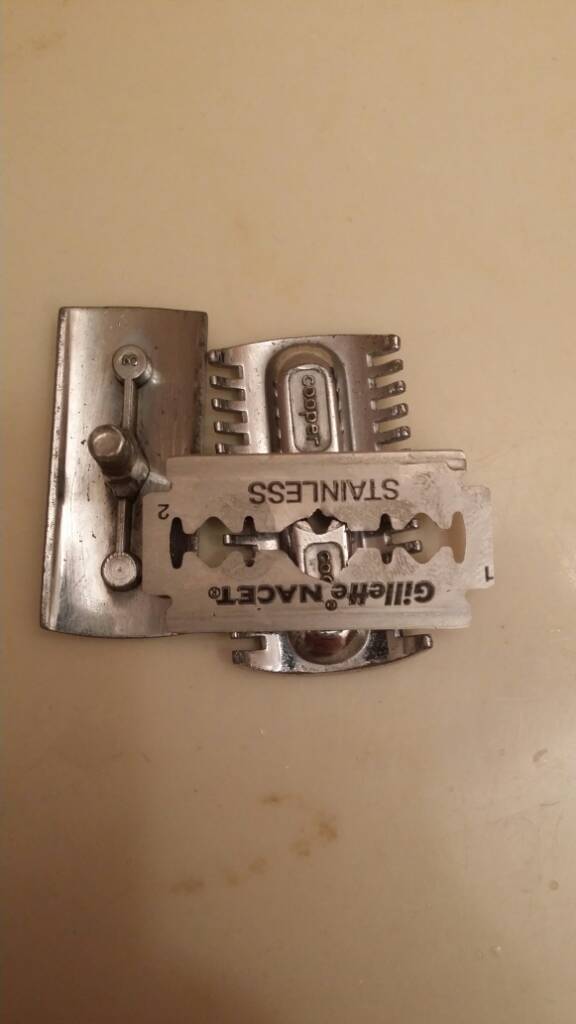
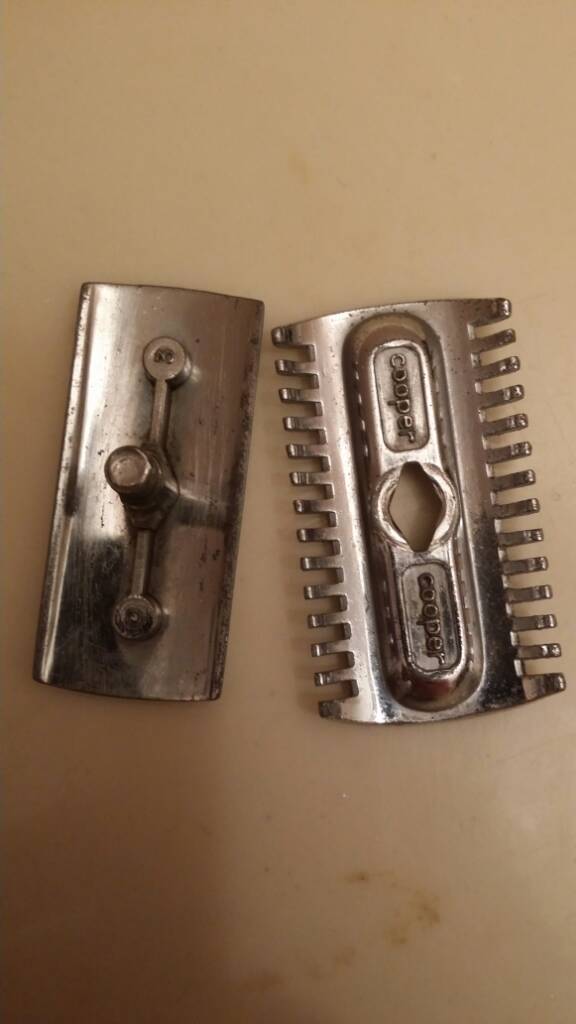

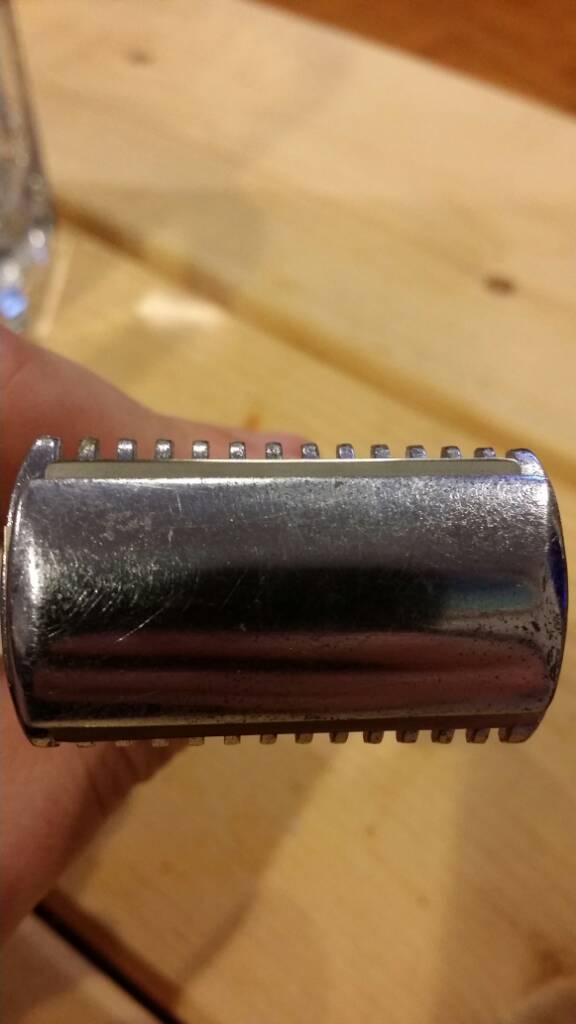
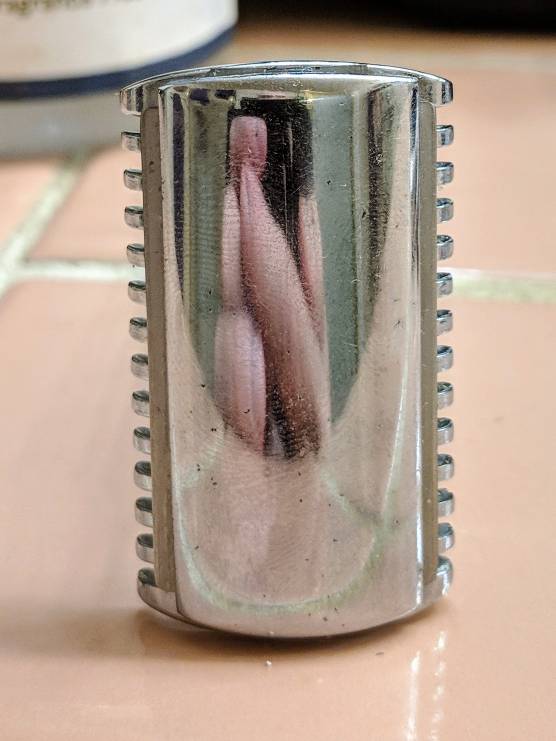
 , haha. Is your blade alignment relative to the tips parallel? Mine seems to be off slightly, I'll see if I can snap a picture close up.