That looks to be the stuff but it's coming from China so who knows.This is a BIN link:
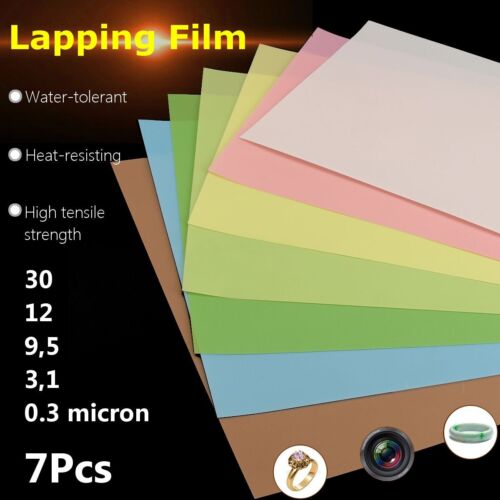
Pack Of 7 Lapping Film Sheets Superfinishing Fine Polishing Maintenance Paper | eBay
Find many great new & used options and get the best deals for Pack Of 7 Lapping Film Sheets Superfinishing Fine Polishing Maintenance Paper at the best online prices at eBay! Free delivery for many products.www.ebay.co.uk
Does this look good enough?
I'm struggling to find lapping film without the PSA backing here in the UK. I don't want to have several pieces of acrylic - trying to keep the setup as minimal as possible!
There's a guy on ebay in Germany that would be better for you if you're UK based BUT it's more expensive at about $30ish per set.
