After seeing a considerable number of threads recently regarding blade banks and disposing of spent razor blades I decided to show how to make a simple yet effective blade bank for under 50 cents. It is very easy, safe and ready for the recycle bin when full.
There are a few that can be purchased for a buck or two plus shipping or you could find some more fancy vintage banks in an antique shop or even Ebay but I would rather spend my money on razors and soaps. It’s great for the frugal (tight wad) shaver. I’ve heard of folks using glass jars which was really disturbing to me. Wet hands on glass do not go well together and as it gets full, it takes only a minor tap and the glass can shatter.
This project cost 33 cents and took approximately 20 minutes minus drying time.
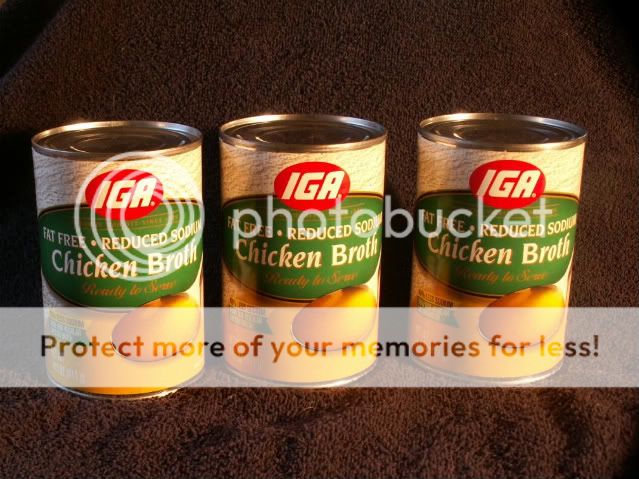
I stopped at my local grocery store and purchased 3 cans of store brand broth (liquid only) for a 1.00 as they were on sale.
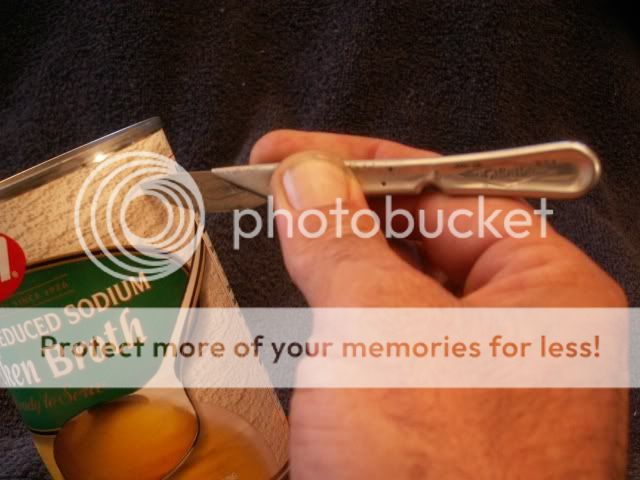
Once home I scored the label carefully with a sharp knife. I thought about using a DE blade to do this (after all, this is B&B) but opted for the knife with as I just so happen to have this nice vintage Gillette Office razor knife, go figure!
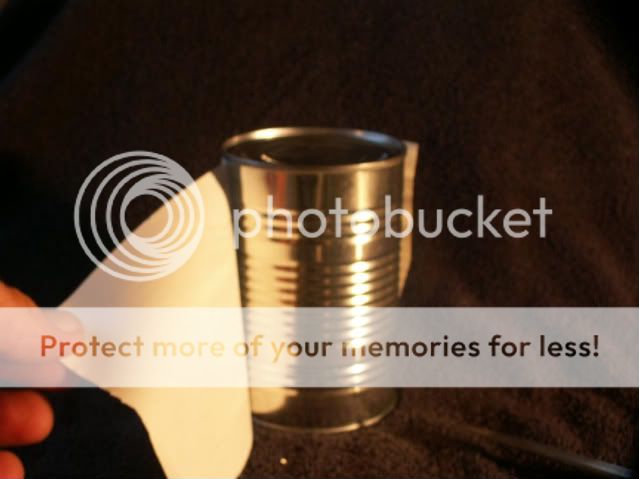
After I scored the label I simply unwrapped the can.
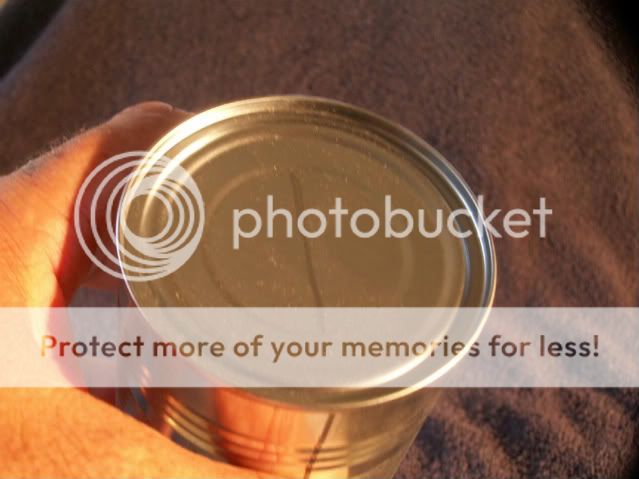
Using a pencil, I marked the top of the can where I wanted to make the slotted opening.
Now, with a large knife, (I choose this chef knife) I placed the tip on the end of the mark I had made.
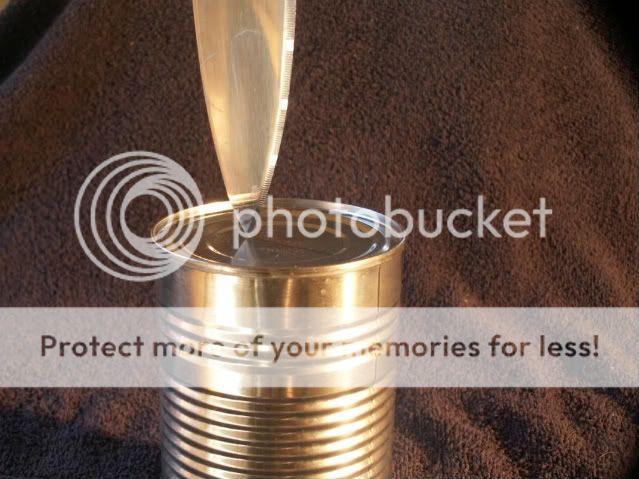
I gently tapped the handle with the palm of my hand to cut or punch the slot in the top.
NOTE: Face the cutting edge of the blade toward the center of the can in the direction you wish the slot to be cut. The backbone of the blade will force the cutting edge in the correct direction.
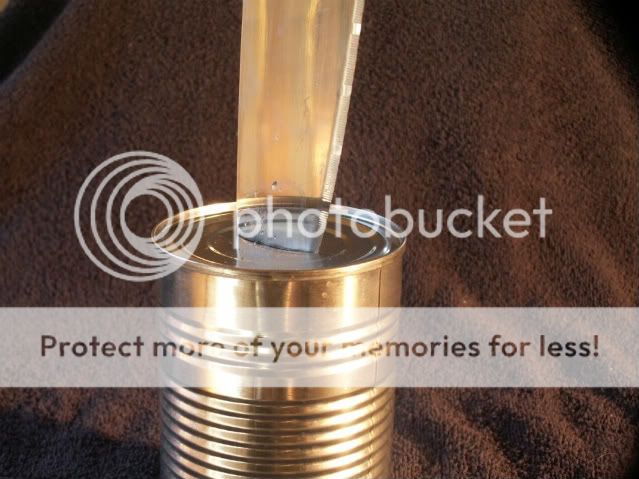
I moved the blade slightly from side to side so I was insured the edges of the slot rolled under so there would be no shape edges, and removed the knife to reveal a nice, clean slot.
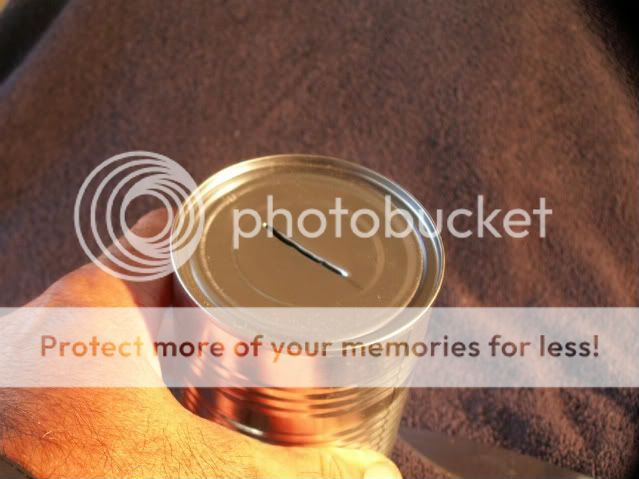
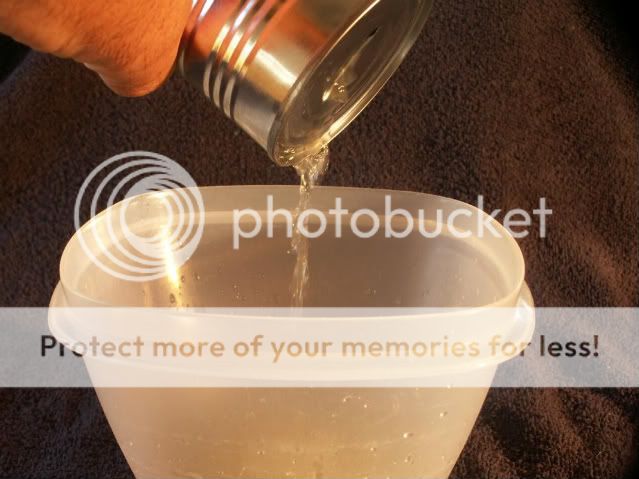
I then drained the contents of the can in a bowl to save it for use at a later time.
This may take a couple minutes and you may need to shake the can to help drain. I then rinsed the can with some hot water. (Necessary? I don’t know but I did it anyway).
 ]
]
At this point you may find some label glue residue. I simple used a little Goof Off and a paper towel and cleaned it right off. If you don’t have any Goof Off or something comparable, you can soak the can in hot water for about 5 minutes and it will wipe right away.
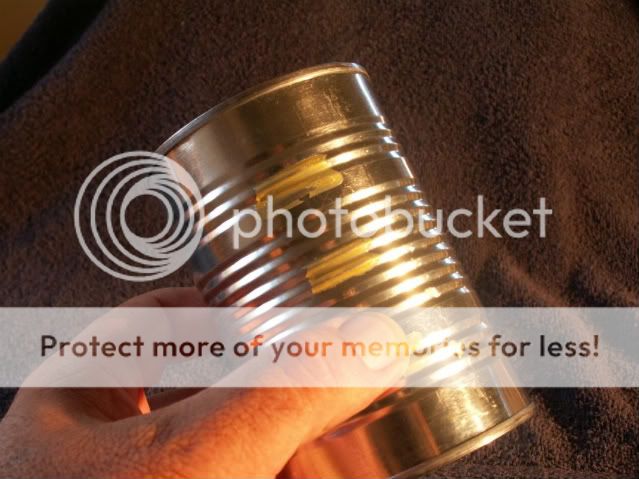
At this point your blade bank is ready to go or if you’re like me, you might want to dress it up some and paint it.
I found some spray paint leftover from another project I had done some time ago and opted to use it. I was a light tan with actually was used to paint the heater cover in my bathroom so it made for a nice match but you can use any color you enjoy. After all, you’re making it for you.
I took a paperclip (bent into a hook shape) and tied it to a piece of string to allow it to hang for spraying and drying.
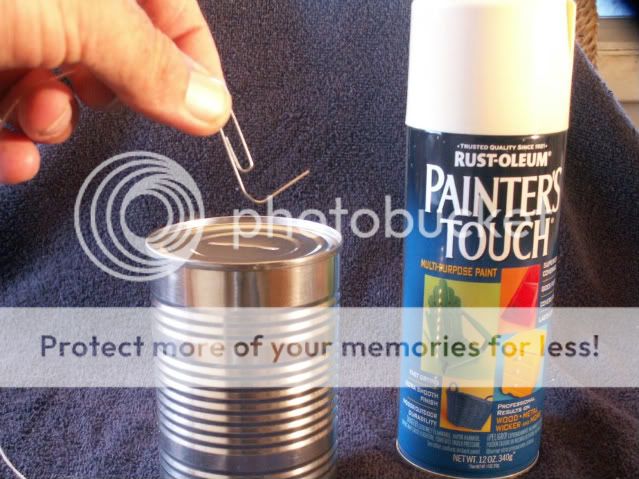
Make sure when spraying you are in a well-ventilated area. I choose to spray mine right out in the back yard hang from a tree branch.
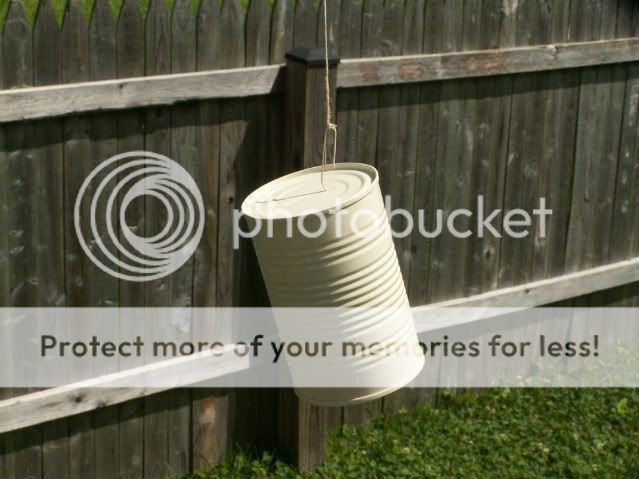
Once the bank is dry (I used 1 hour paint) you can either use it as it is or take it yet another step and add other things to further customize your bank.
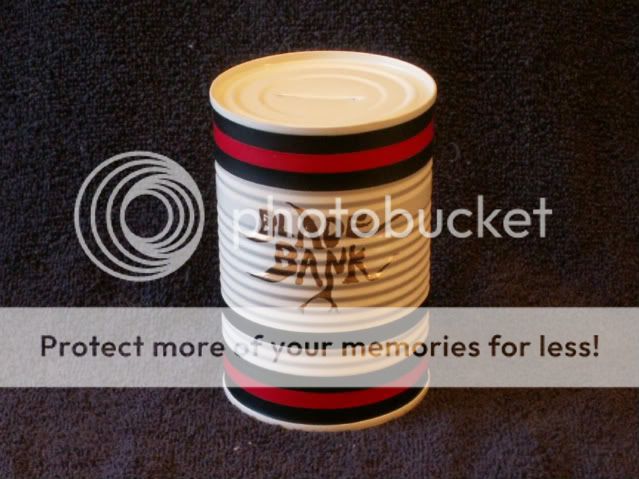
While the bank was drying I rummaged around the house to see what I could find to trick out my new bank. I found some ¼” vinyl artist tape that I had used for some signs and a little gold leaf paint for lettering (BTW, I really suck at lettering).
After a couple more minutes my bank is done. It may not be a fancy as a store bought bank yet for under 50 cents it’s going to do just fine. It will hold a few years worth of spent blades and I don’t need to worry about anyone getting hurt by them, and it’s totally green!!!
Have fun and Enjoy!!!
There are a few that can be purchased for a buck or two plus shipping or you could find some more fancy vintage banks in an antique shop or even Ebay but I would rather spend my money on razors and soaps. It’s great for the frugal (tight wad) shaver. I’ve heard of folks using glass jars which was really disturbing to me. Wet hands on glass do not go well together and as it gets full, it takes only a minor tap and the glass can shatter.
This project cost 33 cents and took approximately 20 minutes minus drying time.
I stopped at my local grocery store and purchased 3 cans of store brand broth (liquid only) for a 1.00 as they were on sale.

Once home I scored the label carefully with a sharp knife. I thought about using a DE blade to do this (after all, this is B&B) but opted for the knife with as I just so happen to have this nice vintage Gillette Office razor knife, go figure!

After I scored the label I simply unwrapped the can.

Using a pencil, I marked the top of the can where I wanted to make the slotted opening.

Now, with a large knife, (I choose this chef knife) I placed the tip on the end of the mark I had made.

I gently tapped the handle with the palm of my hand to cut or punch the slot in the top.
NOTE: Face the cutting edge of the blade toward the center of the can in the direction you wish the slot to be cut. The backbone of the blade will force the cutting edge in the correct direction.

I moved the blade slightly from side to side so I was insured the edges of the slot rolled under so there would be no shape edges, and removed the knife to reveal a nice, clean slot.

I then drained the contents of the can in a bowl to save it for use at a later time.
This may take a couple minutes and you may need to shake the can to help drain. I then rinsed the can with some hot water. (Necessary? I don’t know but I did it anyway).

At this point you may find some label glue residue. I simple used a little Goof Off and a paper towel and cleaned it right off. If you don’t have any Goof Off or something comparable, you can soak the can in hot water for about 5 minutes and it will wipe right away.

At this point your blade bank is ready to go or if you’re like me, you might want to dress it up some and paint it.
I found some spray paint leftover from another project I had done some time ago and opted to use it. I was a light tan with actually was used to paint the heater cover in my bathroom so it made for a nice match but you can use any color you enjoy. After all, you’re making it for you.
I took a paperclip (bent into a hook shape) and tied it to a piece of string to allow it to hang for spraying and drying.

Make sure when spraying you are in a well-ventilated area. I choose to spray mine right out in the back yard hang from a tree branch.

Once the bank is dry (I used 1 hour paint) you can either use it as it is or take it yet another step and add other things to further customize your bank.
While the bank was drying I rummaged around the house to see what I could find to trick out my new bank. I found some ¼” vinyl artist tape that I had used for some signs and a little gold leaf paint for lettering (BTW, I really suck at lettering).
After a couple more minutes my bank is done. It may not be a fancy as a store bought bank yet for under 50 cents it’s going to do just fine. It will hold a few years worth of spent blades and I don’t need to worry about anyone getting hurt by them, and it’s totally green!!!
Have fun and Enjoy!!!


