I'm not sure anyone else would have the same issues I did, but maybe it will at least give some people a chuckle reading about my blunders.
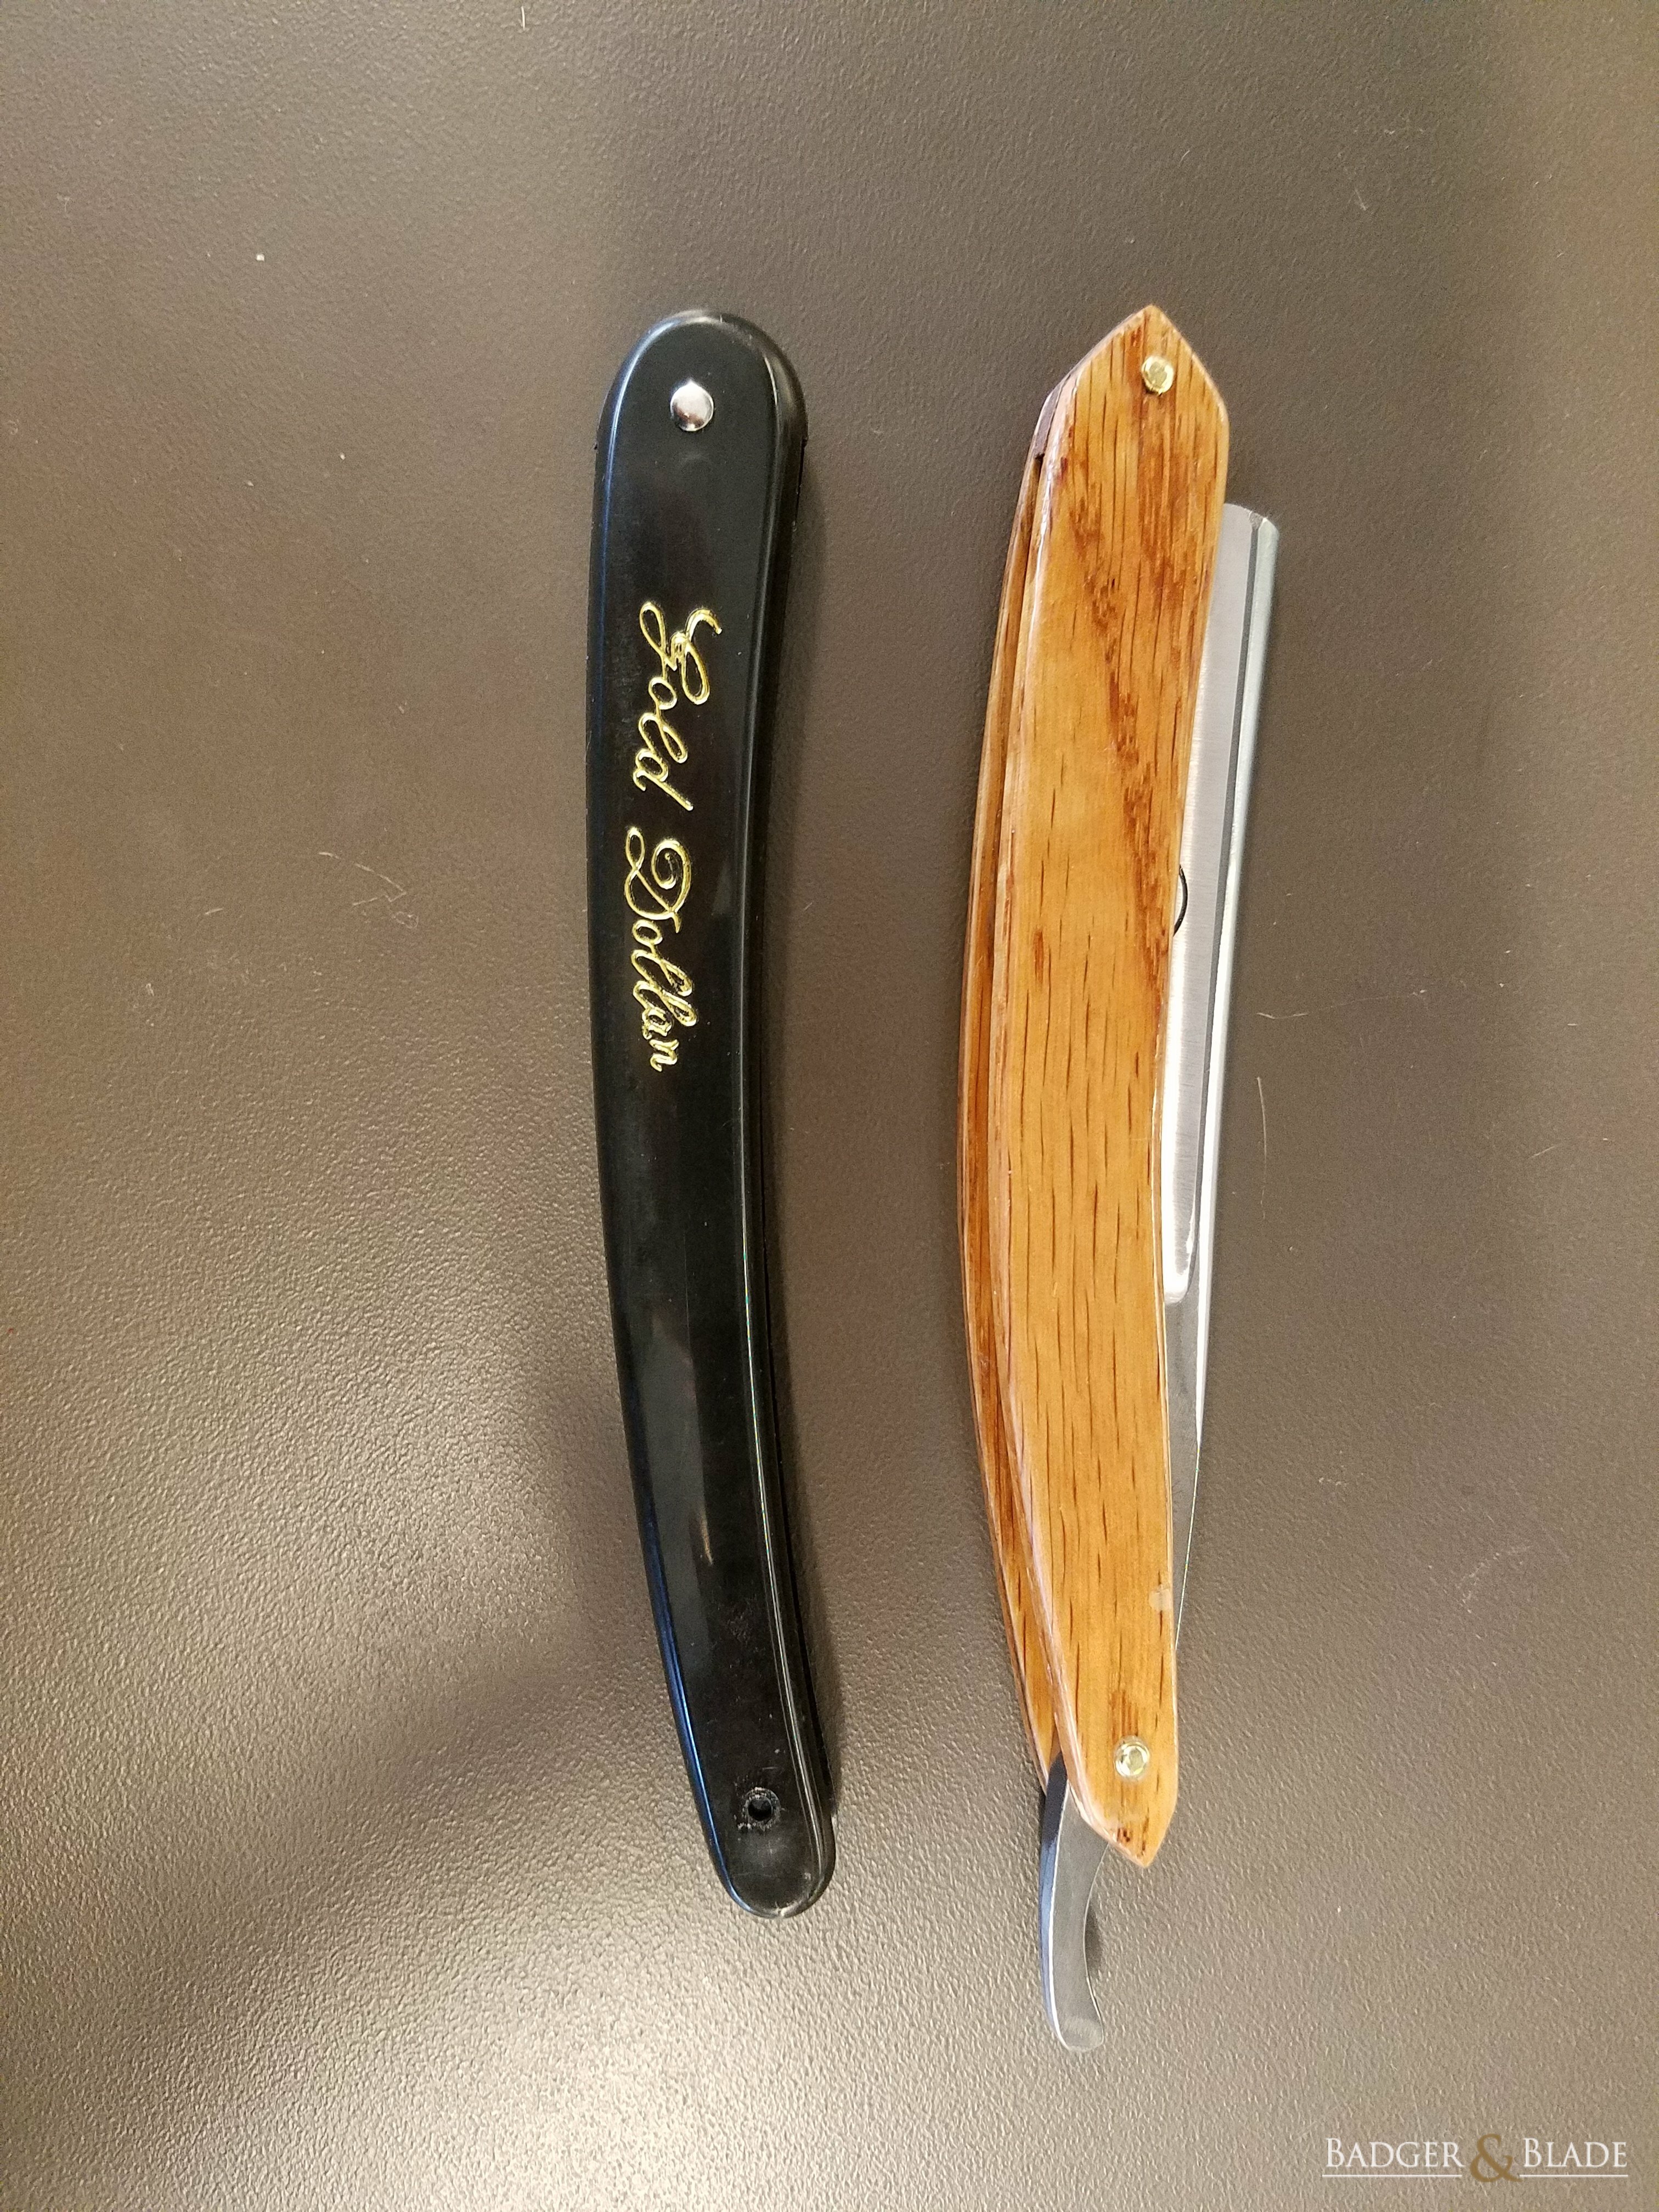
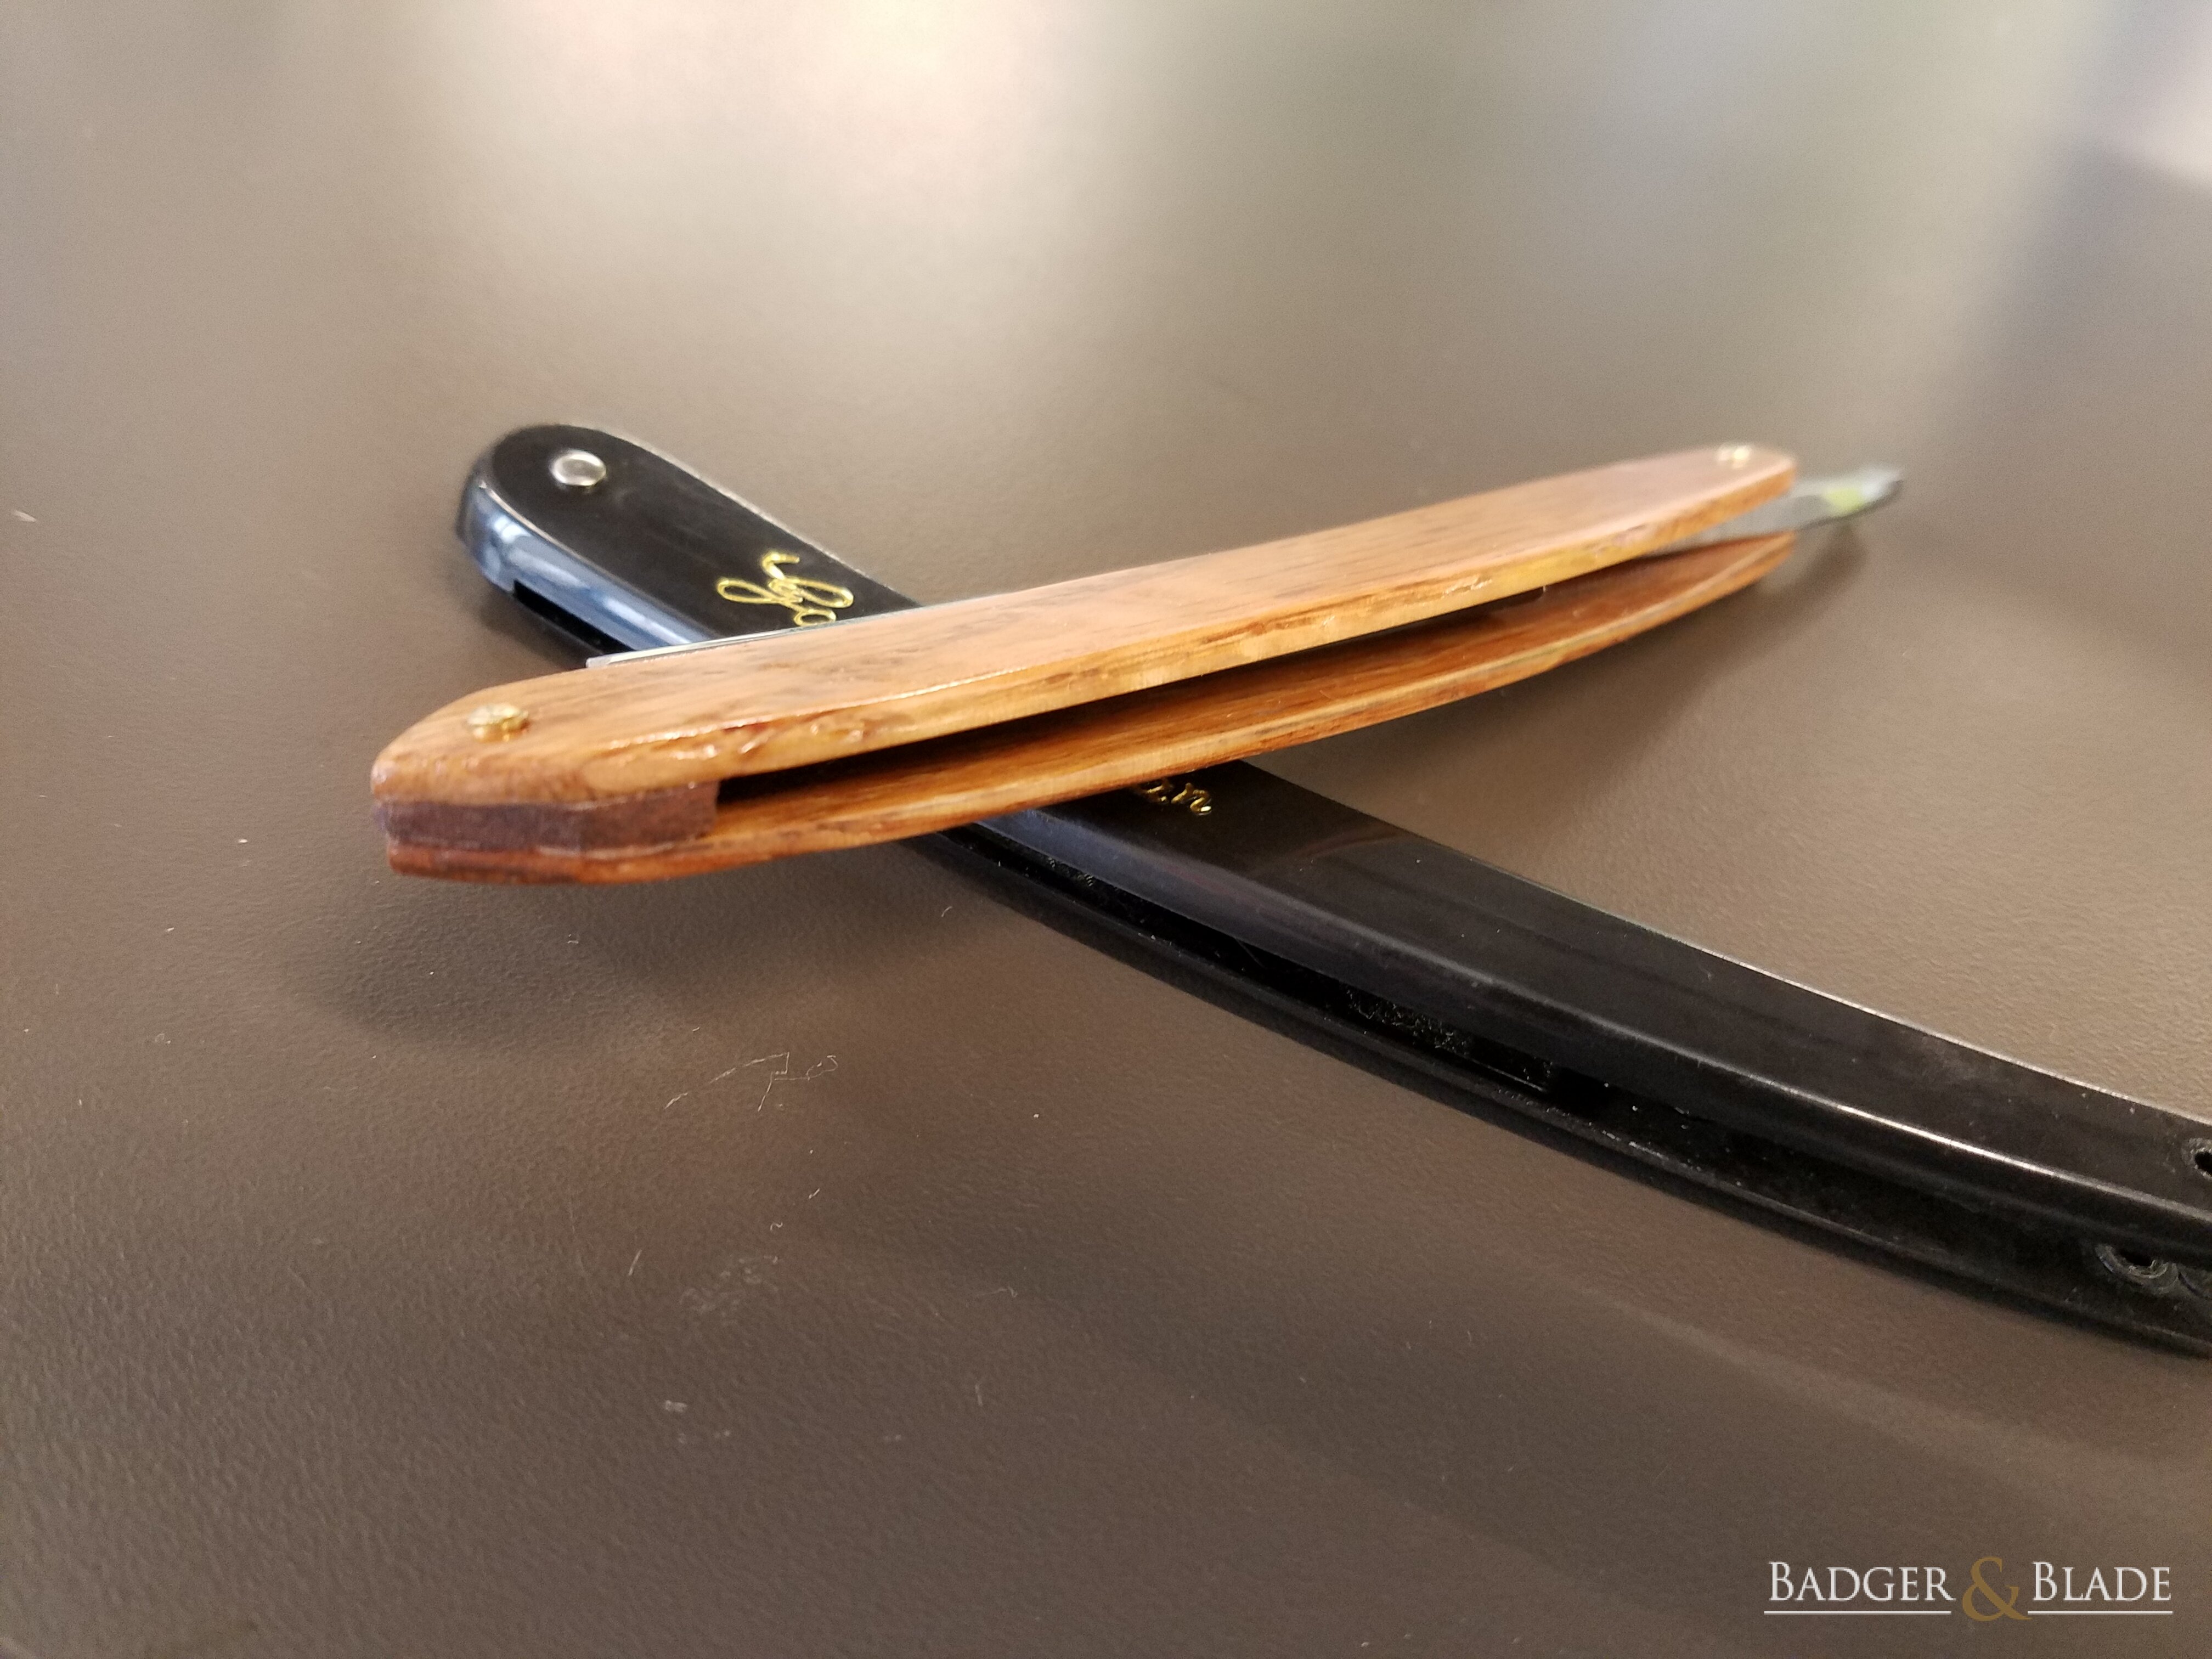
So I recently got into SR shaving, I bought a Gold Dollar 300 shave ready off Etsy which I like pretty well, other than the cheap plastic scales. I got two GD 66's I plan to mod in May, so after getting one shave ready, I decided I could rescale my 300. My wife is 8 months pregnant, my son is 22 months old and gets into everything, we just turned our guest/junk room into a nursery so we are officially out of space. I don't have a garage or workshop. This is really poor timing on my end, but when I get something in my head, I can't get it out. So I've been doing my best to make scales in 5-10 minute intervals back and forth between work and home. This has caused me much grief in this process, so here is a good list of things NOT to do.
1. Don't cut 1/8" thick blanks with a tablesaw:
It starts with cutting a "blank" to make your scales. I don't have a bandsaw or tablesaw easily at my disposal, but I lucked out when my father-in-law mistakenly brought his tablesaw instead of his mitre saw while I was redoing the floor in the nursery. I seized the opportunity to quickly cut 1/8" of oak I had lying around. It went surprisingly well. Except as I got further into shaping I realized the kerf marks were pretty deep and after sanding and sanding, my scales were getting pretty thin. Should've cut them a little oversized, you can always remove but you can't add back. Oh well, it's my first try and it probably won't matter so I continue on.
2. Fill the pores early in the sanding process
After having already sanded a good chunk off of my scales, I noticed the big open grains in red oak. I've never finished anything wooden to be so smooth and then took to reading about how you need to fill the pores in soft woods and some hard woods (oak and walnut included. Which happen to be what I've been working with). I read if you're finishing with an oil, you can wetsand with 100 grit or so using your oil finish to fill the pores, then progress through the finishing grits. My wood was already pretty thin at this point, but I didn't have much of a choice, so now it's thinner.
3. Mineral oil does not dry. Don't use it unless you want to maintain it. Boiled Linseed Oil is cheap.
Given my schedule and time constraints to actually working on projects, I have a bad habit of reading all of the different things I could be doing. After reading about the wetsanding on oils (and also that Tung oil finish is NOT tung oil), I was trying to decide what to use. In a rabbit hole of the internet, and unrelated to scales particularly, I read about mineral oil finishing on wood and how it's often used in the kitchen on cutting boards and knives. Well I'm home and have a few minutes to finally wetsand/seal the grain. I grab the mineral oil from my cabinet and pore it on and immediately realized that was a mistake, but it's also a little too late. I go ahead and wetsand anyways because I can't really get the oil back off. I decide instead of my GD300, I will use this on one of the 66's since I'm going to modify them in 2 months anyways. It will be good practice pinning the scales and at least I still made it myself.
4. Don't finish the scales before the wedge is shaped.
I decided I would just use some polyurethane just to see what happens and help fill the pores (a slurry of nondrying oil doesn't help if it doesn't dry in the pores). So after a coat, I'm pleasantly surprised to see it dried well and almost seems to have pushed some of the oil out (the urethane was hard but oily on the surface, after wiping it down, the oil was gone but still hardened surface). I sand and apply a couple more coats and look at my very bulky wedge sitting off to the side. I realized I'm going to have to redo the finish at least in part after the wedge is shaped. The whole process is screwed up so I don't care at this point.
The order of these next two is probably wrong, but this is the order that I made the realizations.
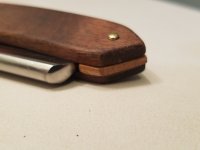
5. If you aren't using temporary nuts and bolts, don't drill the wedge hole until you epoxy the wedge to the scales.
This might be up for debate, I could be wrong, but I read a lot of how-to's and generally they either use the bolts, or were acrylic, or I just messed up. I had an oak wedge that I hadn't shaped much yet, but after reading one of the tutorials, I believe I drilled the hole thru both scales and the wedge at the same time, because the wedge gives a slight angle, things line up better this way. However, after all of the mistakes I've made to this point, I started making a second set of scales in walnut (which so far has been going much better). But I decided instead of oak on oak and walnut on walnut, I would do the inverse. The walnut wedge is much closer to the actual shape, but didn't have a hole in it yet. I realized I couldn't effectively shape it without having it attached to the scale somehow, so I lined it up how I wanted it, drilled a hole, used one of my pins to align it to one scale (might've been a mistake also) and epoxied it in place to that one scale. One of the tutorials suggested it's easier to pin the blade and washers if you leave one scale off. So after shaping the wedge pretty close to the scale, I decided I needed the other scale in place before hand sanding. The hole thru the wedge is at a slight angle (drilling straight down on an angled surface will do that) now the two scale holes don't line up correctly. I widen the hole slightly, it's workable, but not ideal. I use a little bit of superglue so I can sand it without it moving, as I don't want to pin it and then re-apply finish over the pin. With acrylic, etc. this wouldn't be an issue as you could polish the surface, pin the wedge and then re-polish the side after finishing the wedge sanding. I decide to fit the blade to make sure it's not going to run off into the scales due to the slight misalignment and..
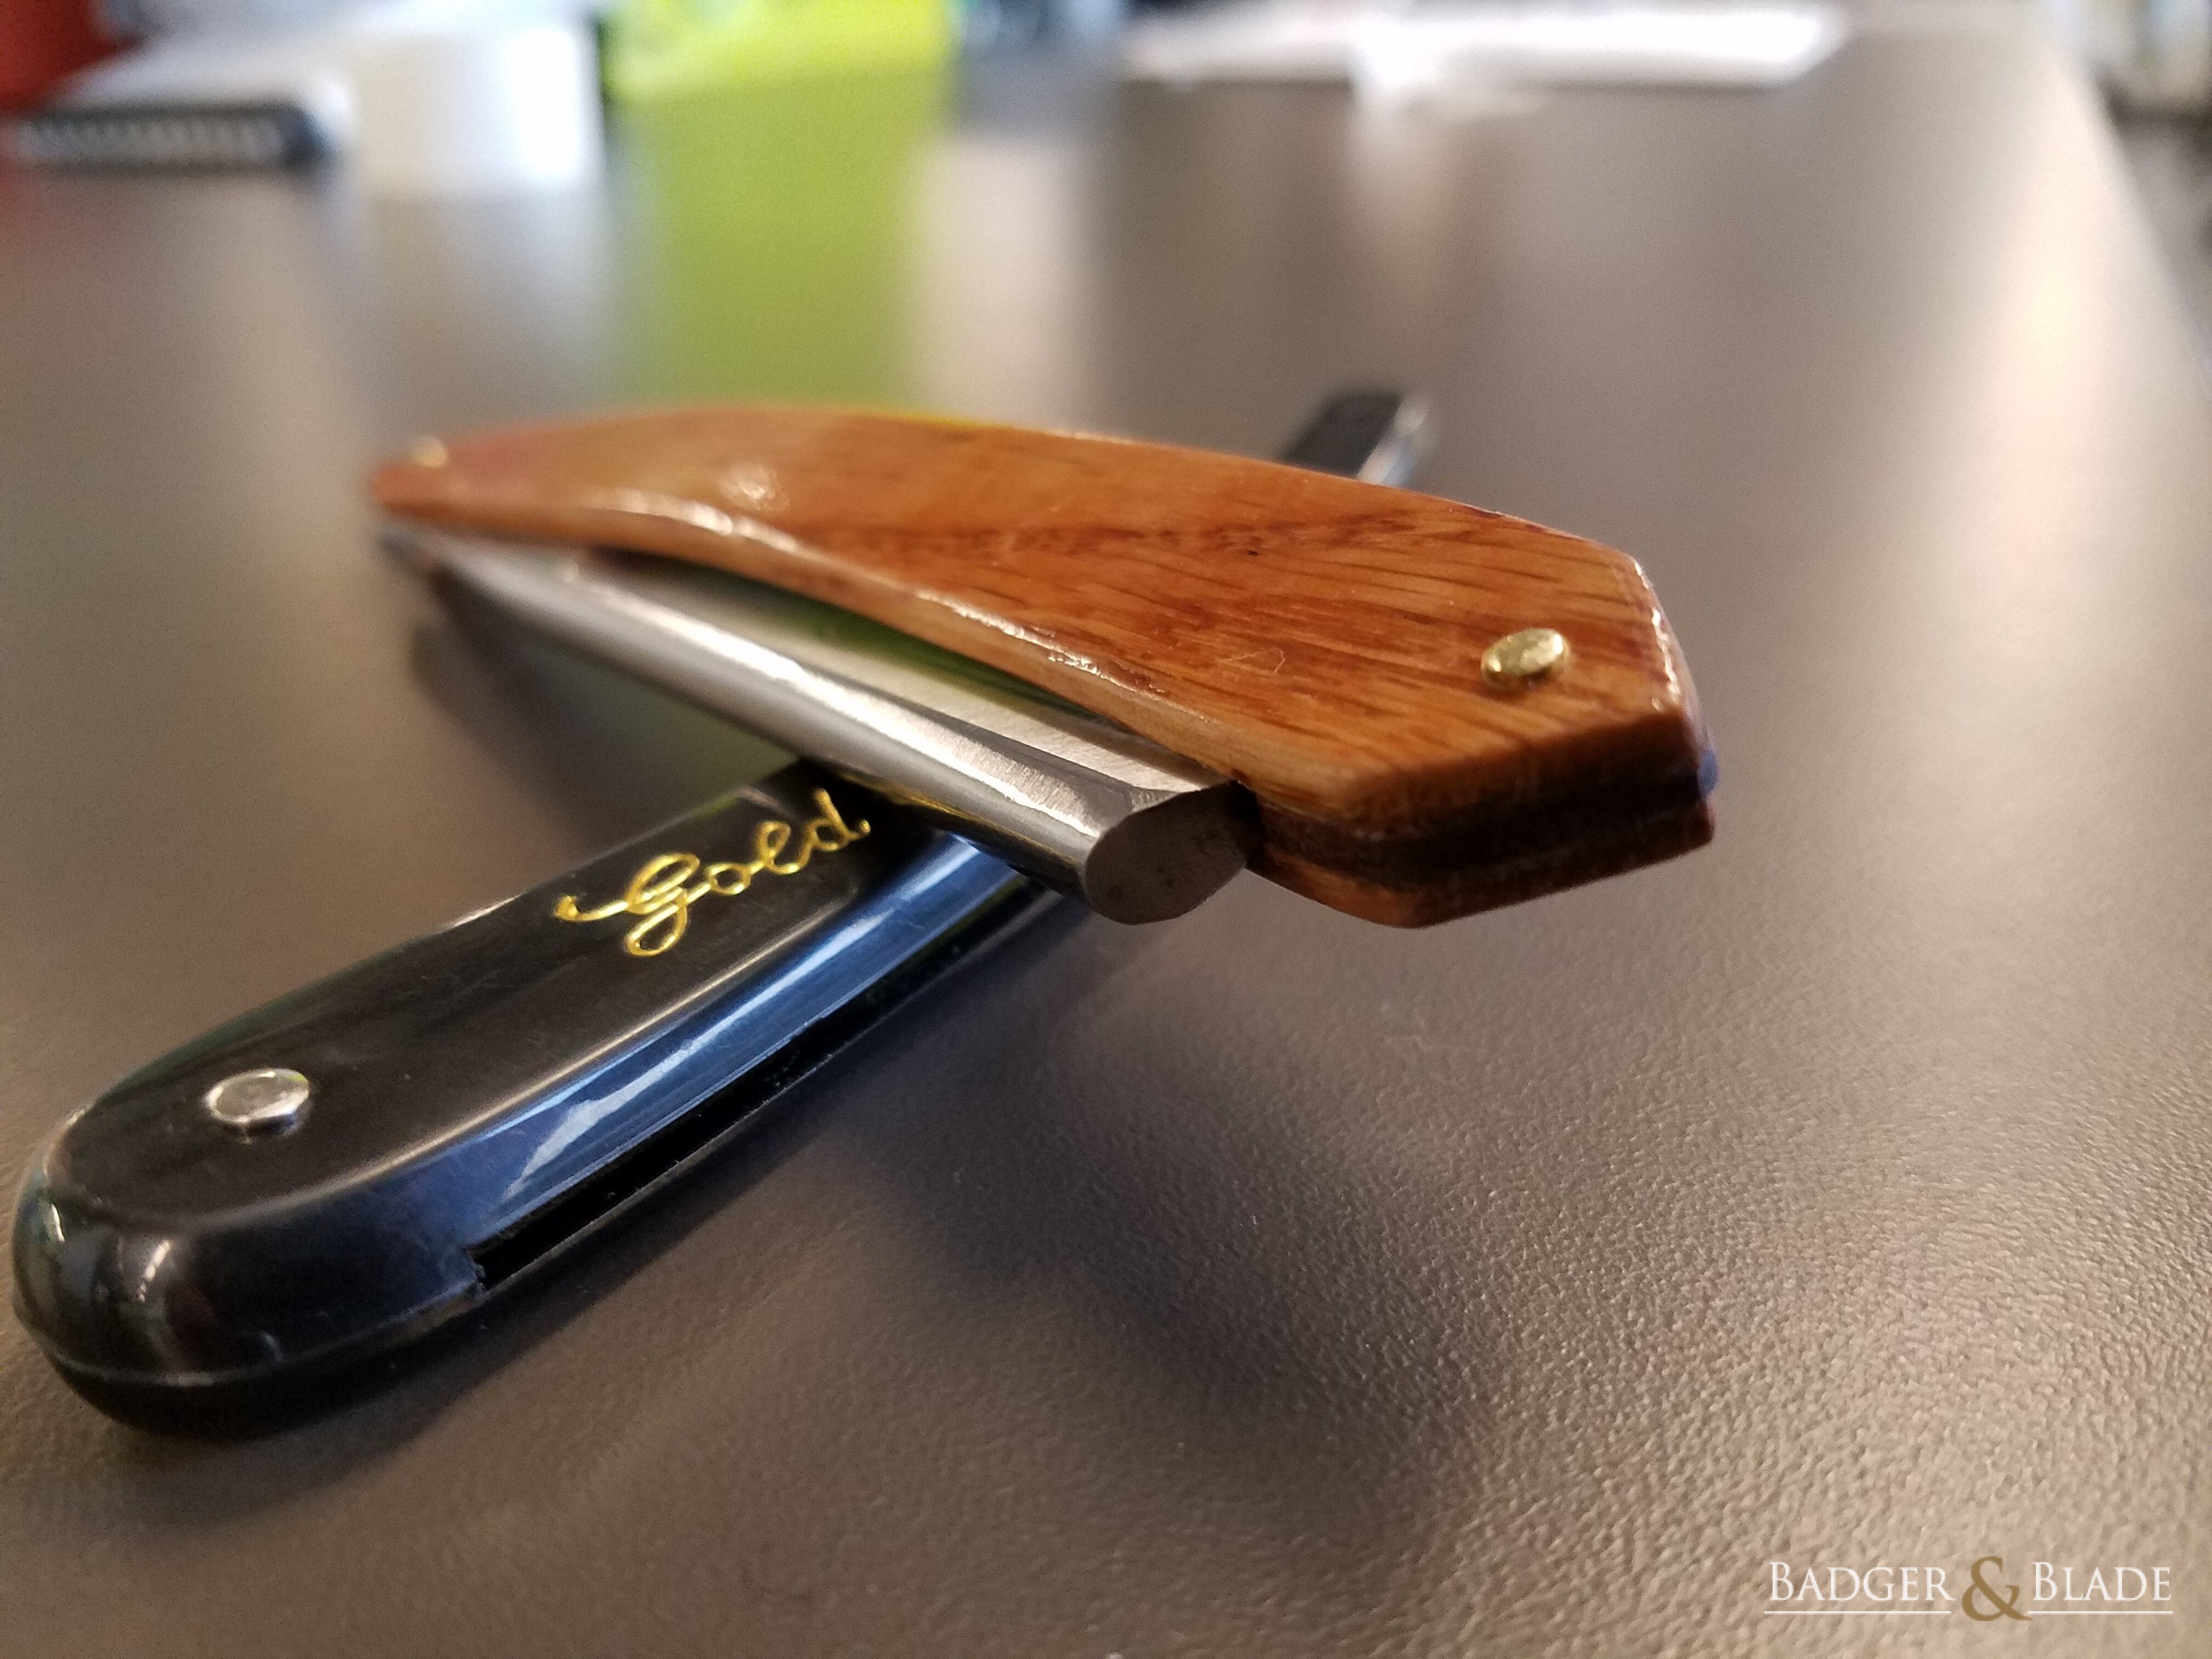
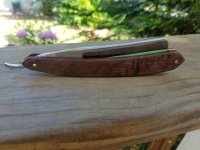
6. MAKE SURE THE BLADE WON'T HIT THE WEDGE!
I had drilled the hole accordingly on my oak wedge, but then used the walnut wedge instead. This is again one of the drawbacks from going back and forth, working in brief intervals here and there. My walnut wedge was so much closer to the shape of the scales than the oak one that I didn't think about the blade, I just set it in, drilled the hole and epoxied. I was able to remove scale that was superglued, but the epoxy isn't budging. So I had to spend a good bit of time filing the wedge on the side, ruined the finish on the inside of the scale, and then had to realign everything.
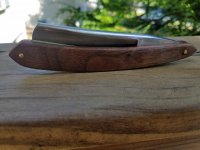
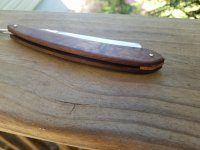
This is where I am currently at. If I had time to make a 3rd set of scales, I would just ditch these ones at this point, but I don't. I've decided to just make the best of it and finish it out while I leave my nicer looking walnut scales untouched until I make sure I don't screw anything else up. Unfortunately, I already drilled the wedge hole in those scales, so I'll have to be more meticulous about drilling thru the wedge. Next time I decide to make scales, I'll have to do as much as I can in one sit down so I don't keep mixing things up, and hopefully can make several sets at one time.
So I recently got into SR shaving, I bought a Gold Dollar 300 shave ready off Etsy which I like pretty well, other than the cheap plastic scales. I got two GD 66's I plan to mod in May, so after getting one shave ready, I decided I could rescale my 300. My wife is 8 months pregnant, my son is 22 months old and gets into everything, we just turned our guest/junk room into a nursery so we are officially out of space. I don't have a garage or workshop. This is really poor timing on my end, but when I get something in my head, I can't get it out. So I've been doing my best to make scales in 5-10 minute intervals back and forth between work and home. This has caused me much grief in this process, so here is a good list of things NOT to do.
1. Don't cut 1/8" thick blanks with a tablesaw:
It starts with cutting a "blank" to make your scales. I don't have a bandsaw or tablesaw easily at my disposal, but I lucked out when my father-in-law mistakenly brought his tablesaw instead of his mitre saw while I was redoing the floor in the nursery. I seized the opportunity to quickly cut 1/8" of oak I had lying around. It went surprisingly well. Except as I got further into shaping I realized the kerf marks were pretty deep and after sanding and sanding, my scales were getting pretty thin. Should've cut them a little oversized, you can always remove but you can't add back. Oh well, it's my first try and it probably won't matter so I continue on.
2. Fill the pores early in the sanding process
After having already sanded a good chunk off of my scales, I noticed the big open grains in red oak. I've never finished anything wooden to be so smooth and then took to reading about how you need to fill the pores in soft woods and some hard woods (oak and walnut included. Which happen to be what I've been working with). I read if you're finishing with an oil, you can wetsand with 100 grit or so using your oil finish to fill the pores, then progress through the finishing grits. My wood was already pretty thin at this point, but I didn't have much of a choice, so now it's thinner.
3. Mineral oil does not dry. Don't use it unless you want to maintain it. Boiled Linseed Oil is cheap.
Given my schedule and time constraints to actually working on projects, I have a bad habit of reading all of the different things I could be doing. After reading about the wetsanding on oils (and also that Tung oil finish is NOT tung oil), I was trying to decide what to use. In a rabbit hole of the internet, and unrelated to scales particularly, I read about mineral oil finishing on wood and how it's often used in the kitchen on cutting boards and knives. Well I'm home and have a few minutes to finally wetsand/seal the grain. I grab the mineral oil from my cabinet and pore it on and immediately realized that was a mistake, but it's also a little too late. I go ahead and wetsand anyways because I can't really get the oil back off. I decide instead of my GD300, I will use this on one of the 66's since I'm going to modify them in 2 months anyways. It will be good practice pinning the scales and at least I still made it myself.
4. Don't finish the scales before the wedge is shaped.
I decided I would just use some polyurethane just to see what happens and help fill the pores (a slurry of nondrying oil doesn't help if it doesn't dry in the pores). So after a coat, I'm pleasantly surprised to see it dried well and almost seems to have pushed some of the oil out (the urethane was hard but oily on the surface, after wiping it down, the oil was gone but still hardened surface). I sand and apply a couple more coats and look at my very bulky wedge sitting off to the side. I realized I'm going to have to redo the finish at least in part after the wedge is shaped. The whole process is screwed up so I don't care at this point.
The order of these next two is probably wrong, but this is the order that I made the realizations.
5. If you aren't using temporary nuts and bolts, don't drill the wedge hole until you epoxy the wedge to the scales.
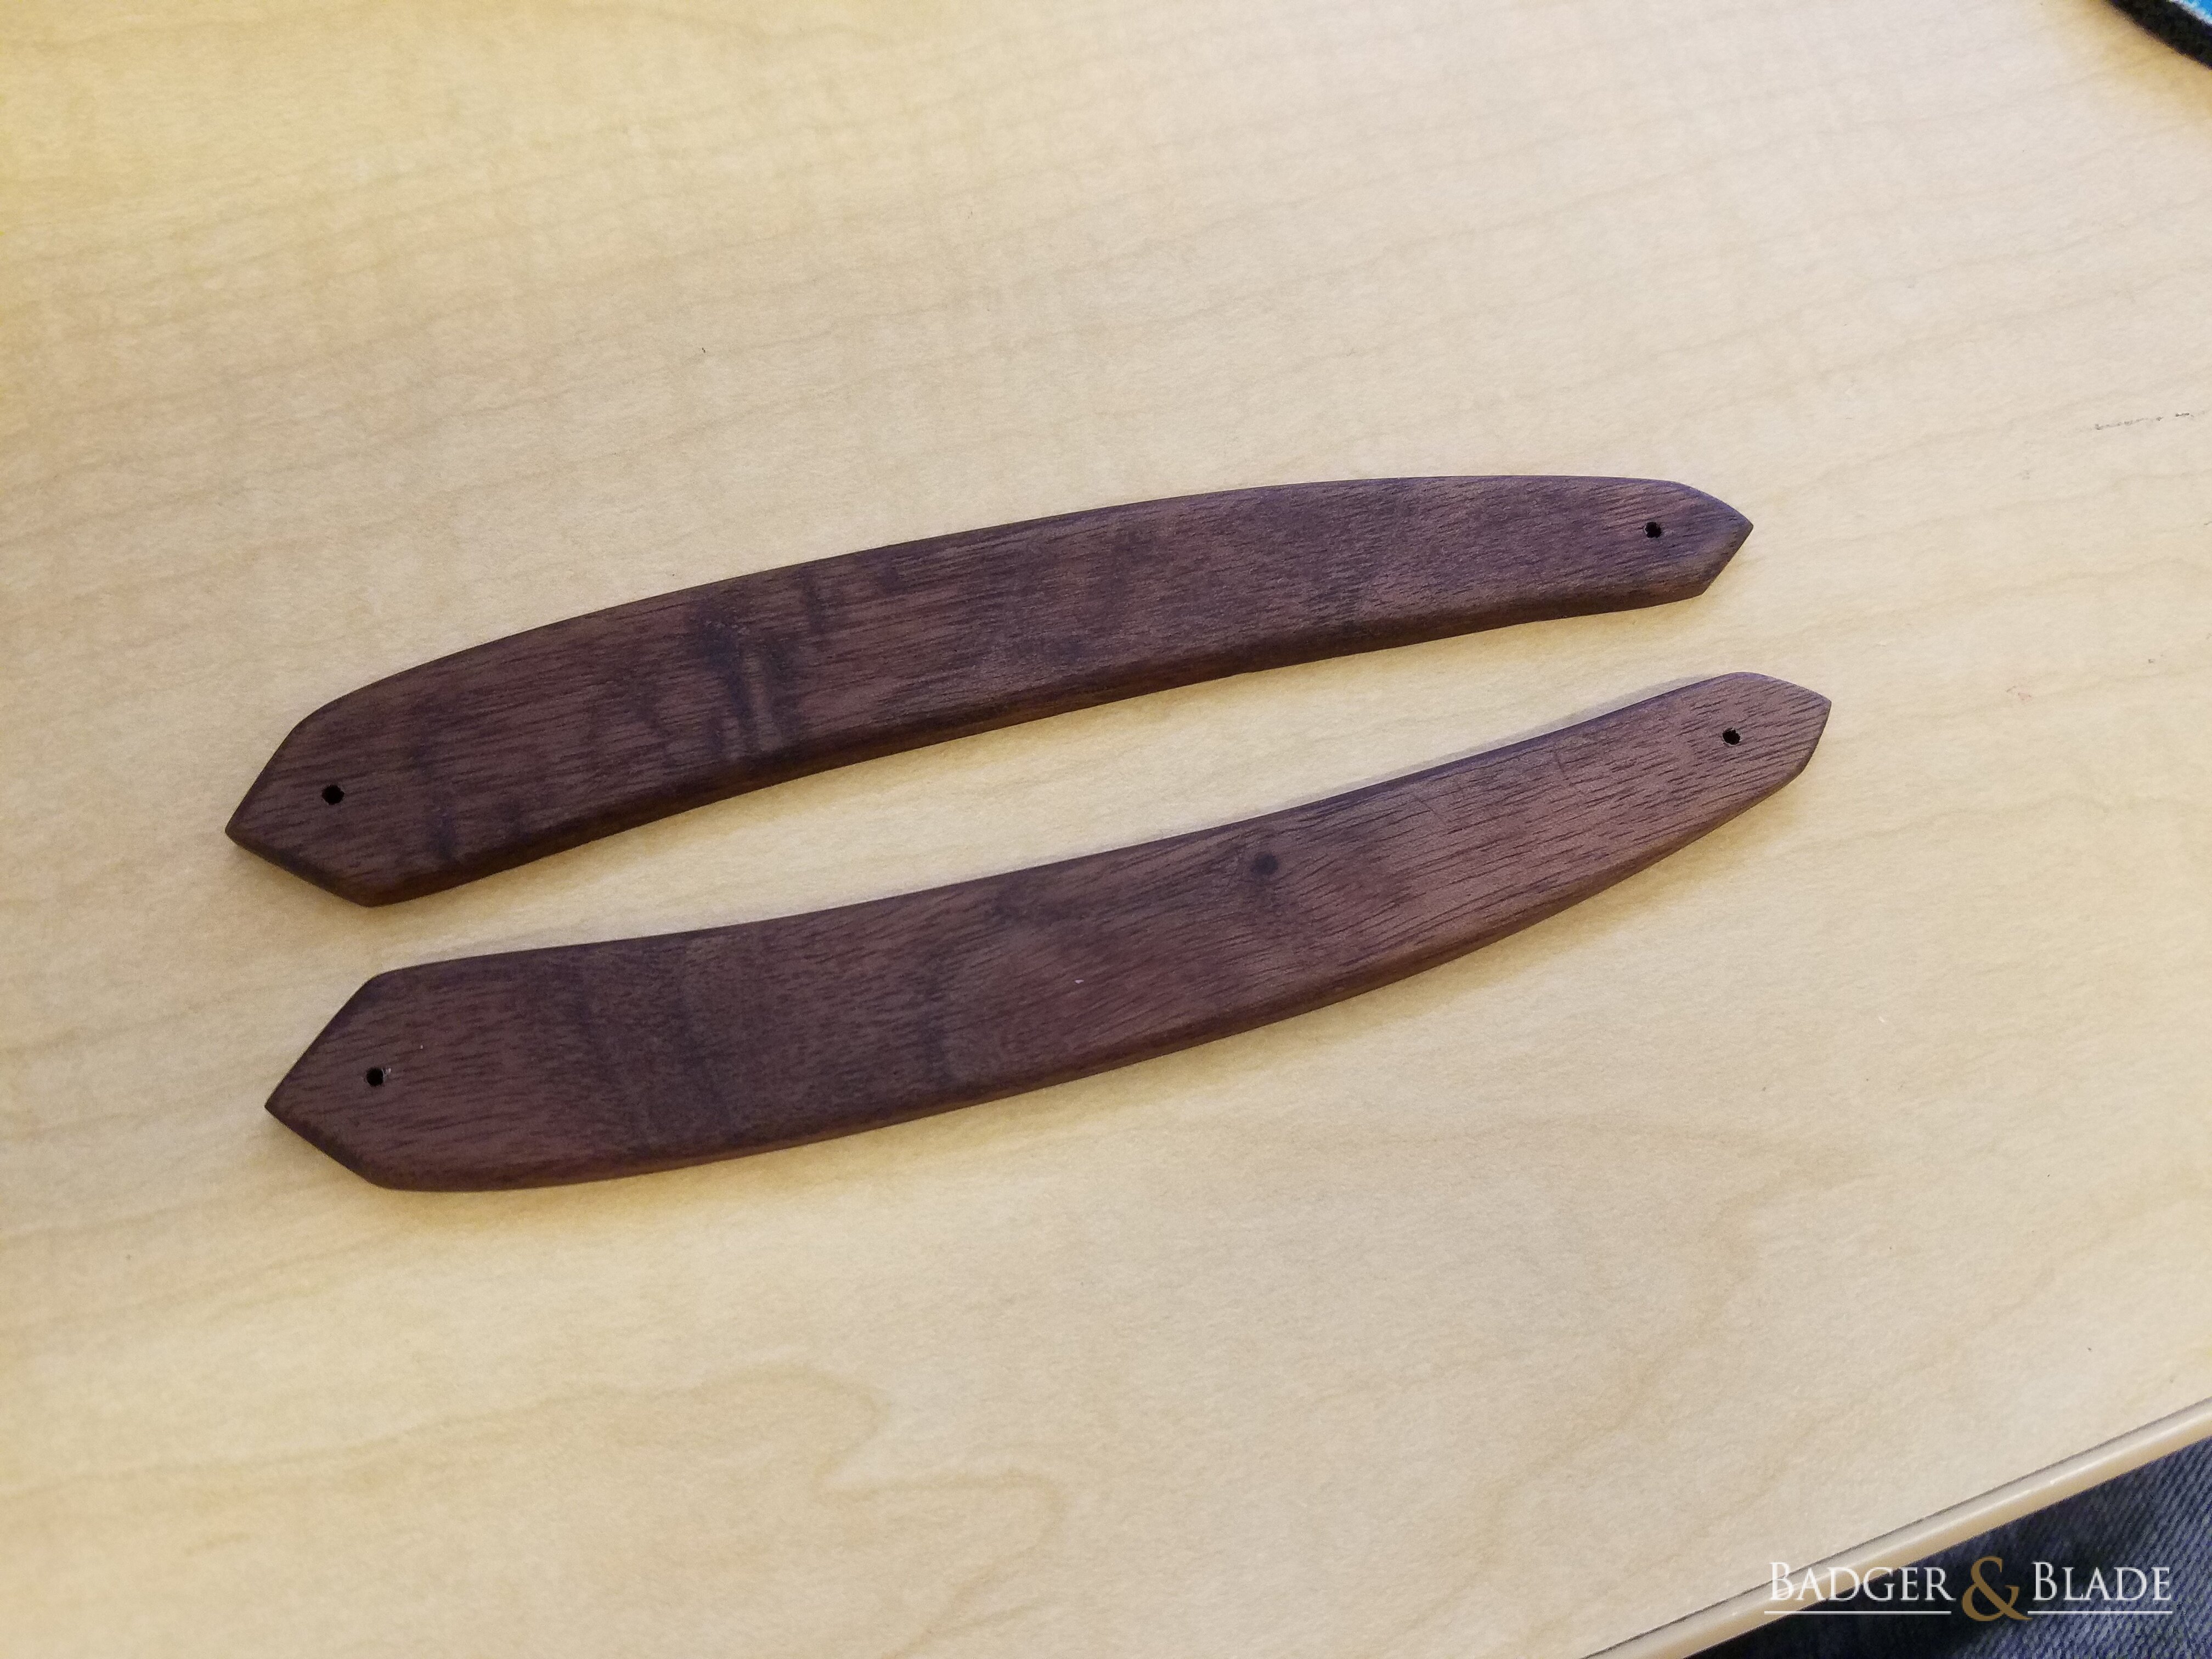
This might be up for debate, I could be wrong, but I read a lot of how-to's and generally they either use the bolts, or were acrylic, or I just messed up. I had an oak wedge that I hadn't shaped much yet, but after reading one of the tutorials, I believe I drilled the hole thru both scales and the wedge at the same time, because the wedge gives a slight angle, things line up better this way. However, after all of the mistakes I've made to this point, I started making a second set of scales in walnut (which so far has been going much better). But I decided instead of oak on oak and walnut on walnut, I would do the inverse. The walnut wedge is much closer to the actual shape, but didn't have a hole in it yet. I realized I couldn't effectively shape it without having it attached to the scale somehow, so I lined it up how I wanted it, drilled a hole, used one of my pins to align it to one scale (might've been a mistake also) and epoxied it in place to that one scale. One of the tutorials suggested it's easier to pin the blade and washers if you leave one scale off. So after shaping the wedge pretty close to the scale, I decided I needed the other scale in place before hand sanding. The hole thru the wedge is at a slight angle (drilling straight down on an angled surface will do that) now the two scale holes don't line up correctly. I widen the hole slightly, it's workable, but not ideal. I use a little bit of superglue so I can sand it without it moving, as I don't want to pin it and then re-apply finish over the pin. With acrylic, etc. this wouldn't be an issue as you could polish the surface, pin the wedge and then re-polish the side after finishing the wedge sanding. I decide to fit the blade to make sure it's not going to run off into the scales due to the slight misalignment and..
6. MAKE SURE THE BLADE WON'T HIT THE WEDGE!
I had drilled the hole accordingly on my oak wedge, but then used the walnut wedge instead. This is again one of the drawbacks from going back and forth, working in brief intervals here and there. My walnut wedge was so much closer to the shape of the scales than the oak one that I didn't think about the blade, I just set it in, drilled the hole and epoxied. I was able to remove scale that was superglued, but the epoxy isn't budging. So I had to spend a good bit of time filing the wedge on the side, ruined the finish on the inside of the scale, and then had to realign everything.
This is where I am currently at. If I had time to make a 3rd set of scales, I would just ditch these ones at this point, but I don't. I've decided to just make the best of it and finish it out while I leave my nicer looking walnut scales untouched until I make sure I don't screw anything else up. Unfortunately, I already drilled the wedge hole in those scales, so I'll have to be more meticulous about drilling thru the wedge. Next time I decide to make scales, I'll have to do as much as I can in one sit down so I don't keep mixing things up, and hopefully can make several sets at one time.