What's new

Gillette Slim restauration/cleaning

Isopropyl alcohol will work fine, and I still use mineral oil for lubrication, just a couple of drops down the top of the shaft and in the bottom of the razor. I do this maybe once every couple of years! Enjoy your razor!!!

Tom
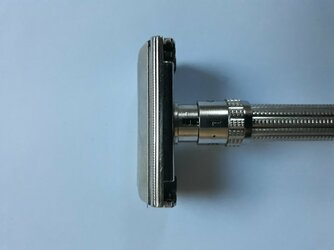
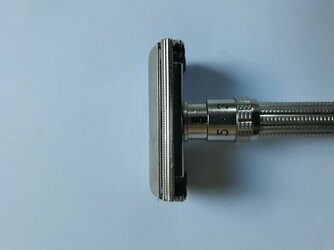
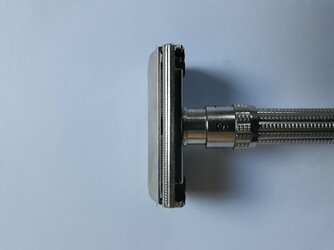
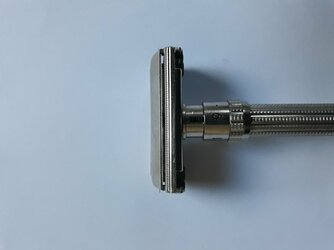
That are good news! Thanks for your help! :)
 
When my Gillette Slim will arrive, I want to try a setup, which is as "original" to 1964 as possible - I would
like some vintage blades which were sold together with the Gillette Slim those days. I searched for 'vintage razor blades' with
searx be and got some matches a EBay...but those were a crude mix of "everything razor" plus "everything vintage" plus "everything blades"
Are there any place known, which delivers to germany for a reasonable price and sells vintage razor blades?
You may try posting a WTB for 1964 blades in the BST forum, someone here may have some they’re willing to part with.
 
Last edited:
Today the Gillete Slim arrived. It is in good condition.

The only drawback is a slightly misaligned safety bar on one side.

Problem for me:
What is the correct blade gap at which position of the adjustment knob and how can I measure it?
When looking at the safety bar in question (perpendicular to the edge of an inserted blade):
How can I decide, whether the left side of the safety bar is too low or the right side to much up?
How hard is it to correct this?
 
R

romsitsa

Different sources give different measurements, so if you insist on measuring check 2-3 settings and pick a list that has the closest numbers to your measurements.
The edge of the safety bar should be parallel to to the handle. Or check distance between the little opening peg of the door and the edge of the safety bar.
Depends on what is bent, but it is pretty easy requiring a knife or screwdriver.
It can be that the bar is straight and the doors are crooked. Slims and BBs usually have some play at lower settings.
 
The edge of the safety bar should be parallel to to the handle.
That sentence confuses my spatial orientation.. ;)
Sorry, I don't understand...

I used the screwdriver trick but with the screwdriver of my swiss pocket knife, which seems to be a good amount wider. It is chrome plated and has rounded edges so I think it is lesser likely to scratch the nickel plating with it.
Can you post photos of how it is at the moment? That may help.
 
Will try that later...it is 3:37 local time in the morning/night here and too dark for my limited camera. The light of my desk has not enough power for a steady image...and no flash available...
 
Will try that later...it is 3:37 local time in the morning/night here and too dark for my limited camera. The light of my desk has not enough power for a steady image...and no flash available...
I understand. Wait for daylight :) A couple of pictures of the razor head and safety bar misalignment would be useful. Small plyers would be useful if you have any. I think there is a Razor Emporium tutorial on how to fix this kind of problem. I will have a look for you.
 
In the meanwhile I could limit/fix the misalignment with the screwdriver of my swiss pocket knife...kind of...
But: Both sides are different and I think, that the gap is too small. I had to crank up the adjustment knob to five
to "instruct the razor" to change from "counting stubbles" to actually "cutting stubbles". I ordered a feeler gauge
to measure the gap, which hopefully will arrive the next days or so.
 
R

romsitsa

Gillette Slim adjustable 06.jpg
 
Oh! :) Ah! :) And I thought of "the edge of the safety bar" as of the line, which is parallel to the edge of the blade...
Thanks a lot for the photo, romsitsa ! :)
 
The sun is shining and reached my window (not facing to the east...)
Here are the photos of the head of my Gillette Slim.
I took photos of the settings "1", "4" and "9" from the front and the back of the head. A blade was inserted and locked.
If any other view is needed, please don't hesitate to ask! :) :)
 

Attachments

  • 20220105_093213.jpg
    20220105_093213.jpg
    567.1 KB · Views: 54
  • 20220105_093235.jpg
    20220105_093235.jpg
    570.5 KB · Views: 49
  • 20220105_093343.jpg
    20220105_093343.jpg
    513.8 KB · Views: 44
  • 20220105_093401.jpg
    20220105_093401.jpg
    527.3 KB · Views: 46
  • 20220105_093545.jpg
    20220105_093545.jpg
    514.7 KB · Views: 44
  • 20220105_093607.jpg
    20220105_093607.jpg
    488.3 KB · Views: 50
R

romsitsa

Looks to be underclocked, the wavy blade is "normal" caused by the uneven bottom of the door.
Can't see wether the bar is straight or not.
 
What means "underclocked" in this context...I only know of underclocked CPUs, GPUs and MCUs... :)
...and how can I make the photos more "speaking"...?
 
R

romsitsa

Under- overclocked means that someone compressed the clicker spring and turned the adjuster dial under 1 or over 9.
In you case it looks like the dial was turned under 1, so you dial up to 9 then compress the spring and turn the dial to 1 or above.
 
Is that fixable by someone, who has just bought his first Gillette Slim?
Very easy to do -- turn the dial to "9" then (I use a toothpick because it's a bit milder/won't scratch) taking a toothpick or small pick/screwdriver, push the clicker spring in towards the handle and while holding the spring down (i.e., compressed), turn the adjustment knob from 9 to 1 (you're going past the hard stop of the adjustment knob to put the razor at the factory setting of 1). It will turn easily as long as you have the spring compressed far enough--it doesn't take much to compress the spring, so be gentle, don't force it. Once the adjustment knob is at "1" release the pressure on the spring and slowly/gently turn the adjustment knob toward the 2 so that the spring fully engages. Once the adjustment knob is at the proper "1" setting, you will notice a big difference when adjusting the knob from 1 to 9. Once that is done, you can check the gaps and adjust as necessary. If you've come this far, resolving an overclocked Slim is easy and makes a world of difference.
 
Whow! As I first read "your Slim is underclocked" I thought "Oh S[..]t! End of the tunnel...I bought a dummy!".
But that it is THAT easy to fix this problem is wunderful! THANK YOU! :)
 
Top Bottom