to compliment the December challenge, I have lifted a tutorial. Thanks you the author. the article as well as linke to part 2 and 3, are here: http://www.digital-photo-secrets.com/tip/1579/night-photography-primer-the-world-at-night/

I know a lot of photographers who only really take pictures during the day. As someone who likes to have everything work right away without much extra effort, I can understand why. The night, after all, is kind of challenging to photograph. Theres a lot more setup time and a lot more room for error. You need to find the good spots, and it can take a little work. This is the first in a series of articles to help you get the best night photographs.
I wish my friends could know what I know about night time photography. If they did, I think theyd see why Im so attracted to it. Yes, its much more work when you dont have the sun shining down to give you those nice and fast shutter speeds. And yeah, you do need to lug a tripod around town with you (not all the time, but most of the time). Still, when everything does come together, night time photography is one of the more rewarding things youll do as a photographer.
Theres so much room for creating pictures bursting at the seams with color contrast. Thats what appeals the most to me as a photographer. During the day, you usually have to wait for the right moment with the light. Thats not so when youre shooting at night. As long as something is giving off light, it doesnt matter when you photograph it. The light doesnt change that much at all.
 Youre probably wondering where to get started with night photography. Ill tell you right now. You will definitely need a tripod. Without one, youre pretty much lost when it comes to getting most night time shots.
Why is that? Well, in order to get a bright enough picture at night, you have to leave your cameras shutter open a lot longer than you would during the day. Heres a comparison. During the day, your camera opens and closes its shutter in less than two hundredths of a second. At night, youll often keep your cameras shutter open for longer than five seconds.

Bring on the neon lights!
These are some of the most colorful pictures youll ever take.
Not much can happen in two hundredths of a second, but a lot can happen in five seconds. Imagine what would happen if someone were to violently shake the canvas as youre panting, and you can start to get an idea of what camera shake does to your pictures. Using a tripod at night prevents all of this. It keeps the canvas, which is your digital cameras image sensor, from moving while the light from outside does the painting.
Do you need a fancy digital SLR to get started with night photography? Not at all. While it certainly does help to have all of those settings, the most important thing of all is what I just mentioned, stabilizing your camera. It doesnt matter if your camera is a digital SLR or a point and shoot. If it isnt stable, it wont get the shot.
If youre using a point-and-shoot, try to look for some way to control the shutter speed. By controlling the shutter speed, you can tell your camera to take in more light, which is exactly what you need for night photography. If you cant control the shutter speed directly, use your cameras night mode. It wont give you the same fine degree sort of control, but you will get enough to do what you want with the shot.
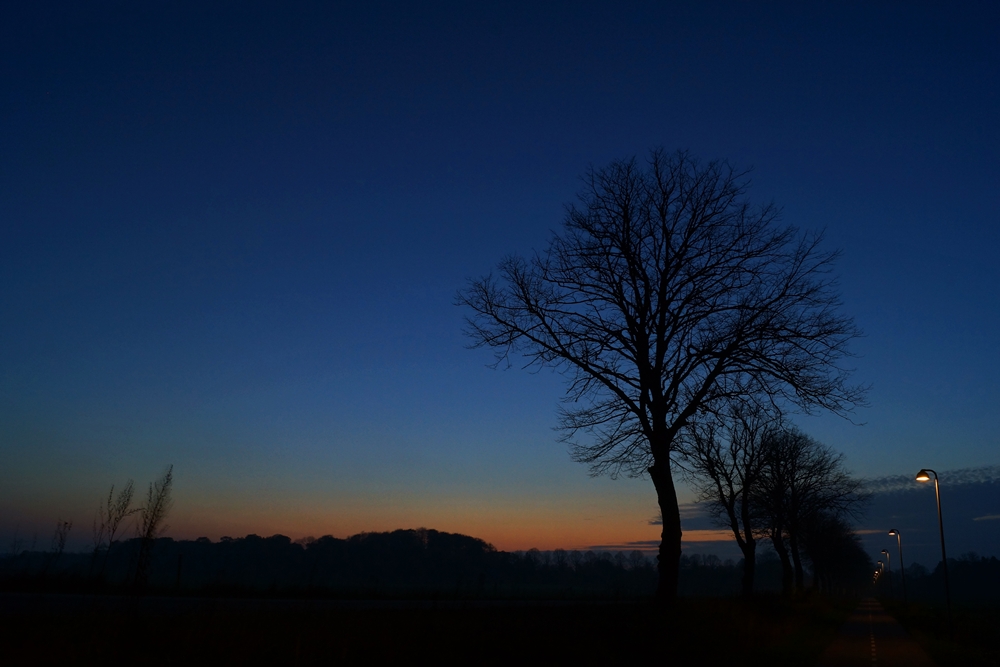
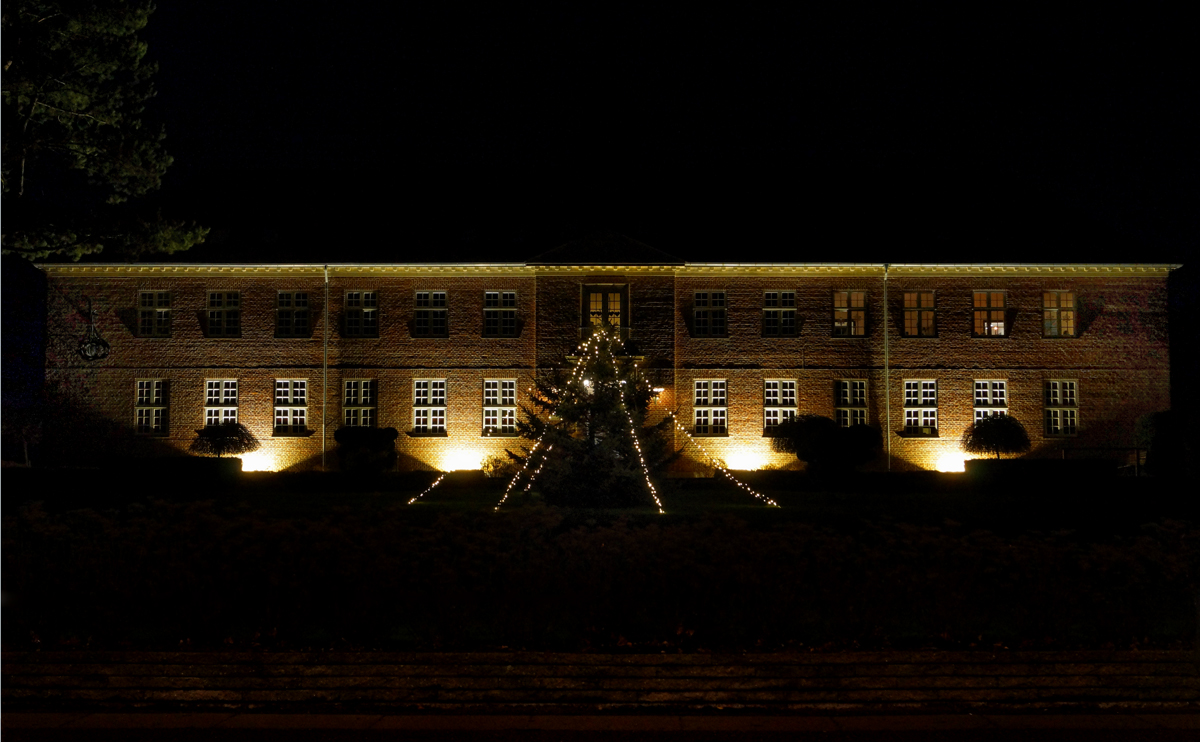
The most important thing to consider is your light source and whats being illuminated. Thats the key to getting good photos at night. Sometimes a lone streetlamp works if its illuminating an interesting subject. Oftentimes it doesnt work precisely because its all alone and there isnt much of anything else to bring your viewer into the photo.
Heres what I think works:

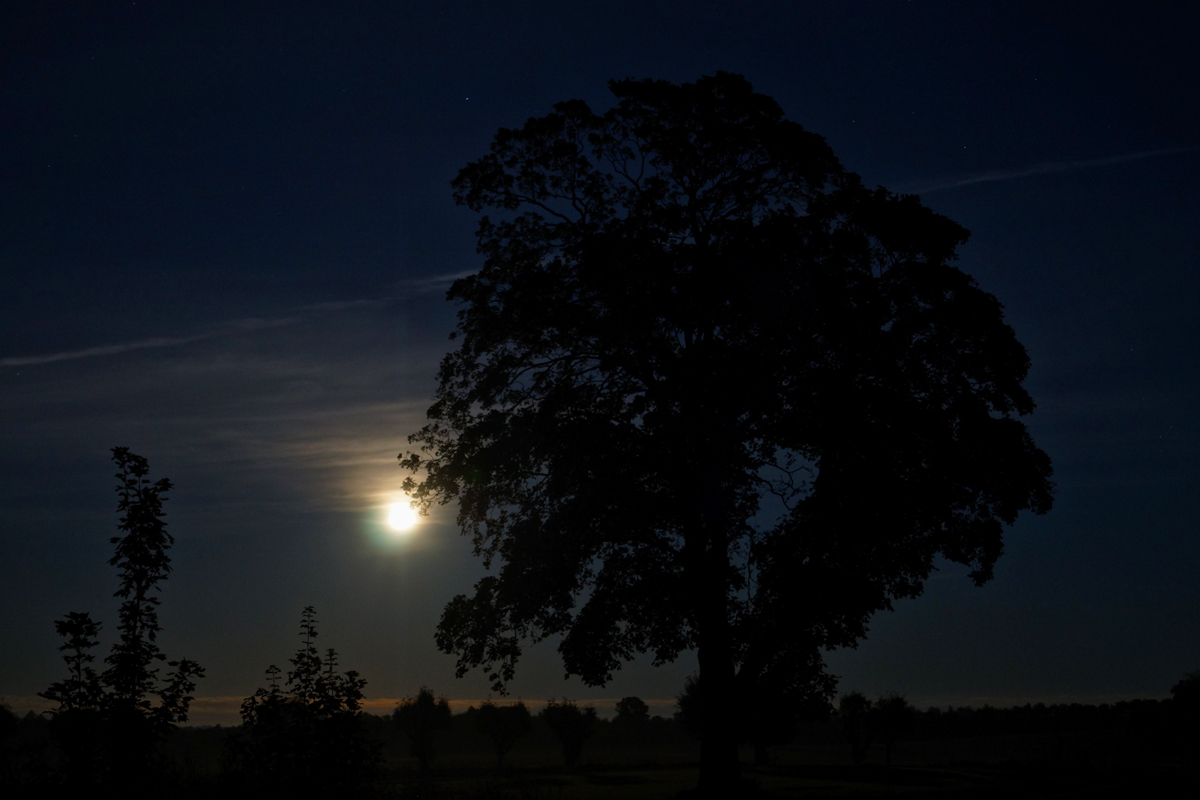
What a gorgeous night time silhouette using the moon as a light source.
I could go on and on. As a matter of fact, I will. Just not now. In the rest of the series, were going to attempt to take each one of these types of pictures. Well look at some very specific lighting techniques and other technical bits that youll find, for lack of a different word, illuminating.
Before we do that, I have a homework assignment for you. If you dont have a tripod, get one. If you do have a tripod, go out tonight and pay attention to the two most important things. What is the light, and what is it illuminating? Write down two examples of something interesting being illuminated by interesting light. Please share them in the comments, and most importantly, have fun!
Night Photography Primer: The World At Night
by David Peterson 2 comments
I know a lot of photographers who only really take pictures during the day. As someone who likes to have everything work right away without much extra effort, I can understand why. The night, after all, is kind of challenging to photograph. Theres a lot more setup time and a lot more room for error. You need to find the good spots, and it can take a little work. This is the first in a series of articles to help you get the best night photographs.
I wish my friends could know what I know about night time photography. If they did, I think theyd see why Im so attracted to it. Yes, its much more work when you dont have the sun shining down to give you those nice and fast shutter speeds. And yeah, you do need to lug a tripod around town with you (not all the time, but most of the time). Still, when everything does come together, night time photography is one of the more rewarding things youll do as a photographer.
Whats so great about night photography?
Night photography will always be interesting because its extremely colorful. At no other time is there such a presence of contrasting colors everywhere. Youve got the bright reds and whites of cars passing by as well as the neon glow of signs on the boulevard. If youre taking pictures at twilight, you can get some of the purples from the long gone sunset.Theres so much room for creating pictures bursting at the seams with color contrast. Thats what appeals the most to me as a photographer. During the day, you usually have to wait for the right moment with the light. Thats not so when youre shooting at night. As long as something is giving off light, it doesnt matter when you photograph it. The light doesnt change that much at all.
The Essential: A Tripod

Why is that? Well, in order to get a bright enough picture at night, you have to leave your cameras shutter open a lot longer than you would during the day. Heres a comparison. During the day, your camera opens and closes its shutter in less than two hundredths of a second. At night, youll often keep your cameras shutter open for longer than five seconds.

Bring on the neon lights!
These are some of the most colorful pictures youll ever take.
Not much can happen in two hundredths of a second, but a lot can happen in five seconds. Imagine what would happen if someone were to violently shake the canvas as youre panting, and you can start to get an idea of what camera shake does to your pictures. Using a tripod at night prevents all of this. It keeps the canvas, which is your digital cameras image sensor, from moving while the light from outside does the painting.
Do you need a fancy digital SLR to get started with night photography? Not at all. While it certainly does help to have all of those settings, the most important thing of all is what I just mentioned, stabilizing your camera. It doesnt matter if your camera is a digital SLR or a point and shoot. If it isnt stable, it wont get the shot.
If youre using a point-and-shoot, try to look for some way to control the shutter speed. By controlling the shutter speed, you can tell your camera to take in more light, which is exactly what you need for night photography. If you cant control the shutter speed directly, use your cameras night mode. It wont give you the same fine degree sort of control, but you will get enough to do what you want with the shot.
What are the best subjects to photograph at night?
Thats a good question because there are just so many options. Like daytime photography, it really depends on what you personally prefer to photograph (plus whats around you). Some people like vibrant cities while the nature lovers go for starlit landscapes.The most important thing to consider is your light source and whats being illuminated. Thats the key to getting good photos at night. Sometimes a lone streetlamp works if its illuminating an interesting subject. Oftentimes it doesnt work precisely because its all alone and there isnt much of anything else to bring your viewer into the photo.
Heres what I think works:
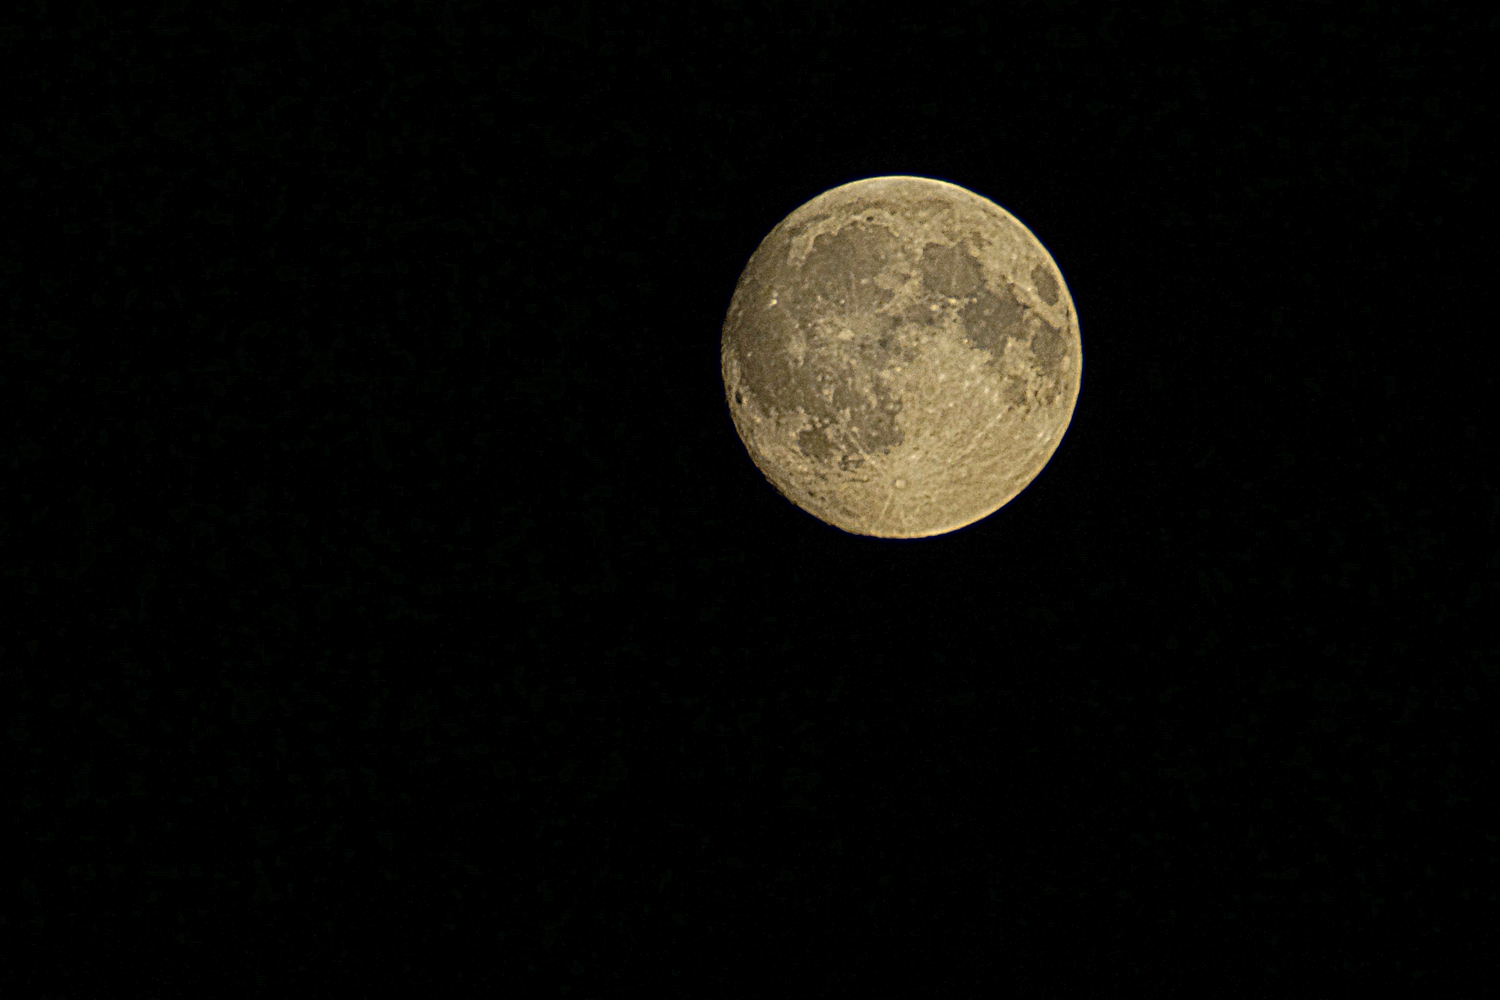
- Moonlit scenes with everything scarcely lit;
- Cityscapes with cars buzzing through the most visually interesting parts of the frame and;
- Avenues so bright from neon signs that you can see everything in crisp detail.
Silhouettes
The night is also a great time to capture silhouettes. Most silhouettes have the same old lighting that were used to. Weve seen dozens and dozens of images with the sun behind the subject, but how many do you see with bright lights behind your subject? It isnt done all that often, and thats what makes it interesting.
What a gorgeous night time silhouette using the moon as a light source.
I could go on and on. As a matter of fact, I will. Just not now. In the rest of the series, were going to attempt to take each one of these types of pictures. Well look at some very specific lighting techniques and other technical bits that youll find, for lack of a different word, illuminating.
Before we do that, I have a homework assignment for you. If you dont have a tripod, get one. If you do have a tripod, go out tonight and pay attention to the two most important things. What is the light, and what is it illuminating? Write down two examples of something interesting being illuminated by interesting light. Please share them in the comments, and most importantly, have fun!


