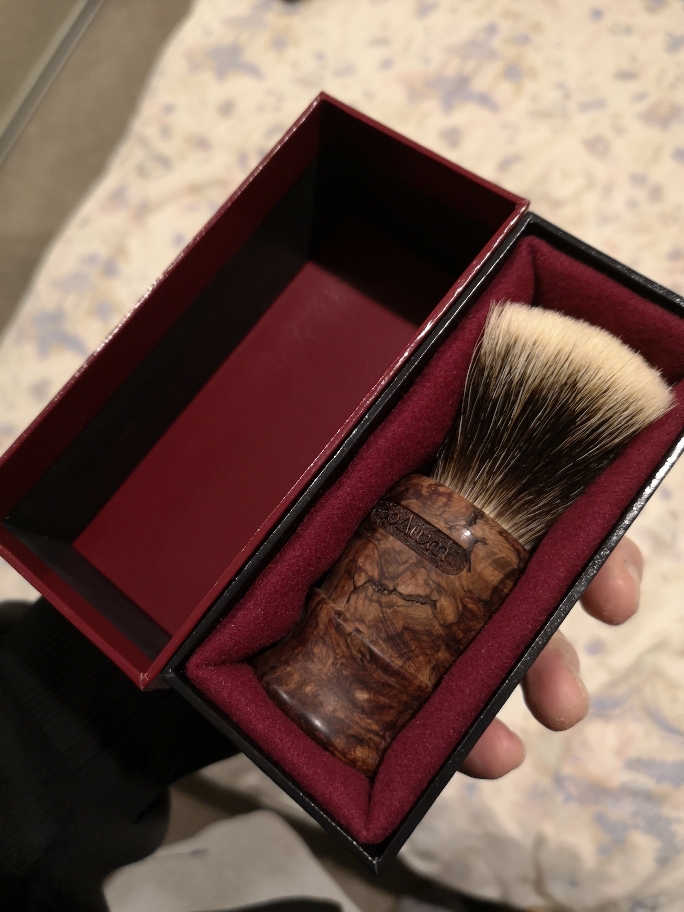
What's new

Building boxes?

timwcic

"Look what I found"
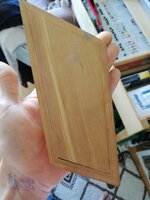
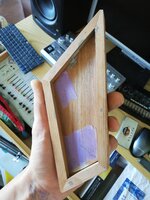
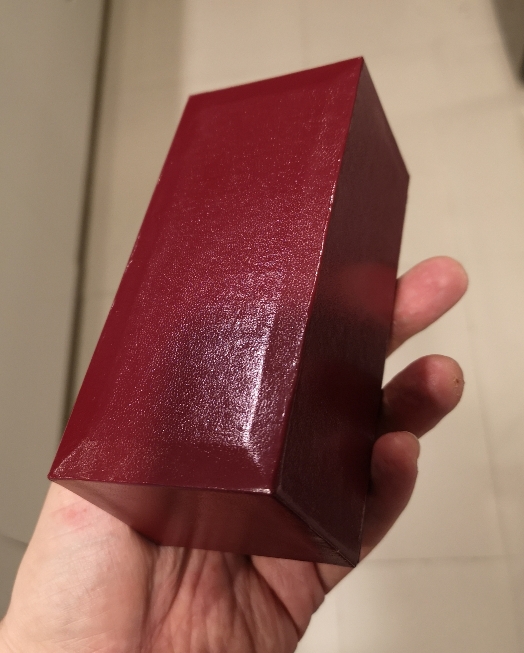
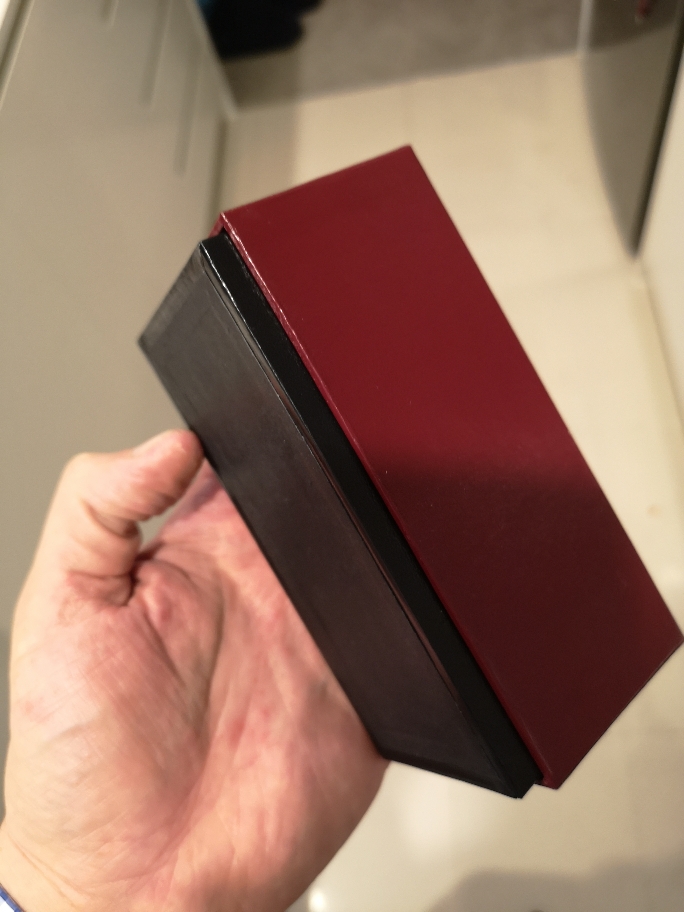
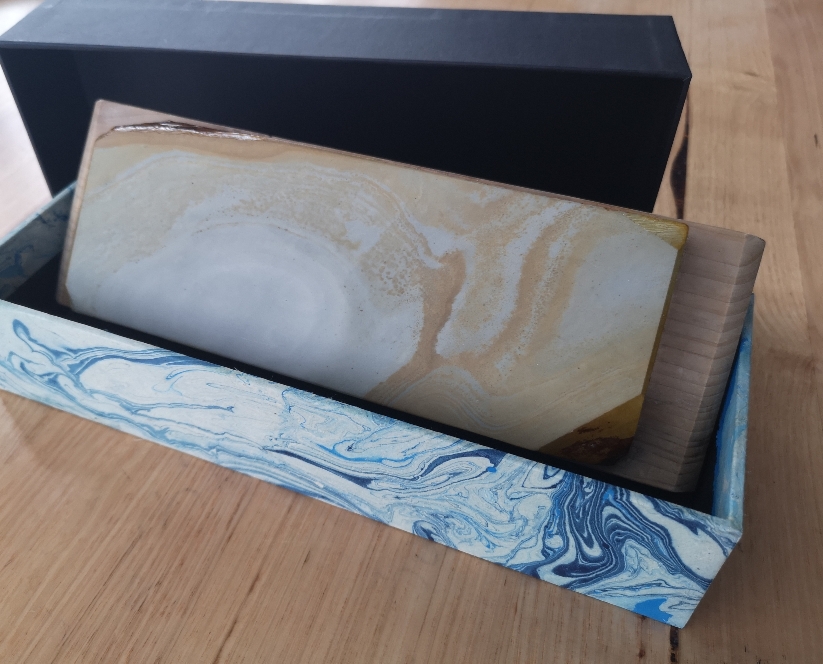
I few wild found stones that are worthy of a home. I also got the wood, that I think is a type of cedar but has no aromatic characteristics, from the flea market. Split on a bandsaw and ripped into all the pieces. A wipe of golden stain to finish

6E40E998-3C6E-4BD7-8E91-E5373F82C2B3.jpeg
968EEB7E-1D3E-4667-8CE7-32E3AC28E1A7.jpeg
56FBA984-C32E-40C2-931C-ACFF9633D94C.jpeg
7115BC0C-62F5-457D-BBB3-BB5278626BF3.jpeg
05681177-D4F0-4095-8793-6F6BDAAE5B61.jpeg
D0EC0E1A-9E3A-4945-BFC4-F571465754CF.jpeg
707286B2-787E-464C-B0E1-0C538FB342B4.jpeg
 
That looks beautiful Tim!!!

That's one thing I need for my stones, might make some this summer when the weather warms up some and its warm outside....

I really need to get my butt into action, and get a workshop sorted in the spare bedroom or build an outside workshop but we only have a small yard....
 

timwcic

"Look what I found"
That looks beautiful Tim!!!

That's one thing I need for my stones, might make some this summer when the weather warms up some and its warm outside....

I really need to get my butt into action, and get a workshop sorted in the spare bedroom or build an outside workshop but we only have a small yard....

Thanks to both of you. When you get you workshop up and going Ian, if your boxes are anything like your restro’s, we are in for a treat
 
Traced the profile of this coticule with a pencil straight on to the wood (cedar) and added measurements for dadoes(I'm Swedish so forgive me but I don't have 100% on English lingo) and made a couple of the aaaa... Mmmm whatsitcalled..... Öööööömmm... The stuff that acts as a wall around of the base. Anyways, I had alot of material so I had plenty for testing and to build with. Wrote notes a bout the degrees of each corner on tape (to me, its just more rational then a loos piece of paper) and cut it by hand. One thing I learned at school considering mitered(?) corners is that you can use plastic tape to aid you in your gluing. Glue with tape! One end is put next to each other along something straight, and then you fold it all together, creating sort of the desired result, and tape for mother and country at the last open joint, in this instance, the shape of a asymmetrical rim. If making a box with 90 degree corners, you can adjust the symmetry by using simply one or two clamps, and in my case the base did this for me. At least to a certain degree, as shown on the result on the bottom. It was near 100% while dryglueing but adrenalin and haste often works against you as you can see. How ever, the case makes a nice "ffffmp" sound when the stone enters the box so, almost there!
 

Attachments

  • 15919411400648191597510813899160.jpg
    15919411400648191597510813899160.jpg
    4.1 MB · Views: 24
  • 15919412680997104541255915490886.jpg
    15919412680997104541255915490886.jpg
    4.4 MB · Views: 25
  • 15919413376743251716772141830403.jpg
    15919413376743251716772141830403.jpg
    4.6 MB · Views: 22
Last edited:

timwcic

"Look what I found"
Traced the profile of this coticule with a pencil straight on to the wood (cedar) and added measurements for dadoes(I'm Swedish so forgive me but I don't have 100% on English lingo) and made a couple of the aaaa... Mmmm whatsitcalled..... Öööööömmm... The stuff that acts as a wall around of the base. Anyways, I had alot of material so I had plenty for testing and to build with. Wrote notes a bout the degrees of each corner on tape (to me, its just more rational then a loos piece of paper) and cut it by hand. One thing I learned at school considering mitered(?) corners is that you can use plastic tape to aid you in your gluing. Glue with tape! One end is put next to each other along something straight, and then you fold it all together, creating sort of the desired result, and tape for mother and country at the last open joint, in this instance, the shape of a asymmetrical rim. If making a box with 90 degree corners, you can adjust the symmetry by using simply one or two clamps, and in my case the base did this for me. At least to a certain degree, as shown on the result on the bottom. It was near 100% while dryglueing but adrenalin and haste often works against you as you can see. How ever, the case makes a nice "ffffmp" sound when the stone enters the box so, almost there!

Great work on a nice shaped house for the bout. The shape reminds be of the wedding fireplace in the movie Beetlejuice

EECAC57F-1A17-46E4-85C9-42F13766CDFE.jpeg
 

timwcic

"Look what I found"
Some homes for a few Washita stones. The walnut was recycled off a piece of furniture I scored dumpster diving. Split and cut up for the layup. I don’t normally use finish but the gallon of lacquer was a flea market score so decided to give it a go. I was surprised to discover that one of the pieces turned out to be quilted walnut while splitting so those two became tops. These worthy stones now have a nice place to live

562C2011-8D85-42D9-A0A0-94EAEFC489D5.jpeg
D8DAFC50-7F6D-43B4-9407-8430445D939F.jpeg
DA835CCF-21EE-48E8-968E-7C7A6D20A421.jpeg
63957D12-9D1F-4215-8CD6-163B09217873.jpeg
6A8DC086-27DE-4474-8AB6-3D8FC5C62CD1.jpeg
A4806959-E195-450C-8750-25A55B6F9DC5.jpeg
1D753F06-AFFB-4BE8-B095-9070672C3431.jpeg
 

timwcic

"Look what I found"
Been working on and off for the last month, time to finish. A piece of hurricane Charley wood turned into a home for a 12 inch Norton combo Soft/Trans

2B7802CD-E8B4-4028-A1F5-C04A9481FAD7.jpeg
45E019A2-8C6B-4203-B9E0-BD9E64BE1107.jpeg
 

timwcic

"Look what I found"
tim, those boxes look great! i am pretty jealous of your reclamation find.

thank you very much. I was surprised how beautiful wood from the trash appeared on my finished work. I’ve routed a few boxes in the beginning and they came out perfectly fine. I enjoy the Zen (Also hiding from SWMBO) Of cutting up the reclaimed wood to make these boxes for my Stones.
 
I've been bit by this bug recently. Don't have a workshop to do wood boxes, but chipboard and some interesting papers, along with nice lining and padding materials, seems to be doing the trick for now.
proxy.php
proxy.php
proxy.php
proxy.php
proxy.php


Sent from my CLT-L29 using Tapatalk
 
Some homes for a few Washita stones. The walnut was recycled off a piece of furniture I scored dumpster diving. Split and cut up for the layup. I don’t normally use finish but the gallon of lacquer was a flea market score so decided to give it a go. I was surprised to discover that one of the pieces turned out to be quilted walnut while splitting so those two became tops. These worthy stones now have a nice place to live

View attachment 1118938View attachment 1118939View attachment 1118940View attachment 1118941View attachment 1118942View attachment 1118943View attachment 1118944
Hey Tim!
What's going on in the third picture? Really curious on what those cyber looking clamp thingies are called and what the do. Doesn't look like standard equipment at all.
Please tell!
 
Top Bottom