

Let's start out with some green coffee beans:
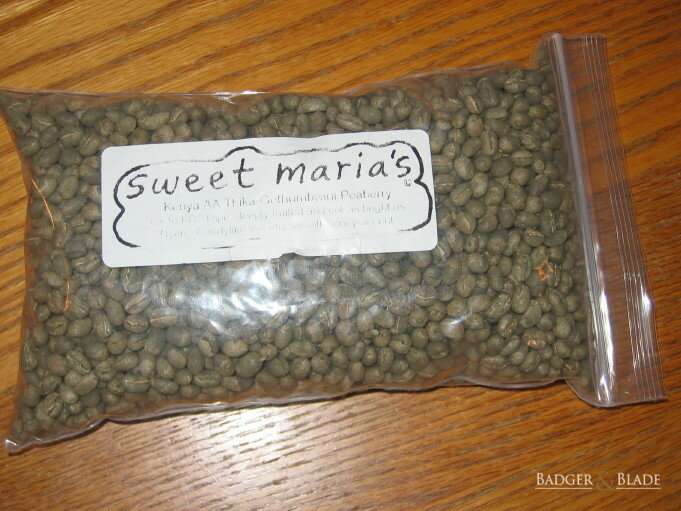
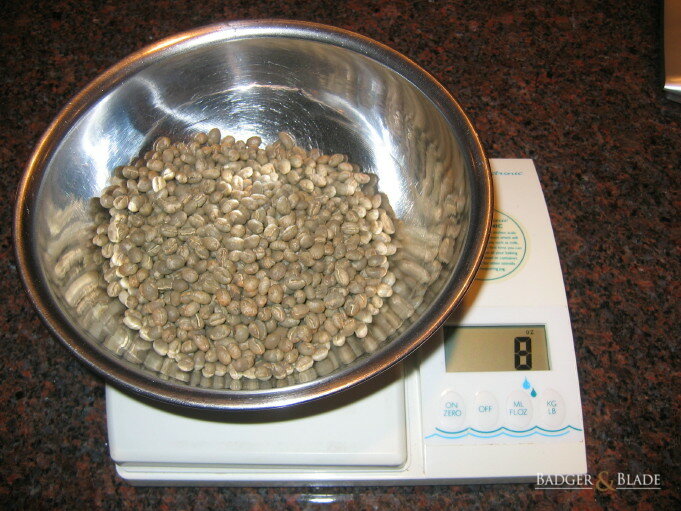
As you can see from the faded label, this is a pound of green Kenya Thika Gethumbwini. One of my favorite coffees, this one has screaming acidity and a powerful blackberry taste. Not for the faint of heart. My roaster will take about a half pound of green coffee, so time to measure:
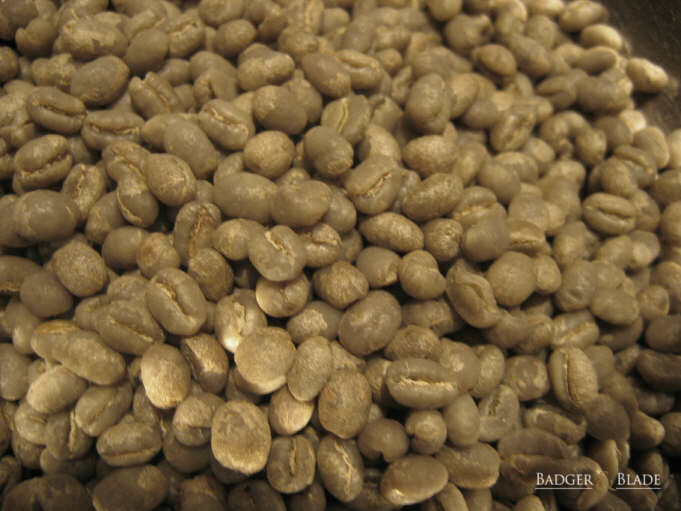
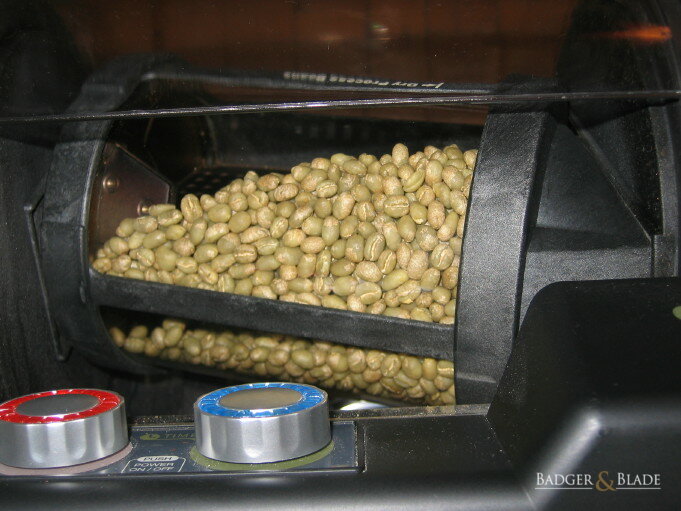
These little seeds are tiny, like little peas. This is a peaberry lot, which separates these from the standard flat beans. Coffee forms two seeds naturally inside the fruit, but sometimes they merge into one seed, the peaberry. Some people think peaberries have better characteristics tastewise, but I have never found a correlation. If you look closely at the picture, you can see some of the whitish silverskin still attached to the coffee. A lot of this comes off as chaff during the roasting process, but some will remain in the creases or stuck on, as you will see later.
Time to fill up the roaster and get ready to rock:
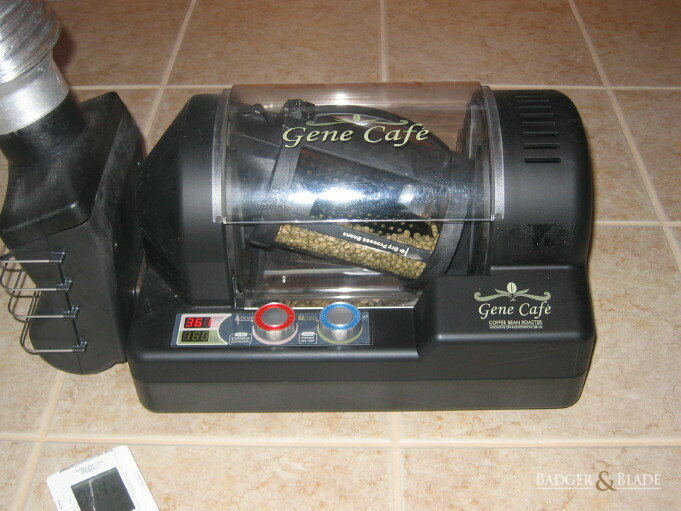
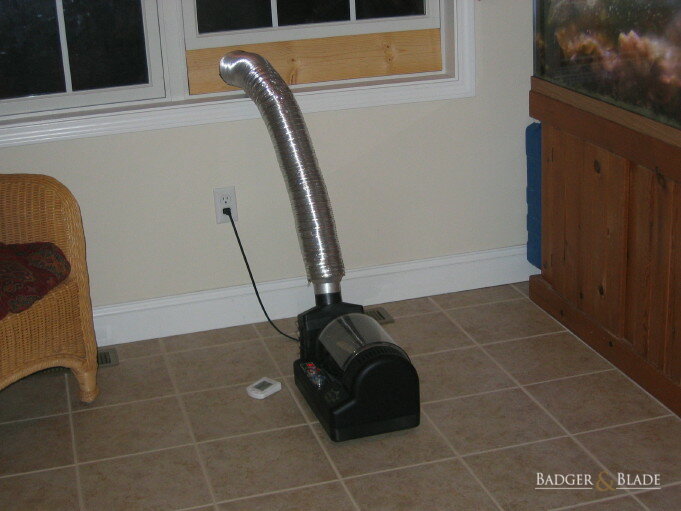
This is a Gene Cafe, which I like for a variety of reasons. First, it is easily vented outside, as you will see in a moment. Roasting coffee puts out a lot of smoke, and unless you want all your smoke alarms going off, you need to vent it somehow. This machine also has continuously variable temperature that you can change on the fly.
In the next picture you can see the exhaust and chaff collector with some solid dryer hose leading outside. This is fairly effective at keeping the house free of smoke.
Let's start her spinning! This machine has an off-axis rotation which is very good at keeping the beans moving. Here I am going for a lighter roast. The beans start out green:
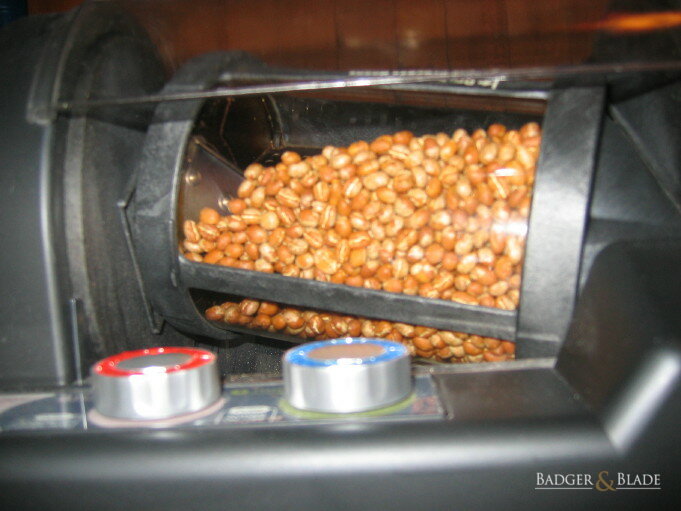
Go through yellow and then brown:
Getting there:
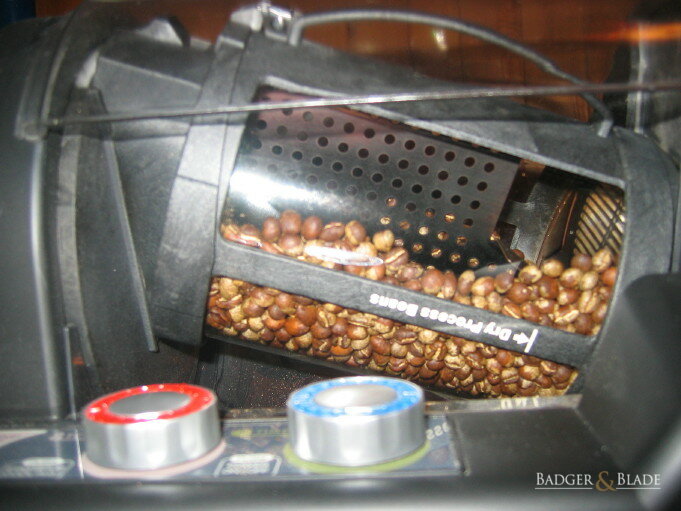
You need to stay attuned to the roaster since there is a fire danger! also, you need to use your nose, eyes, and ears to keep track of the roast. The beans will go through several distinct stages with different smells and sounds. Over time you can tell what is going on consistently.
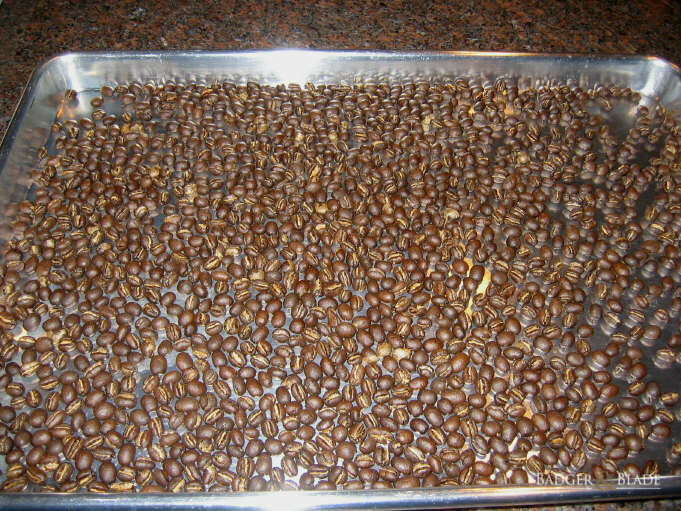
Here's the final product, cooled off and ready to do:
OK, so now we have nice, fresh coffee. Time to brew. I am going to use my Yama stovetop vacuum pot. Here is my coffee corner:
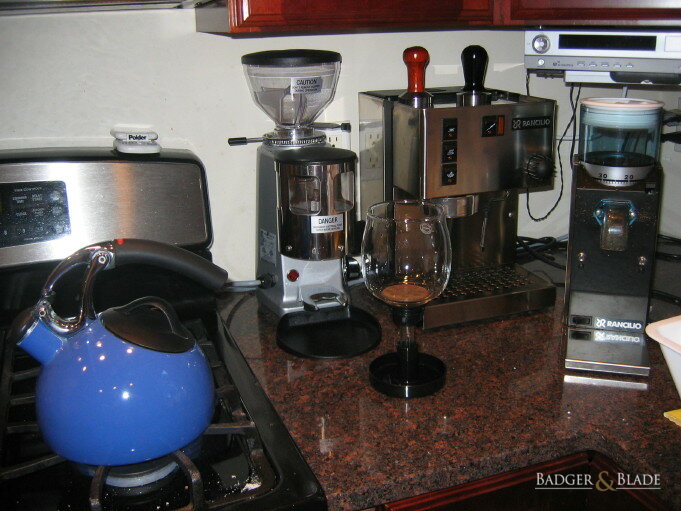
You'll see my teapot for warming up water, my espresso grinder and machine, and my regular coffee grinder pulled out and ready to grind up some goodness. You can also see the top half of the vacuum pot with the cloth filter in place.
Note that it is a lot faster to pre-heat the water before it goes in the vac pot, hence the teapot.
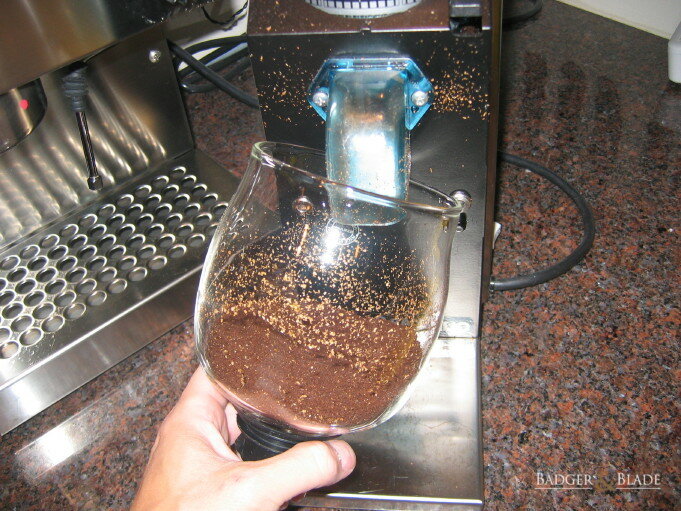
Grind the coffee into the top of the vacuum pot. I use the same grind as I do for drip coffee. Also notice the chaff which tends to fly around a bit and stick to the glass. It has no taste and won't affect anything.
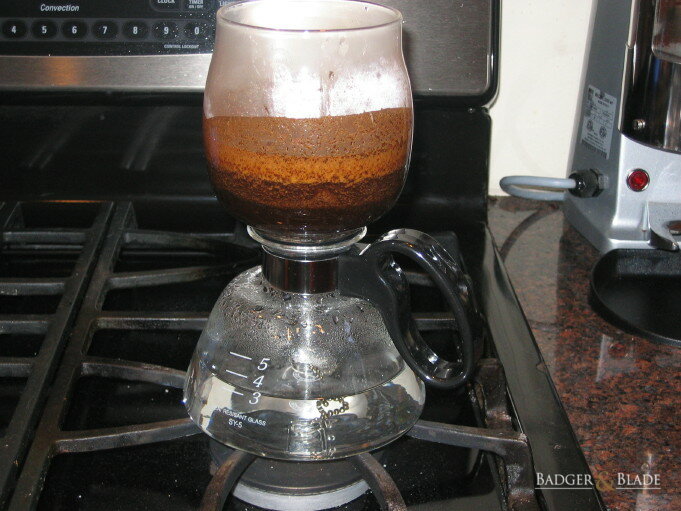
At this point, the pre-heated water goes into the bottom of the vacuum pot, the top half is affixed, and the heat is turned on low. There is a gasket to make the two parts fit airtight. The next picture shows the water starting to rise into the top part of the pot:

And halfway there (I also stir the grounds to make sure everything is wet)
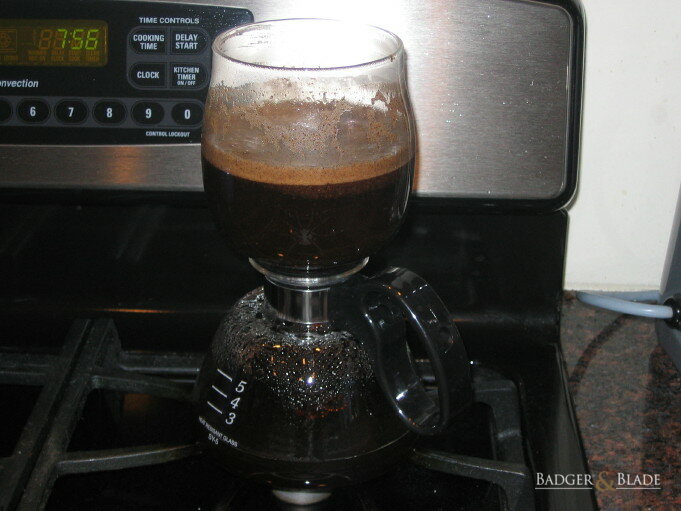
And all the water in the top. You can see the bubbles coming through where steam is rising from the small amount of water that gets left in the bottom. Once all the water has risen, I wait about 45 seconds until turning the heat off and moving the pot off the burner.
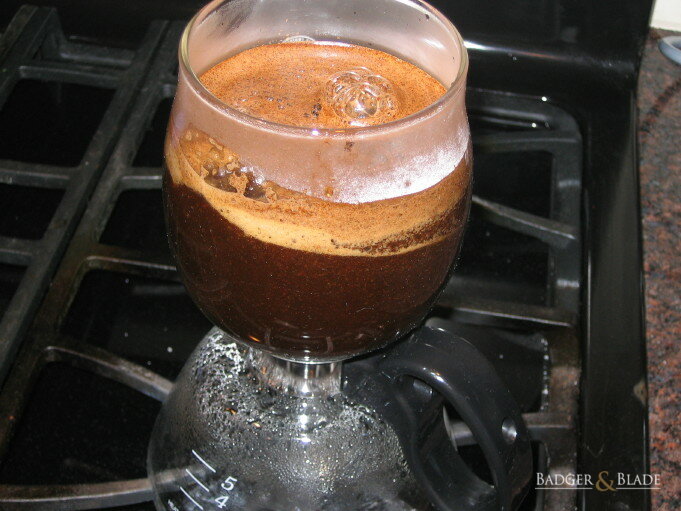
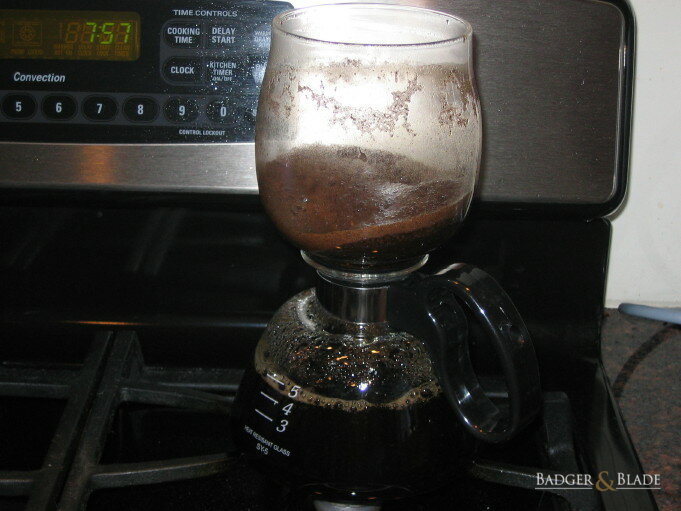
With the heat off, the coffee begins to siphon down:
Ready to drink!
And the final, finished product:

As you can see from the faded label, this is a pound of green Kenya Thika Gethumbwini. One of my favorite coffees, this one has screaming acidity and a powerful blackberry taste. Not for the faint of heart. My roaster will take about a half pound of green coffee, so time to measure:
These little seeds are tiny, like little peas. This is a peaberry lot, which separates these from the standard flat beans. Coffee forms two seeds naturally inside the fruit, but sometimes they merge into one seed, the peaberry. Some people think peaberries have better characteristics tastewise, but I have never found a correlation. If you look closely at the picture, you can see some of the whitish silverskin still attached to the coffee. A lot of this comes off as chaff during the roasting process, but some will remain in the creases or stuck on, as you will see later.
Time to fill up the roaster and get ready to rock:
This is a Gene Cafe, which I like for a variety of reasons. First, it is easily vented outside, as you will see in a moment. Roasting coffee puts out a lot of smoke, and unless you want all your smoke alarms going off, you need to vent it somehow. This machine also has continuously variable temperature that you can change on the fly.
In the next picture you can see the exhaust and chaff collector with some solid dryer hose leading outside. This is fairly effective at keeping the house free of smoke.
Let's start her spinning! This machine has an off-axis rotation which is very good at keeping the beans moving. Here I am going for a lighter roast. The beans start out green:
Go through yellow and then brown:
Getting there:
You need to stay attuned to the roaster since there is a fire danger! also, you need to use your nose, eyes, and ears to keep track of the roast. The beans will go through several distinct stages with different smells and sounds. Over time you can tell what is going on consistently.
Here's the final product, cooled off and ready to do:
OK, so now we have nice, fresh coffee. Time to brew. I am going to use my Yama stovetop vacuum pot. Here is my coffee corner:
You'll see my teapot for warming up water, my espresso grinder and machine, and my regular coffee grinder pulled out and ready to grind up some goodness. You can also see the top half of the vacuum pot with the cloth filter in place.
Note that it is a lot faster to pre-heat the water before it goes in the vac pot, hence the teapot.
Grind the coffee into the top of the vacuum pot. I use the same grind as I do for drip coffee. Also notice the chaff which tends to fly around a bit and stick to the glass. It has no taste and won't affect anything.
At this point, the pre-heated water goes into the bottom of the vacuum pot, the top half is affixed, and the heat is turned on low. There is a gasket to make the two parts fit airtight. The next picture shows the water starting to rise into the top part of the pot:
And halfway there (I also stir the grounds to make sure everything is wet)
And all the water in the top. You can see the bubbles coming through where steam is rising from the small amount of water that gets left in the bottom. Once all the water has risen, I wait about 45 seconds until turning the heat off and moving the pot off the burner.
With the heat off, the coffee begins to siphon down:
Ready to drink!
And the final, finished product:
Last edited by a moderator:


