Now that I have more experience with honing and the 3M films I decided to put a new edge on my Thiers-Issard Pierre Thiers Hand Forged Limited Edition razor. I picked this razor up in the B/S/T forum a few months back. The previous owner had given the blade a mirror polish as he did not like the look of the cheap gold wash. I agree that it looks much better without the gold. While polishing the blade he also polished off the edge. When I first received it I put a basic edge on it using the Sypderco hones. While the edge was serviceable it was not very sharp or comfortable. I could have put a better edge on it with the Spyderco hones but I've really taken an interest in seeing what the lapping films can do. I put the best possible edge on my DD Satinedge with the Spyderco hones to compare to. The DD shaves very nicely. Not as good as a Feather AC but 75%-80% as good.
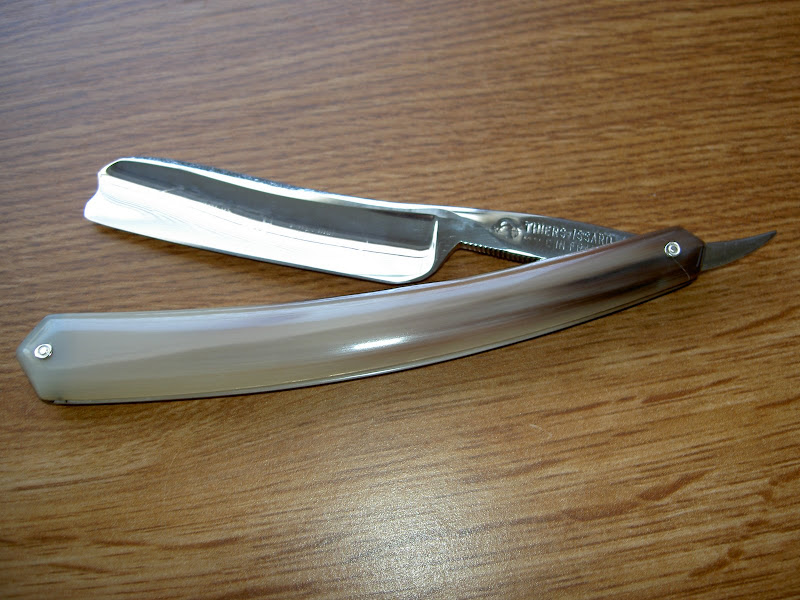
Here is the razor.
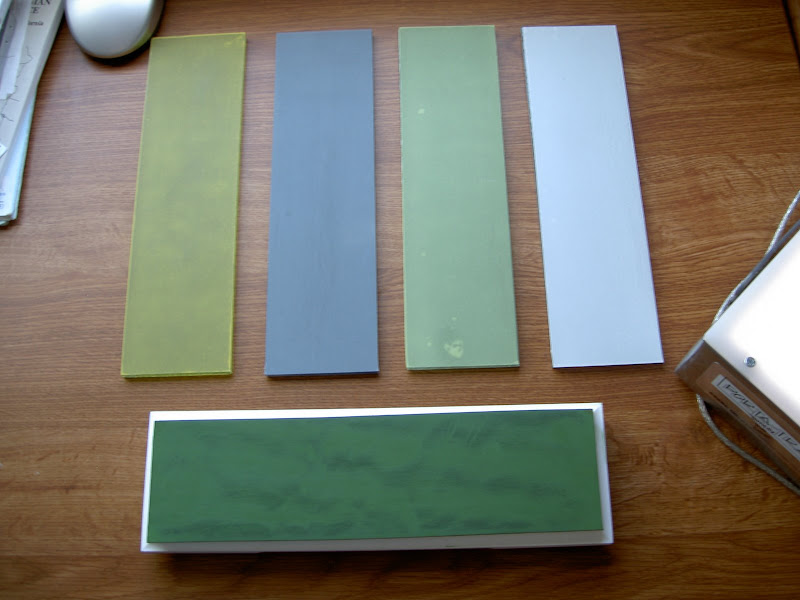
This is the honing equipment, a Hand American base, four glass plates loaded with 12u, 5u, 1u & 0.3u film & a leather strop charged with 0.5 CrO. The Hand American stuff is nice but hard to get.
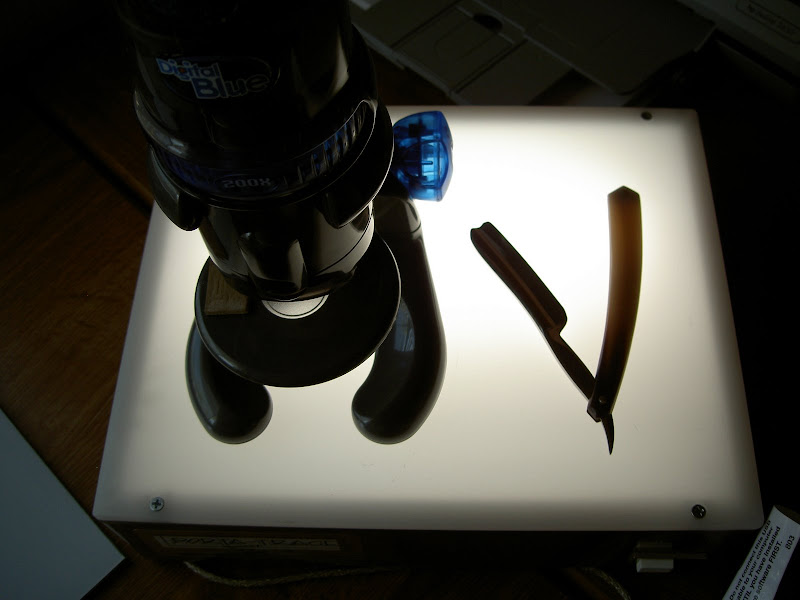
This is the microscope and light box I use for taking micrographs.
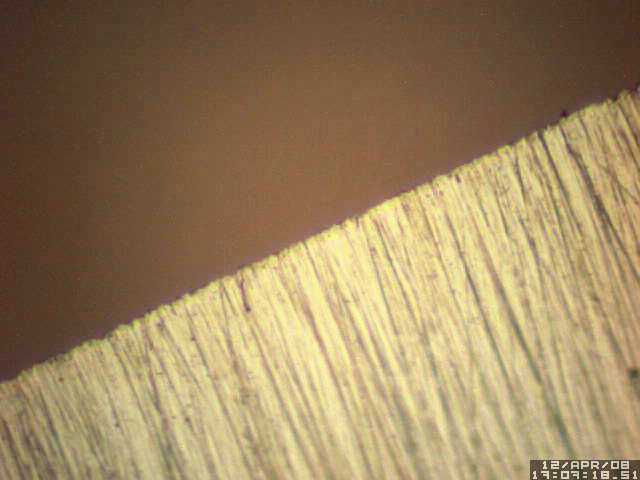
To start I gave the razor 50 strokes on the Spyderco medium grit in order to get a fresh edge to work with.
I then started to work through the lapping films.
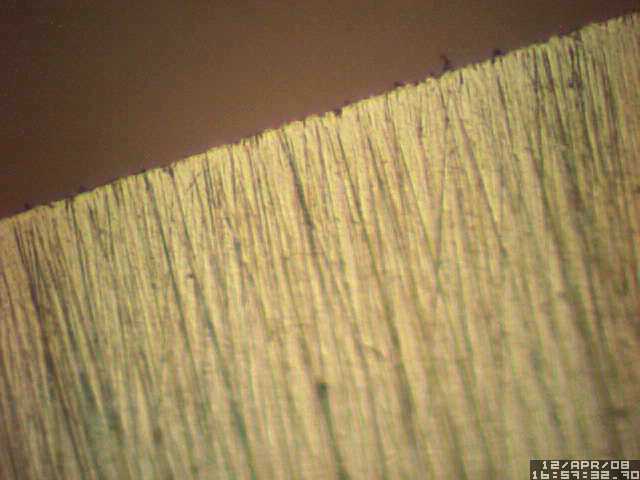
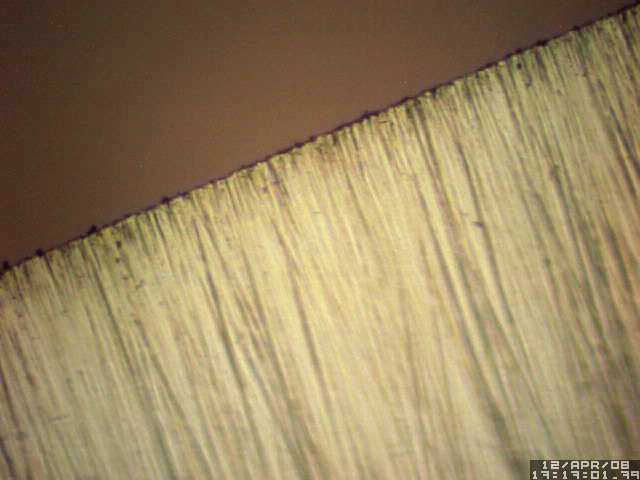
Here is the edge after 50 on the 12u film. It is somewhat smoother.
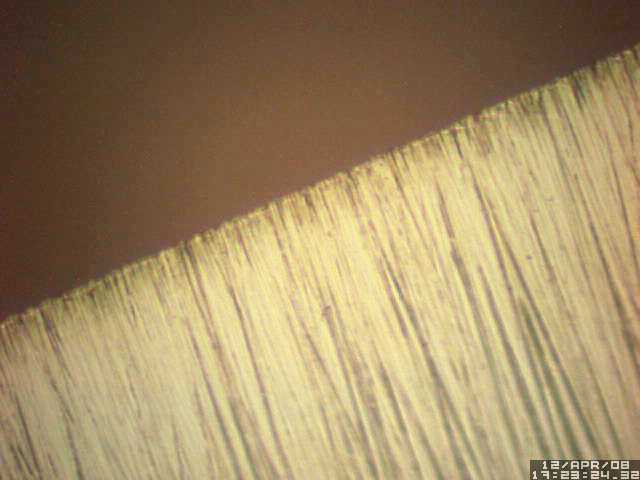
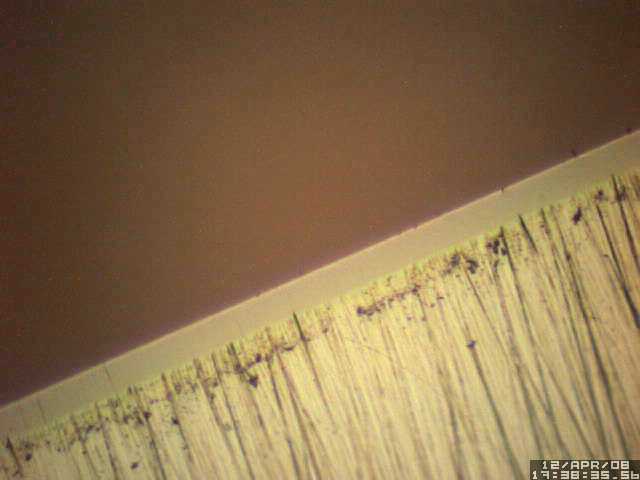
Here is the edge after 50 on the 5u film. It is progressing nicely.
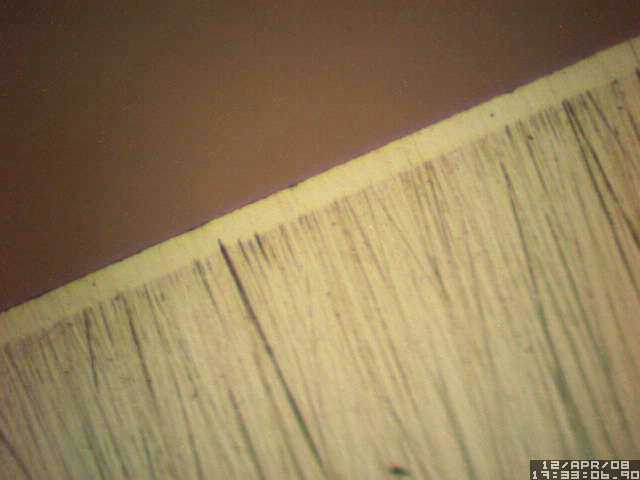
Here is the edge after 50 on the 1u film. Nice and smooth.
At this point I switch over to a second bevel as explained by Tim Zowada. I think the two bevel approach has strong advantages for those of us with very heavy, coarse beards. All commercial razor blades employ a multiple bevel.
Here is the edge after applying four layers of electrical tape and giving it 30 on the 1u film. The bevel looks outstanding!! Super smooth and well defined. In retrospect, fifteen would have been a better number as the bevel is a little too big and will take a lot of work to remove latter if I want to go back to a single bevel. Live and learn.
Now I gave the blade its final polish on the 0.3u film. Mirror smooth and kind of cool to look at.
I stopped at this point. No CrO or hanging strop. I want to feel the blade on my face first. It sure looks like a wicked sharp blade! The hairs on my arm just kind of melt off. I can't wait to try it tomorrow!!
I sure hope this finally gets me to Feather AC levels of comfort.
Joe
Here is the razor.
This is the honing equipment, a Hand American base, four glass plates loaded with 12u, 5u, 1u & 0.3u film & a leather strop charged with 0.5 CrO. The Hand American stuff is nice but hard to get.
This is the microscope and light box I use for taking micrographs.
To start I gave the razor 50 strokes on the Spyderco medium grit in order to get a fresh edge to work with.
I then started to work through the lapping films.
Here is the edge after 50 on the 12u film. It is somewhat smoother.
Here is the edge after 50 on the 5u film. It is progressing nicely.
Here is the edge after 50 on the 1u film. Nice and smooth.
At this point I switch over to a second bevel as explained by Tim Zowada. I think the two bevel approach has strong advantages for those of us with very heavy, coarse beards. All commercial razor blades employ a multiple bevel.
Here is the edge after applying four layers of electrical tape and giving it 30 on the 1u film. The bevel looks outstanding!! Super smooth and well defined. In retrospect, fifteen would have been a better number as the bevel is a little too big and will take a lot of work to remove latter if I want to go back to a single bevel. Live and learn.
Now I gave the blade its final polish on the 0.3u film. Mirror smooth and kind of cool to look at.
I stopped at this point. No CrO or hanging strop. I want to feel the blade on my face first. It sure looks like a wicked sharp blade!
The hairs on my arm just kind of melt off. I can't wait to try it tomorrow!!I sure hope this finally gets me to Feather AC levels of comfort.
Joe


 )
)
")


 , and have since gone back to a single bevel (that took quite some time to reset the bevel!).