Your graphics are always outstanding, Jim .


Your graphics are always outstanding, Jim .
Great advice.
I'd be happy to have a natural stone to finish, but I'm very far from knowing which direction to go with 'em + mortified at what they cost + worried about how much I've already spent on honing stuff.
What a rabbit hole!
Happy shaves,
Jim


I would recommend a natural finisher. They are for the most time cheaper than synthetic finishers and leave a better edge imo.Egads,
You guys are killing me. I just wanted to see if I could shave with my Grandpa's Real Old English Razor and started honing away on a cheap combo stone I got at the local asian market for $6 about a year ago. Just every now and then. Then I used another cheap Sharp Pebble 400/1000 combo stone that I got for my wood-shop planes. Of course I also used green polishing compound and got it to cut forearm hair.
Of course, all this was before I decided to fall down the DE rabbit hole January of this year. I didn't realize that until I joined B&B in February and started buying vintage Gillette DE razors.
Some 18 DE razors later, I thought to myself, "Hey, why not get a few vintage straight razors and a Norton 4000/8000 combo stone?"..............
View attachment 1007061 View attachment 1007062
to be continued...........
prof
P.S. any idea's on a 12k-16k finishing stone?
"Aha! Eureka!" After trying the Burr method for a few days, I finally got the bevel set on 600g lapping film and shaved arm hair (at a slight downward angle). I think the key was my pressure wasn't heavy enough initially. Shave test tomorrow!Oh yes I see. You are quite correct. 100 strokes should raise a burr if it is nearly there, yes. Try increasing pressure. Use approximately the full weight of your arm, maybe a tiny bit more. Pressure forms burrs, whether you want them, or not. Light pressure removes/prevents them, as a general characteristic.
Possibly the problem is you simply don't detect the burr. Feel both sides. It is the difference between them that you will notice, not the actual burr itself, unless the burr is extremely pronounced, which equates to wasted steel. So for practice, I suggest you go at it with a razor you really don't care much about. Go until you DO feel the burr, staying on one side up to say 500 strokes before flipping. Then go 1000 strokes on the other side. Then 2000 on the first side again. You GOT to get a very obvious burr sooner or later. Now of course this is leading that particular razor down the path to the scrap bin. Maybe. But sooner or later you will have a burr and then you will go, "Ah HAH!!! Eureka!!!"
The reason I think maybe you just don't recognize the burr is because by all other tests, you seem to have a bevel. As soon as your bevel is in, continued honing, especially on one side only, will immediately start deflecting the edge upward, particularly with heavy pressure. Now you don't NEED to raise a burr if the bevel is truly set. I would like you to go to the extreme though, just so you learn to recognize it. So grab a junkbox razor and wail away on it. You will get this. And maybe once you got it, you will feel that you don't really need to do it this way, but at least you will be able to, and will understand it.
600g is lazy for 600 grit or 30 micron lapping film. I had a couple of chips so I started on 60 micron, got a partial Burr, moved up to 30 micron and got the full Burr. I went coarser because I think the geometry on this is weird because I was having a hard time getting the faintest of burrs in the middle. 10x loupe shows a faint white line and I feel "something" different.Because a bevel only needs to be set once, it doesn't hurt anything to use heavy pressure to get the heavy lifting done. The amount of steel "wasted" is very small, in the grand scheme of things. A burr of course needs to be removed, the edge fixed so you have a bevel but only a bevel, no artifacts hanging off the edge. This is where gradually diminishing pressure is needed, and from that point, the pressure should become lighter and lighter as the progression progresses, until at the finish, it is dead light.
Not sure what 600g lapping film is, though. Due to lack of the "mu" character on most keyboards, we usually use the lower case letter "u" to indicate microns. Typically a bevel would be set with 15u, 12u, or 9u film. I usually use sandpaper, anywhere from 200 or even coarser, to 2000 grit, whatever seems needed, with intermediate stops when I have to begin very coarse.
So, now that you have a bevel, what sort of progression and finish will you use? You don't want to shave off a raw bevel. It will need to be refined and polished to at least 1u or 12k for a satisfying shave.
No, no need to raise a burr again. You could, if you are really concerned, or if nothing seems to be working, but I believe there is no need, and it would remove an additional small amount of steel that does not need to be removed. From 30u, you should spend a little time on 12u, yeah. Or 9u. Try to not take jumps in grit higher than 3x if possible and practical.600g is lazy for 600 grit or 30 micron lapping film. I had a couple of chips so I started on 60 micron, got a partial Burr, moved up to 30 micron and got the full Burr. I went coarser because I think the geometry on this is weird because I was having a hard time getting the faintest of burrs in the middle. 10x loupe shows a faint white line and I feel "something" different.
I then moved to 12 micron, for 20 or 30 laps, 5 micron, 3 micron and 1 micron with paper under the film. I'm having a hard time identifying the difference in striations to know when I've fully polished the bevel.
I could go further into a .3 micron film but I'm not convinced I've really nailed this yet so I want to do some trial and error.
Could my slight lack of sharpness be coming from the fact that I didn't set the bevel at 12u? Do I go back to 12u and create the burrs again to improve this?
I removed the Burr using the diminishing Lapp method with lighter and lighter weight earlier in this thread.No, no need to raise a burr again. You could, if you are really concerned, or if nothing seems to be working, but I believe there is no need, and it would remove an additional small amount of steel that does not need to be removed. From 30u, you should spend a little time on 12u, yeah. Or 9u. Try to not take jumps in grit higher than 3x if possible and practical.
If you are judging completion of a stage by the obliteration of the previous stage scratches, the easy way is to change the heel leading angle enough that you can tell one set of scratches from the next, by the difference in direction. But when a stage is nearly finished, you will also note an increase in sharpness. When the sharpness increases noticeably, just go a few more laps and you are done. If you think you may have a bit of burr or fin edge, you can do a half dozen pull strokes on each side, alternating one side and the other, and then peak the apex back up with a half dozen or a few more of ordinary edge leading laps with very light pressure. This has always worked well for me.
Once you had raised a burr on one side and then the other, what was your method of removing the burr? The burr must be completely removed, and the earlier, the better. Preferably with the same grit that you used to raise it in the first place.
I think what I would do, is give it a couple dozen light laps on the 30u and start the progression again. And give it the pull strokes before moving up to the 12u. Do your sharpness tests before and after the 30u and the 12u. You should get very good forearm shaving after the 12u, and nice results from TNT, TPT, cherry tomato, all of the standard bevel tests. If not, work on the 12u until you see cutting power improved.
Some honers do not like the 5u film. Seraphim I believe is one such person, and he was basically my film mentor. Many honers go 15u or 12u, then 9u, then 3u and 1u. At 3u, you should get very noticeable stiction when that stage is nearly done. At 1u, very strong stiction. 9u will give you very strong undercutting of the honing water. All stages will give you increased sharpness just before time to move on. By the 3u stage, the treetopping and hht become very useful tests. Even though the precise qualative results are subjective, you are not looking for particular levels as much as a noticeable increase from the previous level.
Be of good cheer. Knowing that you have a fully set bevel is half the fight. You are almost there. When you have successfully finished at 1u, you should have an edge that in anybody's book is shave ready.
I think i'm starting to see the pieces come together. I saw your sharpness test post on another thread of mine and i think i may have been confusing "shaving" with "tree topping." The razor I'm working on can shave arm hair. it takes a few soft passes back and forth but the hair does come away. When i try and do the tree topping test sometimes i hear the hair ping and catch and maybe cut a few... and sometimes it doesn't. I have to get pretty close to the skin (1/8th inch?) to get it to catch. So if my bevel is set (because it shaves arm hair), but doesn't tree top, do i get the edge sharper by working through the progression of films I have? I understand I work on one film until I see the striation pattern change and feel a sharpness difference. A follow up question: I shouldn't expect to treetop off polishing on the 4k so what sort of variance of sharpness should I expect to see as I go up?Are you honing in hand, or on a bench? If you are bench honing, possibly reducing pressure has you using a different balance of pressure. Or perhaps you were laying a finger along the blade on the 30u film, and disproportionately wearing the middle part of the edge. Keep in mind that on a microscopic level, the edge of a razor is very flexible and can flex wildly without being obvious to the honer. Honing in hand automatically corrects many issues of that nature.
Two hours should have been enough to max out a dozen times. Your lapping plate is verified flat?
When you raised a burr, did you check all along the length of the blade? The burr must be evident along the entire edge, on both sides in turn.
Do you mean that you still see the previous stage scratches in the middle, and only faintly see the new ones?
How about the ends? Do you see increased sharpness there?
You are there, the razor in your hands and under your eye. You can post pictures but we cannot actually hold the razor in the light, and feel the edge. Sometimes it is difficult to accurately assess what is going on, long distance. Maybe you should stop and think things out for a while before proceeding further. Otherwise you might just wear out steel and film and your patience to no advantage. The answer is right in front of you. You may have to be the one to find it. I myself am starting to run out of ideas.
@Slash McCoy If I were to Dremel the heel of a Gold Dollar 66, would I be able to use the burr method on 30 micron lapping film to set the bevel?
I know that people go to much greater lengths when modifying these razors, but I'm just looking to keep it simple!
That's brilliant! Thank you for taking the time to post such a detailed response! I'll get me a couple ordered!Yeah, sure
Sure, but for a GD66 you might want to start the bevel on say 220 grit sandpaper glued to your acrylic plate. When you have raised a burr along about 3/4 the length of the blade, on both sides, bump it up to 400 grit and bring it home, or almost so. Then move up to the film, and proceed normally. Acetone works nicely to remove the glue residue. I use 3M or Loctite spray adhesive for that. Some brands of nail polish remover have enough acetone in them to remove the glue. Don't let it stand long on the acrylic. Just wet a rag with it and rub off the glue.
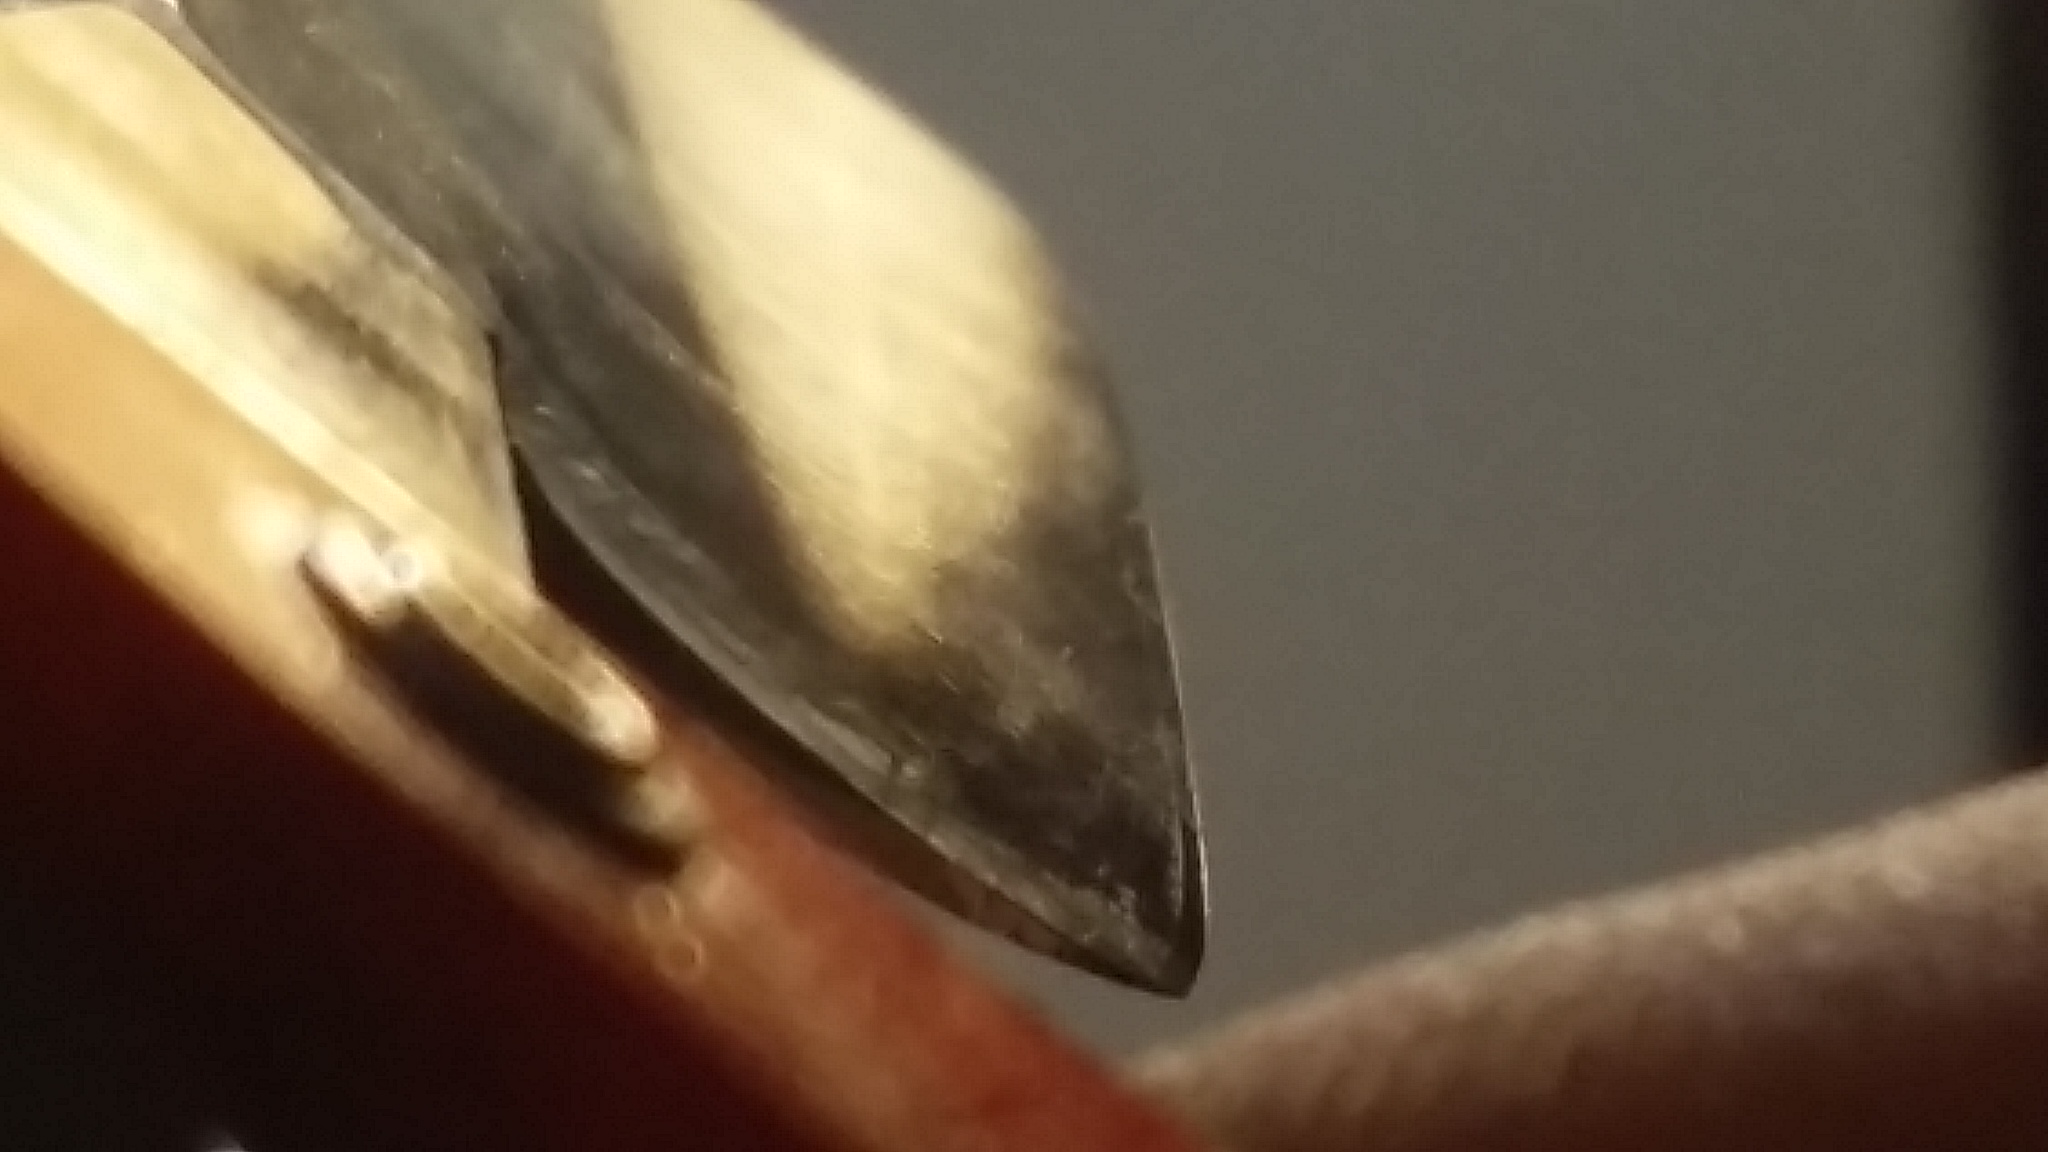
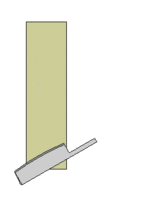
Two ways of dealing with the heel. The thumbnotch method is the easiest, and gives you a very comfortable razor to hold in the hand, that also looks kinda cool. You simply take a Dremel with the sanding drum attachment and hold it perpendicular to the blade, and grind right in there from the shank, until you have a thumb notch and no stabilizer. Be careful cause the thin steel at the edge can overheat in just a couple of seconds. The other way is to thin down the stabilizer until it is gone, and thin especially at the heel where the unskilled grinders leave a large area of blade too thick. This is trickier and demands a little more patience, care, and general craftsmanship. Here is a fast and dirty example of the thumbnotch style heel reduction. I actually grond way more than I needed to. I could have saved about 1/4" of edge length, maybe. Sorry the pic is crap, Just took it with the built-in cam in my laptop lid.
View attachment 1093615
You can also round off the heel so that the edge ends well before the stabilizer.
That's brilliant! Thank you for taking the time to post such a detailed response! I'll get me a couple ordered!
My 30u, 9u, 3u and 1u film arrived today. Just waiting on my 20mm 3" x 12" acrylic block to arrive!
I've devoured every thread and am excited to start honing my own straights!
Yeah, sure
Sure, but for a GD66 you might want to start the bevel on say 220 grit sandpaper glued to your acrylic plate. When you have raised a burr along about 3/4 the length of the blade, on both sides, bump it up to 400 grit and bring it home, or almost so. Then move up to the film, and proceed normally. Acetone works nicely to remove the glue residue. I use 3M or Loctite spray adhesive for that. Some brands of nail polish remover have enough acetone in them to remove the glue. Don't let it stand long on the acrylic. Just wet a rag with it and rub off the glue.
Two ways of dealing with the heel. The thumbnotch method is the easiest, and gives you a very comfortable razor to hold in the hand, that also looks kinda cool. You simply take a Dremel with the sanding drum attachment and hold it perpendicular to the blade, and grind right in there from the shank, until you have a thumb notch and no stabilizer. Be careful cause the thin steel at the edge can overheat in just a couple of seconds. The other way is to thin down the stabilizer until it is gone, and thin especially at the heel where the unskilled grinders leave a large area of blade too thick. This is trickier and demands a little more patience, care, and general craftsmanship. Here is a fast and dirty example of the thumbnotch style heel reduction. I actually grond way more than I needed to. I could have saved about 1/4" of edge length, maybe. Sorry the pic is crap, Just took it with the built-in cam in my laptop lid.
View attachment 1093615
You can also round off the heel so that the edge ends well before the stabilizer.
Good afternoon Slash,I have never tried a full face shave with a straight razor, only one pass WTG. I don't have a razor that has been honed by a professional but I have one or two that I may send out to be done. Having a properly honed razor for comparison is a must. Some of my razors are "good for learning" and some are "Don't touch that until you know what you're doing". This is something I'm taking my time learning. It's more about restoring than shaving, for me right now, but if I'm going to restore a razor I want to do all of it right.
Not an entry level Dovo. Some of them are pretty wonky. At $75, it is probably not so great. Maybe a "Best Quality" which is actually their worst quality, or a"Special", which is almost as bad IMHO. Once the bevel is set by someone who knows what he is doing, then they will not be difficult to hone, but getting the bevel set in the first place is the catch.Good afternoon Slash,
Would a Dovo razor, 5/8, half-hollow ground and not sold as shave-ready be a good razor to work with? I saw a new one for sale from an online knife vendor discounted to about $75.00, but hopefully would still have decent quality to be able to take a good edge if I work on it and not too much to lose if I mess it up. I do not want to mess up my Ralf Aust razor, and will likely send it to one of the professional sharpeners recommended on this forum.